Easy DIY T-shirt and Leggings Weaving Tutorial

Today, I have an easy t-shirt weaving tutorial to show you.
Weaving is a wonderful technique to transform a piece of clothing that doesn’t involve any sewing or gluing.
You simply make some cuts, then twist the fabric, and you completely modify the appearance of your clothing.
Grab your clothing and scissors, and let’s begin!
Tools and materials:
- Top
- Leggings
- Scissors
- Marker
Sleeve tutorial
I'll start with the pattern on a loose-fitting sleeve.
1. Mark out pattern
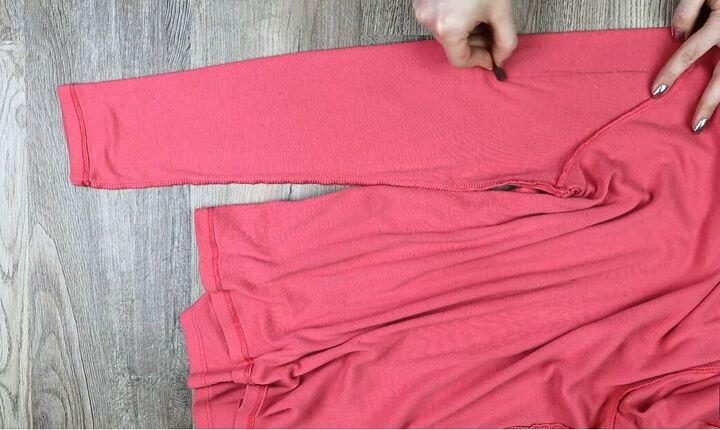
Start by turning your shirt inside out and lay the sleeve down flat.
Mark out where you want the pattern to go but make it half as wide as you want the slits to be.
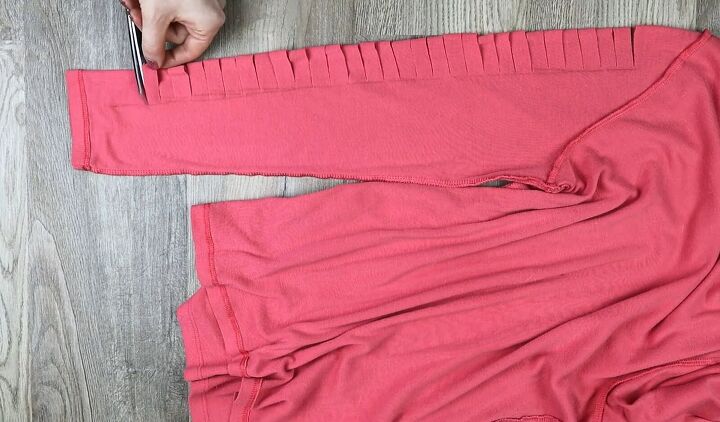
2. Cut slits
Start cutting slits into the fabric about 1cm (0.4 inches) wide all the way down your marked-out section.
Then cut a small hole at the top and bottom.
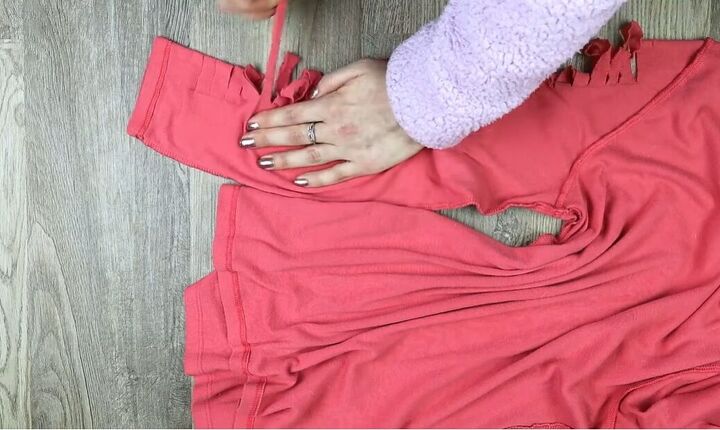
3. Stretch strips
Pull on the strips to stretch them, and they should curl up.

4. Weave the strips
Lay your clothing flat with the cut section centered.
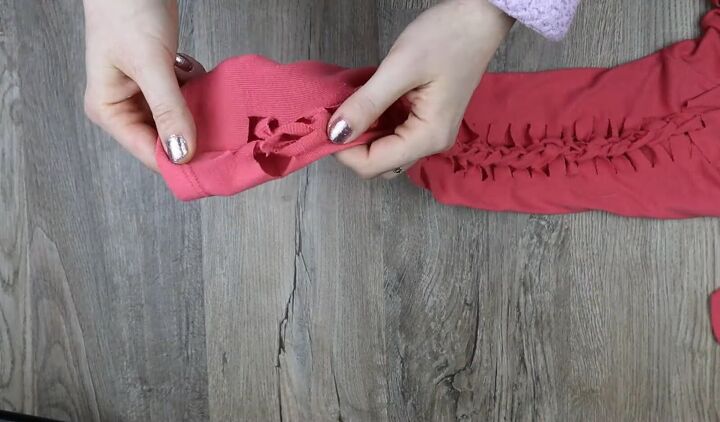
Grab the first strip at the top and pull it up through the top hole from underneath. Now twist it to make a loop.

Grab the next strip down and pull it up through the loop that you just made.
Twist that strip making a loop, and pull the next strip up through it and continue this all the way down.
5. Tie the end
When you get to the bottom, cut the very last loop and tie it back together through the bottom hole.
Then trim the ends. Pull on each side of the sleeve to tighten.
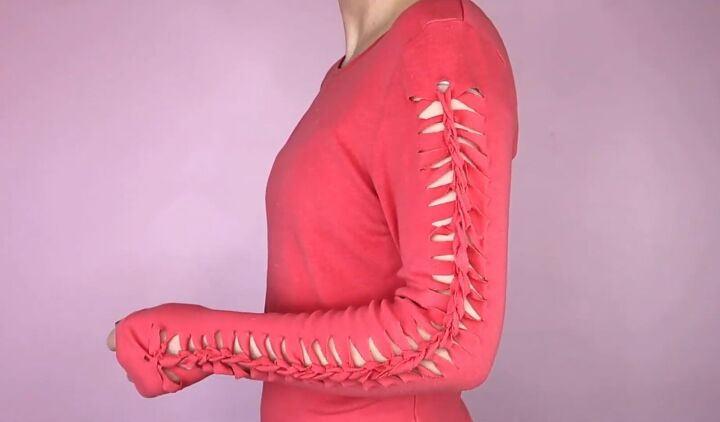
Here is the finished woven sleeve look, and I love it. It reminds me a bit of origami, except with fabric instead of paper.
Legging tutorial
Here is the same pattern on tight-fitted clothing with leggings.

1. Mark out pattern
Start by turning your clothing inside out. Now lay it down flat so that the fold is exactly where you want the twist to be.
Mark out where you want the pattern to go but make it half as wide as you want the slits to be.
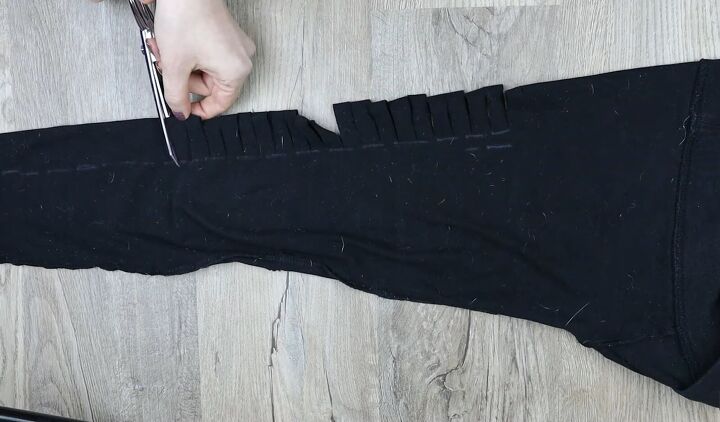
2. Cut slits
Cut a small hole at the top, then start cutting slits into the fabric about 1cm (0.4 inches) wide all the way down your marked-out section.
Finish with a small hole at the bottom.
3. Stretch strips
Pull on the strips to stretch them.
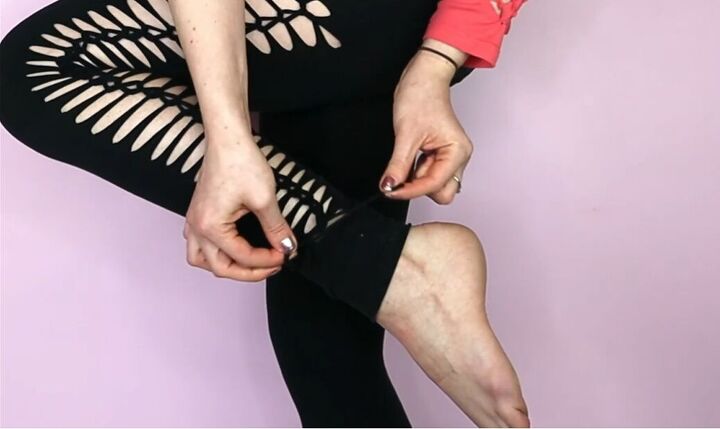
4. Weave the strips
Here I’m going to show you how to make the waving pattern with the garment on, as you might find it easier to do it this way.
Grab the first strip at the top and pull it up through the top hole from underneath. Now twist it to make a loop.
Grab the next strip down and pull it up through the loop you just made. Twist that strip making a loop, and pull the next strip up through it.
Continue this all the way down.
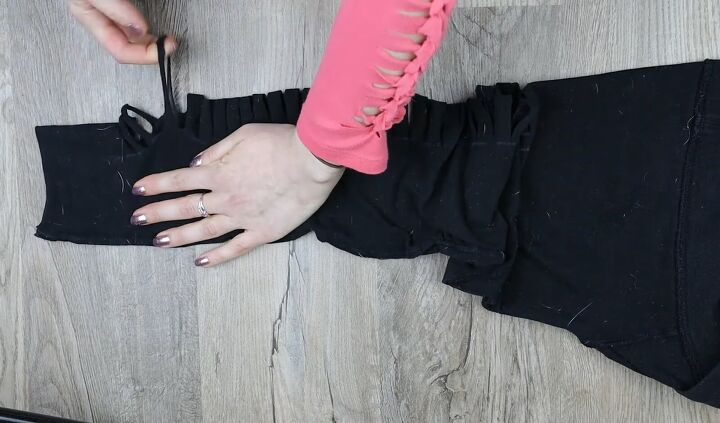
When you get to the bottom, cut the last loop in half, put one side through the bottom hole, and tie the pieces back together.
Trim the edges, and that's it!
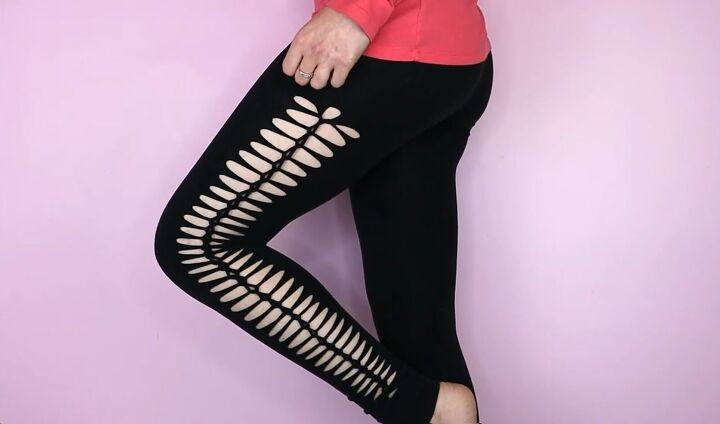
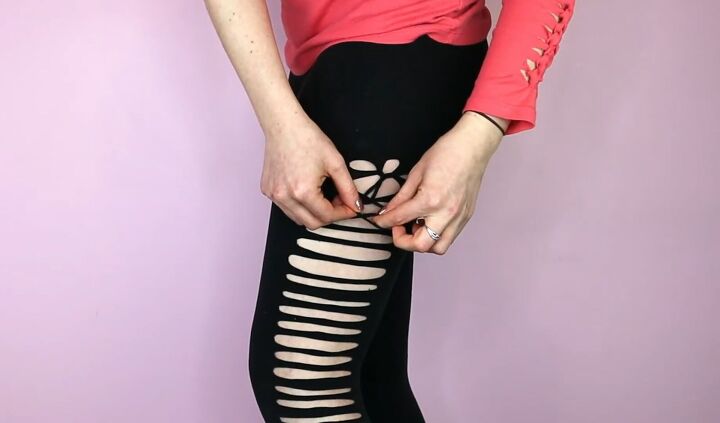
Here is the finished woven look. I think it turned out better on the leggings than it did on the top because the material is more stretchy.
It is important to make sure that you cut the strips to be equal in size, and then you will end up with a neat and uniform look like this.
Legging and t-shirt weaving
If you’ve never tried fabric weaving before, I hope this tutorial has inspired you to give it a go! Let me know how you get on in the comments.
For more weaving content, check out Sexy Woven Leggings in 3 Ways: DIY Tutorial and How to DIY Awesome Cut-out Leggings or Tights.
The author may collect a small share of sales from the links on this page.


Comments
Join the conversation