3 Super Easy DIY T-shirt Cutting Ideas

Here, I’m going to show you some DIY t-shirt-cutting ideas. We will be transforming some boring plain t-shirts into exciting new designs. These t-shirt alterations are super easy and don’t require any sewing.
Tools and materials:
- Three plain t-shirts
- Scissors
- Cardboard
- Ruler
- Pen

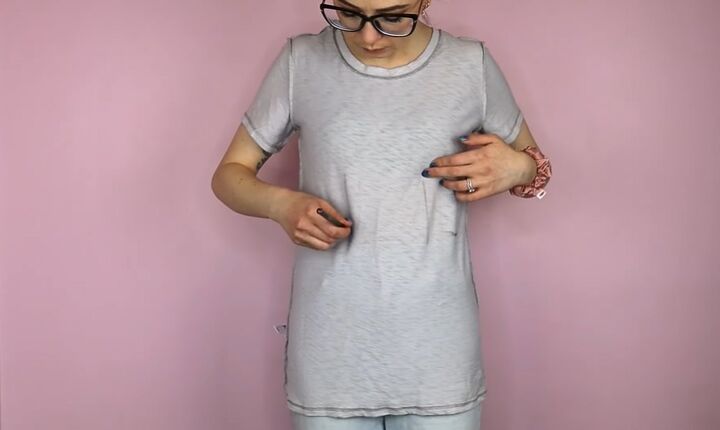
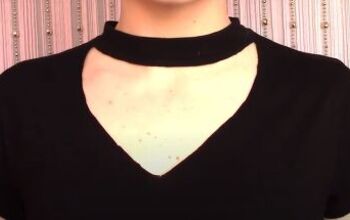
Cut-out shirt
1. Mark the shirt
Put your shirt on inside out and mark a line down the center. Mark out generally where you want the cut-outs to be.
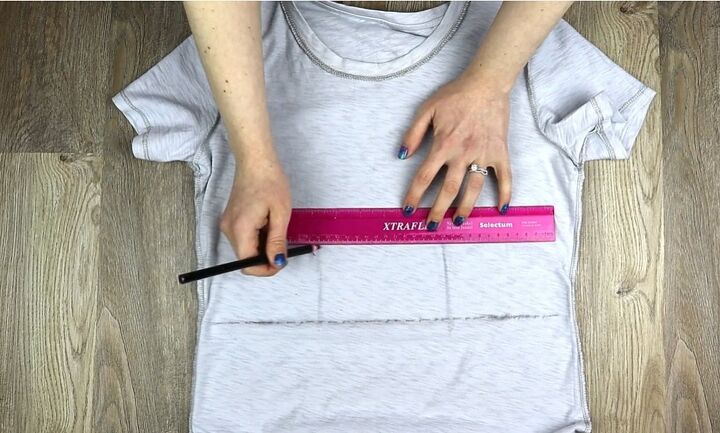
2. Measure out the marks
Lay your shirt down flat, still inside out, and use your ruler to straighten the line.
Measure out your cut-outs. I made mine 2.5 inches (6.4cm) long, 1 inch (2.5cm) apart, and 0.5 (1.3cm) inches wide. Draw them out following your marks making thin pointed ovals.
3. Cut the shirt
Grab your cardboard, put it inside your shirt and carefully cut out your ovals.
4. Stretch the shirt
Stretch the shirt lengthwise to curl the edges and turn the shirt the right way out.

I love how precise and symmetrical this design looks. It is simplistic yet cool and interesting.
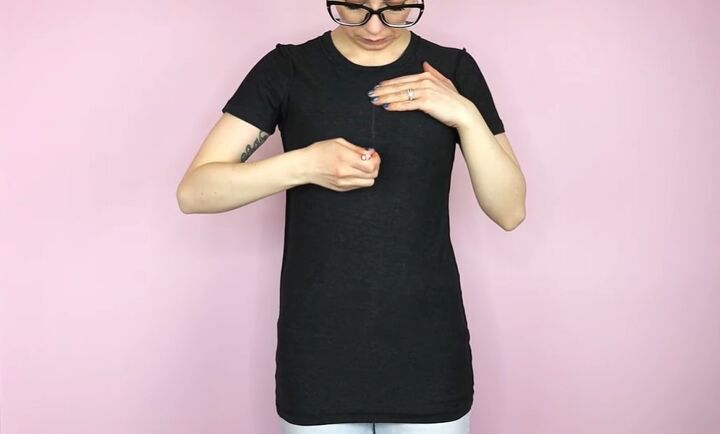
Shredded cold-shoulder shirt

1. Mark the shirt
Put your shirt on inside out and make a mark at the lowest point you want your slits to go in the front center of the shirt.

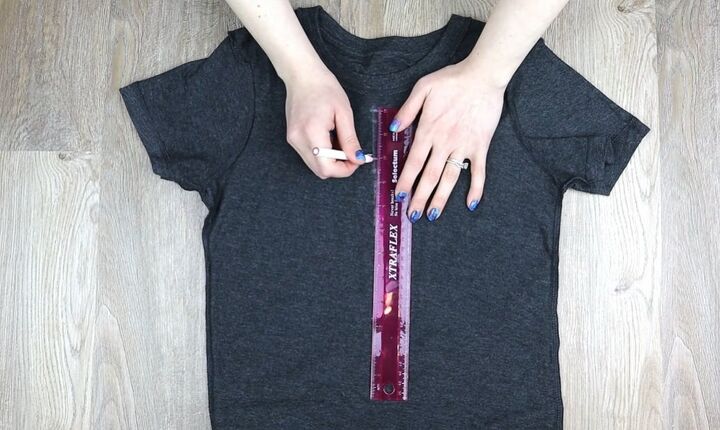
2. Mark the arms
Lay your shirt down flat, still inside out, and measure 3 inches (7.6 cm) down from the top of the shirt at the shoulder seams. Make a mark on each side.
Draw a line down the length of the sleeve at the 3-inch mark on both sides.
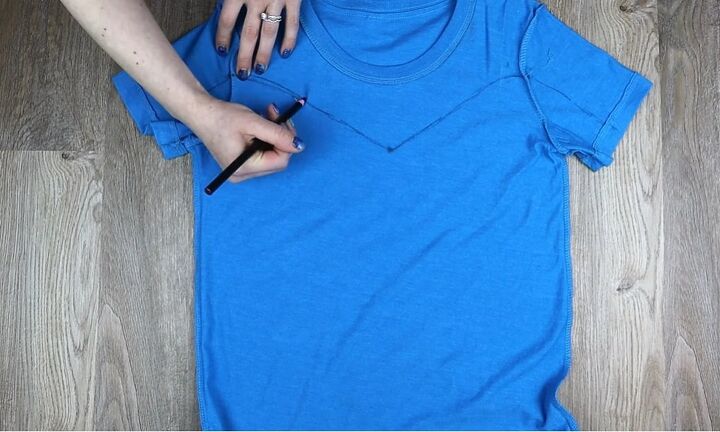
3. Connect the marks
Connect those lines at the mark you made at the center of the shirt, so you have one long line that runs from the edge of one sleeve to the other, coming down to a point in the center.

4. Draw the strips
Make marks about 1 inch (2.5cm) apart along the top of the shirt, stopping at the collar. Make sure the shoulder seam is in the center of two of the marks.
Now, use your marks to draw lines connecting the top of the shirt to our original line that runs across the shirt. These are going to be our strips.
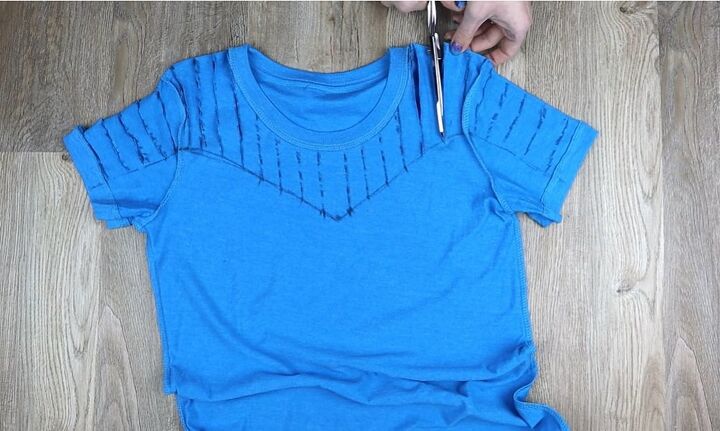
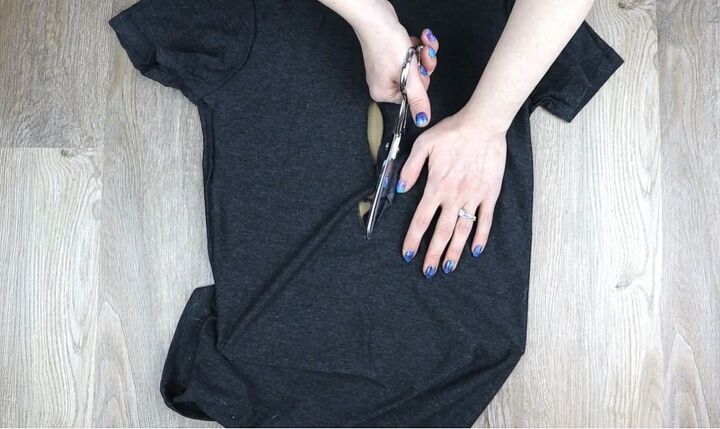
5. Cut the strips
Cut along all of the vertical lines you just marked out on the sleeve section, stopping at the original line and also stopping at the collar on both sides.
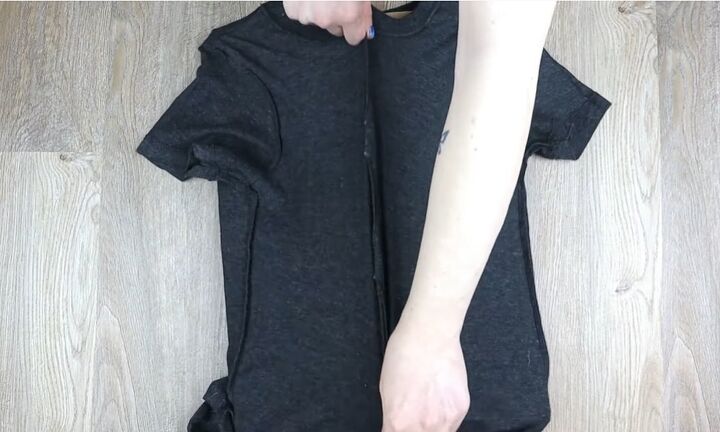
Now, put your cardboard inside the shirt and carefully cut along the lines going from under the collar down to the original line. Once done, stretch all of the strips of fabric and turn your shirt the right way out.

Here is the finished design and I adore the cut-outs and the off-the-shoulder effect. I’ve also knotted it at the waist for a more fitted look.
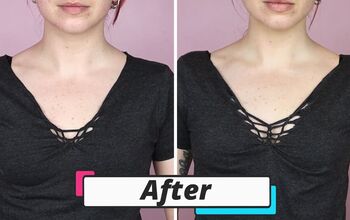
Lace-up crop top
1. Mark the shirt
Put your shirt on inside out and mark out generally where you want the laces to go and where you want to crop your shirt.
2. Draw lines with a ruler
Lay your shirt down flat, still inside out, and use your ruler to draw a straight line across your shirt at the crop mark.
Make sure the lines for your laces are the same length.
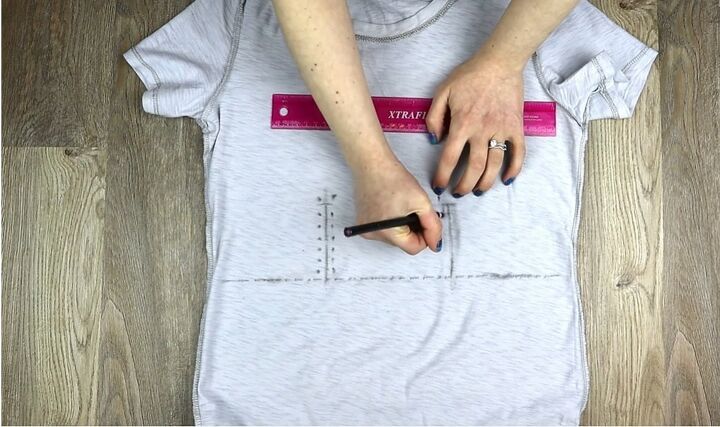
3. Mark out holes
Now mark out the holes for the laces. On each side of each line, make an odd number of evenly spaced dots, starting just above the line and ending pretty close to the bottom of the shirt.
4. Cut the bottom of shirt
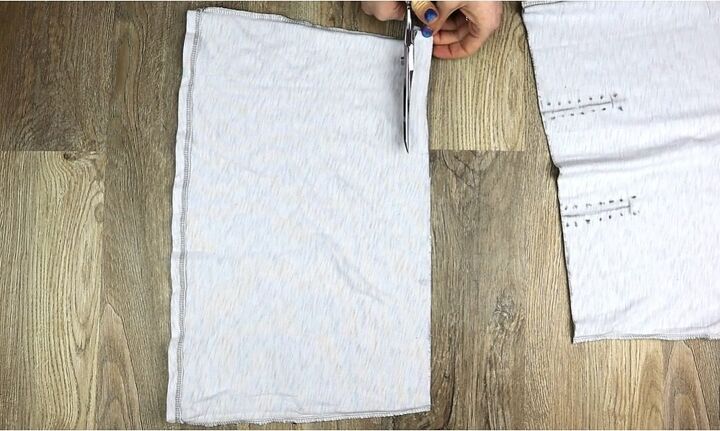
Grab your scissors and cut along your crop line through both layers of fabric. From the cut-off bottom of the shirt, cut one strip of fabric about a couple of centimeters wide.
Stretch this piece of fabric and cut it into two separate strips at the seam and keep the strips for later.
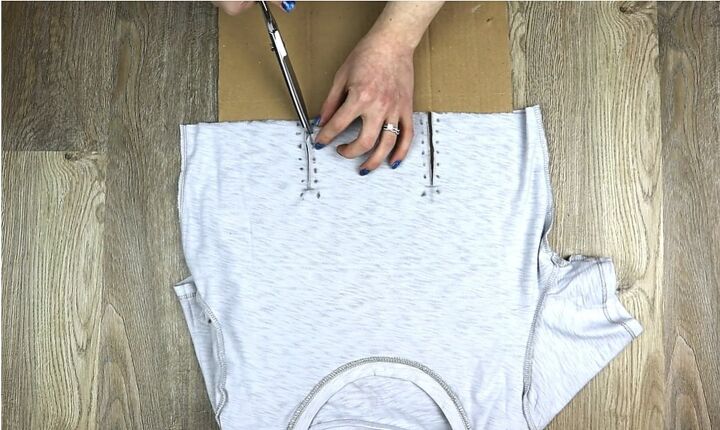
5. Cut the lines and dots
Put your cardboard inside your shirt and cut along your lace lines. Cut small holes where all the little dots are.
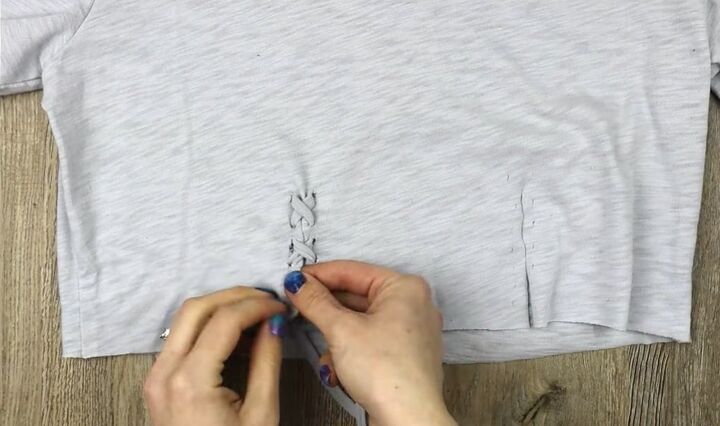
6. Lace the shirt
Now turn your shirt right side out and grab your laces. Starting on one of the slits, put your lace inside the shirt and pull each side out of one of the top holes.
Make sure the lace is the same length on either side, cross them, and pull them back in through the holes below.
Cross them inside and pull them back out the next holes, just like lacing up a pair of shoes. When you get to the bottom, tie your laces together in a bow. Then repeat on the other side.

The lace and bows are so cute and feminine and the cropped fit gives a bit of edge to the look as well.

DIY t-shirt cutting ideas
There we have our three DIY t-shirt cutting ideas. Let me know which one you like best in the comments below!
If you enjoyed this check out more of my t-shirt-cutting tutorials on 6 Unique DIY Cut-Out T-Shirt Designs and How to Cut T-shirts Into Tank Tops & Halter Tops.
The author may collect a small share of sales from the links on this page.


Comments
Join the conversation
On option 2: I don't really care for off the shoulder so I think I would cut slits in the front of the shirt like under the collar rather than through the front and back. It would be nice and airy while still maintaining the integrity of the t-shirt shape. Thanks for the inspiration.