6 Unique DIY Cut-Out T-Shirt Designs That Are Quick & Easy to Do

Spruce up your boring t-shirts with these 6 easy cut-out t-shirt designs! I’ll be showing you exciting and simple ways to cut a t-shirt; all you need are a bunch of t-shirts and a pair of sharp scissors. I can’t wait to show you these t-shirt cut-out designs so let’s get started.
Tools and materials:
- Cardboard
- T-shirts
- Ruler
- Marker
- Sharp scissors
- Cup
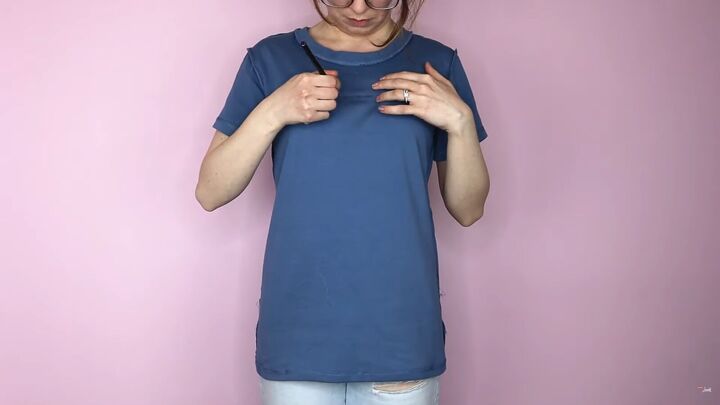
1. Square neck cut-out t-shirt
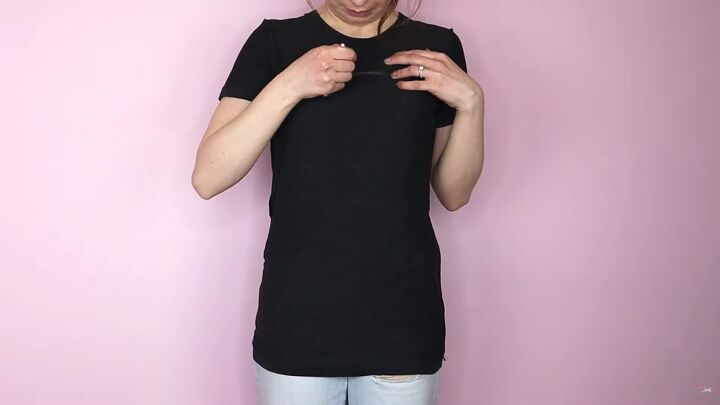
Put your shirt inside out and mark an inch or two higher than you want the neckline to be.
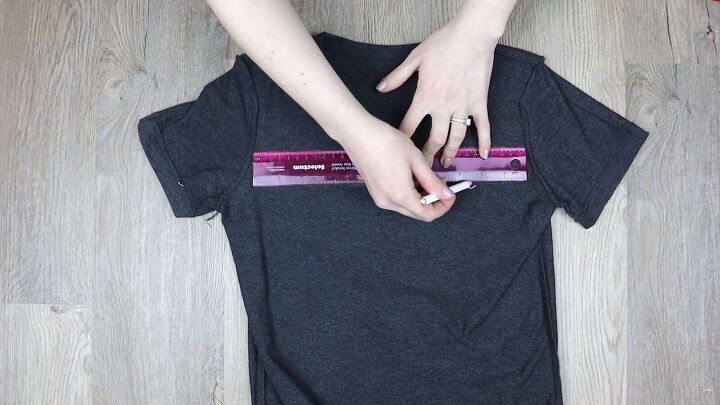
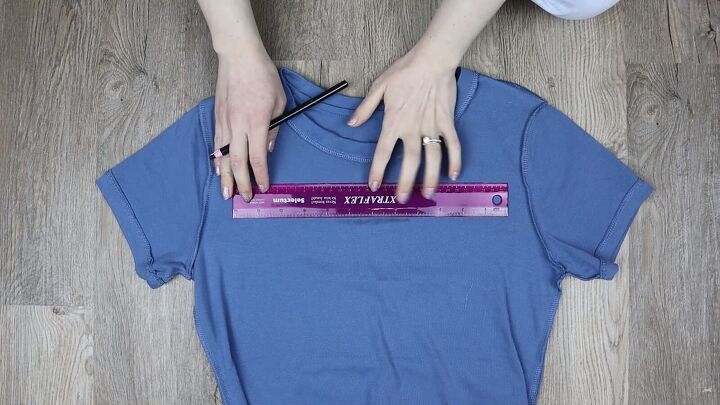
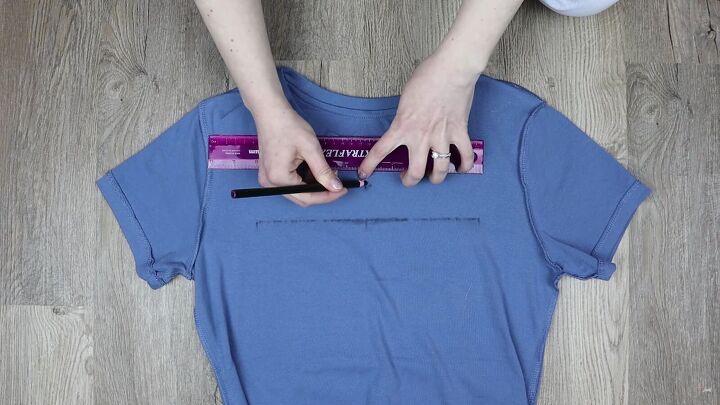
Lay your shirt down flat and use your ruler to draw a line across at your mark, stopping about ½ inch away from the sleeves.
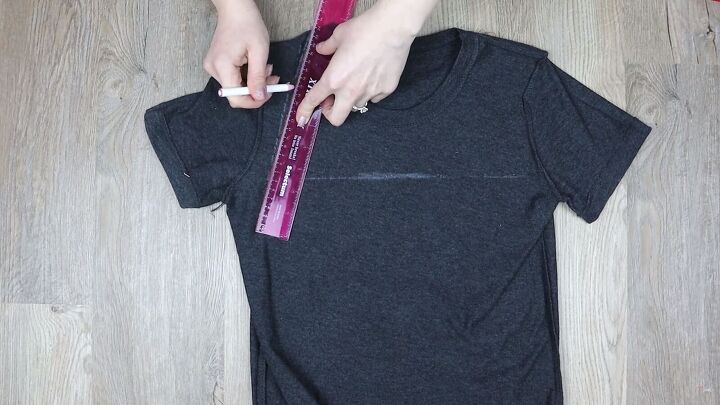
Then, connect the edges of this line to the edges of the collar. Trace around the collar.
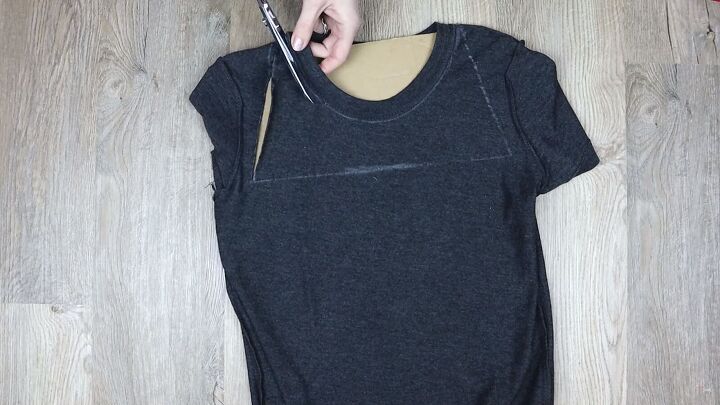
Put the cardboard inside your shirt and cut along these lines.

There you have it, a stylish cut-out t-shirt made in under 5 minutes!
2. Slash triangle crop top
Put your shirt inside out and mark where you want to crop the t-shirt.
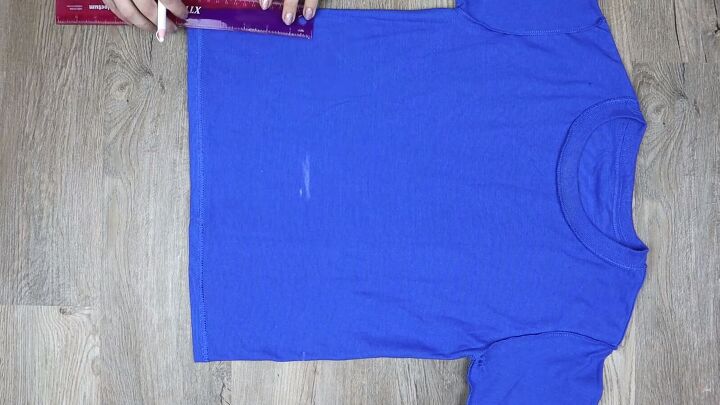
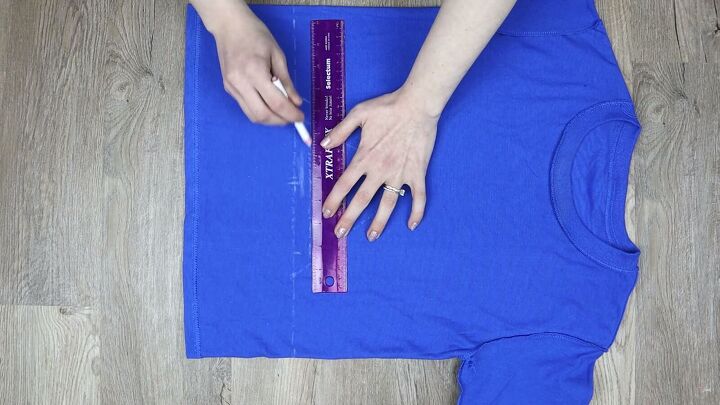
Lay your shirt down flat and use your ruler to make a straight line across the t-shirt.
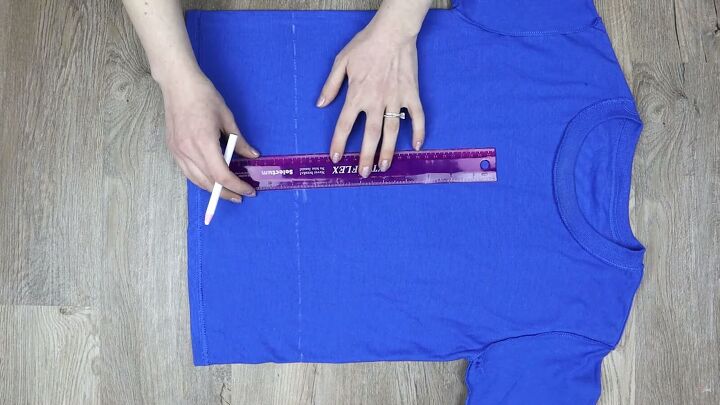
Find the center of that line and make a mark above that (where you want the top of the triangle to be).

Mine was 14cm (5.51”) above. Then, I marked every 2cm (0.78”), as shown.
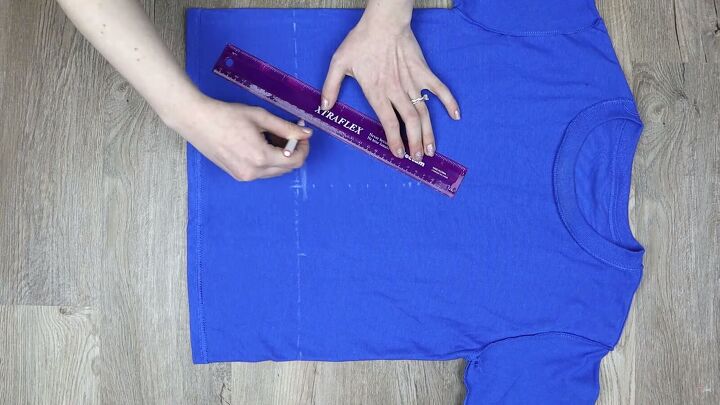
Mark 8 inches in the center of the first line, and connect these marks to the top of the triangle.
Start drawing lines across the triangle at every 2cm (0.78”) mark.
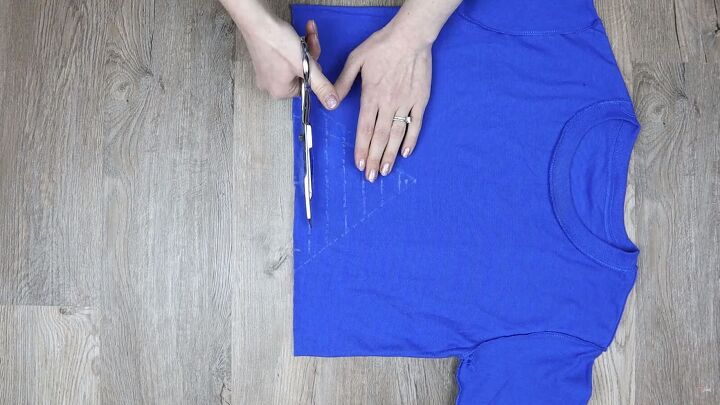
Cut along the crop line and all the lines across your triangle. Ensure you’re cutting through both layers of fabric.
Now, stretch your fabric strips.
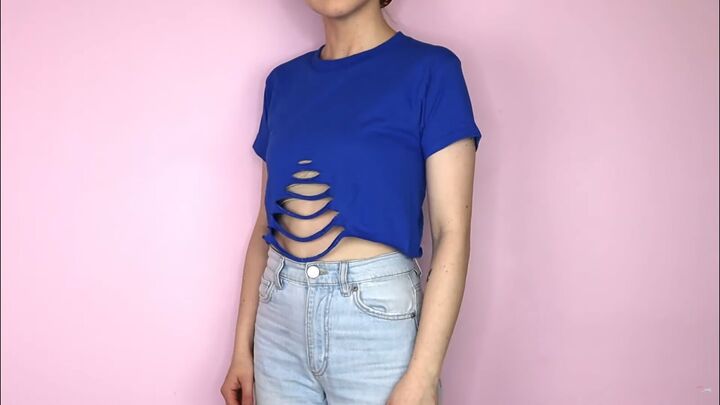
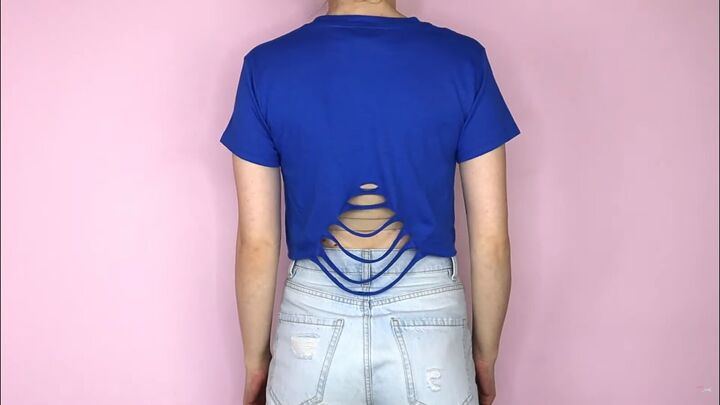
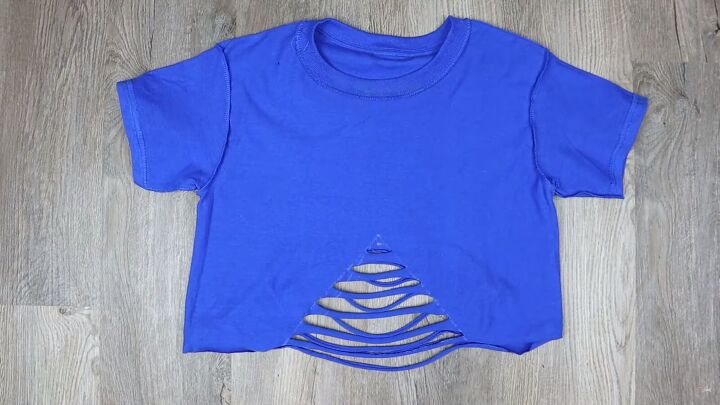
All done! You have a unique t-shirt cut-out design on the front and back.
3. Peek-a-boo cut-out t-shirt
Put your shirt inside out and mark about ½ inch to an inch higher than what you want the neckline to be.
Lay your shirt down flat and use your ruler to draw a line across the shirt at the mark you just drew. Stop a couple of inches away from the sleeves.
Find the center of this line and mark 1½ inches above it.
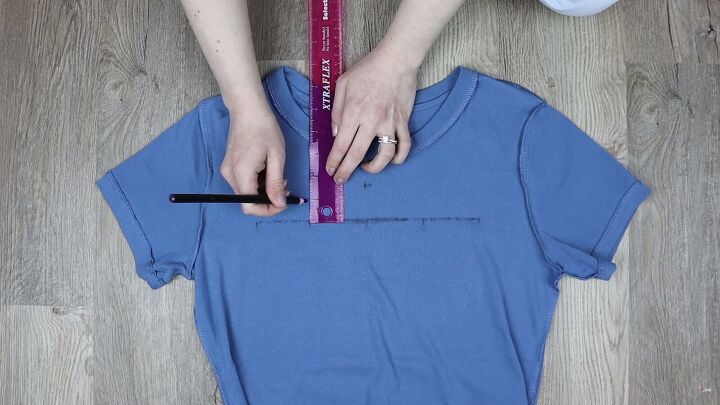
Then, halfway between the center and the end of the line, mark an inch above on both sides.
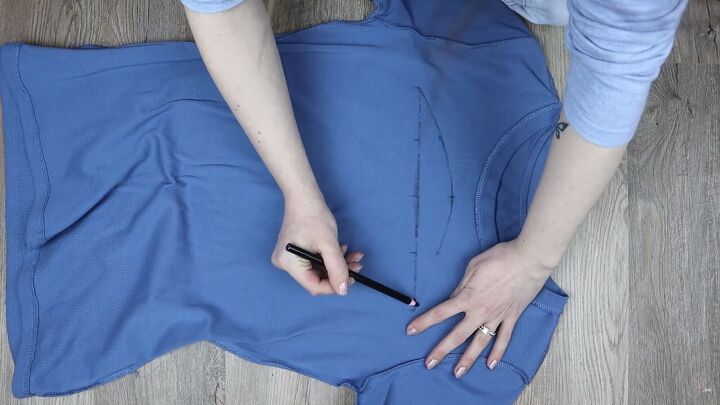
Use these marks to draw a curved line from one side of your base line up to the 1½-inch mark.

Put your cardboard inside your shirt and carefully cut along the shape.
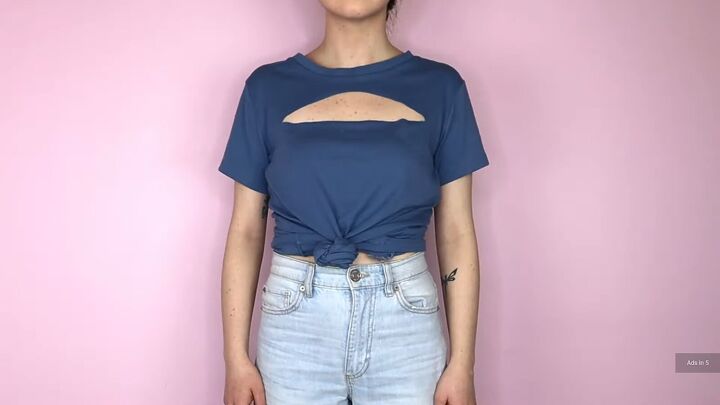
What do you think of this t-shirt cut-out idea? It’s so simple to create!
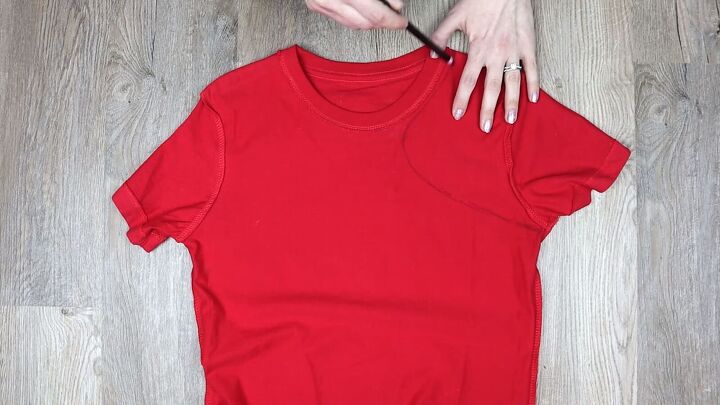
4. Open shoulder cut-out t-shirt design
Turn your shirt inside out and lay it out flat. Then, draw the shape of a razorback tank on one side of the shirt.
Connect the bottom of the sleeve with a curved line to a third of the way down the collar on the same side. Stay under the collar when doing this.
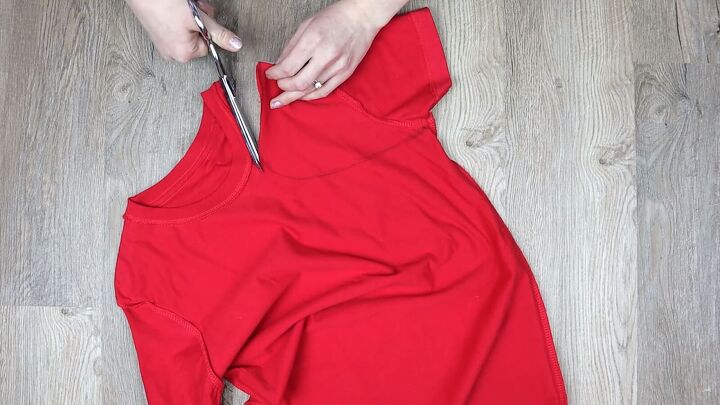
Cut along this line through both layers of fabric.
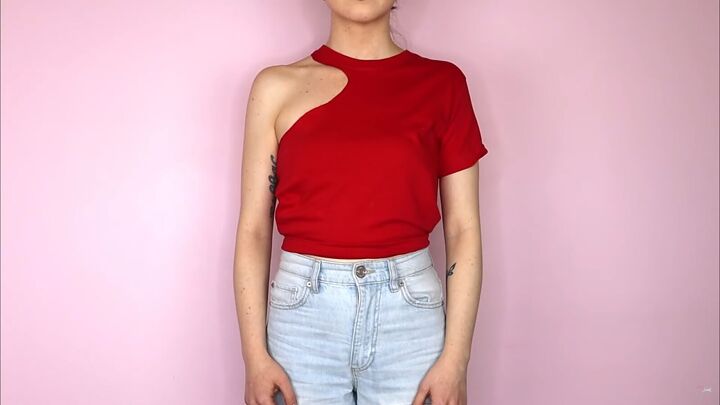
I love this t-shirt cut-out DIY! The asymmetric design is really unusual.
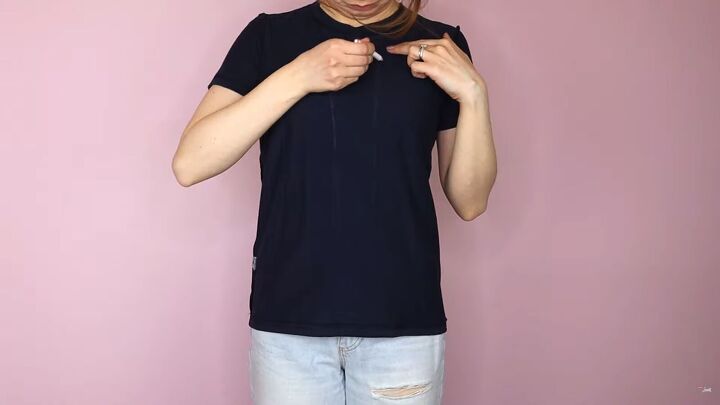
5. Circle cut-out t-shirt
Put your shirt inside out and mark (generally) where you want the circles to go.
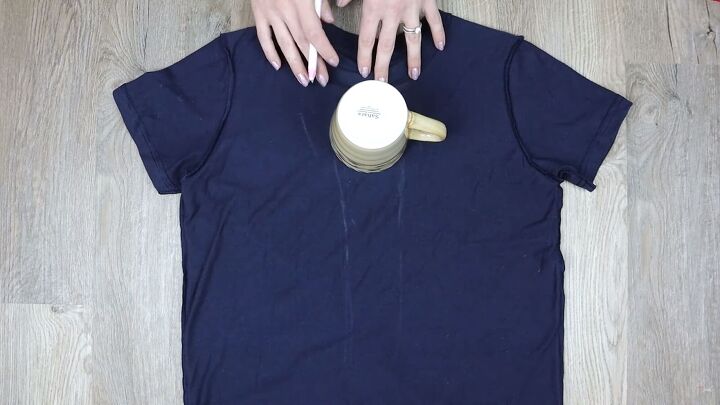
Lay your shirt down flat and grab your cup. Using the larger side of the cup, Trace the circle in the center of your shirt, just below the collar.
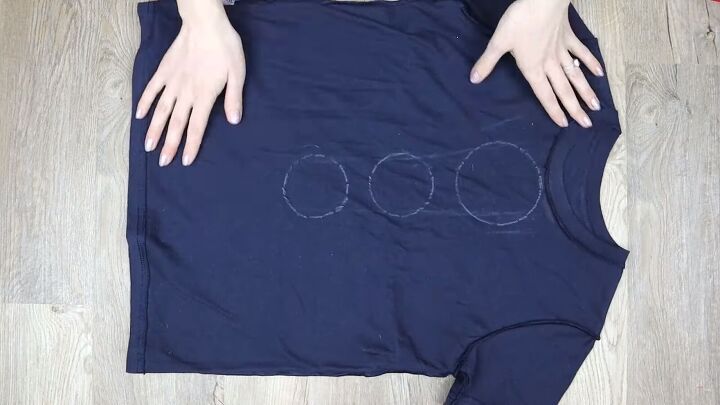
Use the smaller side of the cup to draw two more circles down the center of the shirt, about an inch apart.

Put your cardboard inside your shirt and carefully cut out your circles.
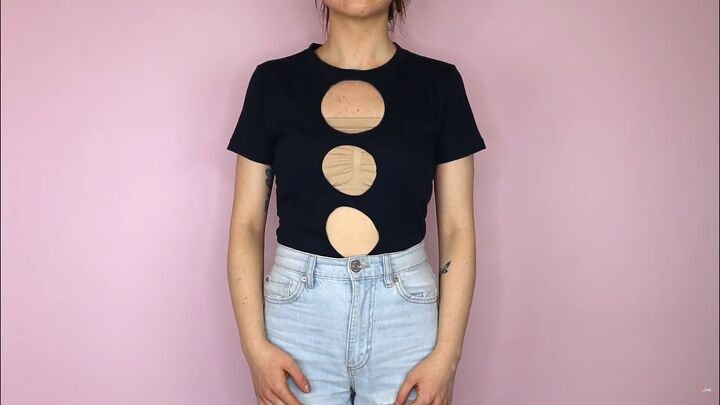
This is a very risqué design! You could brave it as is or wear a top underneath, as I've done. This design would also look great on the back of the t-shirt.
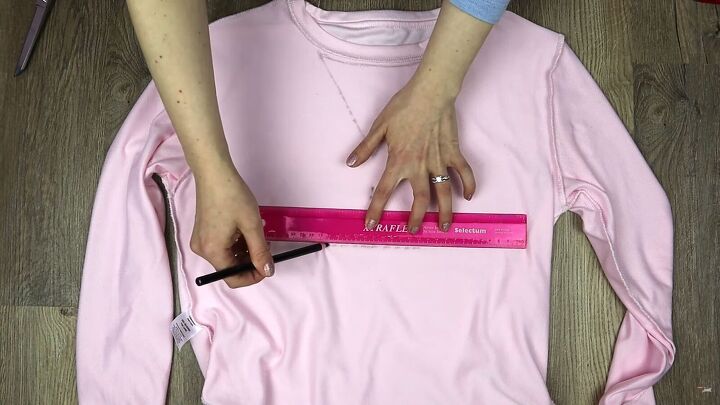
6. Triangle sleeve cut-out t-shirt
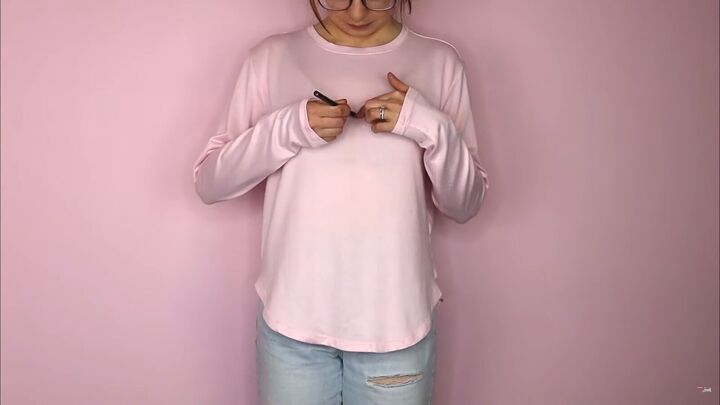
Put your shirt on inside out and mark where you want the bottom of the top triangle to be.

Also, mark the top of the bottom triangle. Both should be in the center.

Lay your shirt down flat and trace along the bottom of the collar as wide as you want your triangles to be.
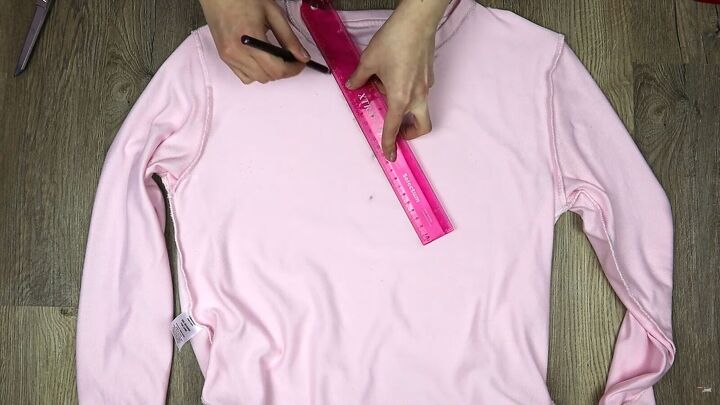
Use your ruler to make a triangle using this line and the first center mark.
Below that, use your bottom mark to draw another triangle. It should be about the same width.
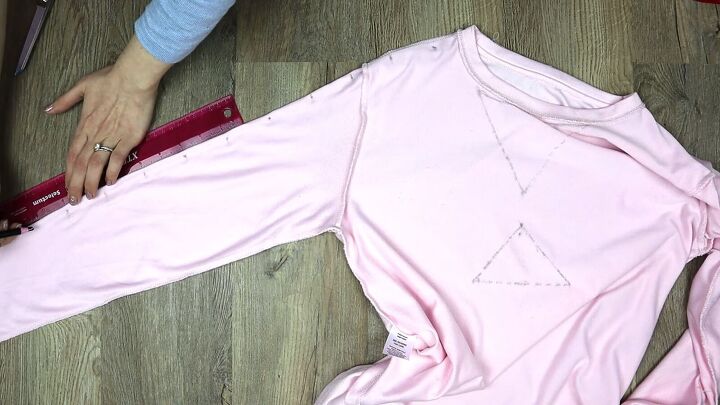
Lay your sleeves out perfectly flat. Make marks along the top edge and down the sleeve, starting ½ inch from the collar. Make your marks 2-inches apart.
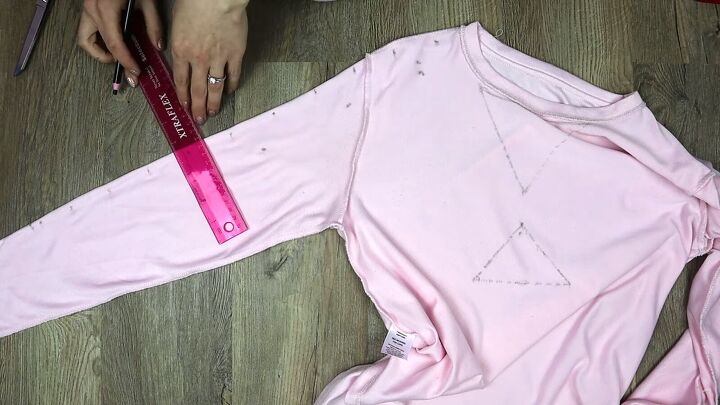
Use these marks to draft out triangles; 2 inches apart, 2 inches wide, and 1½ inches deep. Also, repeat on the other sleeve.

Put your cardboard inside your shirt and cut out the big triangles.
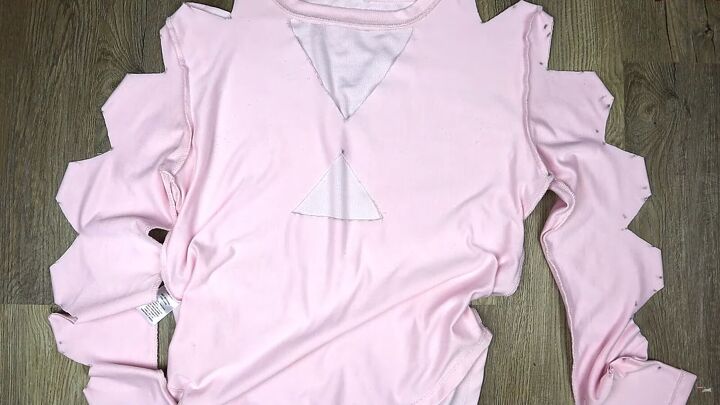
Remove the cardboard and cut out the sleeves’ triangles through both layers.
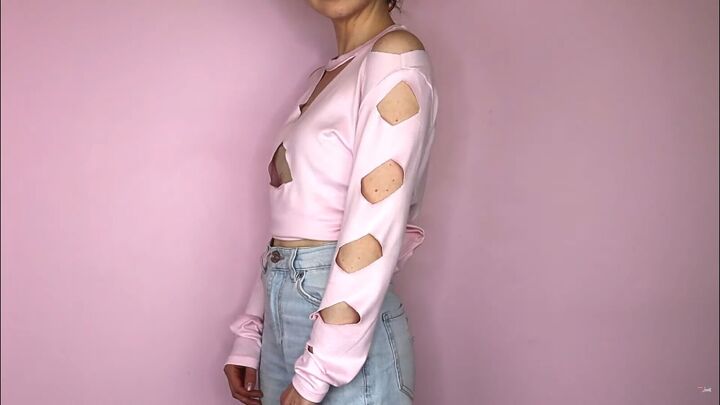
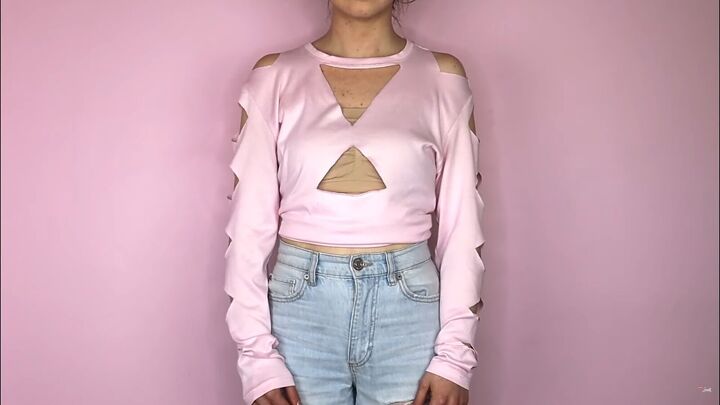
This is such a fun way to cut a t-shirt!
Cut out t-shirt tutorial
What do you think of these 6 DIY t-shirt cut-out designs? They are so straightforward to make! Let me know in the comments what cut-out t-shirt you like the most!
The author may collect a small share of sales from the links on this page.


Comments
Join the conversation
These are so cute!!