DIY T-shirt Cutting Ideas: 4 Easy No-sew Projects

I’ve been seeing the choker shirt trend everywhere recently and I wanted to try it out myself.
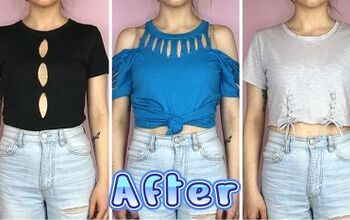
Here are four simple step by step DIY t-shirt cutting ideas that are no-sew and don’t require any glue.
All the t-shirt modifications start off in the same way, as they’re all based on the first design.
Tools and materials:
- High neck t-shirt/s
- Fabric chalk or marker
- Ruler
- Sharp pointed scissors
- Flat piece of cardboard
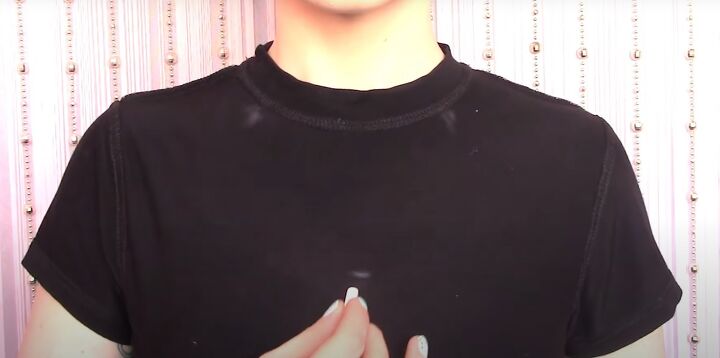
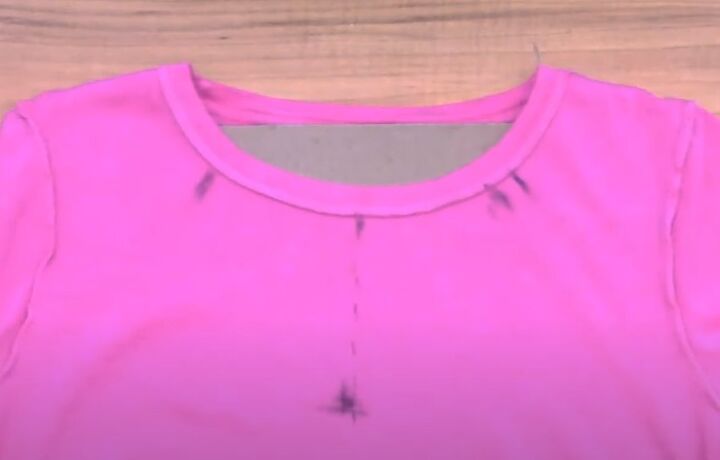
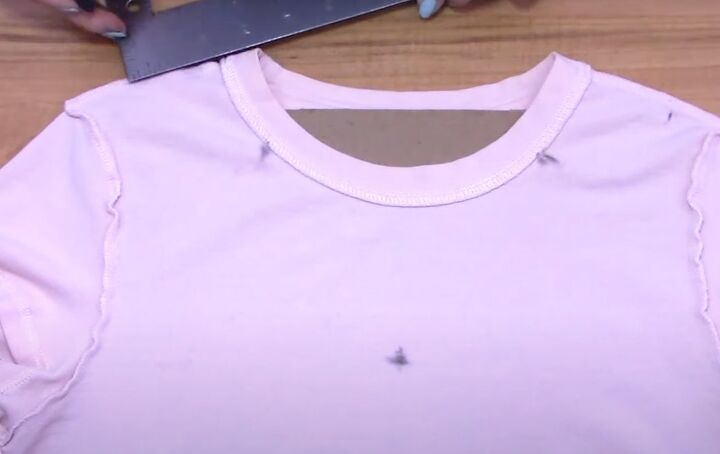
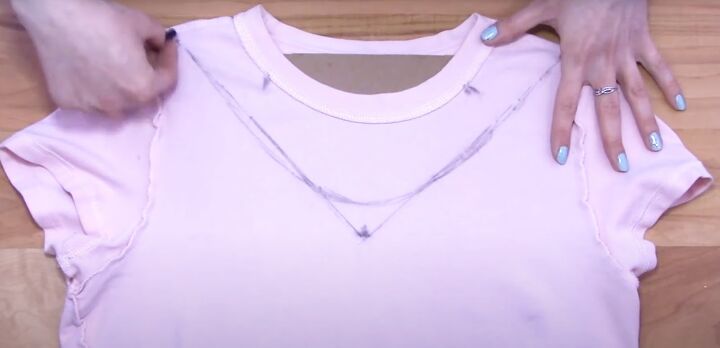
1. Mark the shirt (all designs)
Put your t-shirt on inside out.
Find your collarbone and mark where it touches the t-shirt collar on each side.
Mark the center of the shirt at the lowest point you’d like the neckline to go.
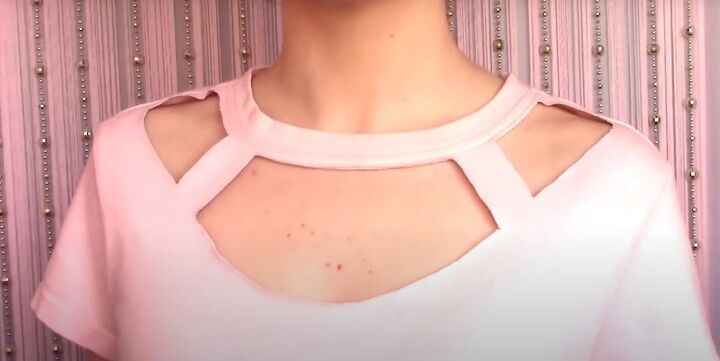
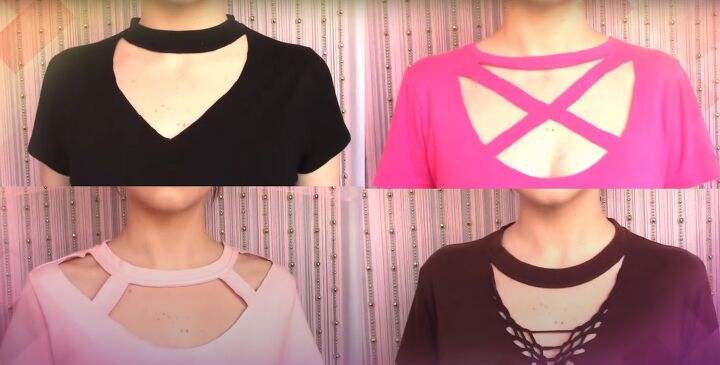
2. Original choker shirt
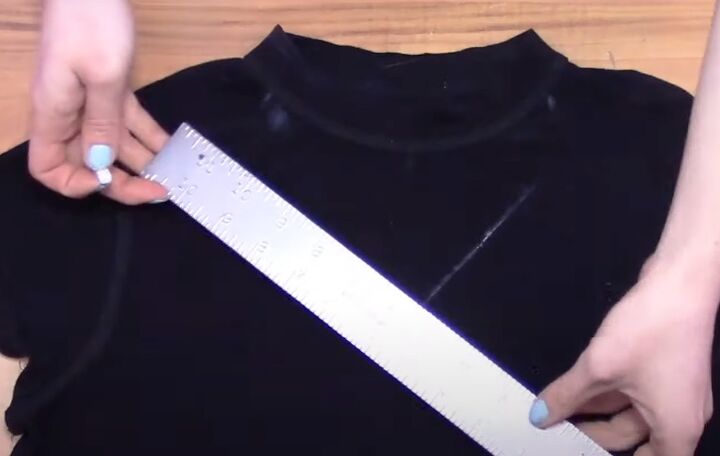
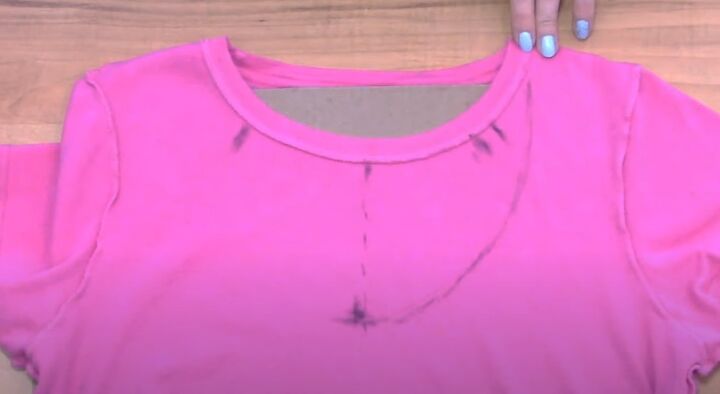
Lay the shirt out flat, still inside out.
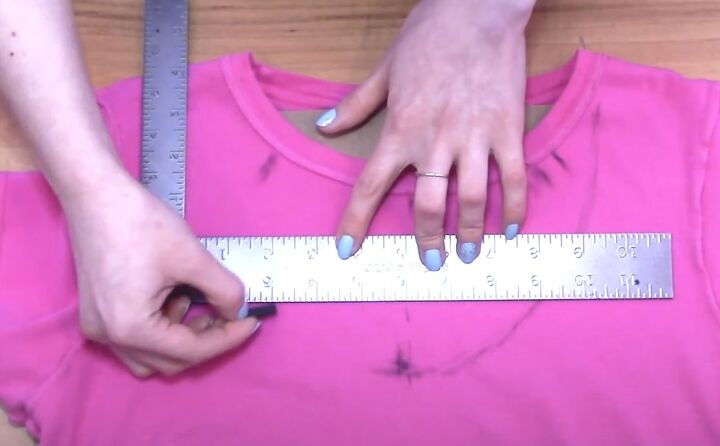
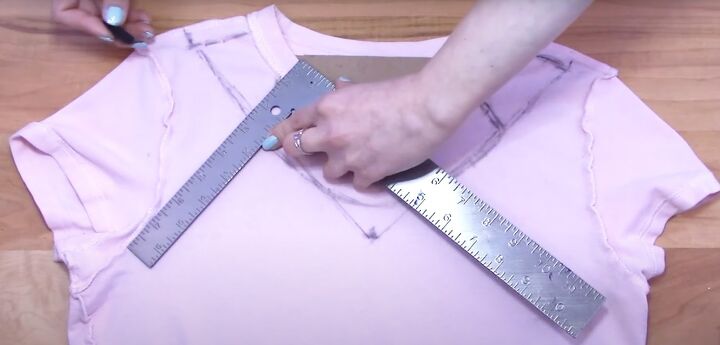
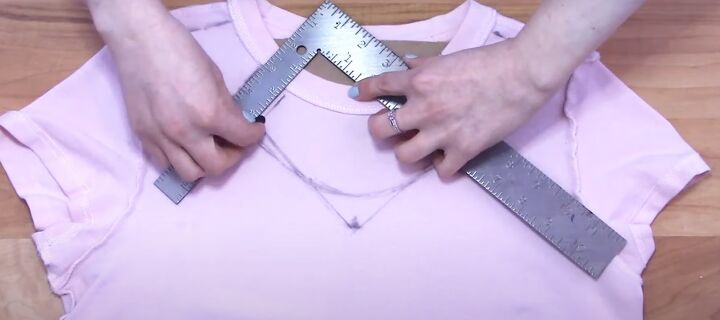
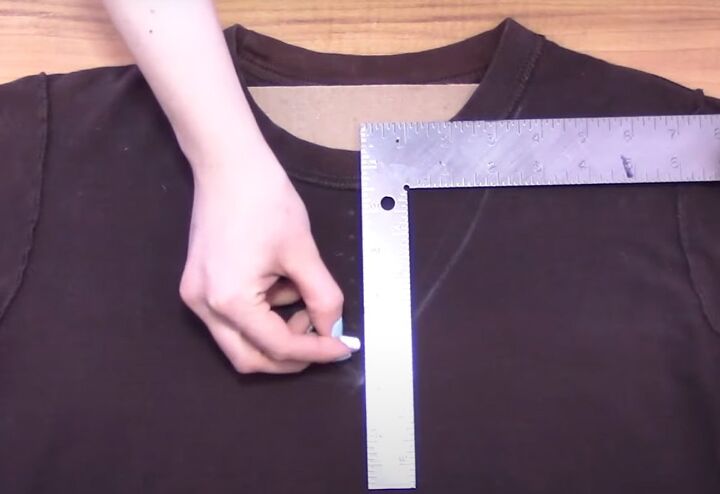
Measure your marks to make sure they’re even on both sides and that the center point is in the right place.
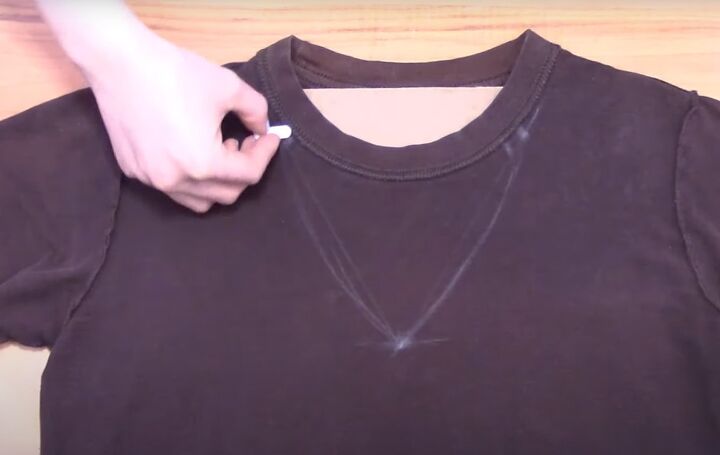
From the center mark, draw a triangle a little larger than you need.
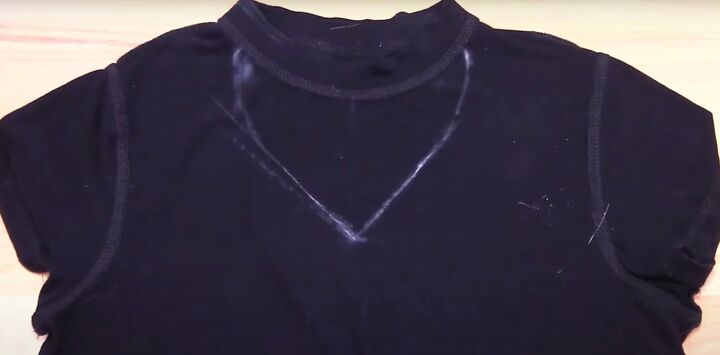
Curve the ends of the triangle to hit your collarbone marks.
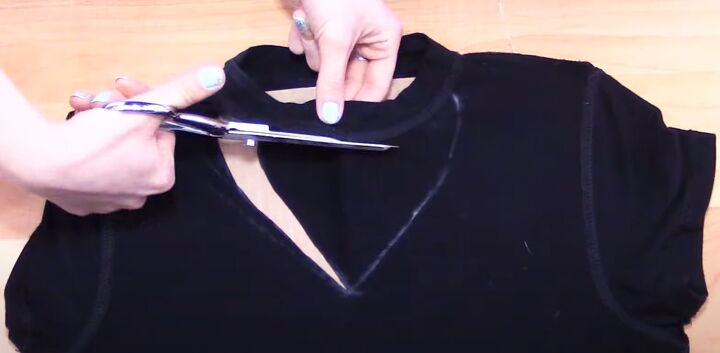
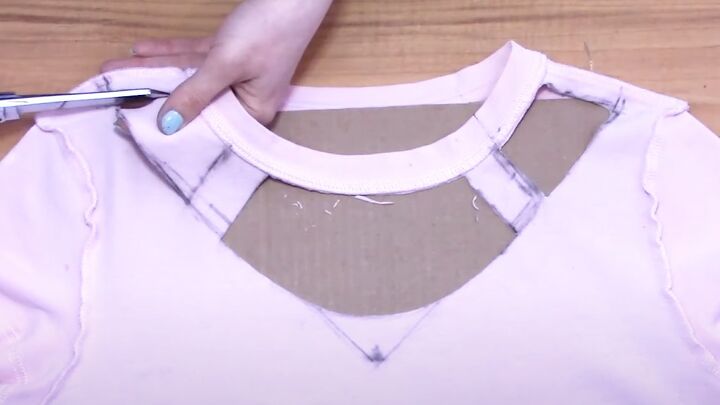
Place the piece of cardboard between the front and back of the shirt to protect the back from your scissors
Cut carefully along the lines you drew and around the lower edge of the collar.
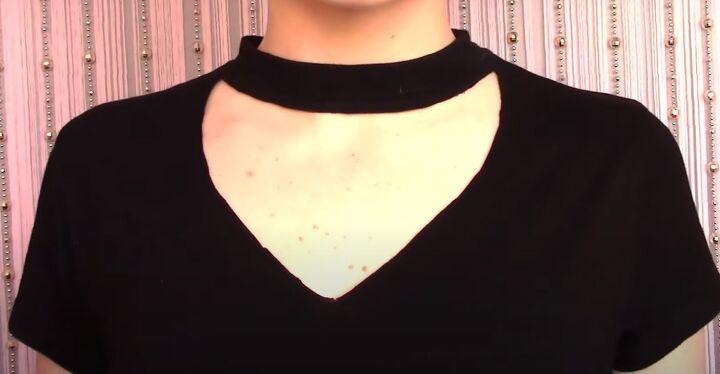
The finished shirt is on trend and so easy to do!
3. X choker shirt
Measure to make sure your marks are even, as before.
Find the center point just below the collar and draw a guideline down the middle of your shirt.
Starting about 1.5 inches above your collarbone mark on one side, draw a scoop neck down to the bottom of the guideline.
Using a ruler to make sure both sides are even, draw the other side to match.

Make a mark on both sides about two thirds of the way down.
Connect these with your collarbone marks on the opposite side to make an X.
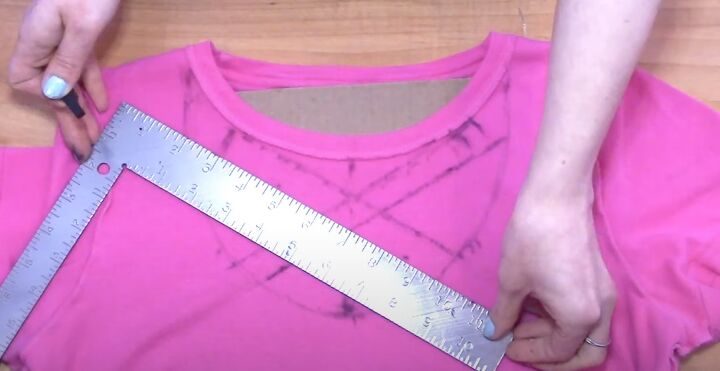
Measure 0.75 inches down from each arm of the X and connect the marks, drawing lines parallel with the original X.
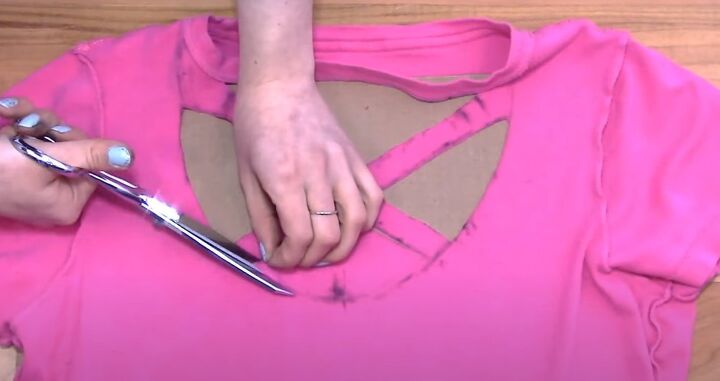
Cut out only the triangles, without cutting through any of the lines you drew.
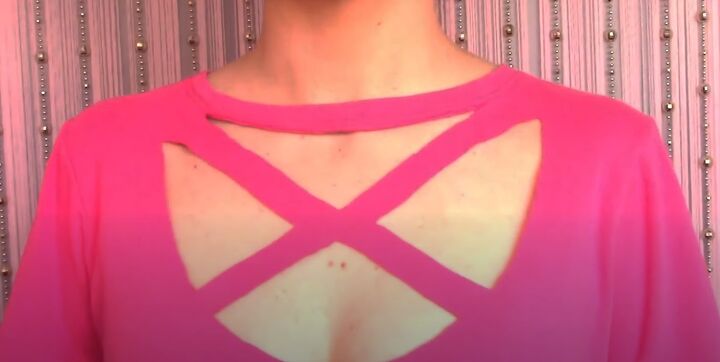
This stunning design looks a lot more complicated to make than it really is!
4. Extended choker shirt
Check your measurements first to make sure they’re even.
Make a mark on each shoulder, 2 inches away from the collar.
Connect these with your original center mark, to make a triangle.
Round the point of the triangle and slightly round the sides.
Draw a line parallel to the shoulder seam and about half an inch away on each side.
Starting at the collarbone mark, line your ruler up with the underarm of the shirt and draw a line between the triangle and the collar.
Do this on the other side as well.
Use the width of your ruler for the thickness of the strap and draw a line parallel with the first.
Carefully cut out the rectangle shapes between the two shoulder lines.
Those two straps make all the difference!
5. Woven choker shirt
Measure to check that your marks are even.
Draw a triangle using your three marks, as you did for the first shirt.
Slightly round the edges of the triangle.
Make marks a quarter inch apart down the center of the triangle.
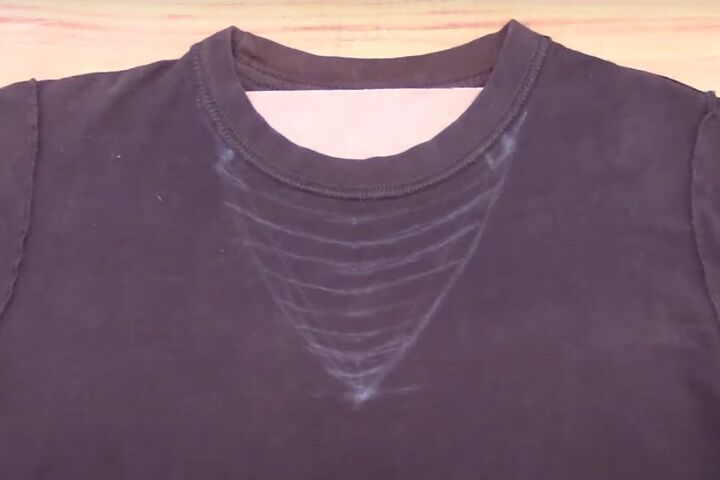
Use these marks to draw lines all the way down the triangle, parallel to the collar.
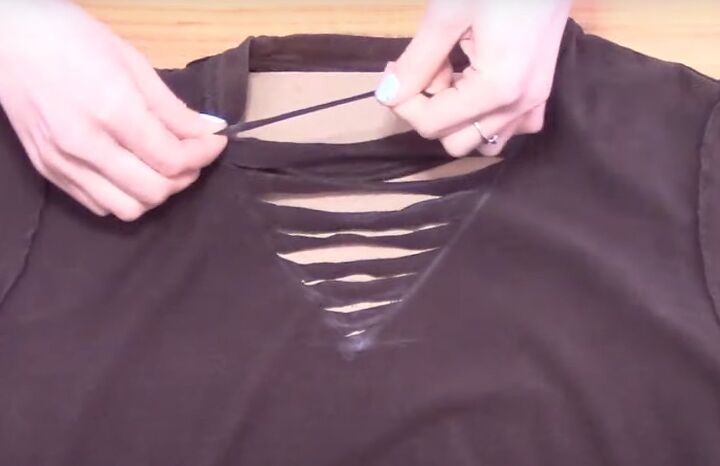
Starting just under the collar, cut out only the horizontal lines.
Cut a small hole at the tip of the triangle.
Pull gently on the strands of fabric to stretch them.
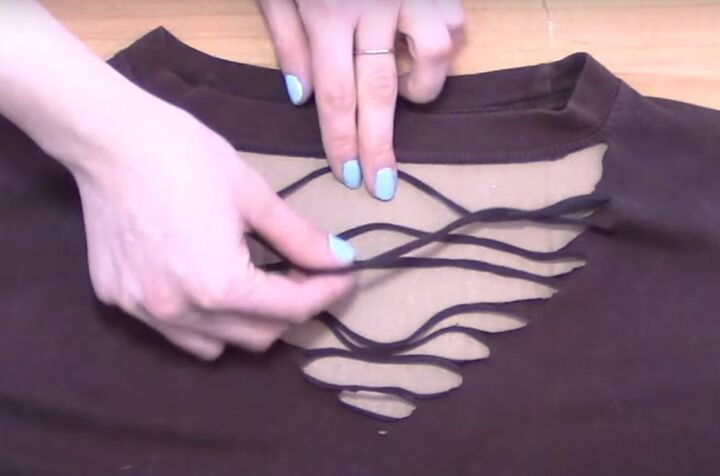
Pick up the top strand and pull it downward. Grab the second strand and pull it through.
Pull the second strand downward and pull the third strand through.
Continue ladder weaving until you get to the last strand. Pull it tight and leave a loop at the bottom.
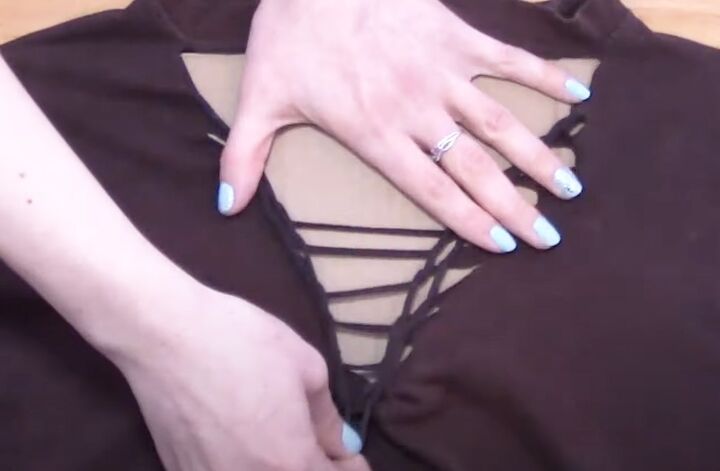
Repeat the weaving from the top. Use the loop from the first weave as the last strand of the second weave.
I decided to make a third weave on mine because I thought I had the extra fabric, but if you’re new to this you can stop after two weaves.
Grab the loop at the bottom and cut it in half. Thread one side of the loop through the hole at the point of the triangle and tie it to the other side, with the knot on the inside.
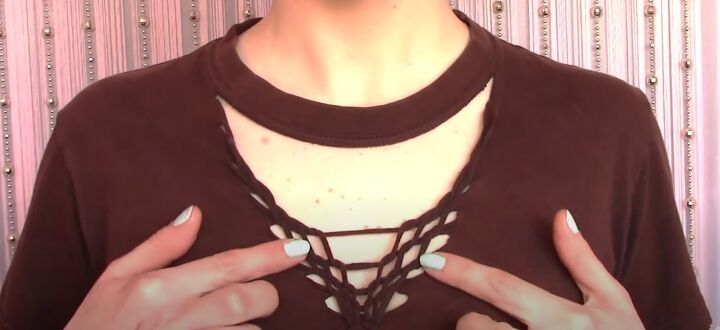
Put the shirt on and gently pull at the design to adjust it.
DIY t-shirt cutting ideas no-sew
The joy of t-shirt fabric is that it doesn’t fray at all, so you don’t have to worry about the raw edges. You can cut it into all kinds of designs and it’s very forgiving.
I got all my t-shirts from thrift stores, where they’re very easy to find.
I’d love to know - which is your favorite design?
Next, check out this Easy Tutorial for 2 Super Cute Beaded Fringe T-shirts.
The author may collect a small share of sales from the links on this page.


Comments
Join the conversation