Check Out These Cute DIY No-sew T-shirt Cutting Ideas

If you’re looking for some no-sew DIY t-shirt cutting ideas, I’ve got lots of them for you right here! Let's get into it.
Tools and materials:
- Oversized t-shirt
- Tailor’s chalk
- Ruler
- Fabric scissors

Make sure to find an oversized t-shirt that’s about twice your size and ideally has no side seams:

Style 1: Tie-front/back fitted T
1. Reverse your T and mark for the tube top
Grab your gigantic shirt (mine is a men’s XXL). Turn it inside out and then hold it with the bottom at your chest, like a tube top.
Then, with tailor’s chalk, mark where you’d like the bottom of the tube top (style 2) to be.

2. Mark for the t-shirt and its sleeves
Wear the shirt inside out. Then find where you want the bottom of the t-shirt to be, mark it, and then mark a few inches below that point.

Next, mark how short you want the sleeves to be.

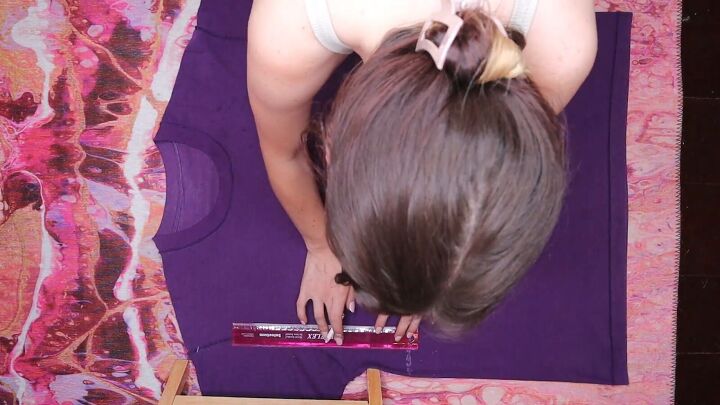
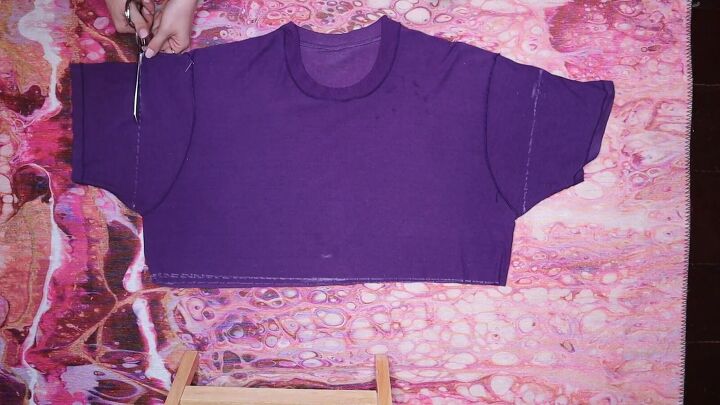
3. Draw and cut a line
Still inside out, lay your t-shirt flat and draw a line at your “couple inches lower” mark.
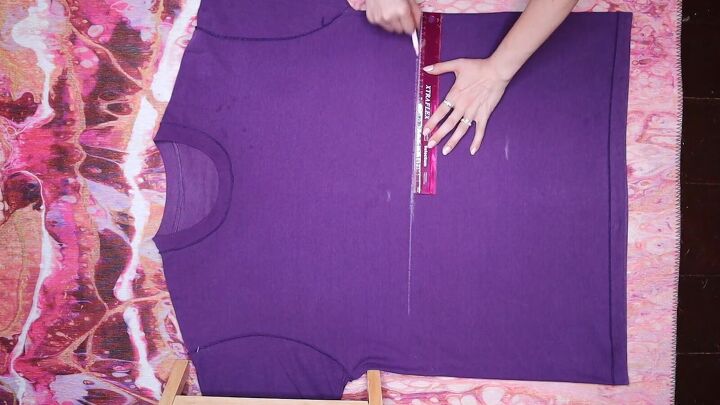
Then measure and adjust as necessary to make sure that line is straight.
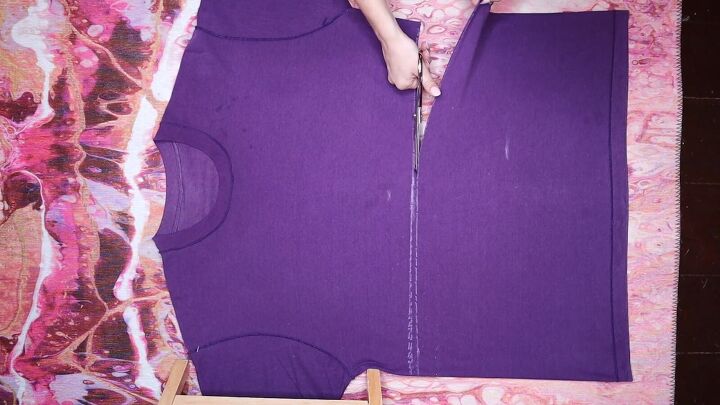
Then cut along the line. Save the bottom section for style 2!
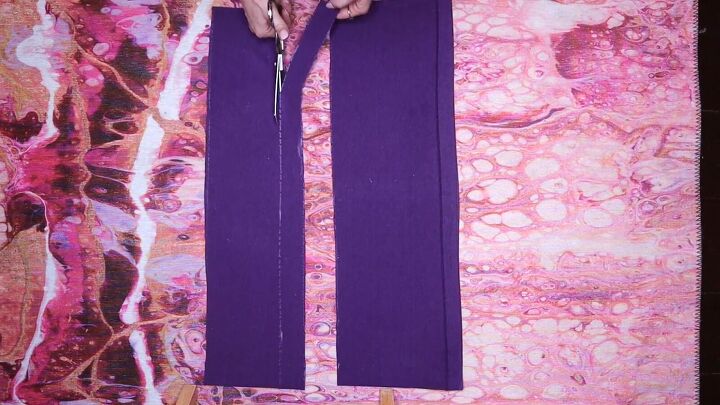
4. Cut your sleeves
Measure and draw a line from your sleeve marks to the bottoms of each sleeve.
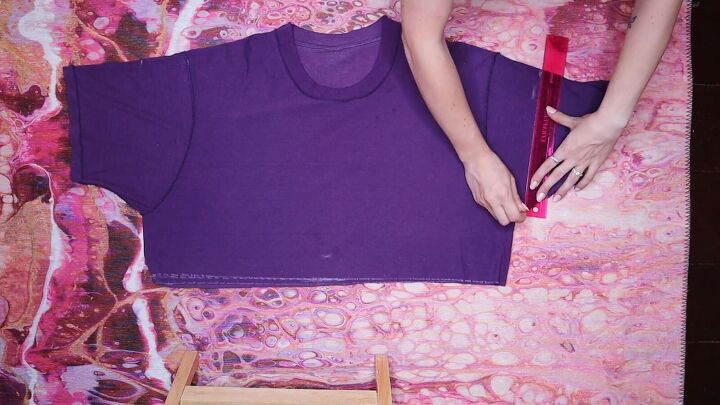
Trim along those lines.
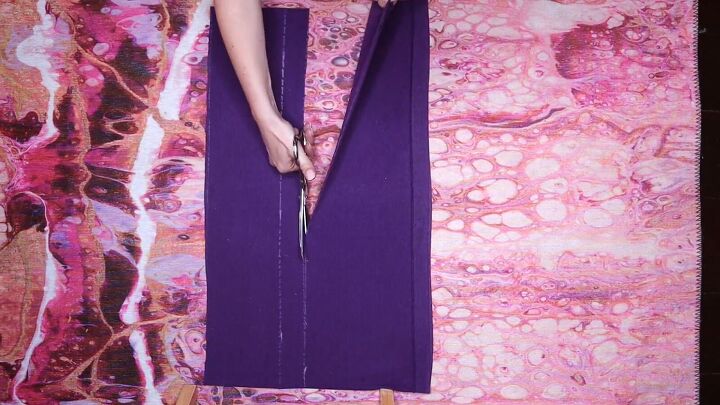
5. Cut from the bottom to each sleeve
Next, cut from the bottom of the shirt until the bottom of each sleeve.
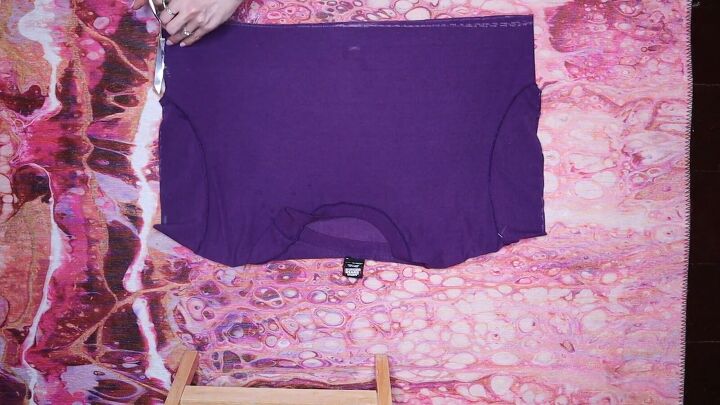
If your shirt is stretchy, this might be enough. If it’s not, you might need to cut open the base of the sleeves as well.

6. Tie the bottom corners
Reverse the shirt so that it’s right side out and wear it. Pull the back corners to the front and tie them.

Then grab the front corners and tie them in the back.

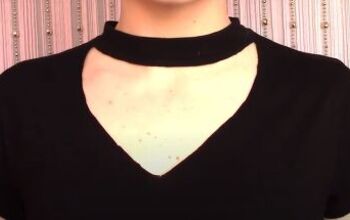
Here’s this version of the crop top:

Alternatively, tie the front corners first so that the knot is on top of the shirt:

Style 2: 10-way tube top
1. Draw 2 lines and cut
Grab the bottom section of the shirt that you saved.
Lay it down flat, still inside-out and draw a line across the shirt at your tube mark.
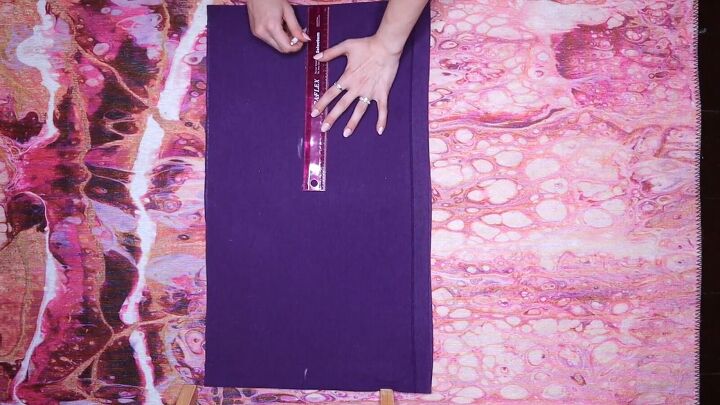
Then measure and draw another line 1.5” above it.
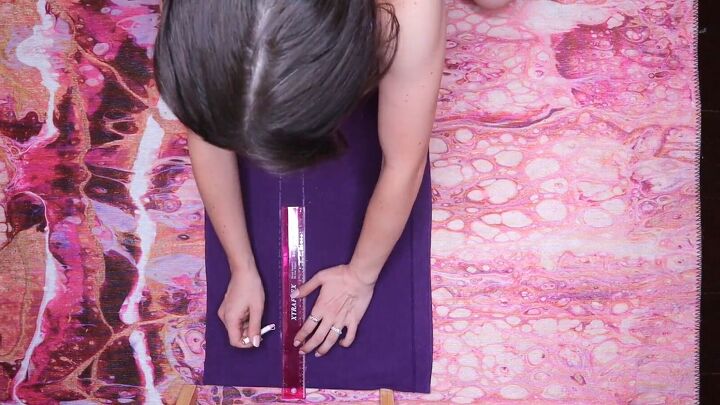
Then cut along these lines. The large tube of fabric will become the tube top.
Stretch the skinny tube and cut it open to create 1 long string.
Here are the different methods you can tie your no-sew tube top. To see these methods yourself, check out the video from 2:00.
Method 1:
Put the string through 1 side.

Wrap the tube around yourself and thread the string through the other side.

Tie the ends together with the bow on the top:

Method 2:
Put the top on in the same way but tie the bow at the bottom:

Method 3:
You could also bring the strings from the front to the back, tying them behind you.

Method 4:
Tie the straps at the bottom and bring the straps back below the shirt to create this look.

Method 5:
Or do the same as method 3 but don’t tie the strings in the front, simply crossing them and leaving them open before tying in the back.

Method 6:
Do the same thing but tie the strings at your neck, like a halter top.

Method 7:
Try the previous method without tying in the front first, instead giving the strap a twist, and you’ll end up with this look:

Method 8:
Turn your shirt around so it becomes a wider tube top in the front. You can just tie a bow in the back.

Method 9:
Or, you can bring the straps to the front, tying a halter at your neck.

Method 10:
Cross the straps at your stomach and tie them in the back.


DIY t-shirt cutting ideas no-sew
Now you have a ton of no-sew t-shirt cutting ideas that you can create with just 1 oversized T.
Let me know in the comments which look is your favorite.
Next, check out how to tie a skirt in 2 easy ways.
The author may collect a small share of sales from the links on this page.


Comments
Join the conversation