No-sew Ideas: How to DIY 6 Cute Crop Tops From T-shirts

Today, I have 6 t-shirt cutting ideas for you. These DIY crop top ideas are all no-sew and easy to create. I made them all as crop tops but you can design them any length you like.
Put each top on inside out and mark the points described. Lay the top down flat to continue. Let's get started!
Tools and materials:
- T-shirts
- Scissors
- Tailor’s chalk or fabric marker
- Ruler
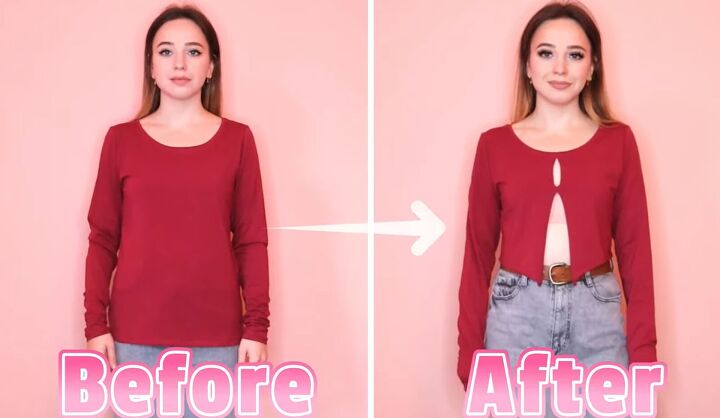
1. Cardigan red top
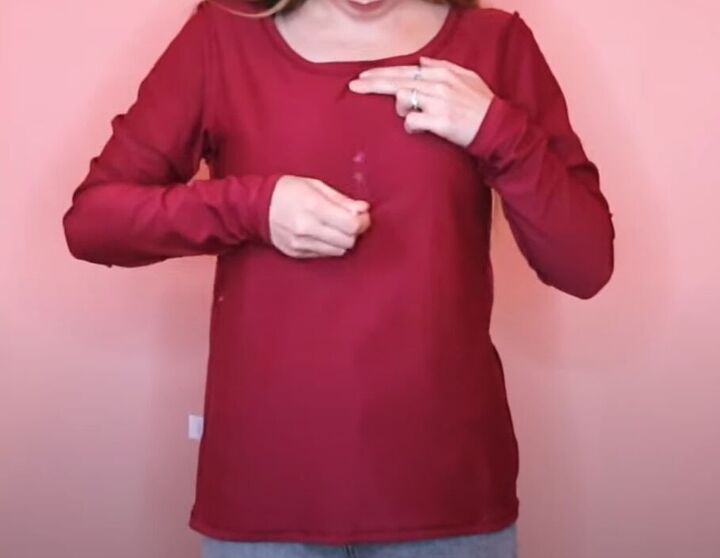
Mark the level of your waist. Mark where you want the two sides of the shirt to connect. The connecting piece needs to be 1/2 to 1 inch long.
Check the waist marks are even and the cutting line is in the center.
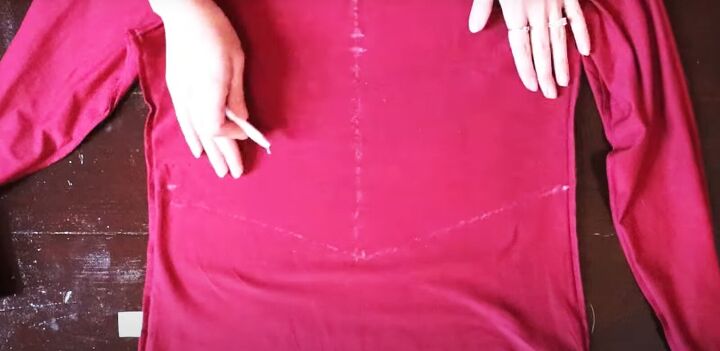
Draw a line from the neck down to the connecting piece, and from below that to the bottom of the shirt.
Make a mark in the center of the shirt a couple of inches below the waist mark and connect it to the waist mark on both sides.
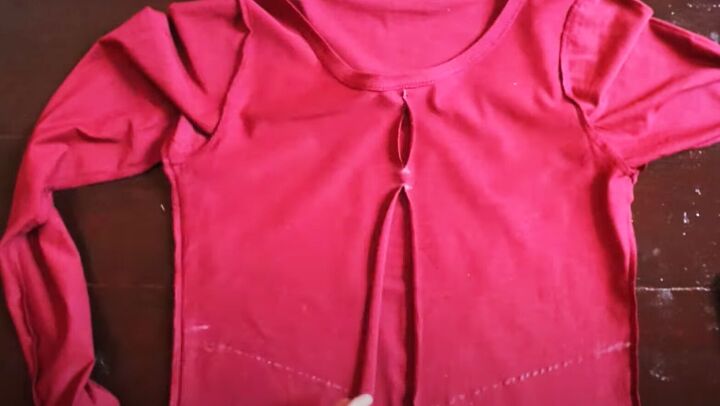
Cut up the center line to the connecting point through the top layer, then from above the connecting piece to just below the neckline.
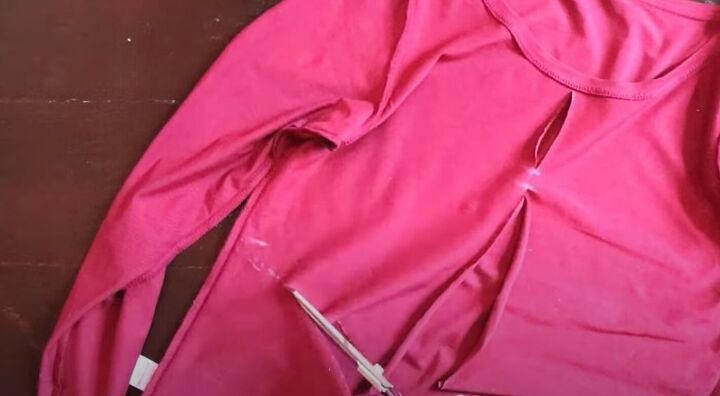
Cut along the line from the point in the center to the waist mark on each side.
Cut straight across the back at waist level.
Gently stretch the points downwards.
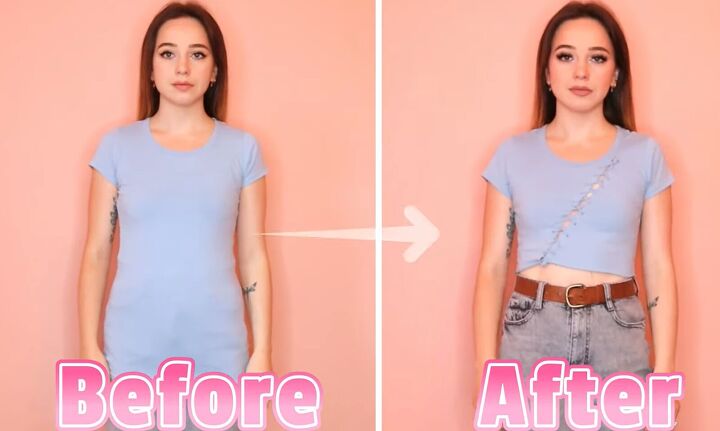
2. Blue DIY crop top from t-shirt, no-sew
Mark the length of the t-shirt and where you want the lace-up section.
Cut the t-shirt straight across at the length marks.
Cut a strip of fabric from the discarded part of the shirt, stretch it and pull it into two pieces.
Cut along the upper lace up line on the front.
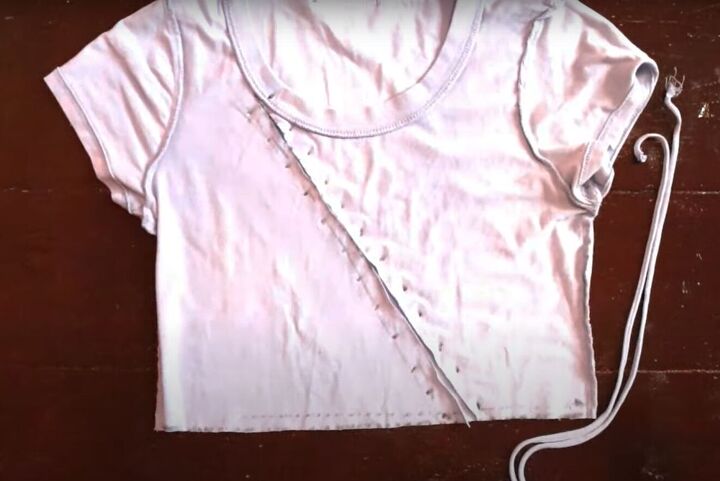
Measure out and mark an even number of dots about an inch apart down one side of the cut line.
Copy the dots on to the other side of the cut.
Snip holes in the dots through the top layer. Turn your shirt right side out and knot the two fabric strips together.
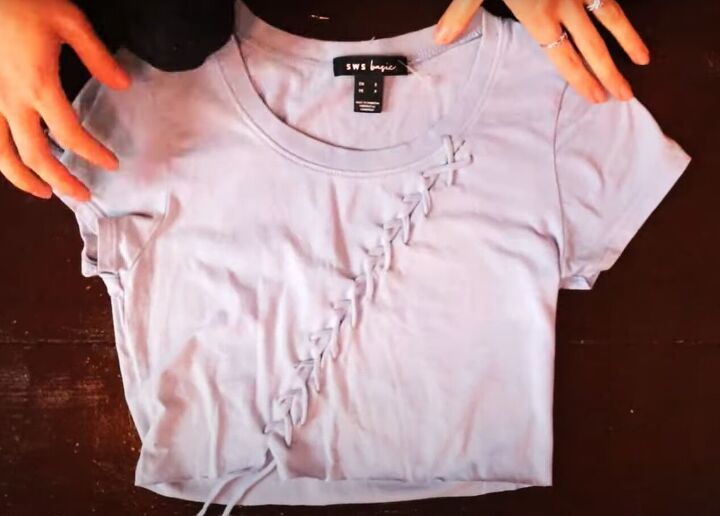
Starting from the inside of your shirt, thread an end through each top hole.
Lace the strips through the holes like shoelaces, tie the ends together at the bottom and trim the ends.
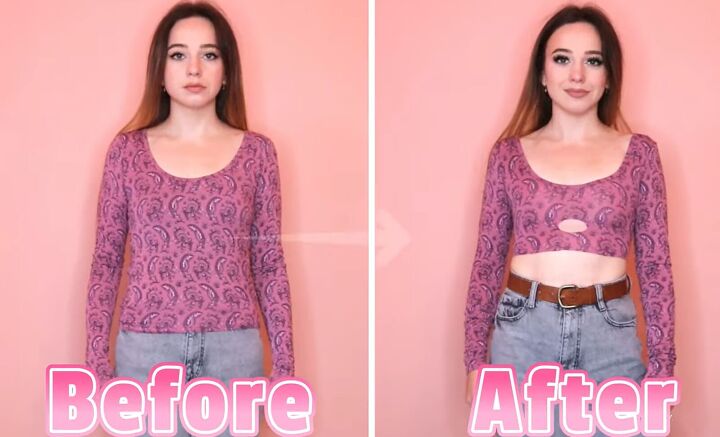
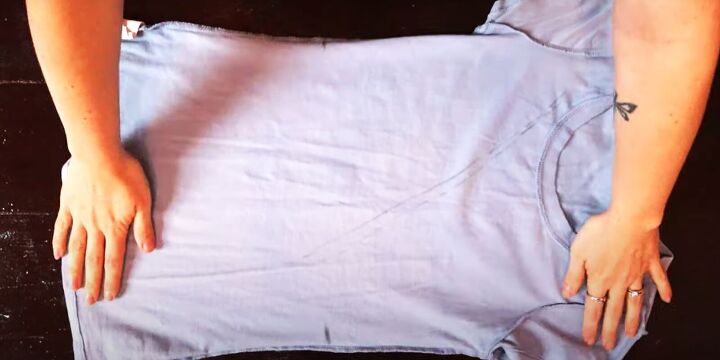
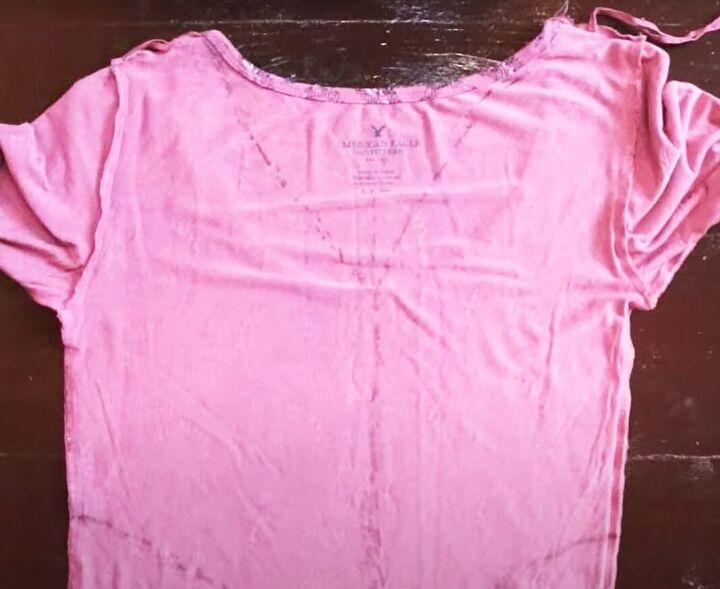
3. Purple top
Mark where you want to crop the shirt and the approximate position of the circle.
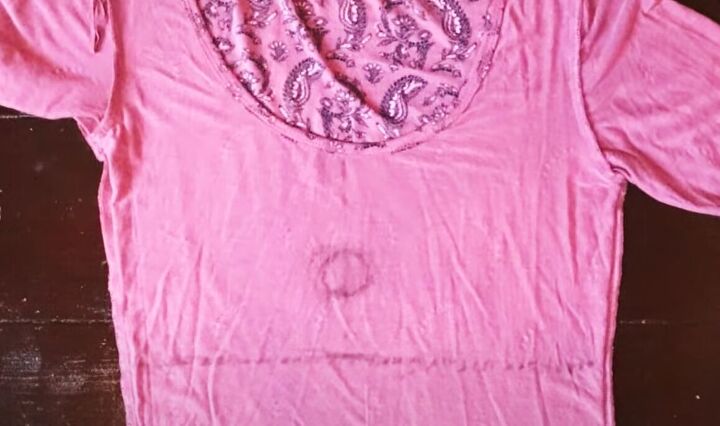
Measure and mark the center front and redraw the circle so it's central. Draw a line across the shirt at the crop mark.
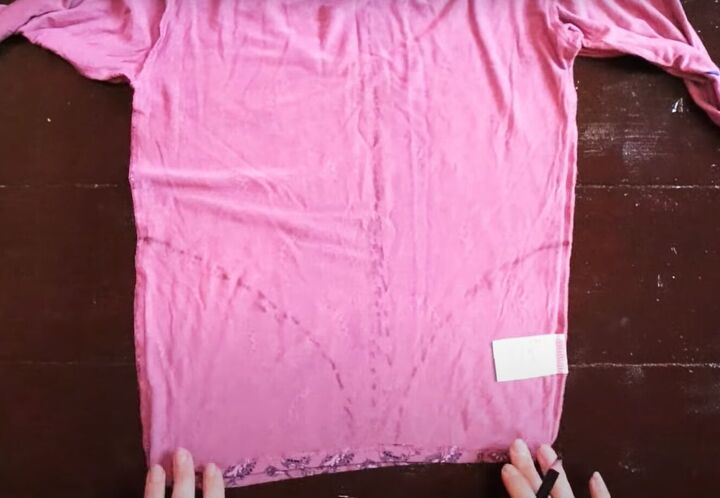
Turn the shirt over and mark the crop line on both sides of the back.
Draw a line down the center back. Mark an inward-curving line from each crop mark to one inch either side of the central line at the bottom of the shirt.
Connect the sides of the collar to the center line about a quarter way down the shirt, making a Y shape.
On the back of the shirt, cut up the center line from the bottom and along the Y and remove the triangle. Cut along the curved lines from the bottom of the shirt to the side seams.
Flip the shirt over and cut along the crop line through the front only, and cut out the circle.
Tie the ends tightly at the back.

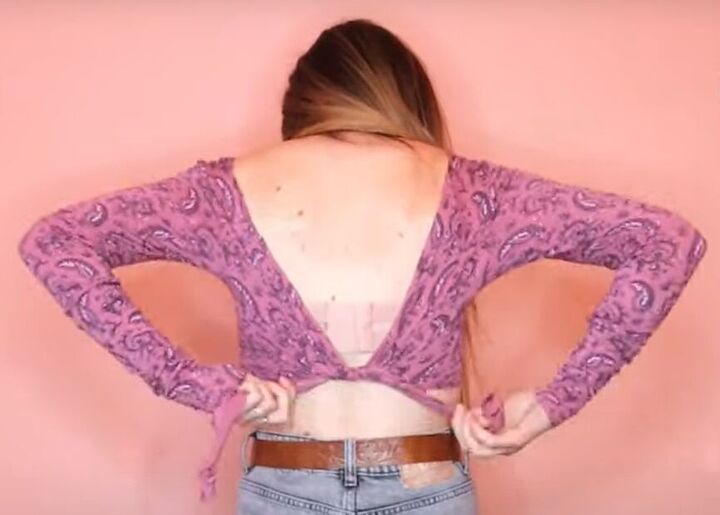
4. Orange wrap top
Mark the length and the center front below your bust.
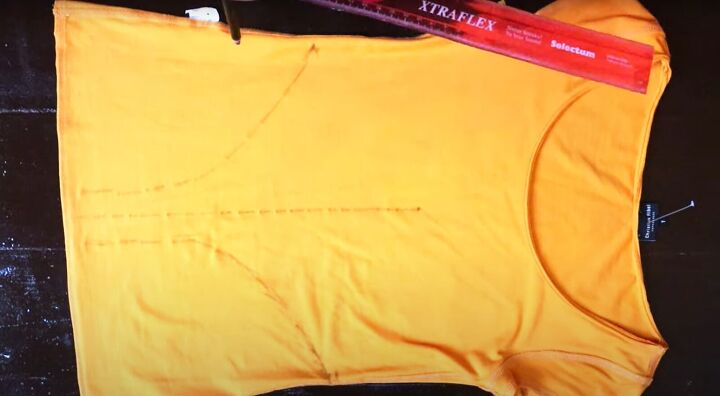
Draw a line from the center front mark to the bottom of the shirt.
Draw 2 curved lines from the crop marks on each side to the bottom of the shirt, one inch either side of the central line.
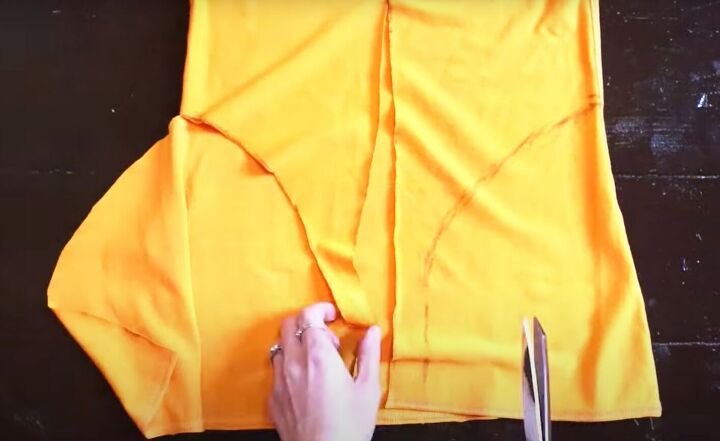
Cut up the central line through the top layer. Cut along the curved lines from the bottom of the shirt to the side seams.
Cut straight across the back between the crop marks.
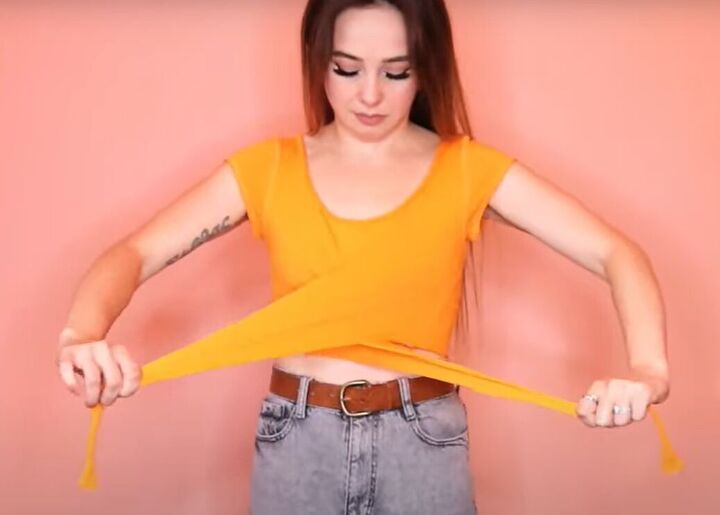
Cross the long ends across your front to tie at the back.

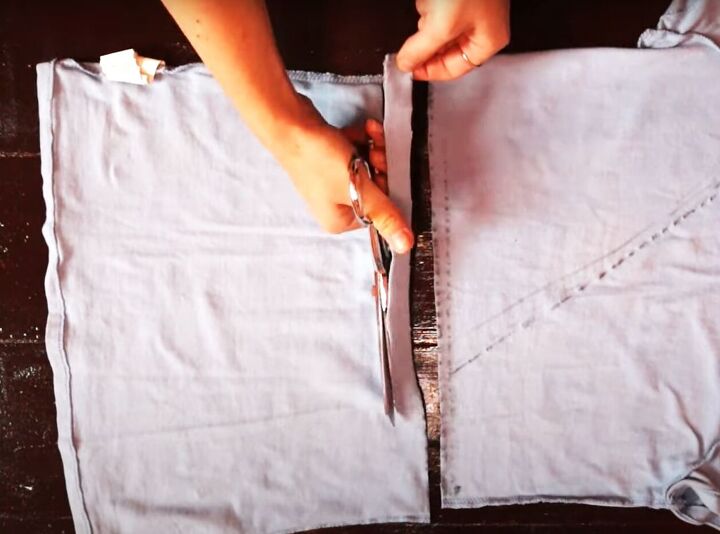
5. Wine top
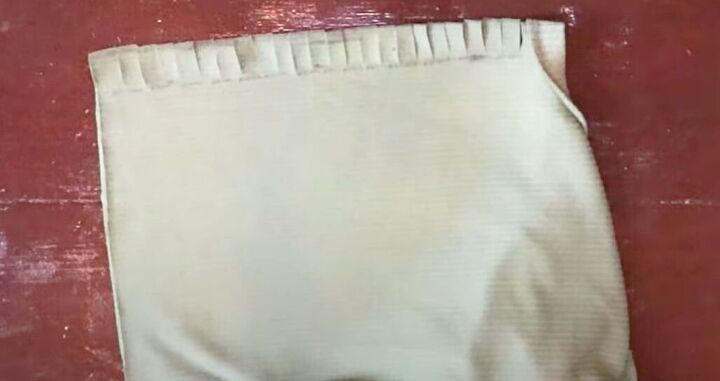
Mark the width of the 3 slits and the cropped length of the shirt.
Center the slit marks and mark the position of the slits approximately 2 inches apart.
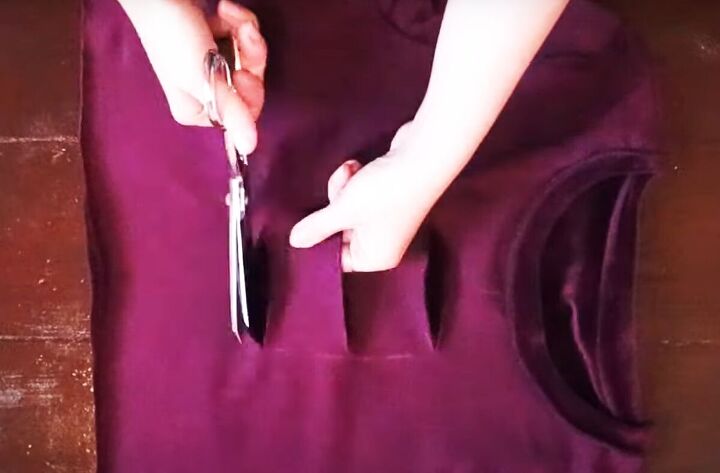
Cut straight across the shirt at the crop marks through both layers.
Cut along the slit marks on the front. Gently stretch the shirt sideways.
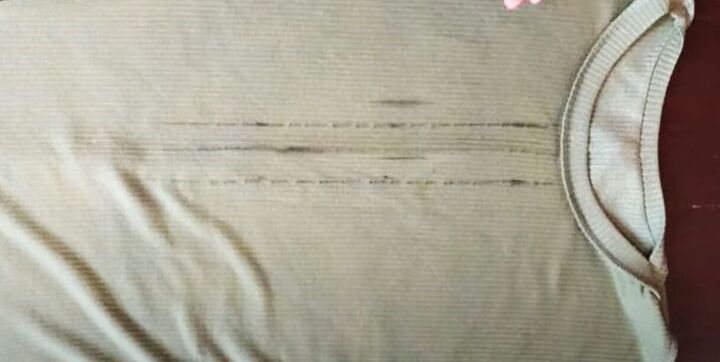
6. Green top
Mark the shirt length and the width of the slits.
Draw a line down the center front of your shirt and 2 lines parallel to it.
Cut across the shirt at the crop marks.

Refold the front of the shirt at the center line.
Cut small slits down the center front, about half an inch apart. Stretch the shirt sideways.

DIY crop tops from t-shirt, no-sew
I hope you enjoyed this post and it encourages you to give these t-shirt cutting ideas a try.
If you like these projects and would like to see more of them, please let me know in the comments below. I love to hear from you!
You might also enjoy my 3 Super Easy DIY T-shirt Cutting Ideas.
The author may collect a small share of sales from the links on this page.


Comments
Join the conversation