Easy T-shirt Weaving Pattern Tutorial

Hello, everyone! Today, I am going to show you how to weave a t-shirt.
I’ll give you some cutting ideas and some t-shirt weaving designs.
This t-shirt weaving pattern is really pretty simple, so grab your scissors and let's get started.
Tools and materials:
- Something to mark your clothing with (e.g., fabric marker)
- A plain t-shirt
- Cardboard (to place inside the t-shirt for stability during weaving)
- Sharp scissors
- Fabric chalk
- Ruler
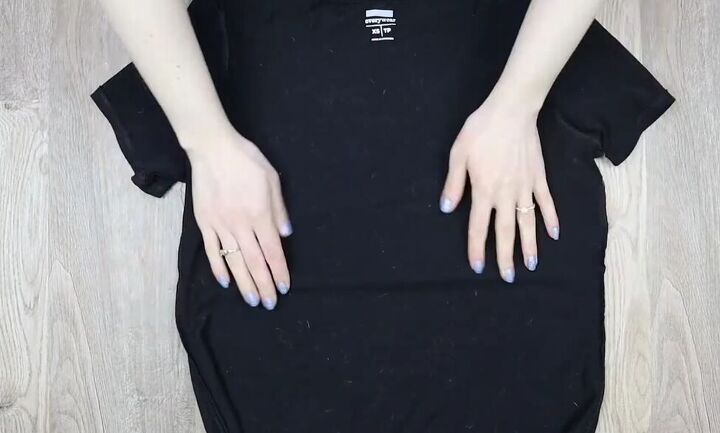
1. Prepare your t-shirt
Turn your t-shirt inside out, and lay it flat with the back side facing up.

2. Mark and cut your t-shirt
Use your ruler to draw two parallel lines down the back of the shirt, starting from the shoulders.
Trim off the bottom of the shirt or just the bottom seam as you prefer.
Fold the shirt in half vertically so that the seams align in the center.
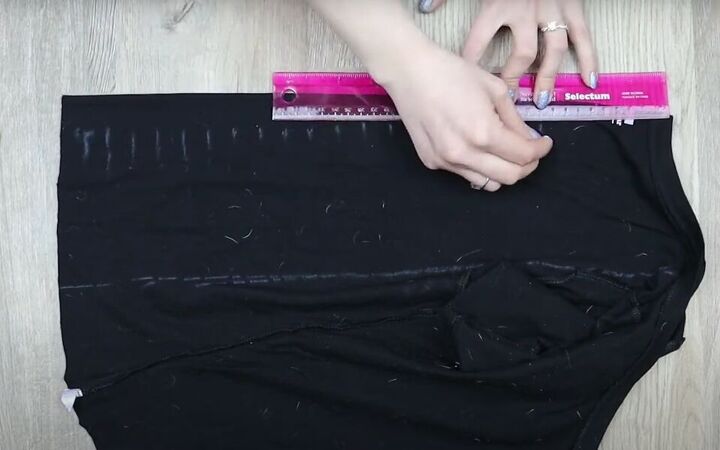
Start measuring and marking out two-centimeter-wide sections along the edge of the shirt, following the vertical line.
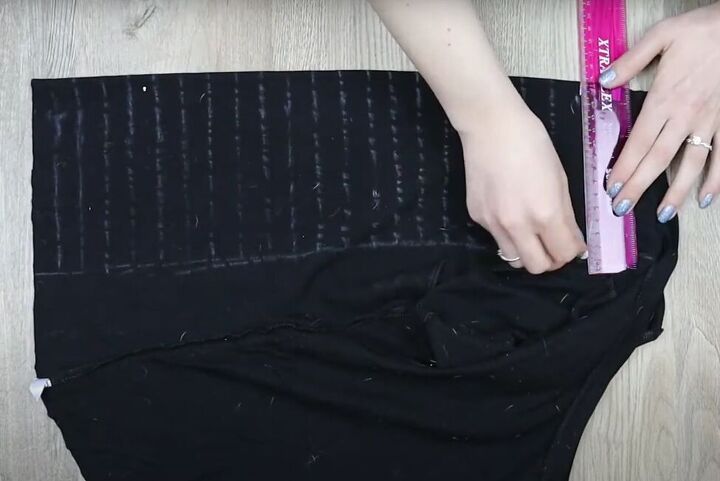
Draw horizontal lines on all the marks, connecting them to the vertical line.
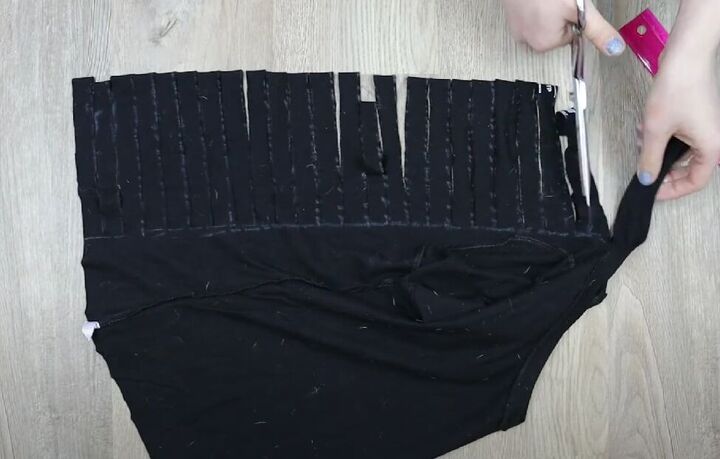
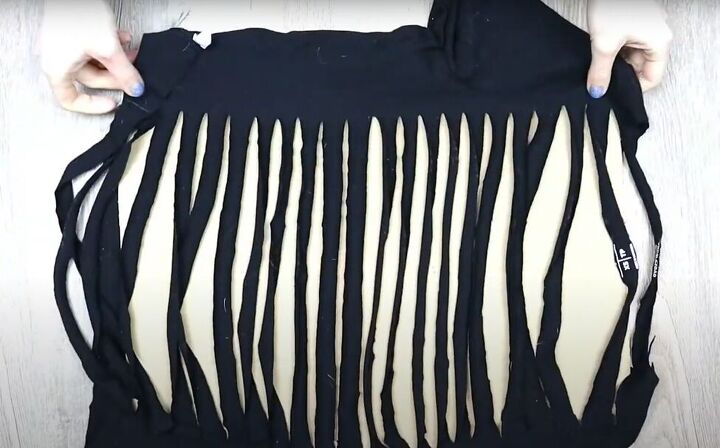
Starting at the edge of the shirt, cut along all the horizontal lines, stopping at the vertical line.
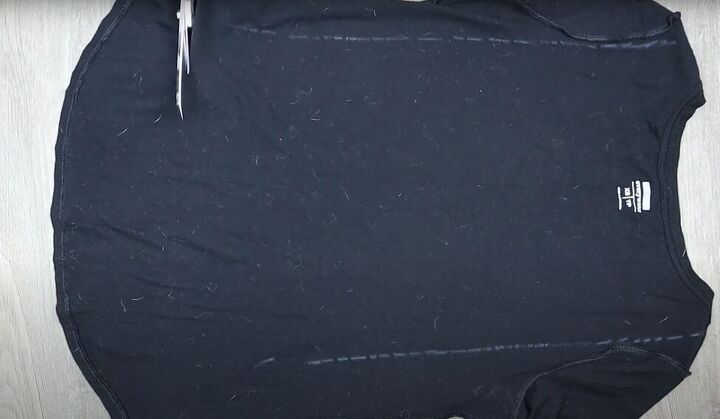
3. Prepare your t-shirt for weaving
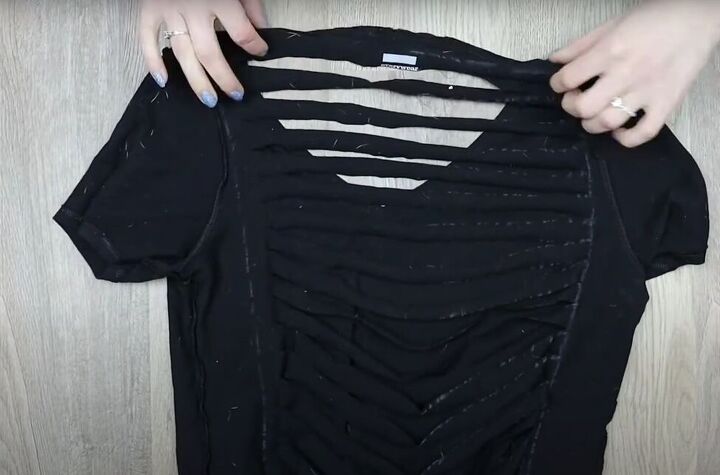
Lay the shirt back normally, with the backside up.
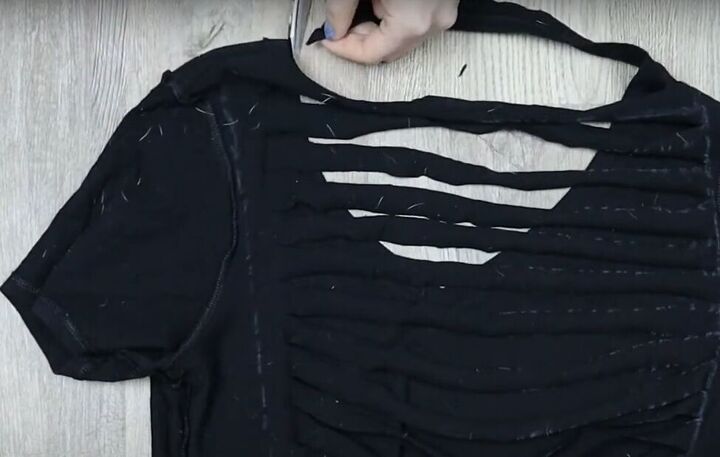
Cut off the back of the collar.
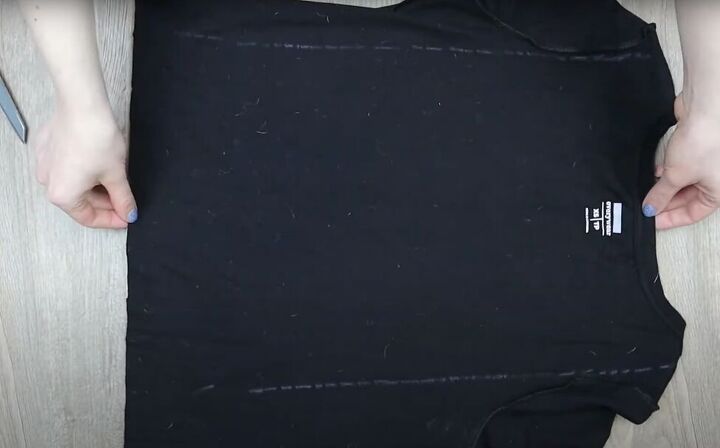
Make any cutting adjustments necessary to ensure that the rest of your cuts go from one vertical line to the other.
Turn the shirt inside out again and lay it flat with the backside up.
Place the cardboard inside the shirt.
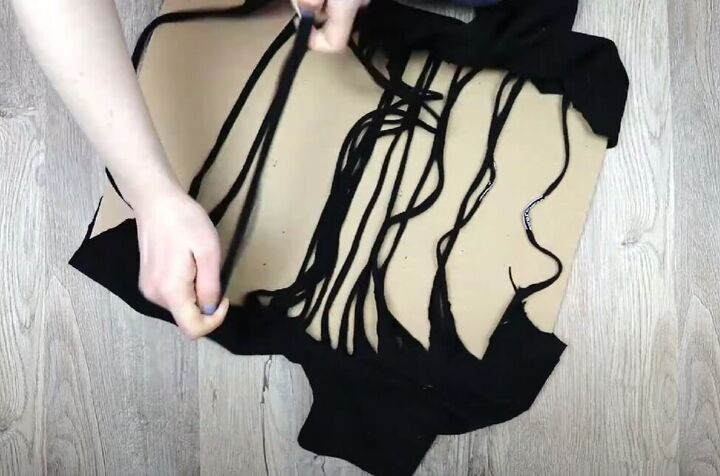
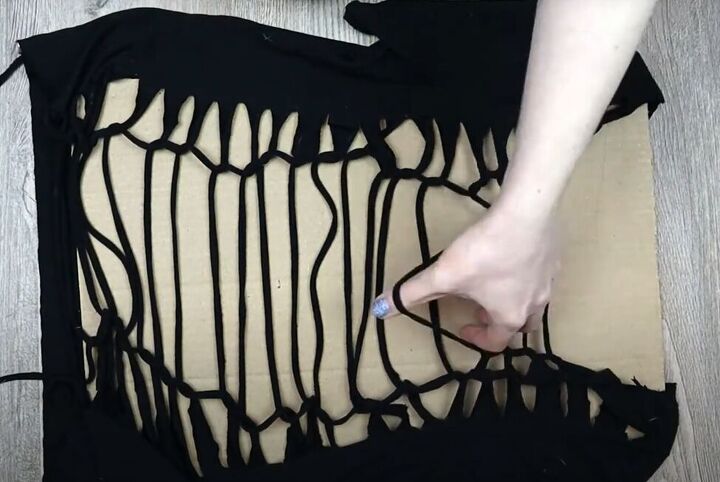
4. Begin weaving your t-shirt
Stretch out all the strands of fabric.
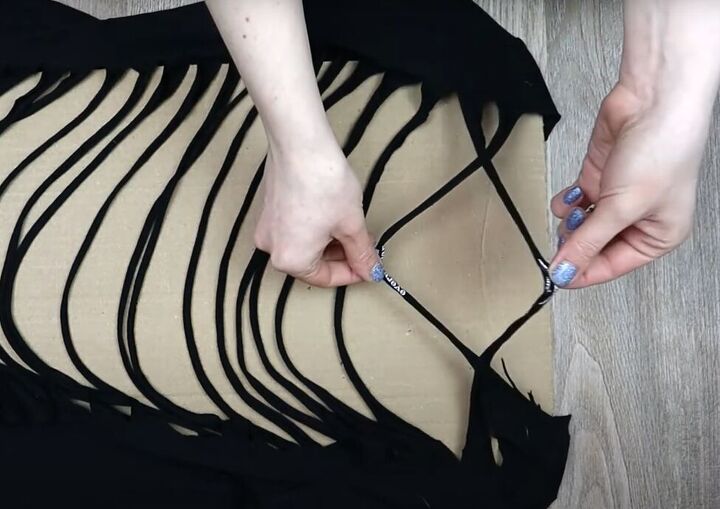
Begin weaving by grabbing the top strand of fabric, pulling it down.
Grab the second strand and pull it up through the first.
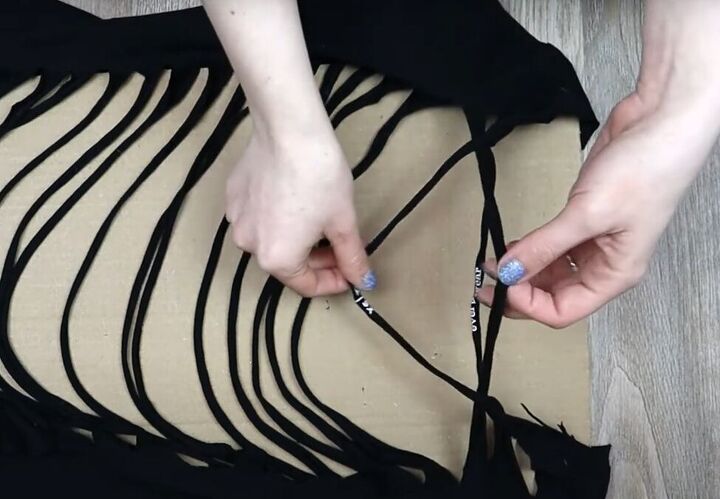
Pull the second strand down and grab the third.
Pull the third up through the second.
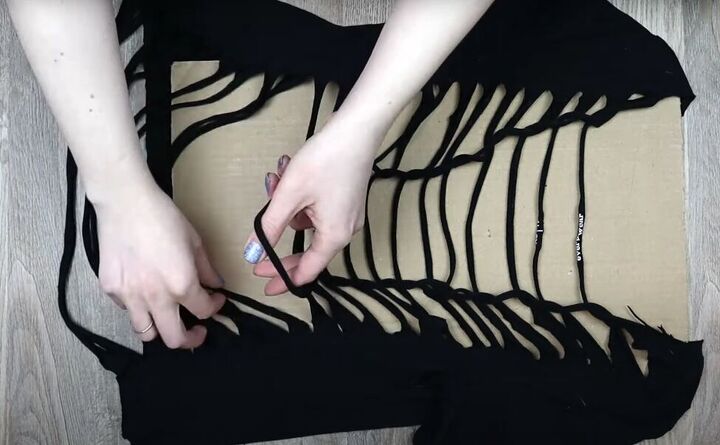
Continue this weaving pattern all the way down to the bottom of the t-shirt.
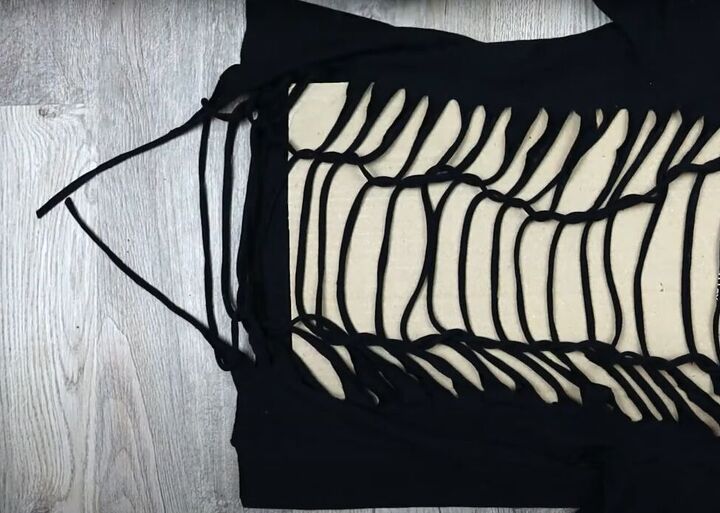
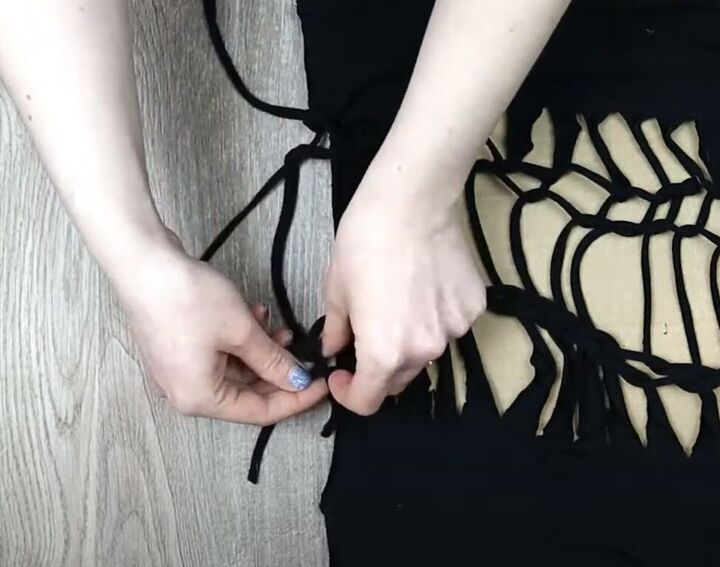
5. Finishing the weaving
When you reach the bottom band on your t-shirt, cut the bottom loop in half.
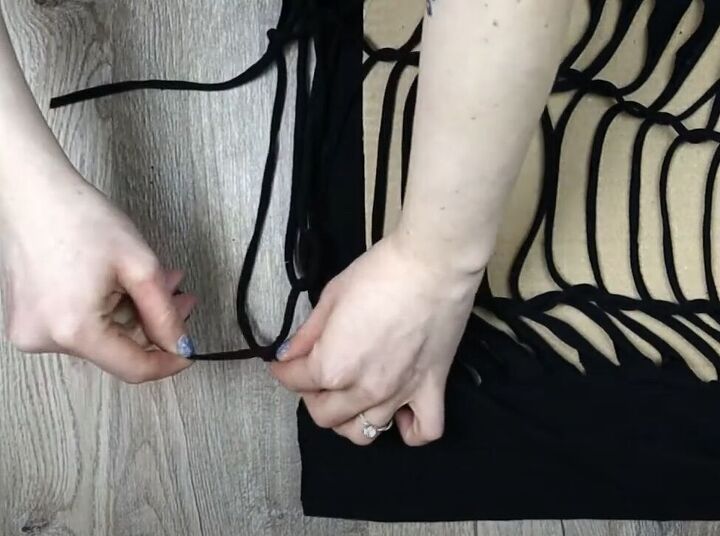
Tie each side of the bottom band around the loop above it.
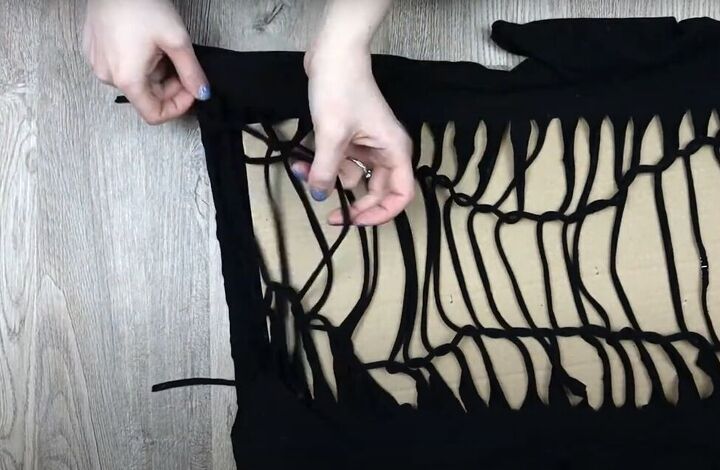
Use your finger to spread out the woven pattern.
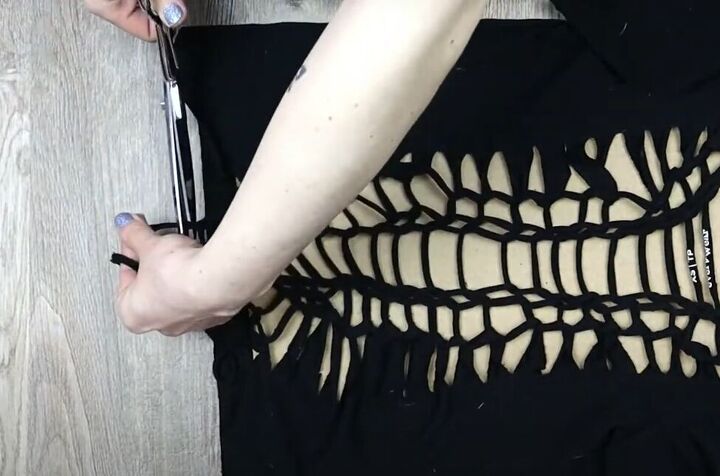
6. Repeat the weaving process
Go back to the top of the t-shirt and repeat the whole weaving process, following the same pattern as the first weave.
Cut and tie at the bottom, just as you did in the first weave.

7. Do additional rounds of weaving
Do at least one more round of weaving, more if you like.
Keep in mind that the more sets of weaving you do, the tighter your shirt will be.
8. Apply the final touches
Trim the ends of all the cut loops.
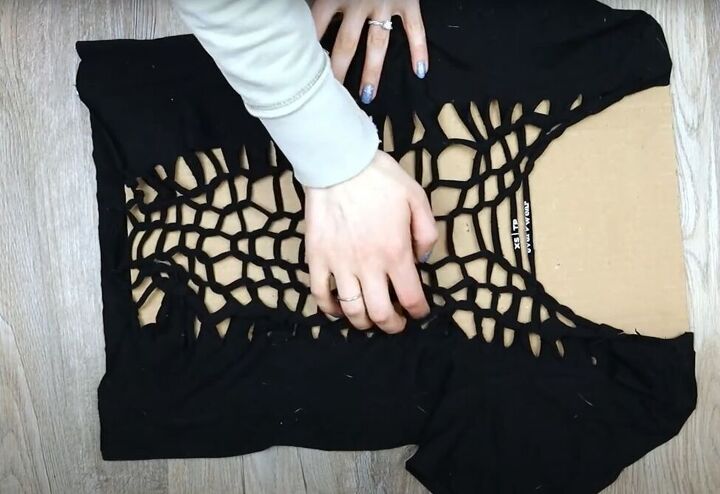
Adjust and spread your woven pattern with your fingers.

T-shirt weaving pattern
And that's it! What a stunning back you’ve created on this cut, woven t-shirt!
I hope you give this t-shirt weaving pattern a try, and leave a comment to let me know how yours turned out.
Next, learn How to Weave a T-Shirt 2 Different Ways Using 3 Easy Techniques.
The author may collect a small share of sales from the links on this page.


Comments
Join the conversation
Arrr! Forget it! I like it, just not the instructions. What strands?