How to Weave a T-Shirt 2 Different Ways Using 3 Easy Techniques

In this DIY, I’ll show you how to weave a t-shirt. I have two tutorials to teach you everything you need to know about t-shirt cutting and weaving, techniques such as ladder weave, twist weave, and making bows. Let's get started.
Tools and materials:
- Cardboard
- T-shirts
- Scissors (I recommend fabric scissors)
- Ruler
- Chalk
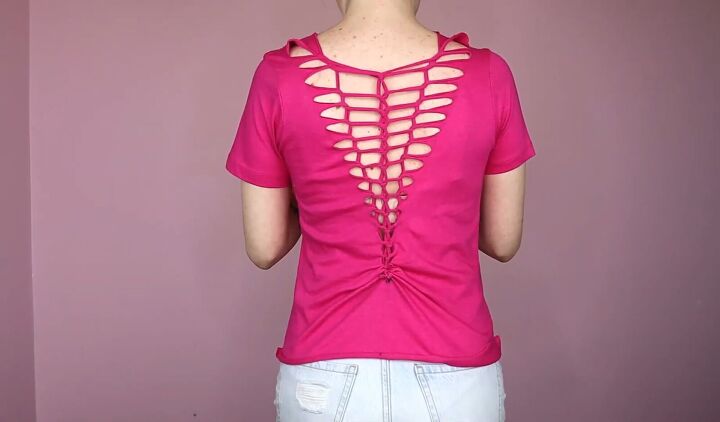
Open-end design
We’ll start with a rectangular shape with an open end, which means the weave ends at the edge of the garment. I'll show you the ladder weave, as well as how to do bows.
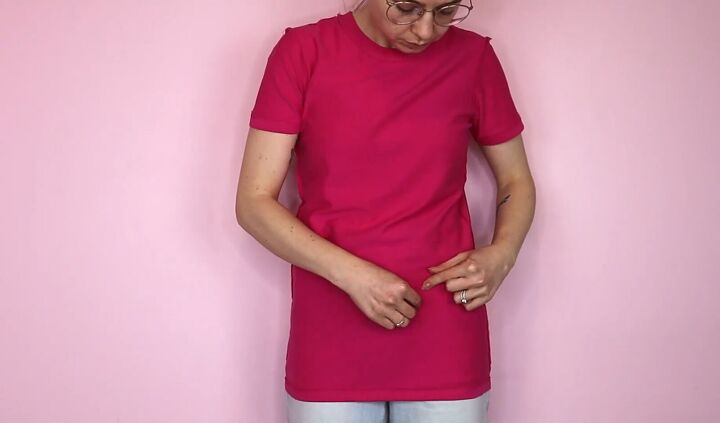
1. Mark the t-shirt
Wear your shirt inside out and mark how short to cut it. Mark a little further down because the fabric will curl.
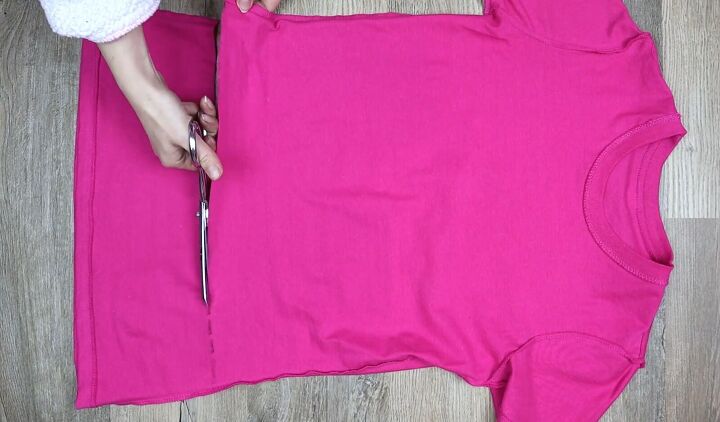
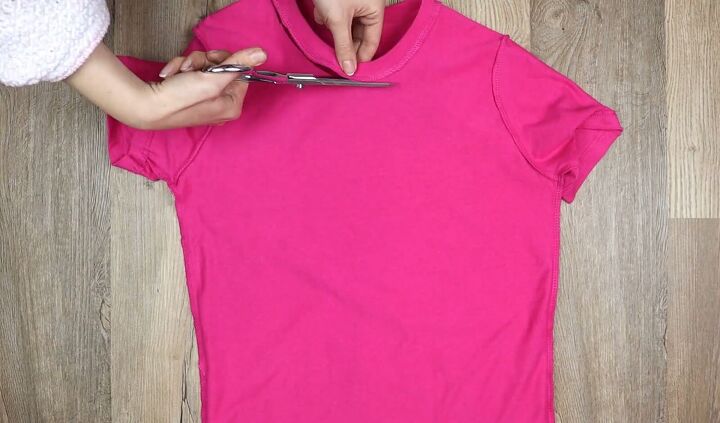
2. Cut the bottom and the collar
Lay the t-shirt down, still inside out. Cut off the bottom and collar because it's easier to work with cut edges rather than hems, but this is optional.
Cut slowly and carefully. It’s easier to cut straight lines the first time than correct a jagged edge.
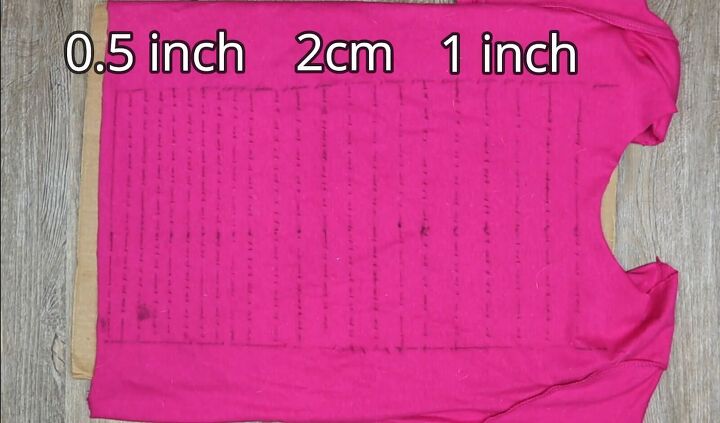
3. Mark lines across the back
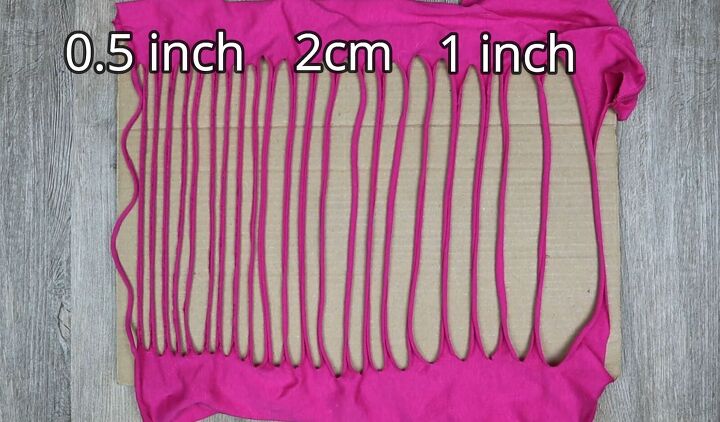
Pick a shape and where your design will go. I started with a basic rectangle. Mark your cutting lines and how thick your strands will be.
Don't make your strands too thin; thicker strands are easier to work with. Thinner strands allow for more elaborate designs, but they can rip. I find that 2cm (0.8 inches) is a good medium. I wouldn’t go thinner than half an inch.
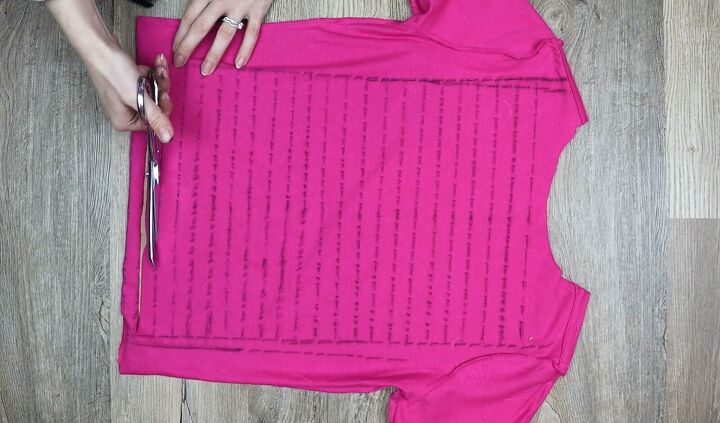
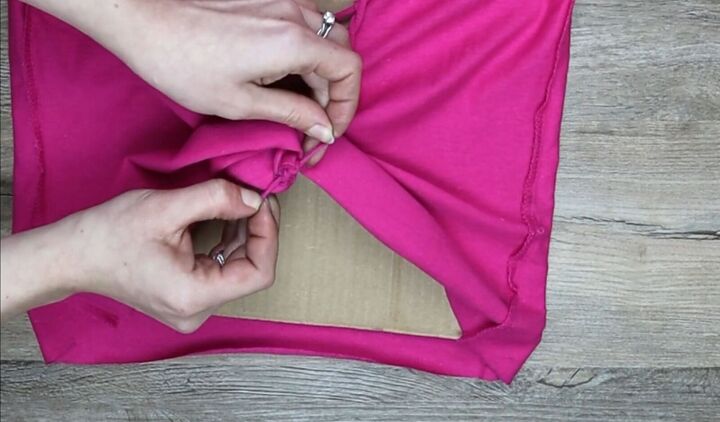
4. Cut the strands
Slip cardboard inside the shirt to prevent you from cutting the other layer of fabric.
Pinch the fabric at the corner of your marked-out shape to cut a small hole. Then cut along the line, stopping at the end. Cut all the lines this way.
5. Stretch
Next, stretch the strands to make them curl. Stretching makes the t-shirt bigger, but the more weaving you do, and the tighter you pull, the tighter the clothing will be.
6. Turn the shirt
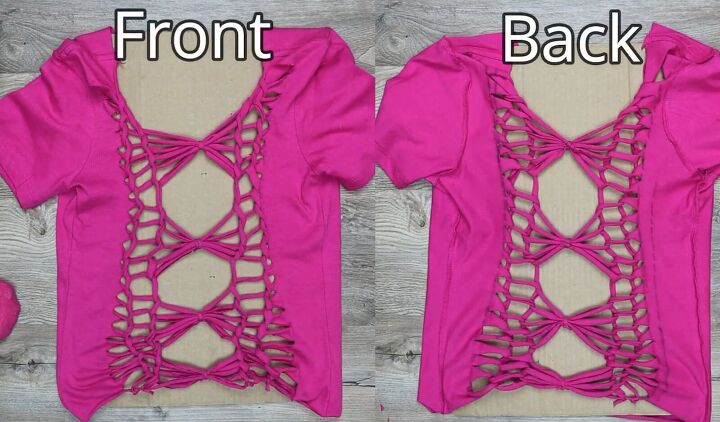
The front and the back of a pattern look different, so if you prefer the look of the back side, you can do your weaving while the shirt is still inside out.
I chose the front side to weave on, so I turned my shirt right sides out, then put the cardboard back inside.
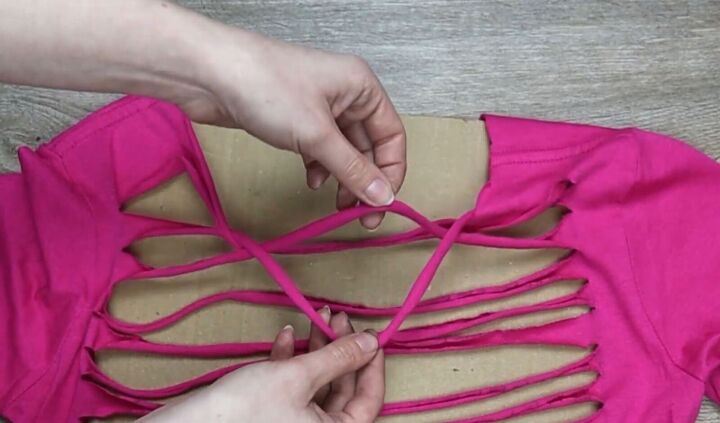
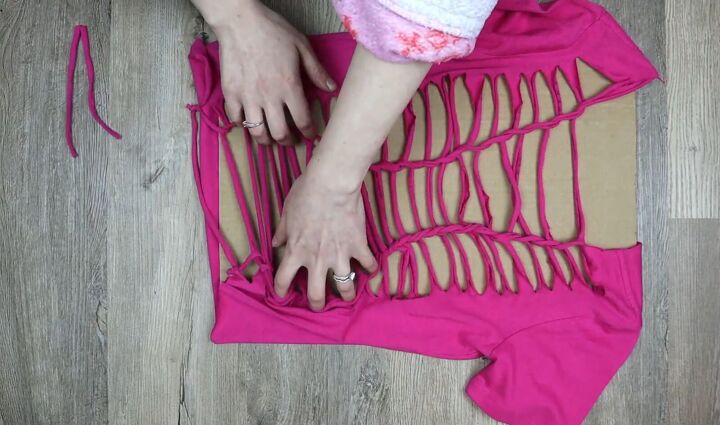
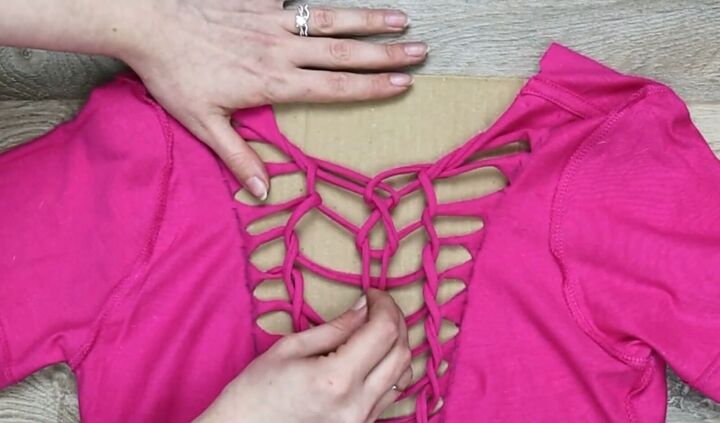
7. Ladder weave
Grab the top strand and pull it down. Grab your second strand and pull it up, behind, and over the first strand. Pull your second strand down and pull your third up, behind, and over the second. Continue all the way to the bottom.
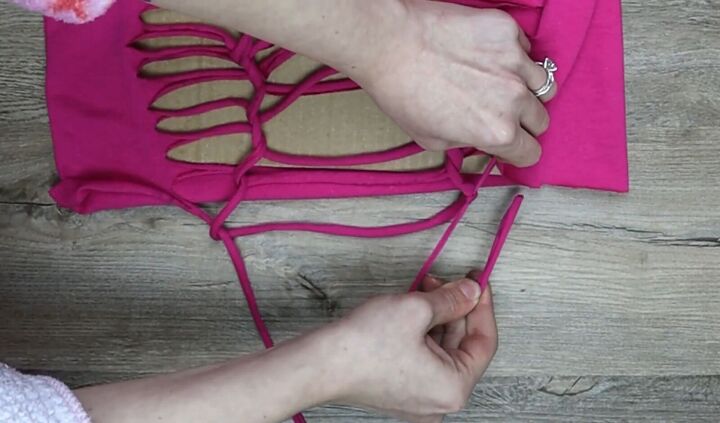
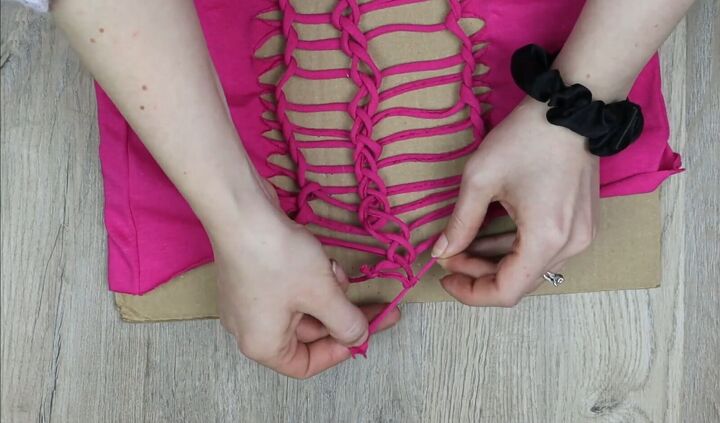
8. Tie the bottom
Once you reach the end, cut the bottom strand in half and tie either side to the strand above, where they cross, leaving a tail. Cut off these tails and keep them for later.
9. Spread out
Spread out the weave with your fingers to make room for a second ladder.
10. Weave another row
Ladder weave down the middle using the same technique. Once you reach the end, cut the bottom strand in half and tie either side to the strand above it where they cross, leaving a tail. Keep the tail. Then spread out the pattern to your liking.
11. Add the bows
To make bows, tie a few strands together in the center. I chose to do about five strands per bow to make four bows. Grab your tails from earlier and tie the strands together in the center with the knot.
Trim the edges of the knot, then turn the knot around to the back so it’s inside the shirt.
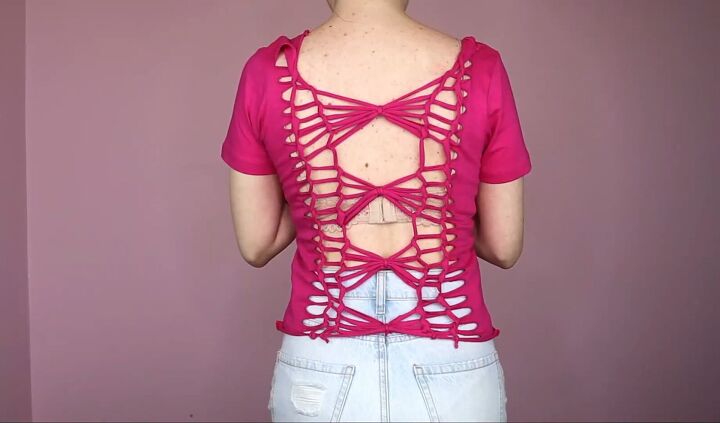
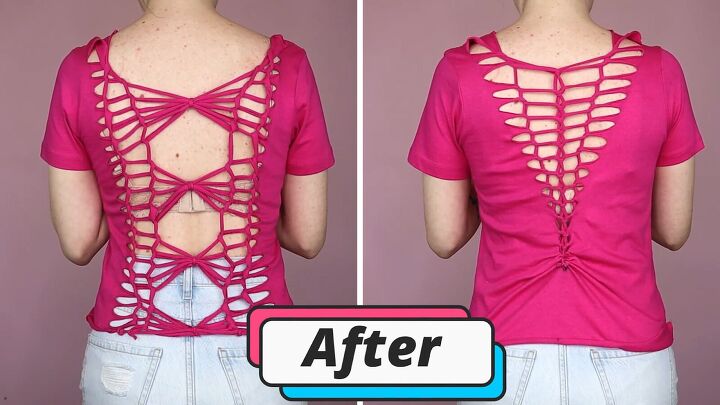
Here is the finished design.
Pointed-end design
For the second tutorial, I’ve done a triangle shape with a pointed end. We’ll go over the ladder weave on this shape and then learn the twisted weave.
1. Mark and cut the t-shirt
Turn your shirt inside out, put it on, and mark where you want the bottom to be. Trim the shirt and cut off the collar.
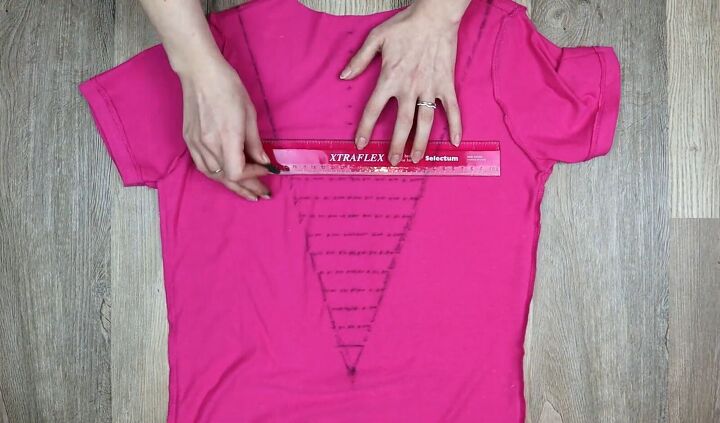
2. Mark the design
Mark a triangle on the back of the shirt, then measure and mark the strands. Draw lines across the triangle.
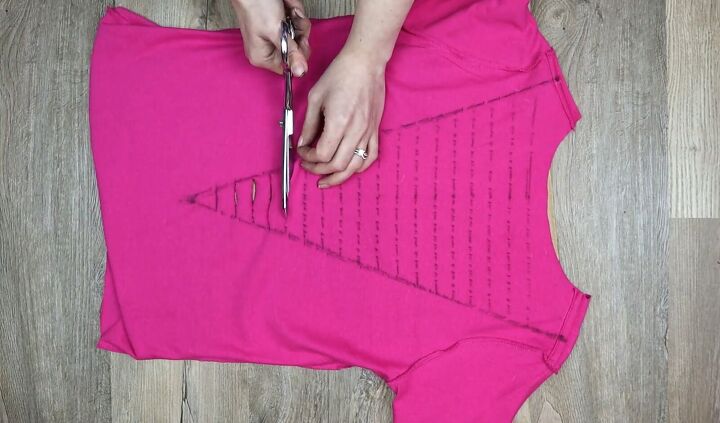
3. Cut and stretch
Place the cardboard inside the shirt and cut along the lines. Finish with a small hole at the point of the triangle. Stretch out the strands.
4. Ladder weave
This time, I'll weave while the shirt is inside out. Start with the ladder weave, just like before.
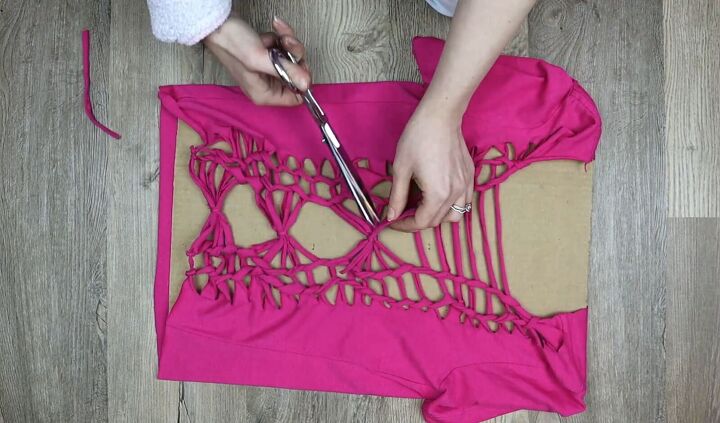
5. Tie the bottom
At the end, cut the bottom strand in half, put one end through the hole at the bottom and tie the ends back together inside the shirt. Trim the ends of the knot.
Spread out and adjust your weave to leave room for the next row.
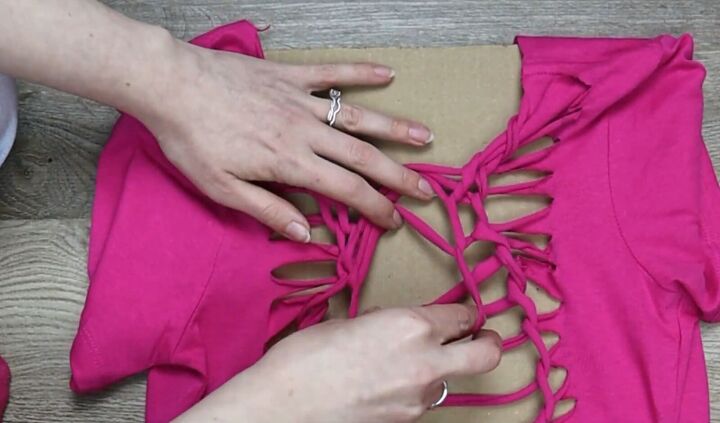
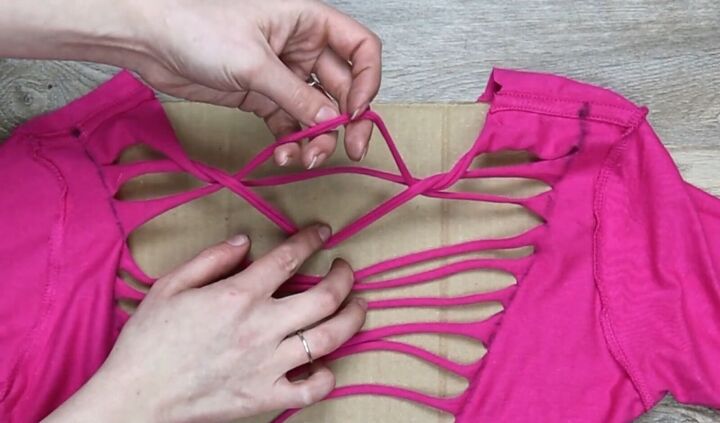
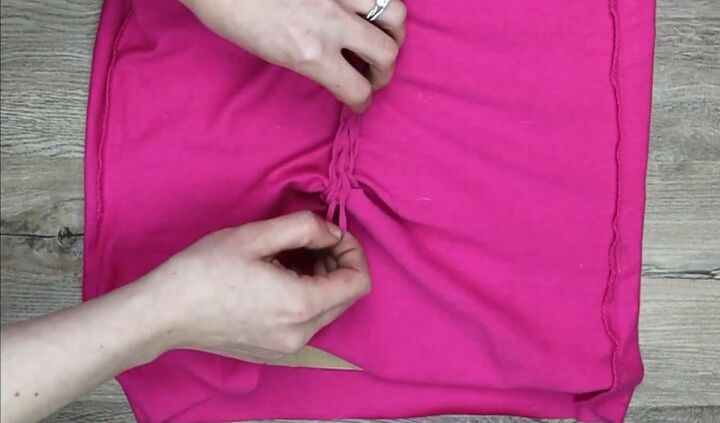
6. Twisted weave
Now we are doing a twisted weave.
Grab the first strand and twist it, creating a loop, then pull the second strand up through the loop. Twist the second strand creating a loop, then pull the third strand up through the loop. Continue all the way down to the bottom.
Once at the bottom, cut the stand in half.
7. Tie the bottom
Put one end through the bottom hole, then tie the ends back together inside the shirt. Adjust the design as desired and turn your shirt back inside in.
To twist weave on an open-ended design, you would tie at the bottom by cutting the bottom loop in half, then tying one end to the side of the loop above it where they cross and doing the same to the other end.
Here is the finished pointed-end design.
DIY t-shirt weaving tutorial
T-shirt weaving is so much fun! It may take a bit of time in the beginning to get the hang of it, but then you won't be able to stop! Let me know which design you like the best in the comments below.
The author may collect a small share of sales from the links on this page.


Comments
Join the conversation
Really cute! Like them both!
No fair---I was going to be lazy today, but now...