The Durban Jumpsuit By Megan Nielsen
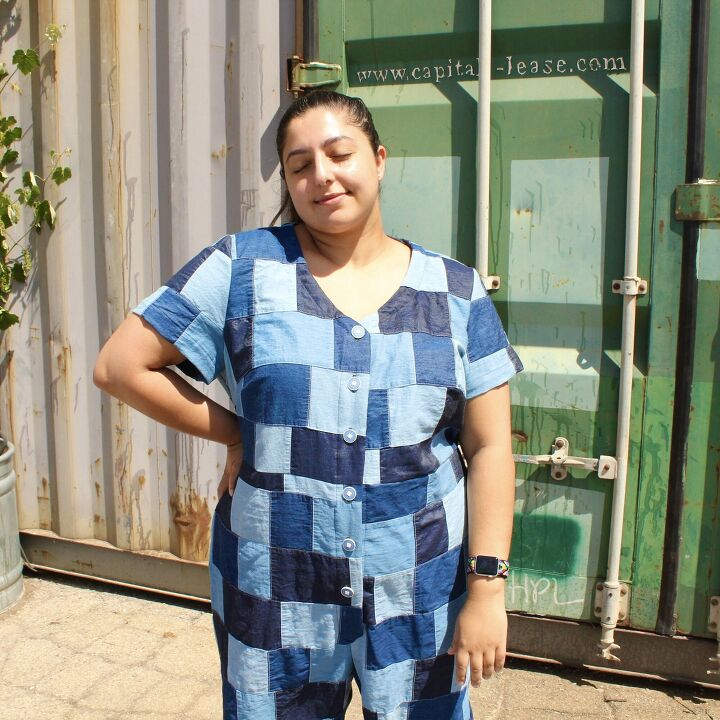
I’m beyond excited to share this make with you all today. This Robert Kaufman patchwork denim fabric from Minerva is incredible. When I saw it online I knew I had to have it and make it into the most epic 90’s inspired jumpsuits. Being a kid that went through primary school in the 90’s I felt a little ridiculous doing this but also sublimely happy.
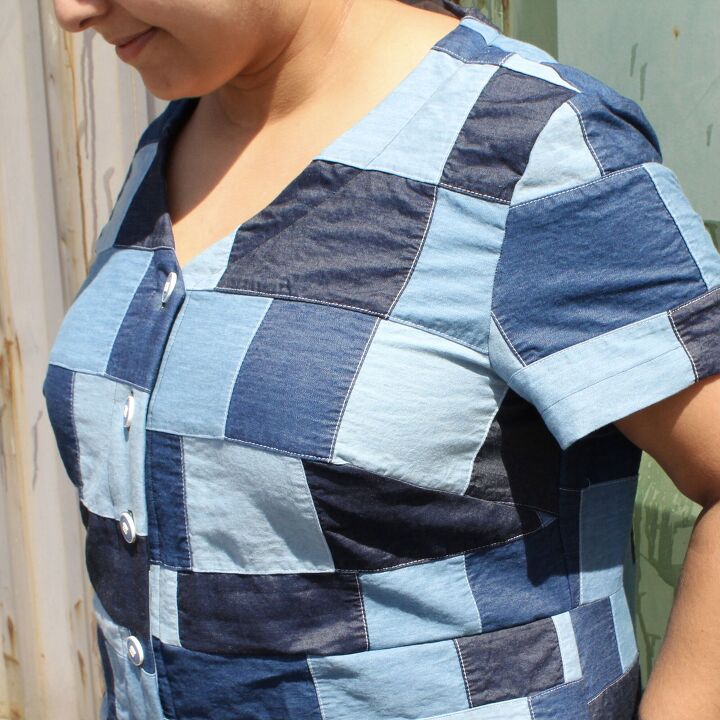
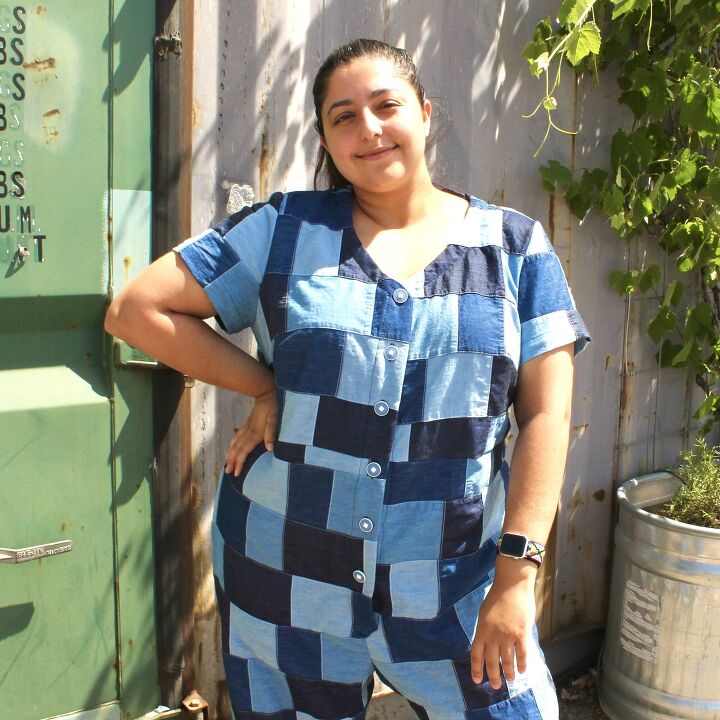
Let’s talk about fabric. Although it’s various denim patched together it’s surprisingly light weight. As a whole jumpsuit I would say it moves more in the medium weight category. It’s got a beautiful drape to it which initially made me rethink I should have been making a dress with it but then Megan Nielsen Patterns sent me the Durban pattern to test and I knew that it was a match made in heaven and the right choice! Now, in case you’ve never worked with this type of fabric before there’s one thing you should know, you’ve got to watch your seams and anywhere you feel like you’ll encounter bulk in your pattern because it’s double. Each patch is sewn and serged together so you’ve got that bulk running across the whole fabric. So if you’re sewing seams together you’re going to be dealing with more bulk than a fabric that isn’t patched together. I learnt this when I made a dress from a plaid patchwork fabric from a while ago so I knew what to look out for here but if it’s your first time I’m letting you know!

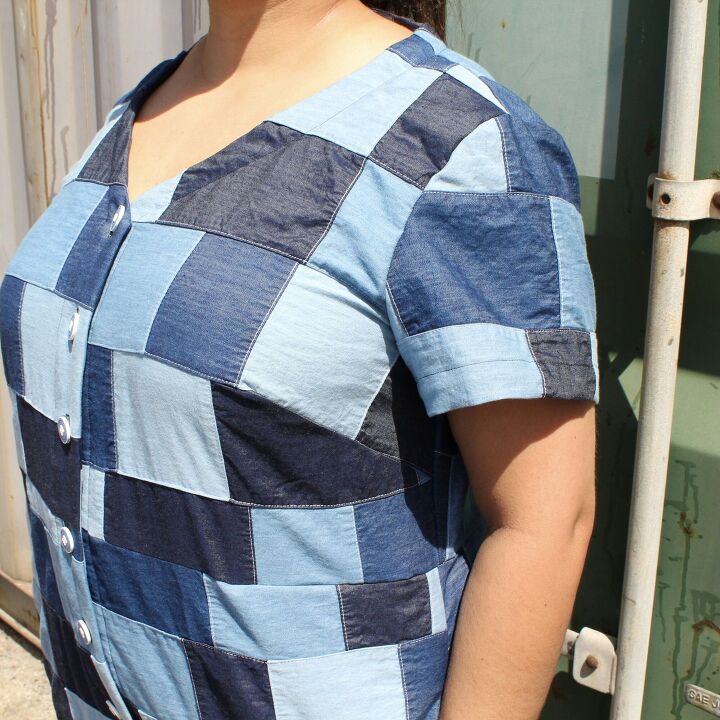
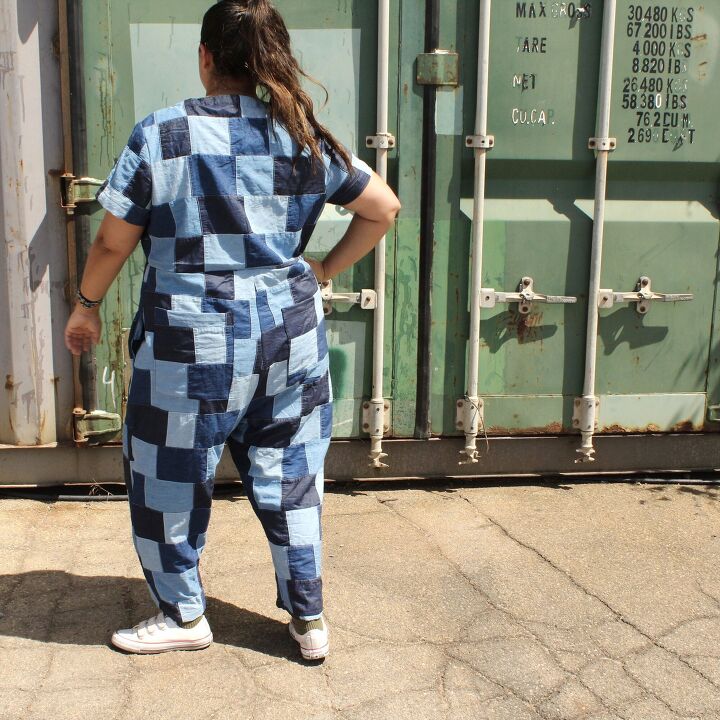
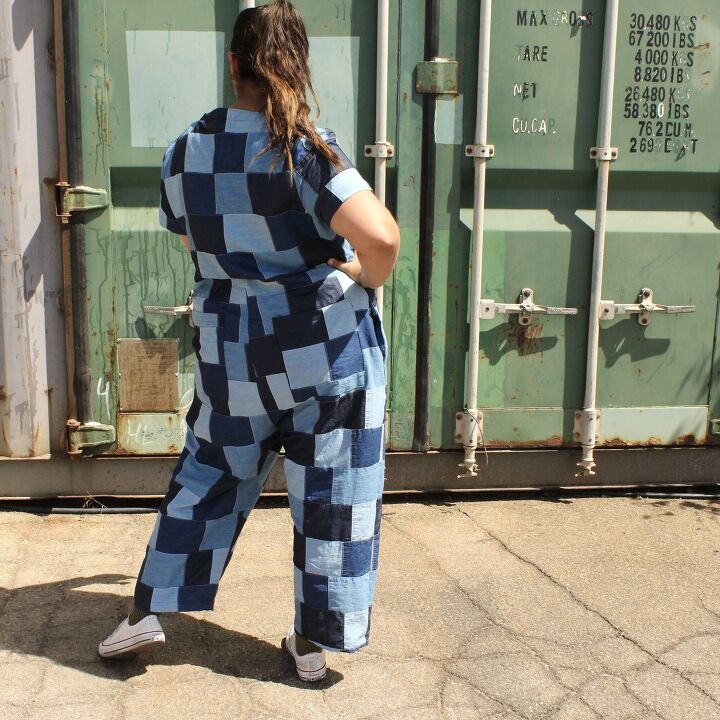
The Durban pattern from Megan Neilsen’ s patterns is incredible. It’s designed to be mix and match and is quite size inclusive. There’s five variations but all can be tailored to what you want. I opted for View A for mine as I love a sleeve and a more tapered leg. The thing about me is that I have really, really skinny ankles so I’m always hesitant to go with the wide leg. You can even see with mine that the tapered leg looks like I opted for the wide leg. Another example of how our bodies are all different. I didn’t make any changes and made the straight size 20. Initially my measurements put me in the size 22 as the pattern tells you to have at least 4” of ease with your measurements so it fits comfortably. I had fully intended to make the size 22 but tracing patterns at night cause me to accidentally trace and cut out the size 20! Luckily it worked perfectly! I had no issues with fit.
In terms of changes for my next version there’s only two changes I’m thinking of making and even still that’s me tailoring it further to my body. I may slim down the leg widths to have it more tapered and I might shorten the legs because I’m obsessed with shorter leg lengths with my high socks. Again, this is me thinking of these changes but not really needing them.
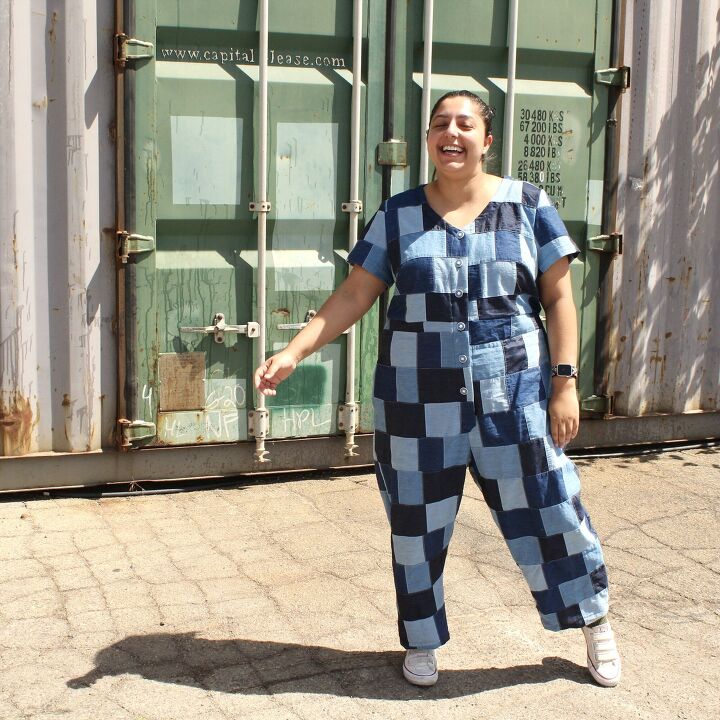
I freaking love my jumpsuit. I wore it the next day right after I finished it and all my family wanted one. The ladies and the men. So if they all want it, you know you’ve made a great garment. I finished off mine with some vintage buttons I had on hand that were ¾” not ½” like the pattern suggested. So if you’re wanting to use buttons on hand, the ¾” work out just fine. I really can’t believe I made this jumpsuit of my dreams. I know 90’s Romy and current Romy are both in love. I definitely feel very old and very Gen Z at the same time in this. It’s a funny place to be in but I'm loving every minute of it. Be sure to check out the Durban jumpsuit pattern and all it’s amazing variations. You will not be disappointed. The instructions are thorough and well written. Another win for the Megan Nielsen team! Congratulations ladies!
The author may collect a small share of sales from the links on this page.


Comments
Join the conversation