A Dress to Vest Refashion

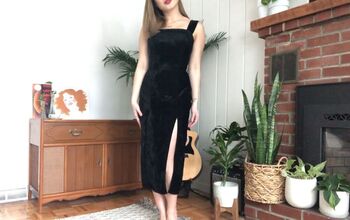
Hello Readers. I used this faux leather dress to make a new vest with open sides. I wanted to use this "pretend" leather and I wanted something adjustable. If it is adjustable, it will always fit over various tops I might want to wear.
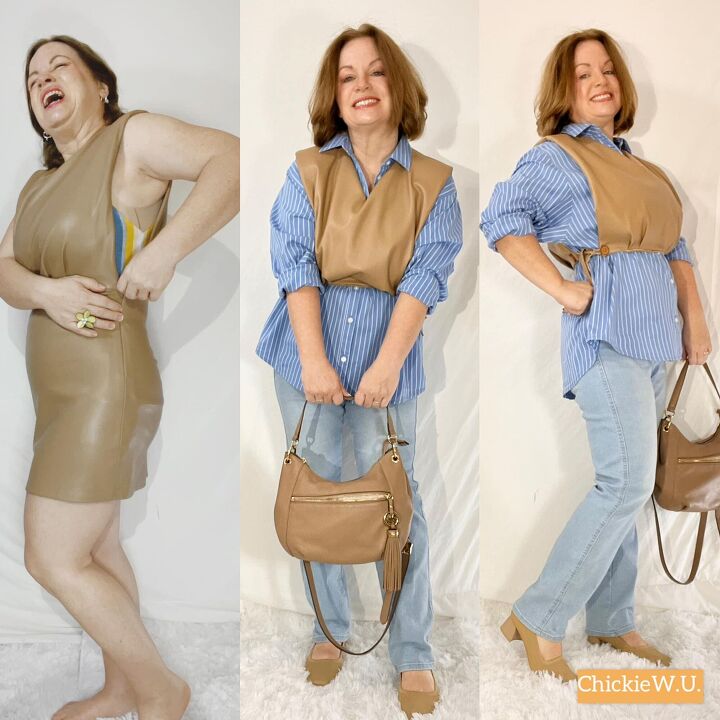
Before and after.
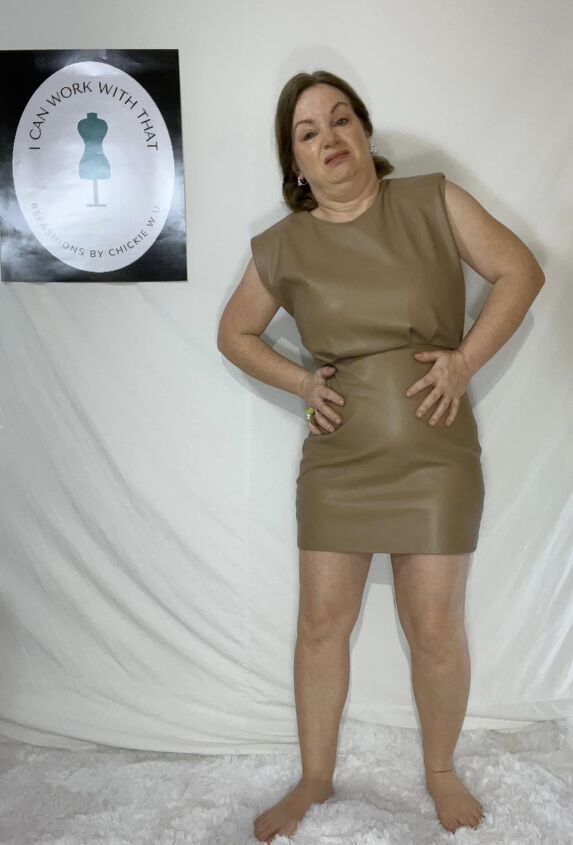
There was nothing about this dress that worked for me. It was tight and accentuated all the worst spots. I almost didn't take it home from the swap I was at. I came up with this idea to use it much later. (Spoiler-A vest with open sides.)
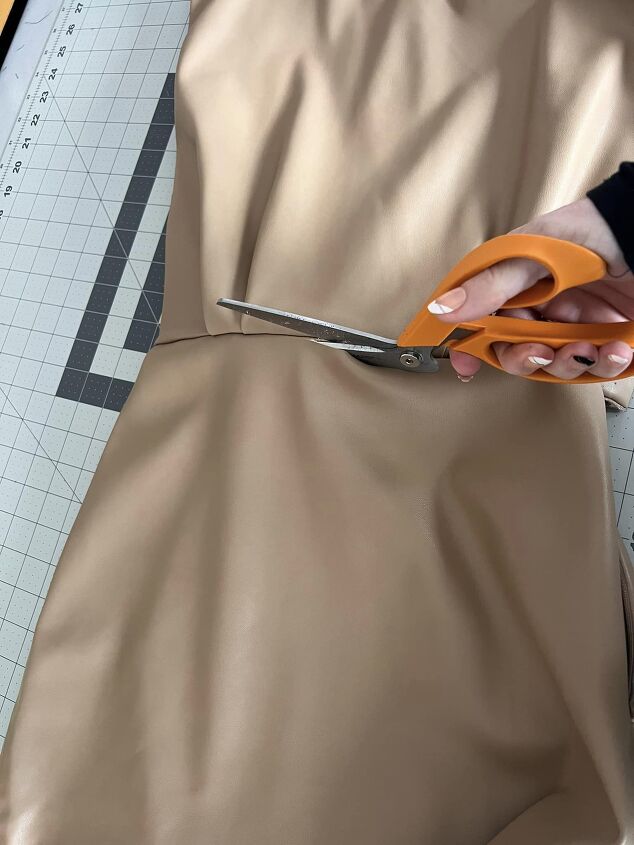
I cut the top of the dress off the skirt of the dress. It was going to be the beginnings of my vest. "Pleather" or fake leather doesn't fray so I just cut the skirt off. I left the seam around the waist intact and attached to the top as you can see in the picture. I cut just below that seam at the waist. I was careful not to cut into the waist seam.
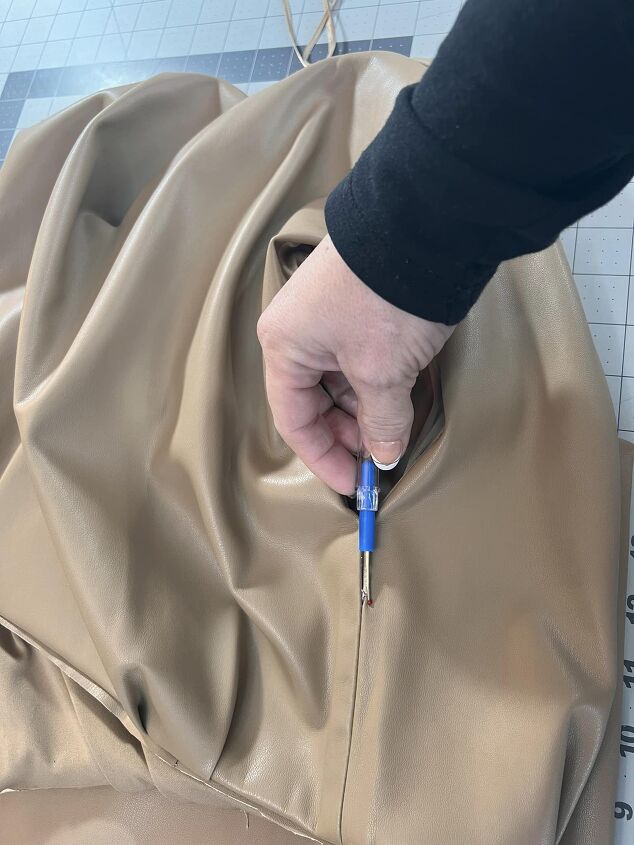
One side of the dress had a zipper that I could use to open it up on that side. I used the seam ripper to open the other side that was sewn shut.
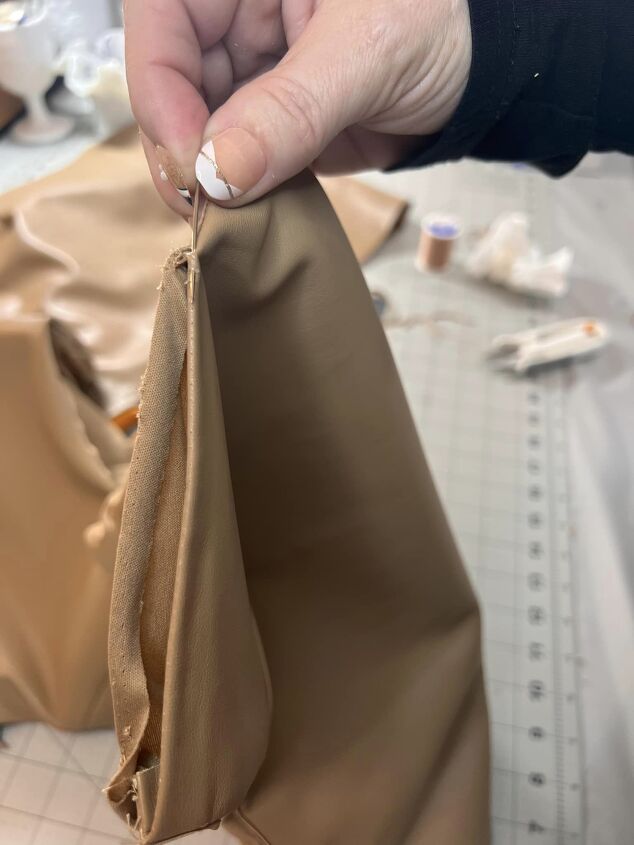
I used a needle and thread to sew the side seams closed. I made the stitches by working the needle back and forth between the 2 sides so the stitches would be hidden. I wanted hidden stitches on the side seams so hand sewing was best.

The top of the dress had pleats at the waist and a lining. I just left them as they were. My vest was a rectangle with a head hole. At this point it looked a little weird. That's OK, it was going to get better.
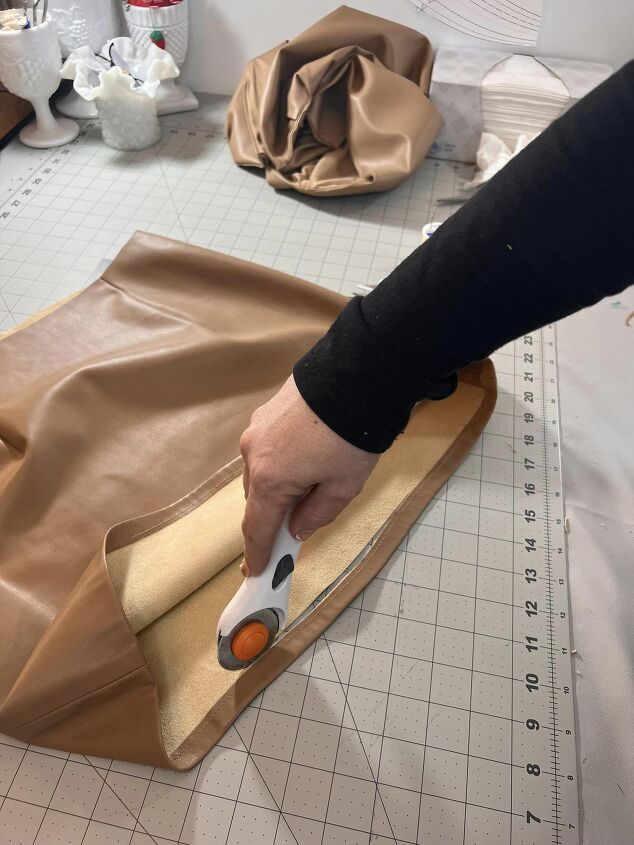
I cut the hem of the skirt off so I could use it to make straps to connect the sides of the vest. I used a rotary cutter but scissors would be fine too.
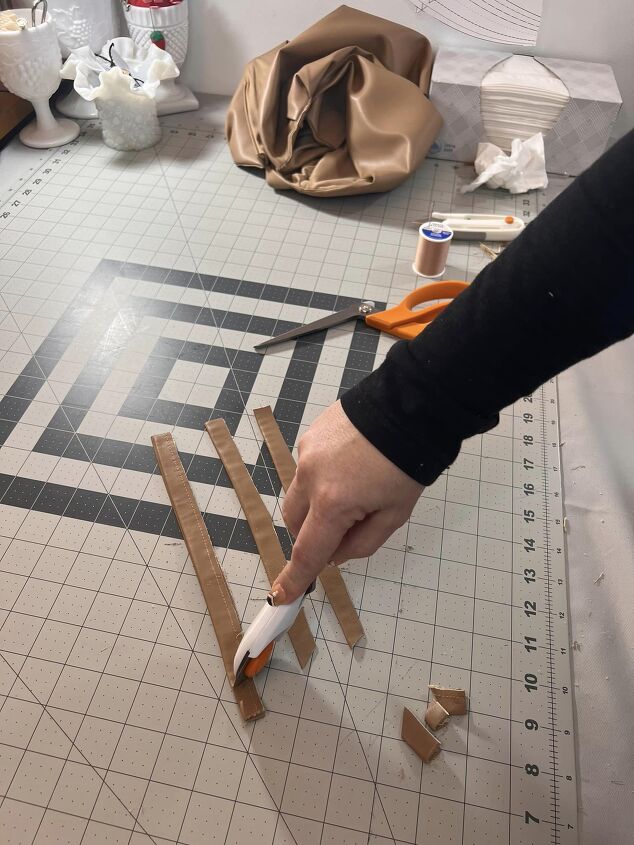
I used the hem of the skirt because it was folded over and had the leather look on both sides. I cut 4 equal sized pieces. It was really easy to cut. I wanted to attach a piece to each of the 4 corners of the vest.
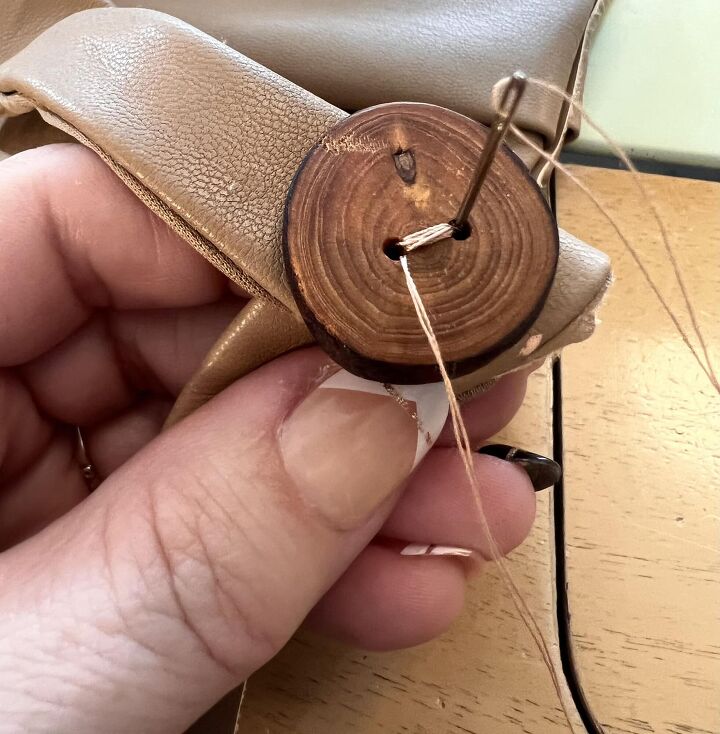
I hand sewed the straps and I decided to use these buttons. These buttons were large enough to be visible and add interest. I liked the brown wood with the tan vest. These buttons won't really do anything. They are just going to sit there and look pretty. You can find similar buttons here.
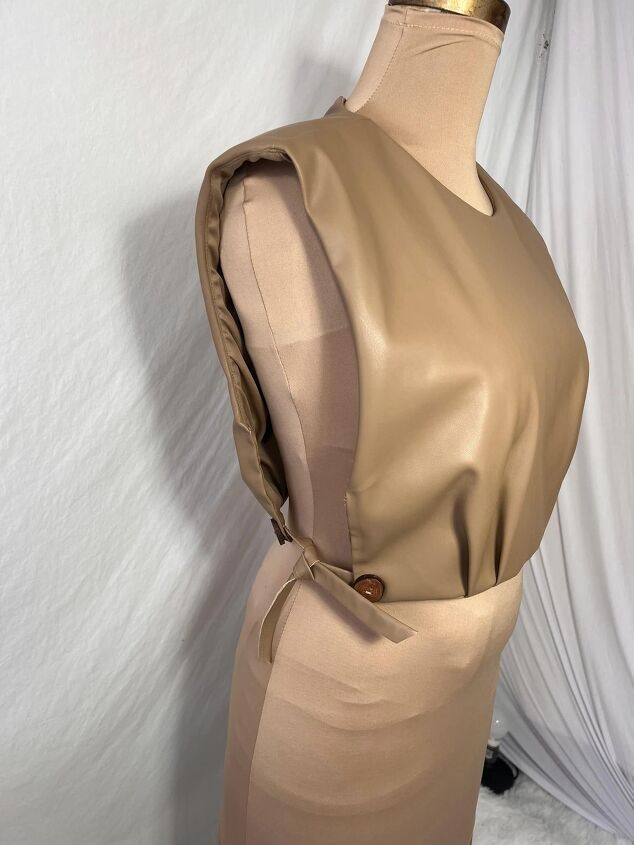
Here is a view of the side. There are 2 straps attached to the corners of the vest. I tied the straps in a cute knot. That will keep the vest on and it will be easy to change the size of the vest if needed.
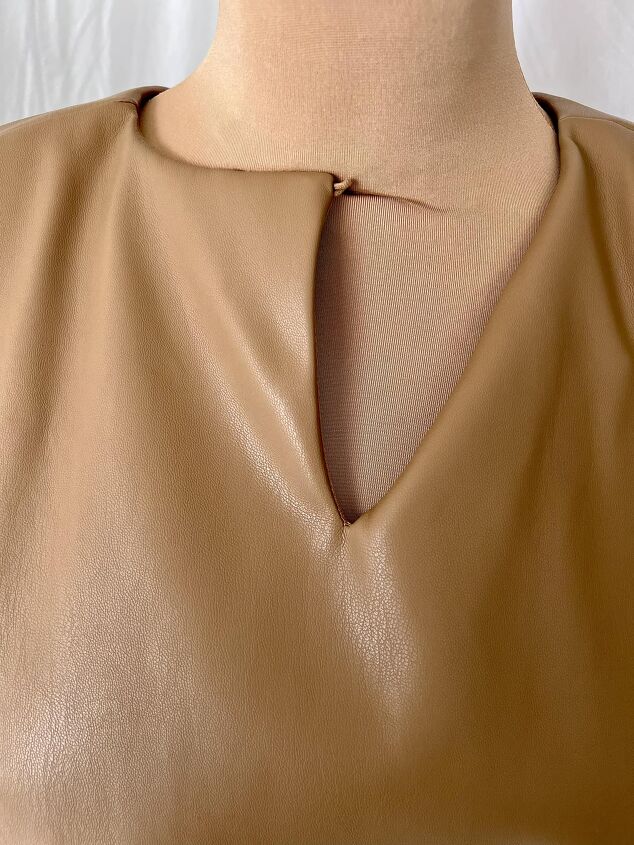
The vest had a round neck hole in front and I realized I liked wearing it backwards because the opening had a V that was more roomy and comfortable to wear. I just tucked the corners at the neck in and it looked great. The collar of my shirt fit into the V-neck opening nicely too.
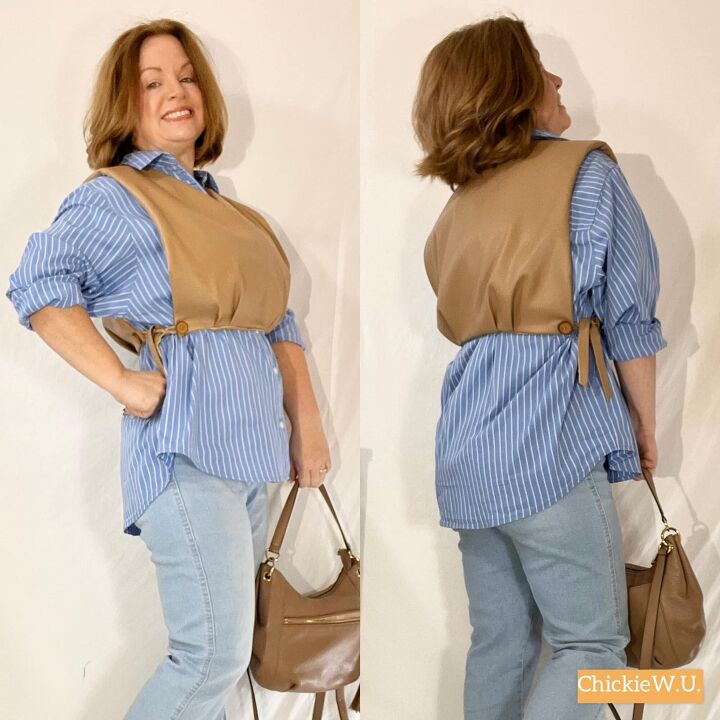
I liked my new vest a lot. It was easy to wear and adjustable with the open sides and ties at the waist. Thanks for reading along, now go make something fun for yourself.
The author may collect a small share of sales from the links on this page.


Comments
Join the conversation