How to Create Two No-Sew Red Carpet Worthy Dresses

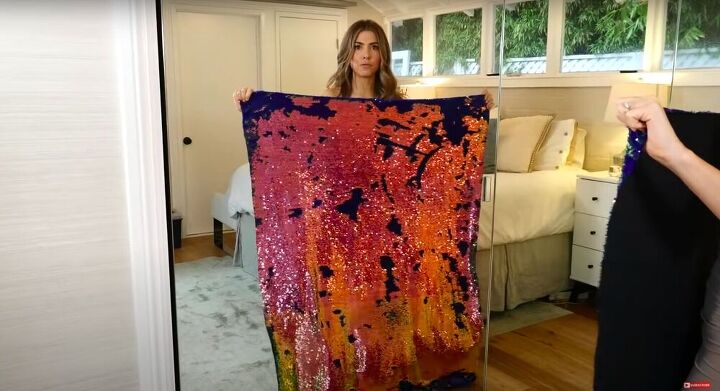
In my work as a TV host I’ve found myself attending quite a few red carpets, and I wanted to put my creativity to use and DIY a dress or two. Now, I didn’t want to be lugging out a sewing machine or dealing with patterns, so I figured why not make a no-sew dress or two? Both of the dresses I’ll be showing you how to make can be made without a single stitch, using just safety pins and a dot or two of fabric glue to hold it together. They turn out so stunning and professional looking that you’ll have more than one person asking where you got your one-of-a-kind dress! One last thing. I very much recommend you wear a strapless slip underneath your dress. We won’t be lining the dress so the slip will act as a lining. Let’s get started! Check out my step-by-step tutorial below to make two different no-sew sequin cocktail dresses today! Also, if you like what you see, head on over to my blog for more great DIY projects!
Tools and Materials:
- 1-2 yards sequin fabric
- Safety pins
- Fabric scissors
- Fabric Glue
- Ribbon
- Double sided tape
Step 1: Attach the Top
Place one corner of the fabric on your shoulder right where you want it to hit. Then pull the opposite end until the fabric under your armpit sits how you want it to. If you just connect the two corners you’ll end up with a very loose dress under your armpit.
Once you have it just where you want it, place the front corner slightly over the edge of the fabric on your shoulder and pin it in place. Don’t worry about hiding the safety pin, we’ll hide it with fabric later. I also went back later to add a second safety pin, creating an X.
You have two options with the excess fabric. You can either cut it off, or you can just fold it under itself, giving you a nice, clean finished edge.
Step 2: Pin the Front
I pinned the front of the fabric to my slip dress to hold it in place.
Now, you could just pull the back piece of fabric forward and pin it straight to the front piece, but I did it a little differently. I found that if you pull the fabric from the back a bit, it creates a very flattering diagonal line with the dress. It also creates some pleats at my waist which creates a flattering shape.
I pulled this back piece across the front as tight as I could and then pinned it in place right at my hip.
Step 3: Make Adjustments
I didn’t want to accidentally flash anyone, so I pinned the dress right at the point where I wanted it to stop opening. When you pin this part, let the dress lie flat on you. Then grab the spot you want to pin, making sure that both sides of the fabric are still sitting how they would if the dress was laying flat. Add a safety pin from the back side. When you poke it through the front side, make sure it glides just under the sequins so that it isn’t visible.
Step 4: Hide the Safety Pins
I had extra fabric so I cut a long piece about an inch and a half wide. Then I wrapped it around the strap until I was happy with how it covered the safety pin.
You could cut off the excess, however I just left it hanging in the back and it added some more visual interest to my dress.
To cover the safety pin at my hip I cut a small piece of fabric and glued it over it. Make sure that the sequins on this piece are going the same direction the sequins on your dress are.
And that’s it! A stunning dress that looks like a million bucks for a fraction the price of a designer cocktail dress!
Step 1: Pin the Front
I wanted this dress to be a bit shorter than the length of the fabric, so I cut it to my desired length before I started wrapping.
Once you’ve done this, start off by centering the fabric behind your back.
Pull it forward and pin where it meets on your front.
Then I pinned down the front of the fabric, always from the same side. Make sure to pull the fabric tight so that you don’t end up with a baggy dress. This basically creates a center front seam without sewing.
If needed, go back and adjust the top safety pins once the majority of the dress is secure.
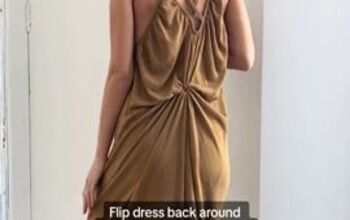
I also found that if you twist the bottom to the side a bit once you’re done, it creates a very flattering line.
Step 2: Add a Strap
Using a ribbon, I pinned one side of it right in the center of the front and the other side to the back so that it sat at an angle.
Step 3: Add a Belt
Adding a strap around the waist makes it look finished and polished. I started by pinning it on the side that I had pinned my dress. Then I wrapped it around, checking to make sure it was even, and pinned it right under the ruffle on the other side.
Step 4: Set the Ruffle
I didn’t want my ruffle drooping or moving around too much, so I used a few pieces of double sided tape to stick it in place.
Would you ever have believed that not only did I make this dress myself, but I didn’t even have to bust out a sewing machine to put it all together! What no-sew hacks have you come across? Let me know in the comments below! Also, if you’d like to see more check out my blog for great DIY designer projects!
Enjoyed the project?
Suggested materials:
- Sequin fabric
- Safety pins
- Fabric scissors
- Fabric glue
- Ribbon
- Double sided tape
The author may collect a small share of sales from the links on this page.


Comments
Join the conversation
These dresses are amazing!
wow! your dresses are really gorgeous. I am amazed it didn't involve any sewing.