How to Make a Sexy Sequin Dress

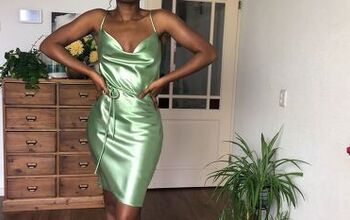
Hi guys. I made a sexy sequin dress that I wore to a friend’s wedding and wanted to show you how easy it was to sew. I found this gorgeous green sequin fabric and I knew it would be perfect for what I was looking to make.
Let’s learn how to make this green sequin dress.
Tools and materials:
- Fabric
- Measuring tape
- Scissors
- Needle and Thread
- Sewing machine
- Seam ripper
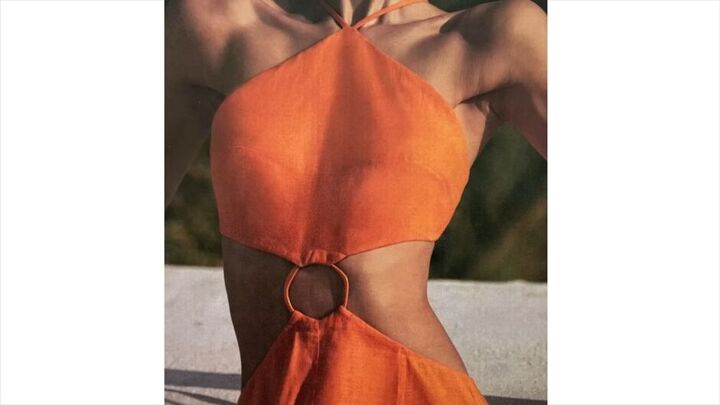
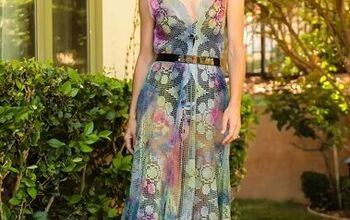
My inspiration piece is a cute sexy cut-out dress.

Here's the green sequin fabric I used.
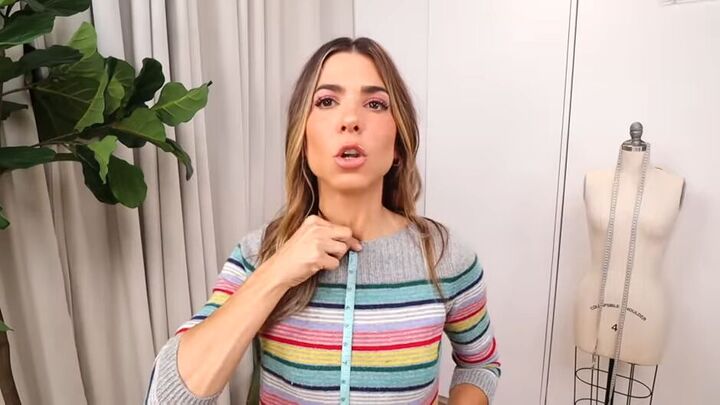
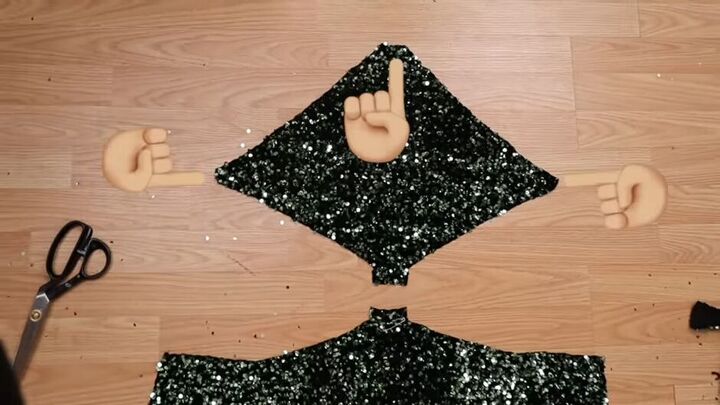
1. Take measurements for the top
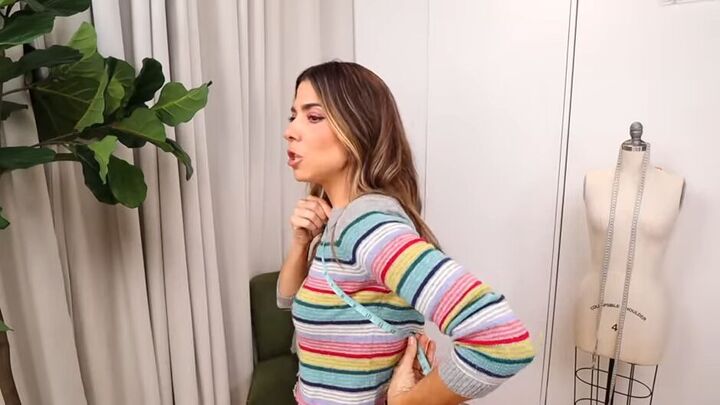
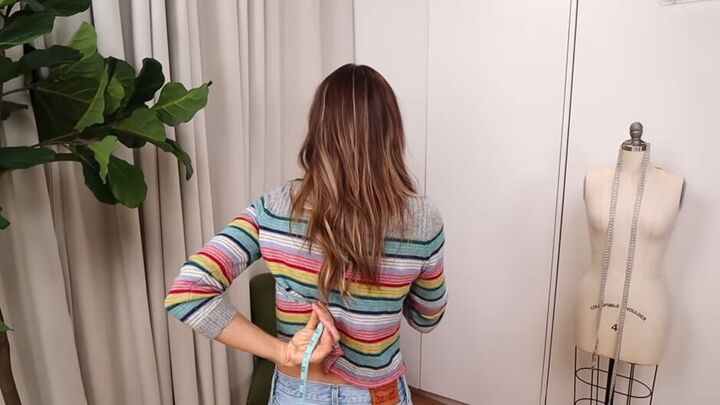
Measure from the bottom of your neck, under your arm, to your back and stop at the point your strap will end. My measurement was 15 inches.

Next measure from the bottom of your neck to the point you want your top piece to end. Mine was 14 inches.

With those two measurements, we can simply connect those points when cutting our fabric to achieve a diamond shape.

2. Cut the trim
Cut off the velvet trim framing the green sequin fabric which you will use for the drawstring straps.
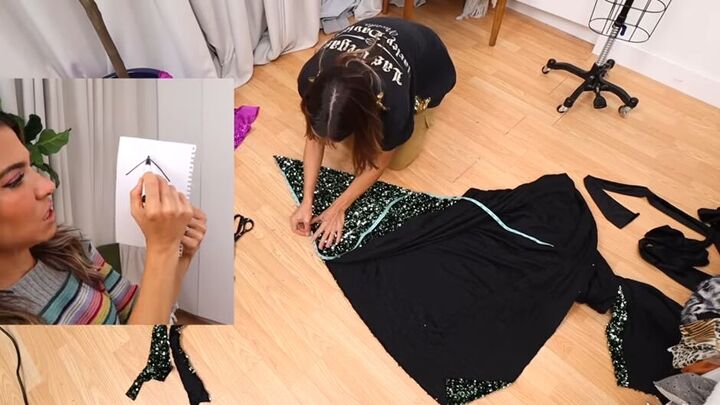
3. Measure the top
Fold your fabric in half.
The 15-inch measurement will be the two sides of the top that run from your neck to your back, plot this on the raw edge of the fabric.
Now plot the length of the top, my 14-inch measurement, on the fold.

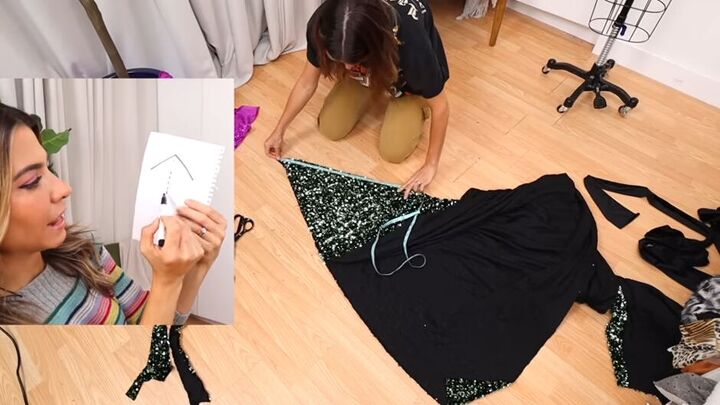
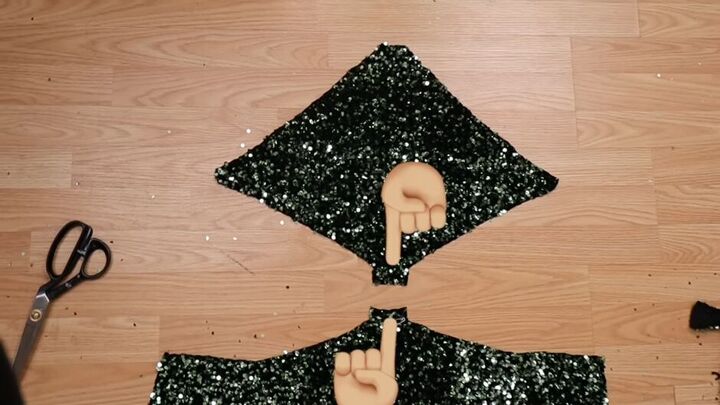
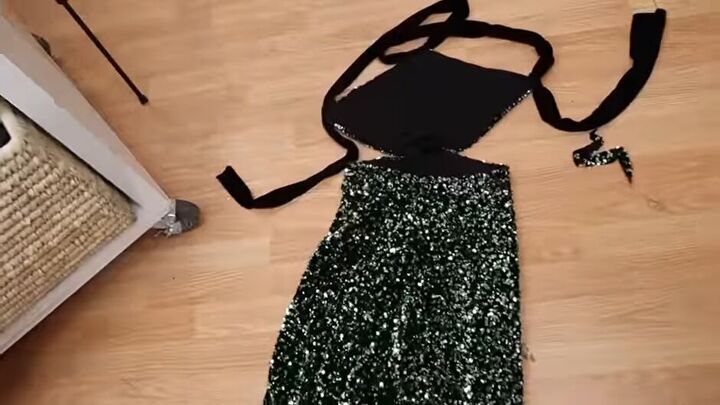
4. Cut the top out of the fabric
Now, you are going to connect the 2 measurements with your scissors.
Leaving you with a piece of fabric in a diamond shape.
Exaggerate the bottom point of the top by cutting along the edge of the fabric but towards the end slope the cut up.
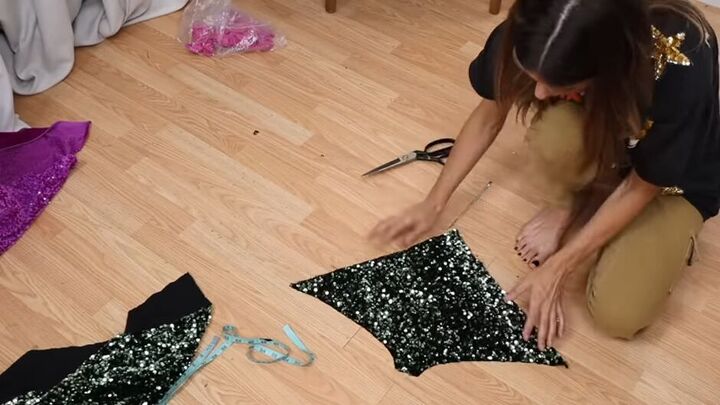
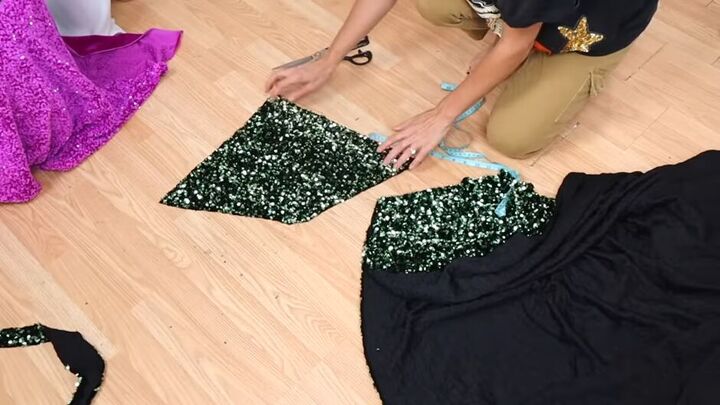
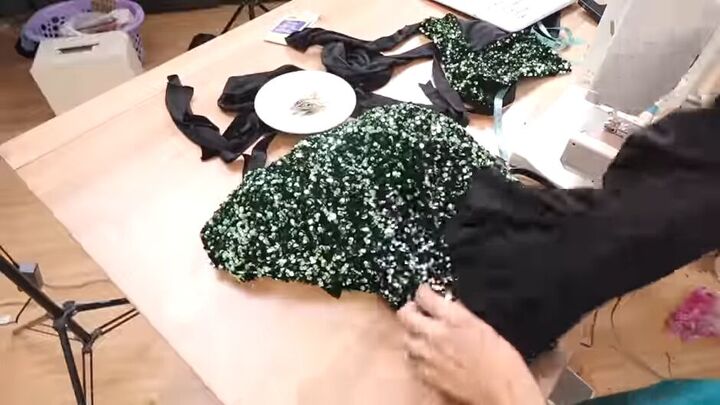
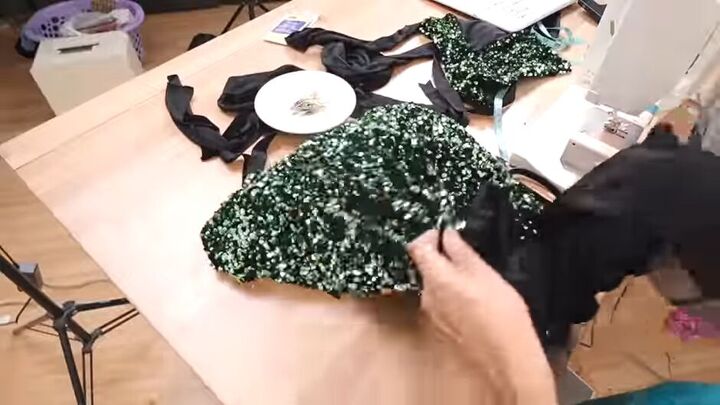
Your piece of fabric should look like this.
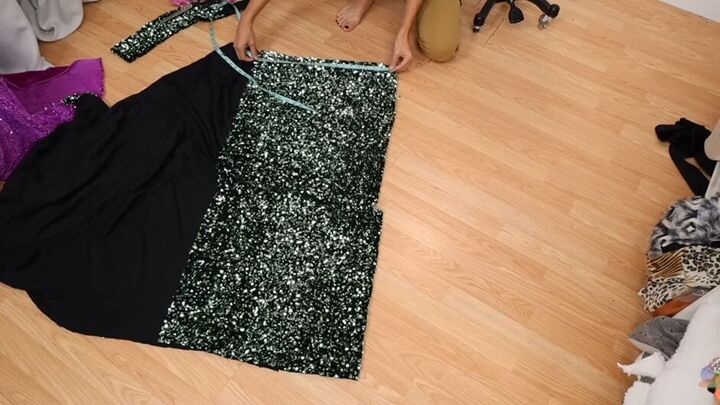
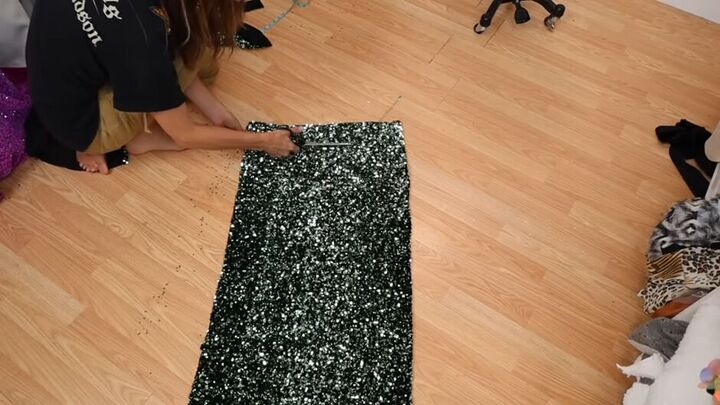
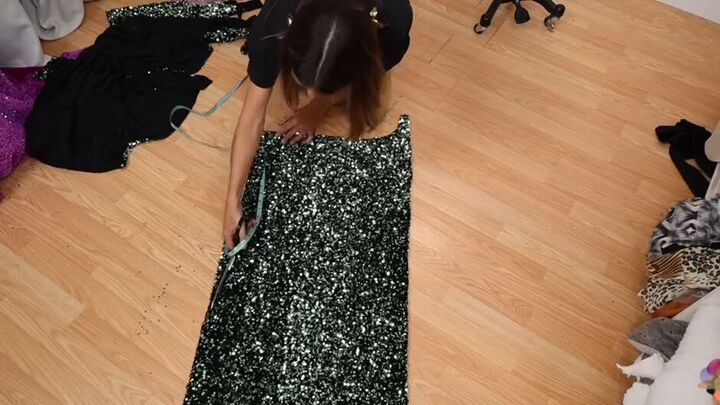
5. Measure the skirt
To make sure you have enough fabric, fold it in half at your widest point.
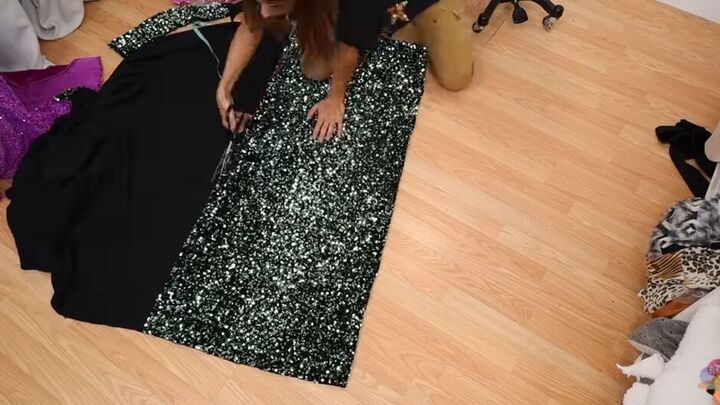
5. Cut the skirt
Cut that piece out of the fabric.
Start cutting your fabric from the raw edge to the fold.
In the above picture, I start cutting where the center of my back will be.
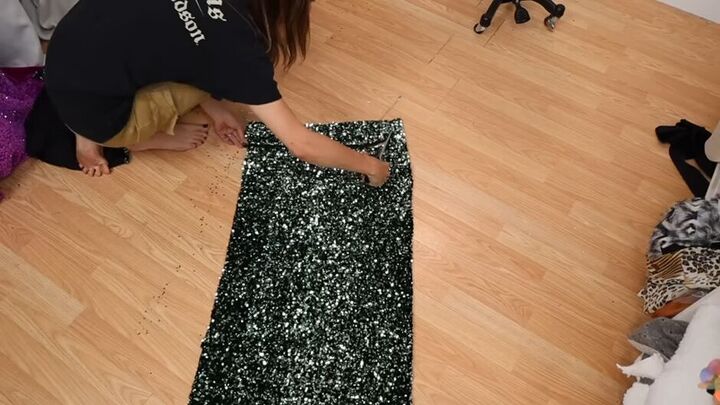
As I start to reach my hip bones I begin to curve the scissors upwards towards my belly button.
Ending up with a tab, center-front.
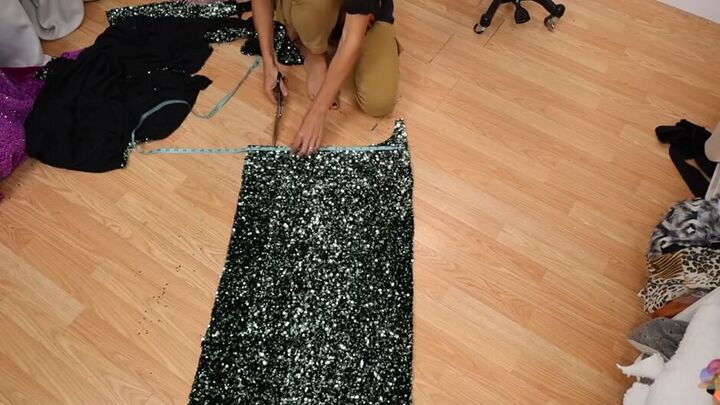
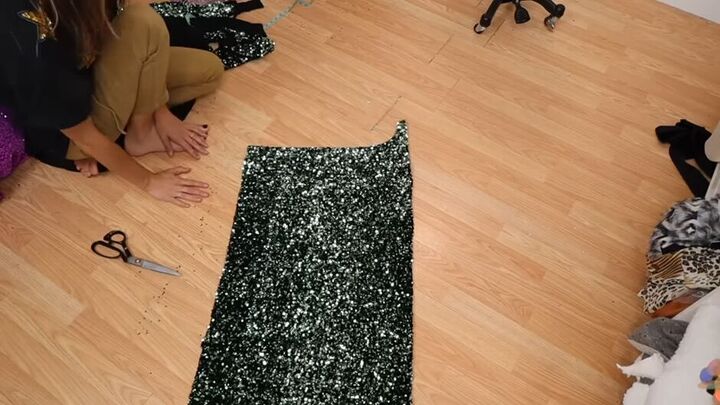
Measure your smallest point. For me, it was my waist which was 19-inches.
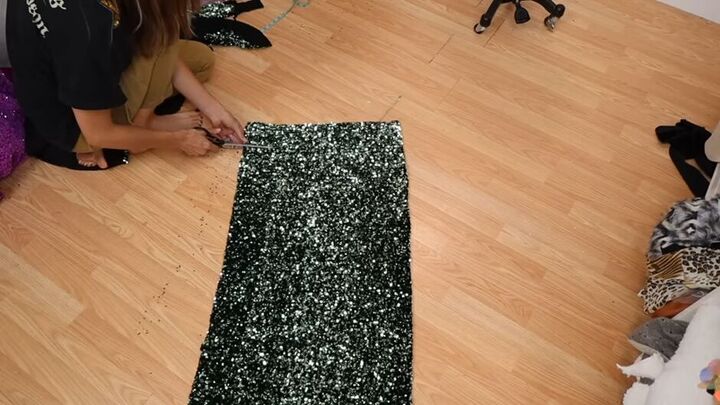
Cut the fabric part way down from that measurement and gradually go back into the skirt.
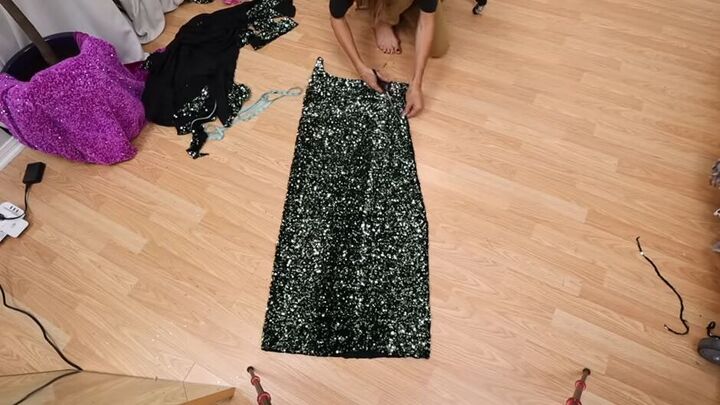
After cutting, I flipped the fabric over, so the front is now on the left in the picture but you should end up with a piece that looks like this.
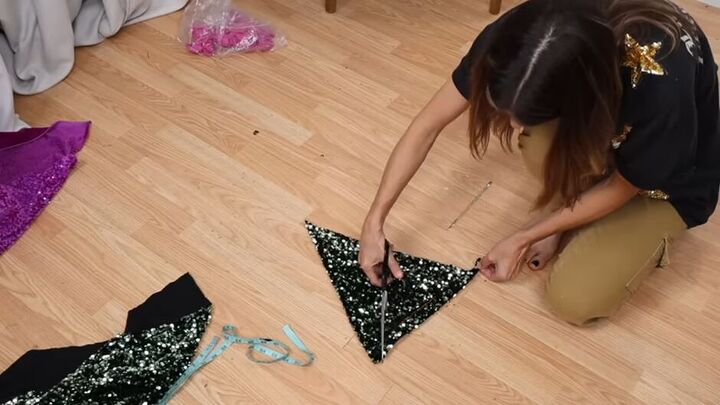
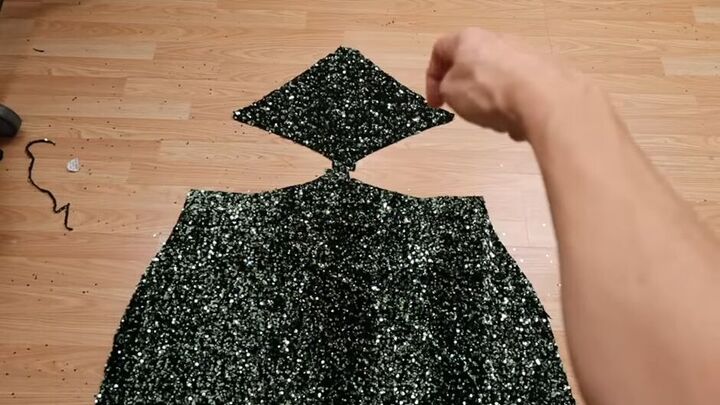
6. Make adjustments
Make sure all the points of the fabric are flattened out since these will fold over to become the casings for the drawstrings.
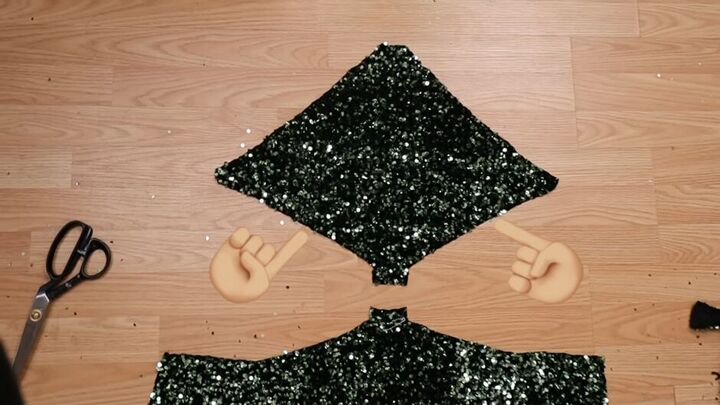
Angle this area a lot more to make a distinct diamond shape.
For a better fit between the skirt and top, cut notches at the points where they will connect.
7. Make casings for your drawstring
Fold down and tack the top, left, and right points of your diamond. Your drawstring will go through these and lace up.

8. Cut the lining
Use the green sequin fabric as a template to cut out the second version of your pattern.
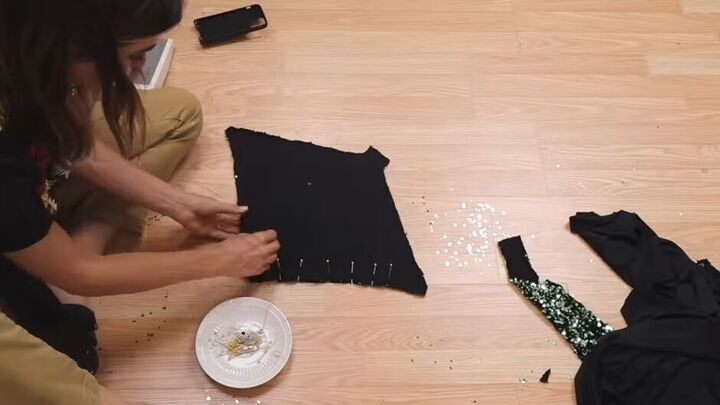
Pin the lining and fabric face to face, leaving the little notch at the bottom open so that you can flip the top right side out.
Cut out the lining for your skirt.
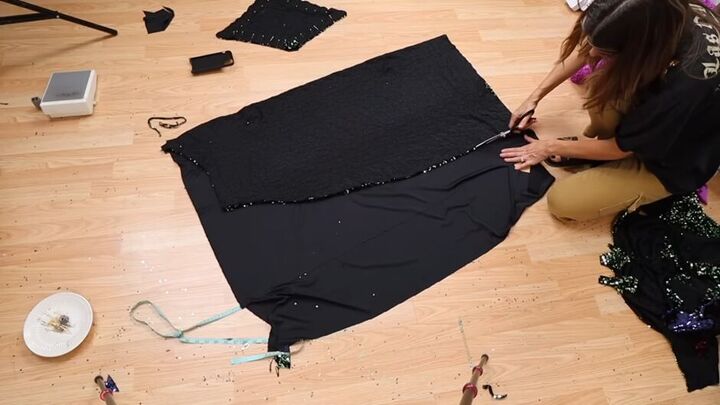
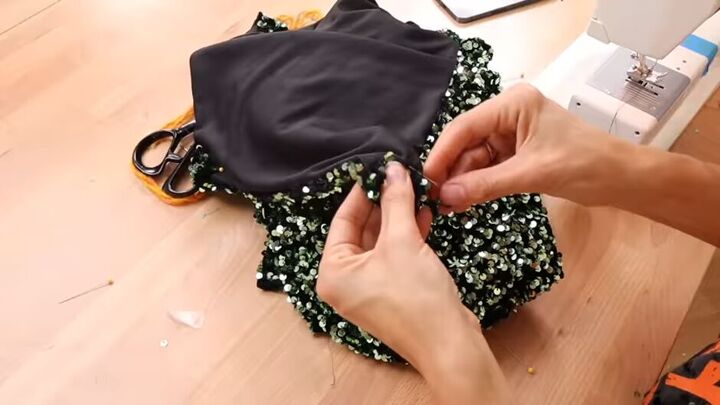
9. Sew the lining and fabric together
Using a zigzag stitch, sew the top pieces together, leaving the bottom notch open so you can turn it right side out.
When I flip it inside out not only is it lined but it's clean finished.
Sew both the lining of the skirt and sequin skirt closed in the back. Now put the skirts inside each other with their wrong sides touching.
Pin them together at the top and sew.
Flip them right side out, ending up with two separate pieces that are only attached at the top.
Push the lining into the sequence skirt.
10. Make the sash
Hand stitch over the casing you tacked down where the drawstring will go through.
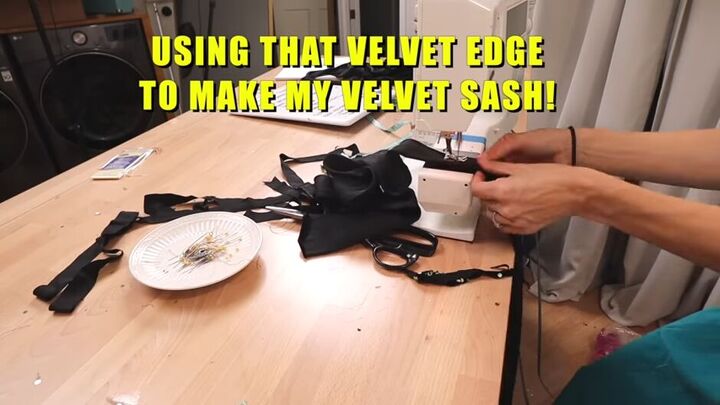
Fold over your velvet edge and use your sewing machine to stitch a seam.
To attach your sash, feed it through the top casing, cross it over and pull each end through the side casings.
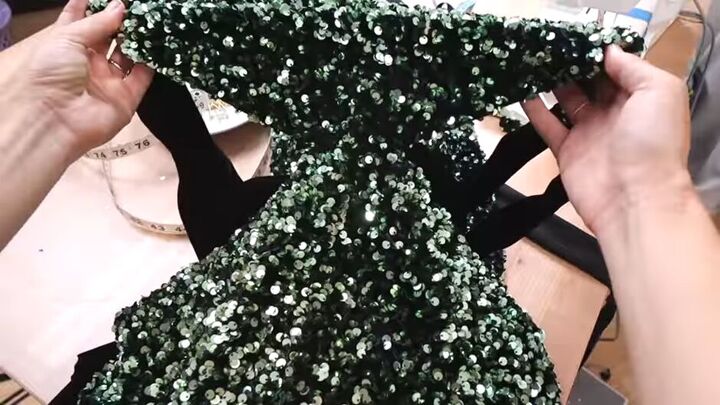
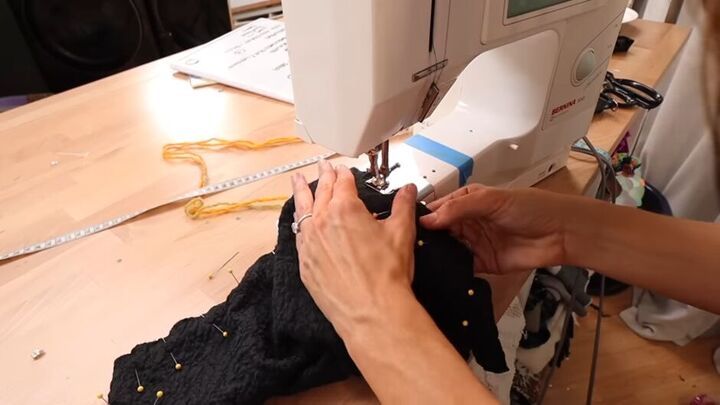
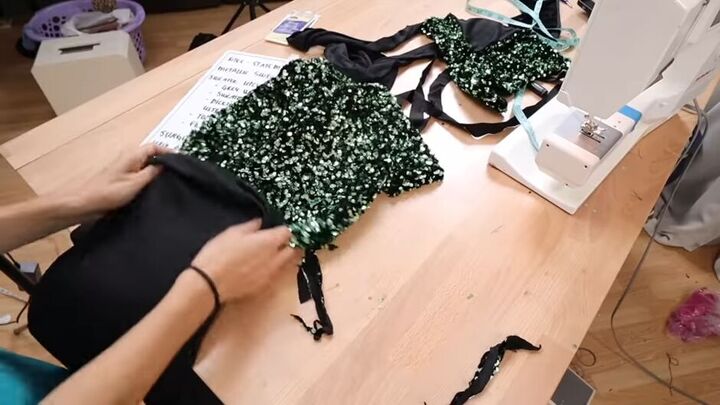
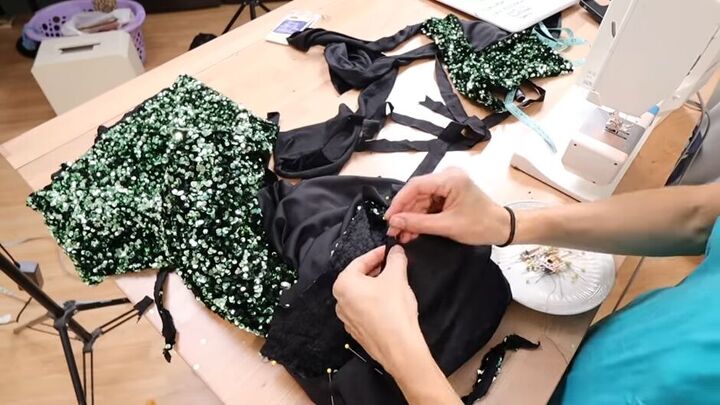
11. Attach your top and skirt together
Place the notches of the two pieces together and sew across.

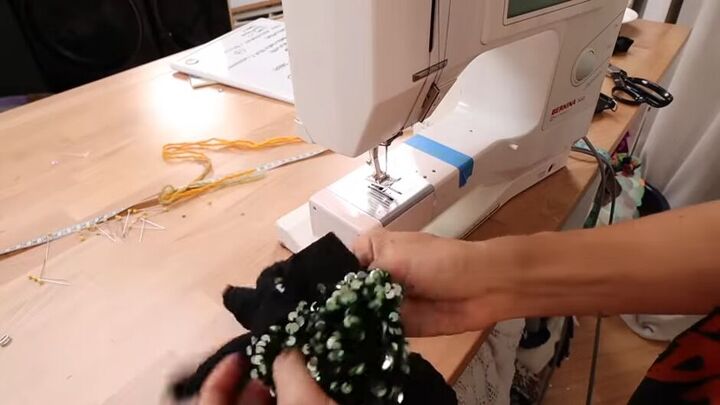
12. Remove sequins
Use a seam ripper to remove sequins that now lie on the inside of your fabric. They should be on your casing tabs and where you attached the two pieces of your sexy sequin dress together.
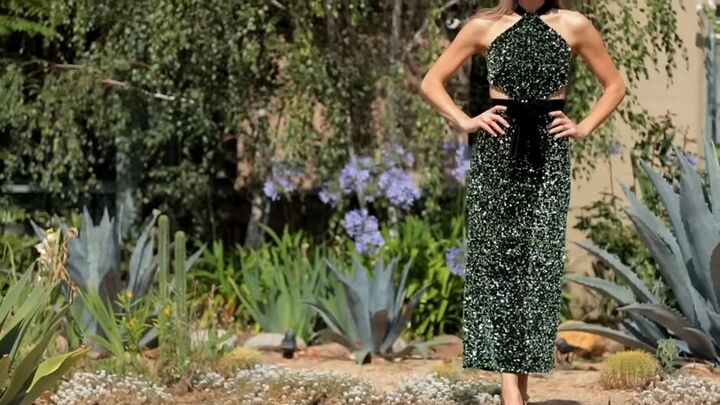
Sexy sequin dress
Here is my final green sequin dress. I tied the sash in the front.
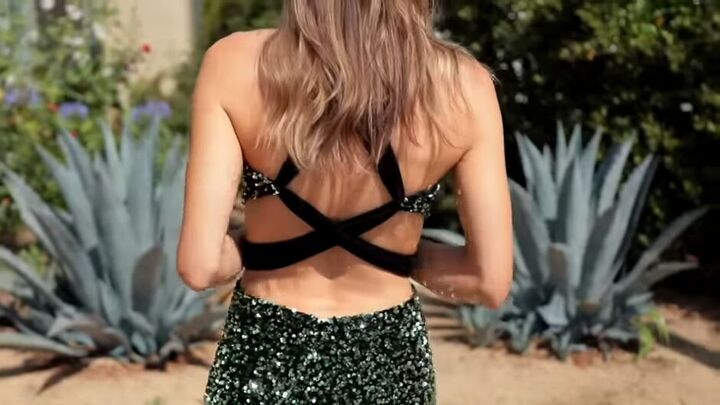
This is the back.
I hope you enjoyed learning how to sew this sexy sequin dress. Please let me know if you decide to try it out.
And, if you want more dress DIYs, check out my other tutorial on How to Create Two No-Sew Red Carpet Worthy Dresses!
The author may collect a small share of sales from the links on this page.


Comments
Join the conversation