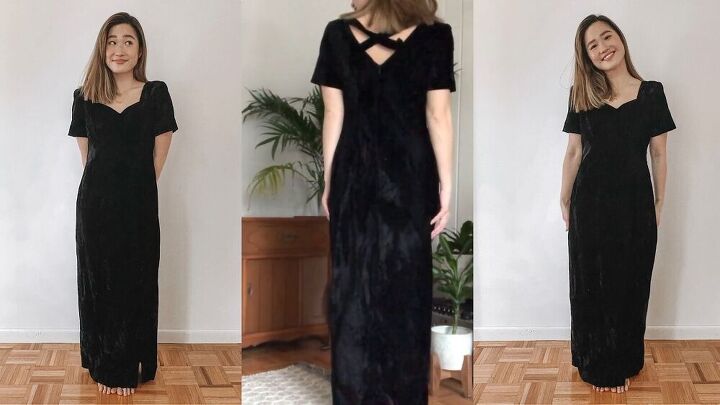
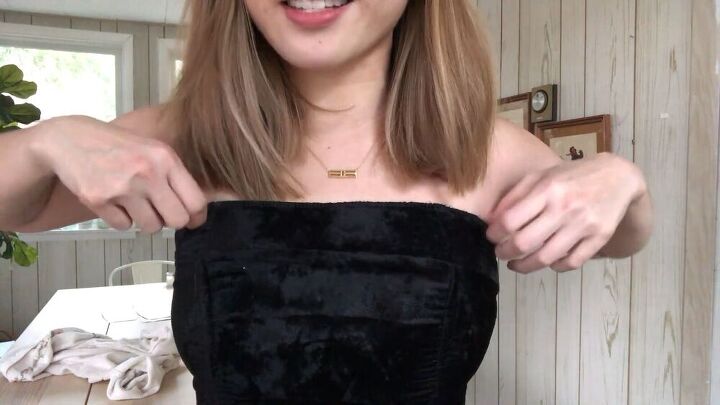
Thrift Flip Alert! This Dress Only Cost Me $2.50!

Ready to see this Reformation dress? It's something off the red carpet! In this tutorial, I used the Navy dress as inspiration, which, by the way, retails for $278. The dress I picked up at the thrift store cost me $2.50. Talk about a big saving! I will show you how to sew a Reformation dress and how fabulous you will look once you're done! Let's jump into it!
Tools and materials:
- Velvet dress
- Sewing machine
- Pins
- Needle
- Thread
- Seam ripper
- Measuring tape
- Bias tape
- Steel boning
- Hook & eye closures
- Pattern (I made a pattern up for this but this link is helpful in creating the princess seam for the top part of the dress)
- Zipper
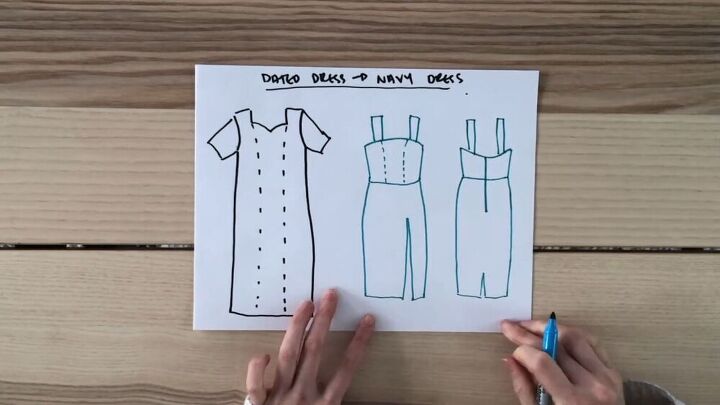
Decide on your game plan
Since I used most of the Navy dress's style as inspiration, I got a pattern that fits the design as much as possible. For the front of the top dress, I will cut out the pieces I need for the new dress's front bodice. I will cut out the pieces I need for the back bodice from the top section's back. I will cut out the pattern I need for the front, with a slit on the left leg from the front skirt section. Finally, I will use the fabric from the back of the dress to assemble the back of the reformation dress. From whatever fabric I have leftover, I will use it for the straps.
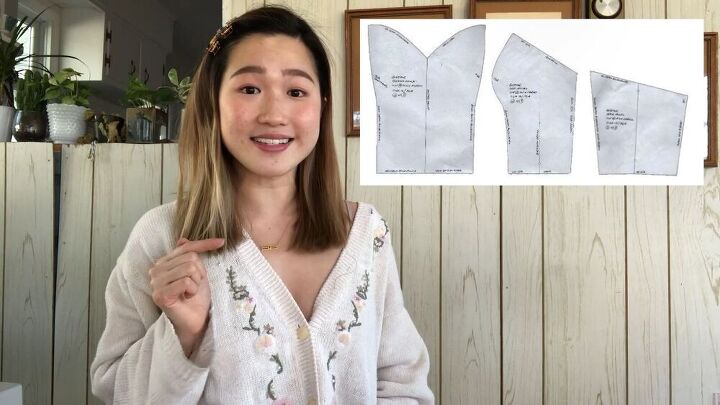
Get a pattern
I had an old pattern that I used many years ago so that I will be using that. You can go ahead and find a pattern that looks like the one in the image; just make sure it has a princess seam. This link might be able to help you out.
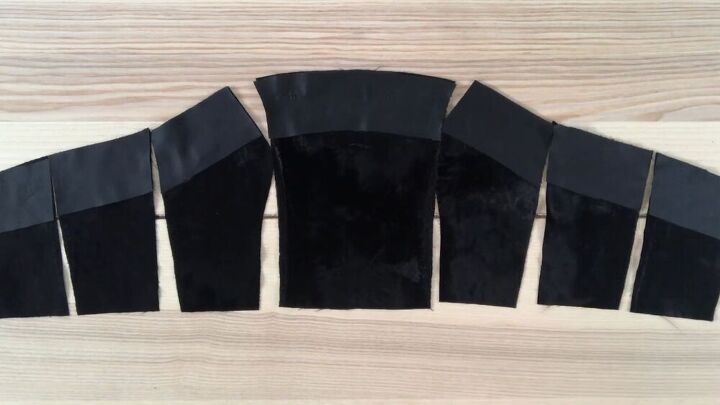
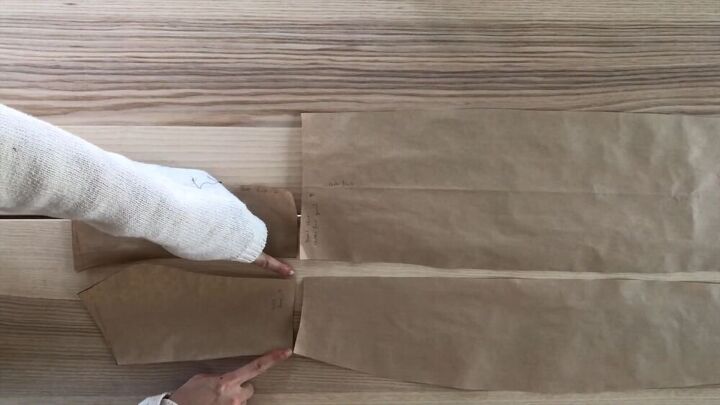
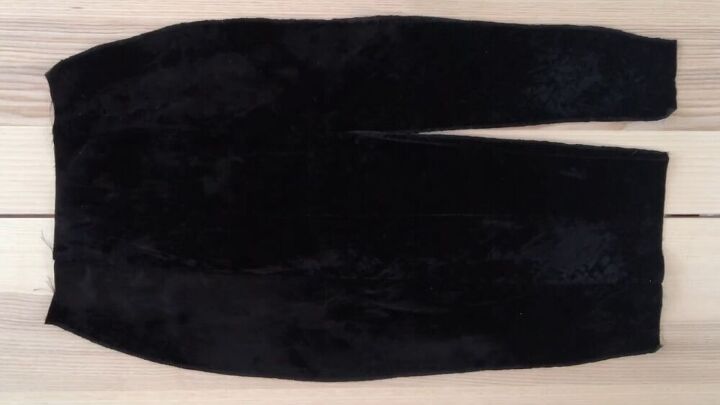
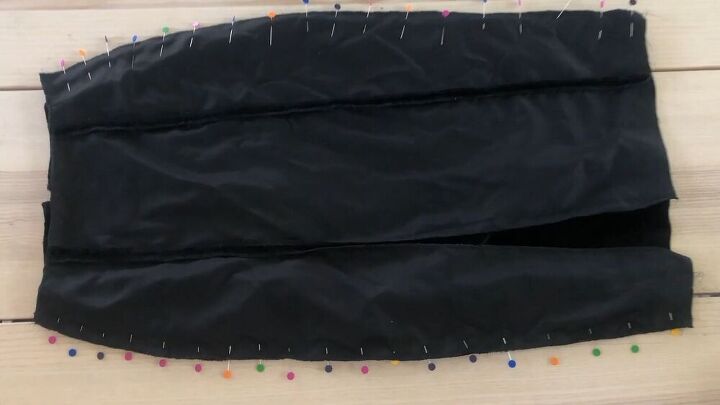
Cut out the pieces
Layout your pattern and cut out the pieces you need for the bodice. I cut this with a rotary cutter for a more accurate edge. Also, cut out smaller pieces for the facing.
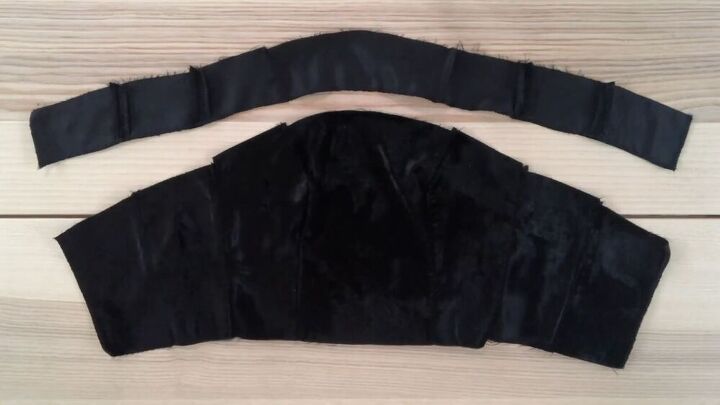
Sew the bodice
Why do we need facing pieces? This will hide the seam's raw edges, and it will give your dress a more sophisticated, glam look. Sew the facing pieces together, but don't sew them to the bottom as yet.
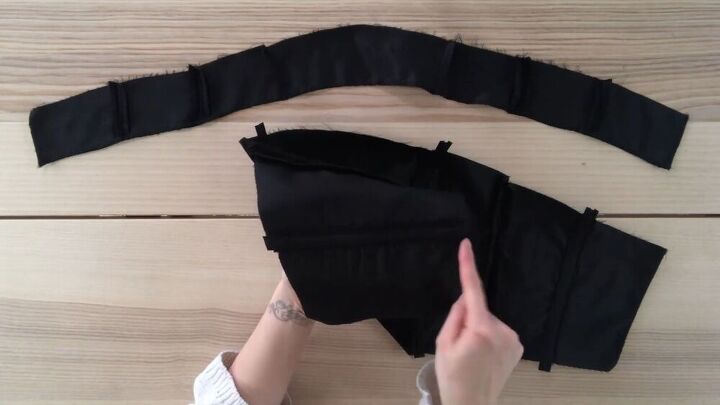
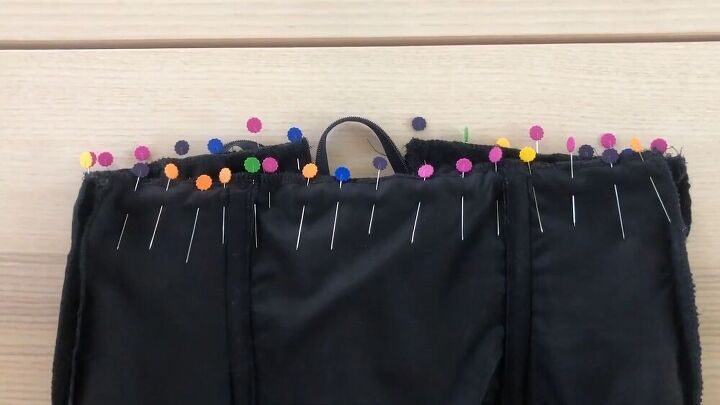
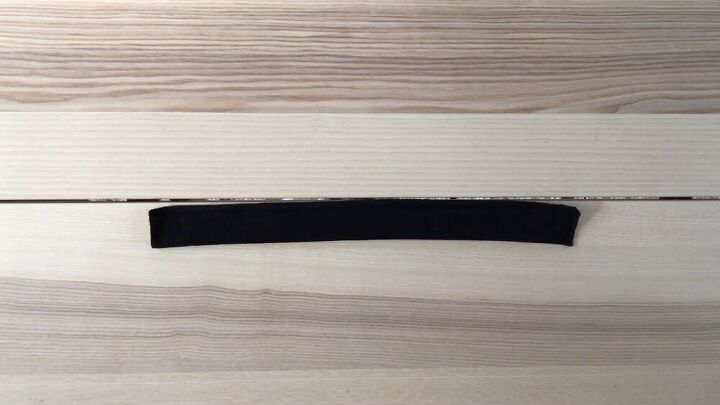
Once the pieces are sewn, it's time to make the casing for your boning on the four seams.
Why am I adding boning to my dress? Because I want to make my dress with removable straps so that I will be able to wear it in so many more styles. To add your casing, use single fold bias tape. Pin it down on either end and sew. This will create a channel so that you can insert the boning.
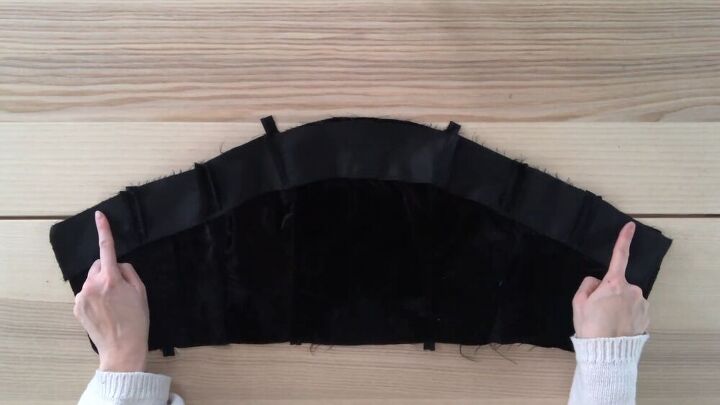
Once the pieces are cut, and the boning channel is installed, go ahead and sew your facing pieces to the bodice. Remember to place them right facing and sew along the top of the seam. Sew this with a straight stitch. This is crucial- don't sew it all along the edge; leave around 2 inches open on either side as you will be installing your zipper.
Sew the zipper on both sides of the center back. Once this is done, go ahead and sew the rest of the facing to the bodice.
Now try on your bodice and see how it fits. I loved the fit on my version, but I wasn't too happy about how low the bodice was sitting. I needed to cover up my chest area a bit more. I pulled my facing panels up, and I realized that it looked much better.
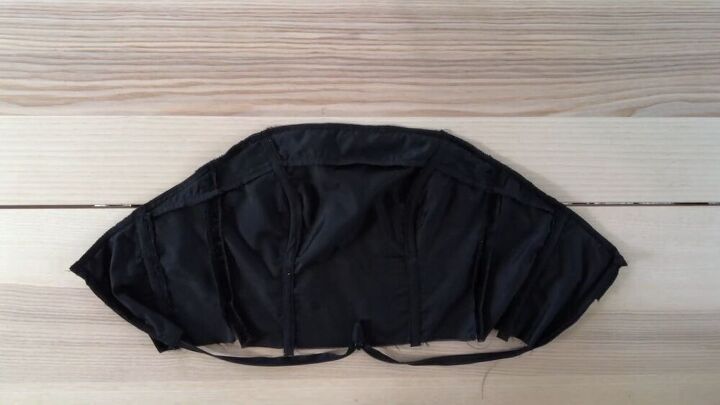
So, I went ahead and added extension pieces to the top. Using my pattern as a guideline, I drew some extension pieces and sewed them to my bodice's top. I also extended the casing of my boning onto two front seams to go all the way to the top. I also cut new facing and sewed it along the sides.
Use steel boning and cut to size. Insert them in the casing and sew the gaps closed.
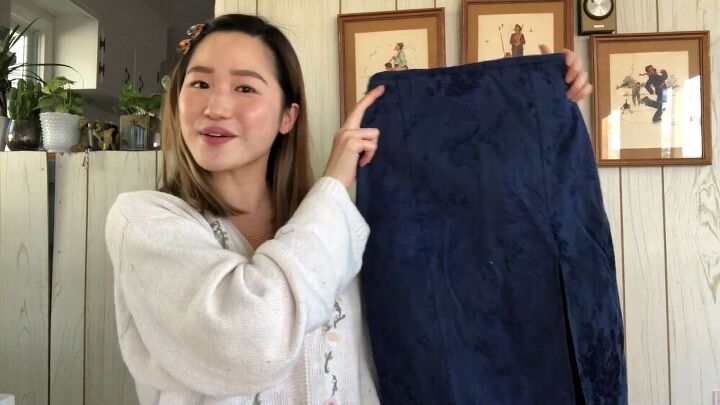
Sew the skirt
I will be using a pencil skirt that I made a few months ago as a guide for the skirt. Go ahead and get a pencil skirt that fits you well and use that as your pattern. Here I opted for a slit, but that is totally optional.
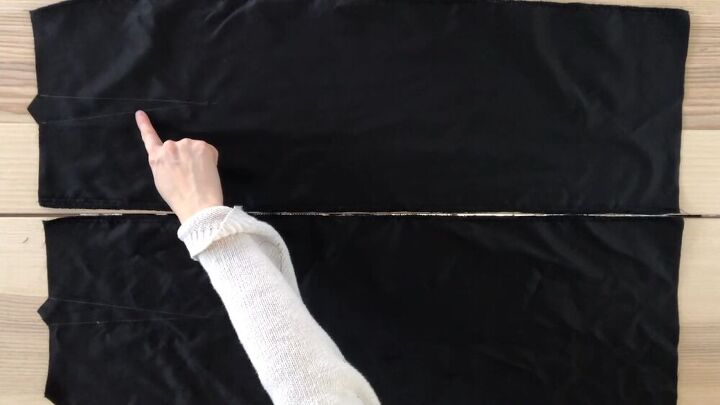
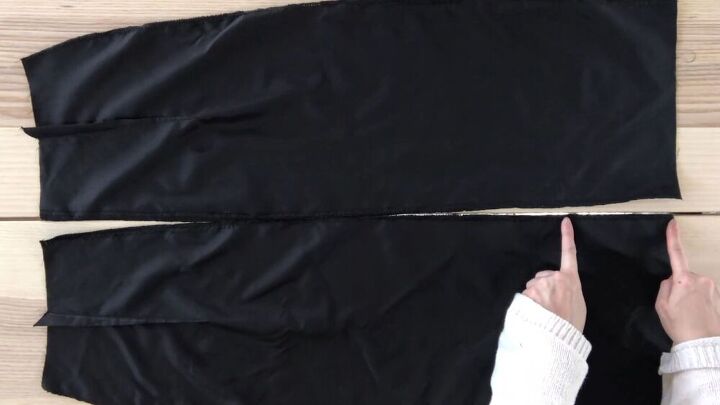
Here are the skirt's pattern pieces. Before you go ahead and cut the fabric, make sure the skirt pattern pieces correspond in size with the bodice's pieces.
Sew the right and center two together, but for the left side, only sew the pieces halfway so that you create a lovely slit.
For the back pieces, repeat the same process, ensuring that the top corresponds to the bottom. Here, you will be sewing three pieces together and a slight opening in the center back. Also, draw out two darts, placing one in the center- back and the other on the right side. Draw it out onto your fabric, so you have a guideline to sew the darts.
When sewing the back piece together, don't sew the bottom section for your slit. Also, don't sew the top section as you will be installing your invisible zipper.
Pin your front and back pieces at the side seams and sew along the sides!
TIP-
Feel free to make your skirt as long or as short as you want. The choice is yours!
Sew the bodice and skirt together
Yay! Can you see how this dress is coming together beautifully? Pin the skirt and bodice together and sew all around.
Attach the rest of the zipper and hem the dress
Now that your dress is somewhat assembled pin the invincible zipper to the center back of the skirt, where you left an opening. Attach the zipper and hem the dress by folding about ¼ inch and sewing it with a straight stitch.
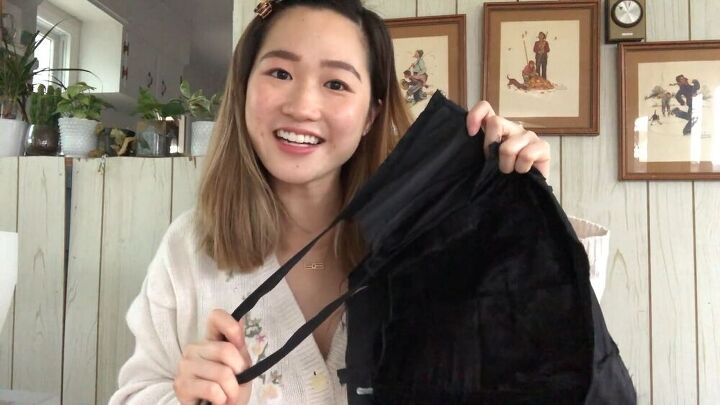
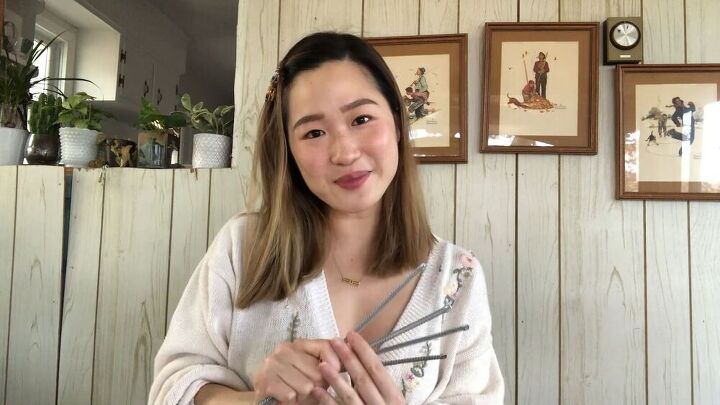
Make the straps
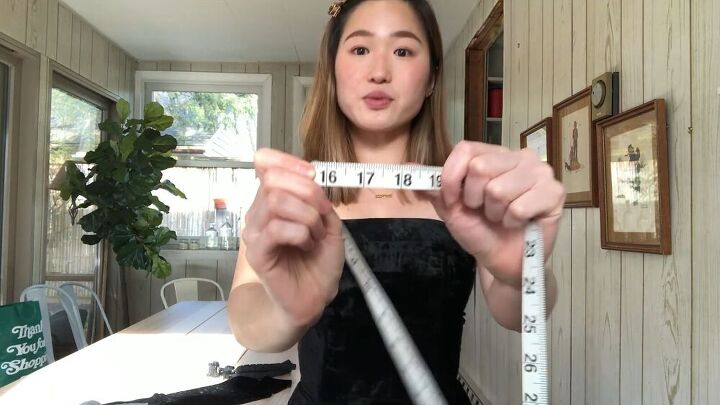
Put on your dress, and with measuring tape, measure from the back bodice to the front. This will be the measurement for the straps. My straps will have to be at least 17 inches long.
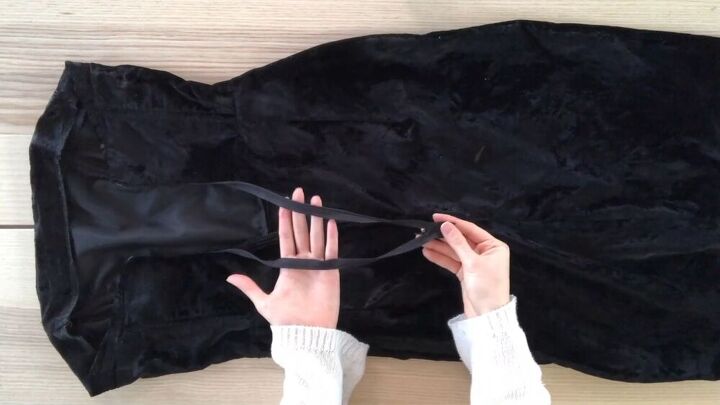
Cut a piece of fabric( Mine was 20 inches by 4.5 inches wide) . Fold the fabric lengthways and sew along the sides and one of the ends. Flip it inside out when done. Fold the raw edge over and sew it closed with a straight stitch. Once you have done that, repeat the process for the second strap.
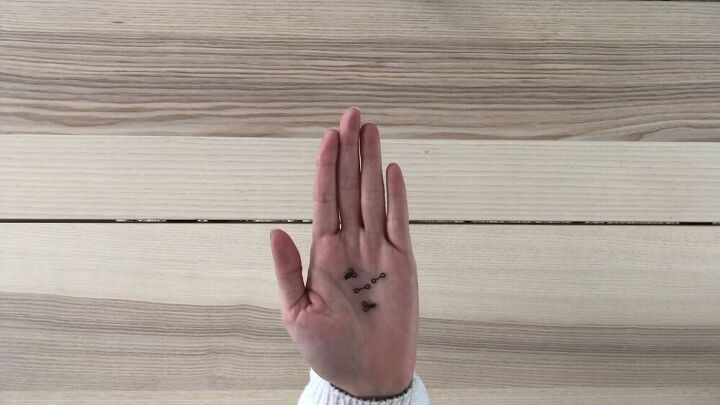
To attach the straps to the dress and to make it removable, I will sew tiny hooks and eyes. I will sew the hooks on the strap and the eyes to the dress. In the end, each strap should have four hooks ( two for each side).
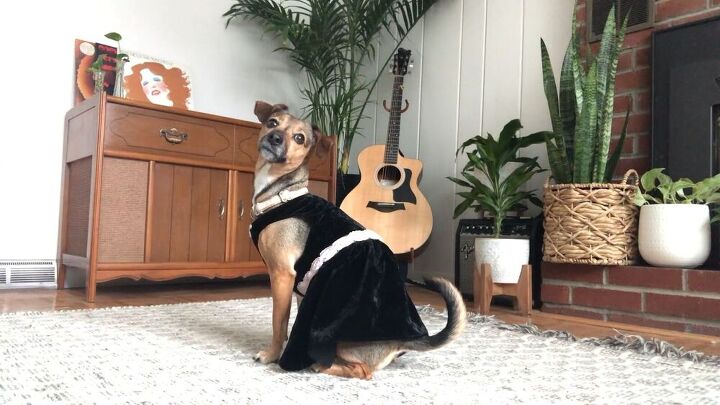
Don't forget your dog's dress
That's right! If not, why not? I had to make a matching, poochy outfit for my dog. I had scraps leftover and decided to put them to good use. How adorably cute is this dress? She looks super stylish, just like her mama! To see how I quickly sewed this fur baby dress, watch my video!


Voila! See, I told you this is something out of a red carpet premiere! How sleek and amazing does this Reformation dress look? I love it! You can opt to wear it with or without the straps, and the choice is yours. I really enjoyed making this easy Reformation dress, and I hope you find great inspiration from this tutorial to make your own!
The author may collect a small share of sales from the links on this page.


Comments
Join the conversation
U look absolutely Gorgeous in ur re-make, it turned out so Beautiful!!!!!!!!👍️🤩
Great use of the $2.50 dress from the thrift shop! I like that you made a dress for your cute little dog too. 🤗