Bleach Tie Dye Tutorial: How to Tie Dye a Shirt With Bleach

Hi everyone! Today, we are going to do bleach tie dye on one of my old work shirts. This was really easy and a lot of fun. So, let’s get started.
Disclaimer: Bleach can cause irritation to the skin and damage surfaces. Please read the warnings on the bleach you use and wear appropriate protective equipment, such as gloves.
Tools and materials:
- Old shirt
- Bleach
- Water
- Plastic bottle
- Tye dye
- Rubber bands
- Protective equipment
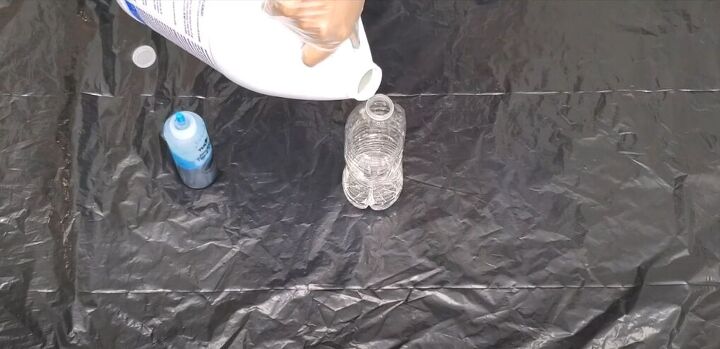
1. Prep tie dye and bleach mixture
For this tie dye DIY, I bought a single Tulip tie dye in turquoise blue. I also have a bottle with just a little bit of water in it.
I'm going to add some regular old bleach to the water, diluting it so it won't be too harsh on the fabric. Then, I shake the bleach and water mixture up, mixing it well.
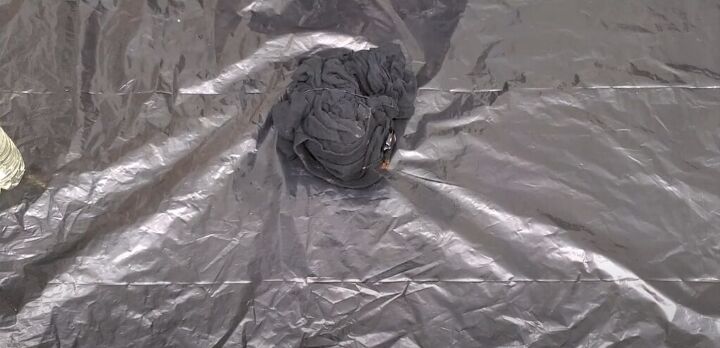
2. Ball the shirt up
Next, I’m going to ball the shirt up and secure it with rubber bands. You want a nice and tight ball that won’t come apart.
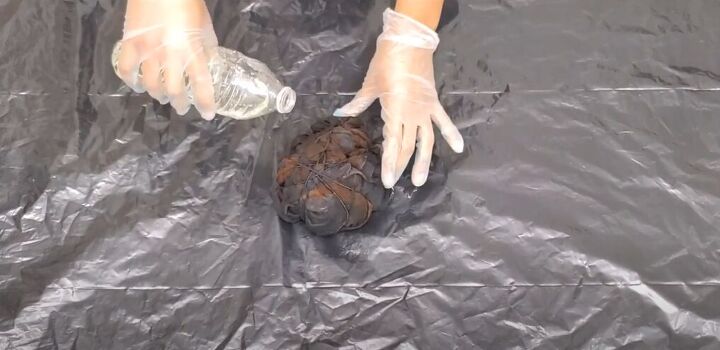
3. Apply the bleach mixture to the shirt
Next comes the fun part! Add the bleach water mixture to the shirt.
There's no method to this madness, just pour it on at random, though don’t pour it all onto one spot or you won’t get the desired tie dye effect.
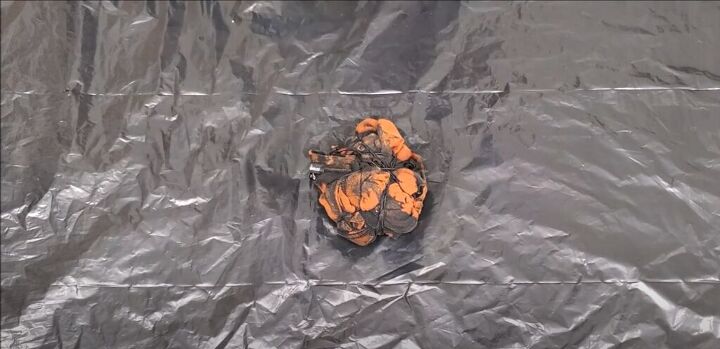
4. Bring out the yellow tones
You’ll see that the color of the shirt begins to change very quickly!
Keep adding the bleach water mixture until warmer, yellow tones begin to appear. This will allow the color we add later to properly show up on the shirt.
5. Wash the shirt
Once you're satisfied with the color, you're going to take all of the rubber bands off and you're going to rinse it out.
Then, wash the shirt in the washing machine (without anything else in there!)
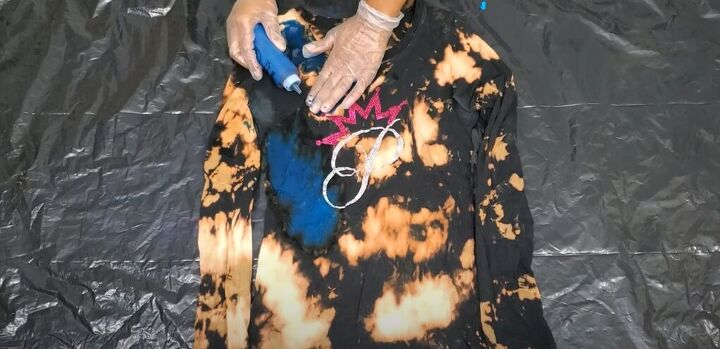
6. Add the tie dye
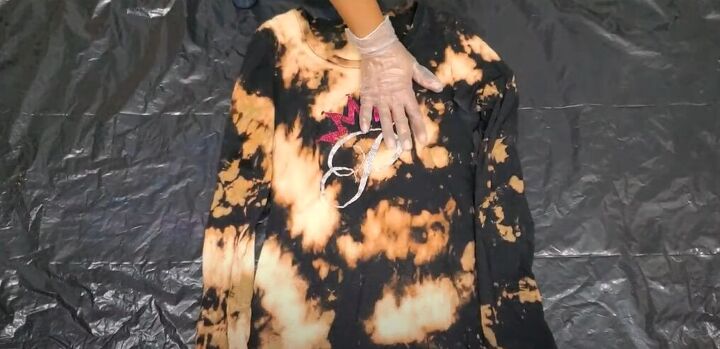
This is my shirt after it’s been washed and dried. Now I'm going to use my Tulip tie dye.
I’m going to start off by placing it in the light spots to make sure I get the heavy saturation in these spots.
Then, I’m going to ball up the shirt and apply the rest of the tie dye more randomly. Then, I squish the shirt up to help the dye spread.
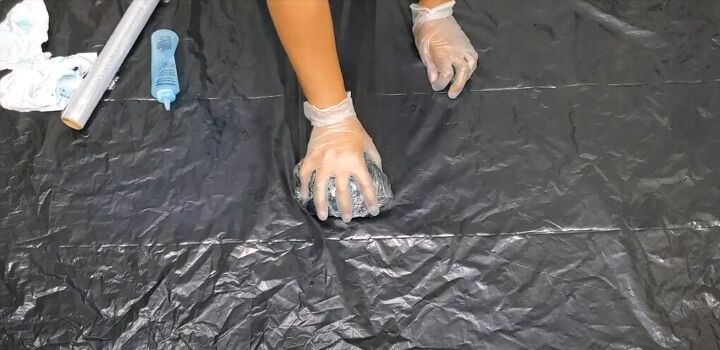
7. Wrap in plastic
Next, I’m going to put some plastic wrap around the shirt and seal it up because I want it to stay wet for about 30 to 35 minutes.
8. Wash the shirt again
After this time, I rinse it, wash it in the machine, and dry the shirt as I did before.
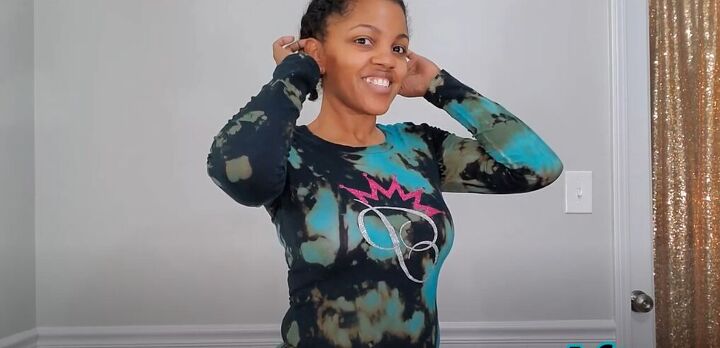
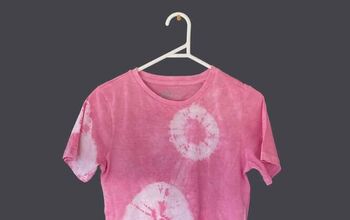
Completed bleach tie dye
And this is the finished product! I really love how this blue turned out - it's so amazing!
I really hope you enjoyed learning how to tie dye a shirt with bleach. If you did, leave a comment below! What clothing item would you like to bleach tie dye?
The author may collect a small share of sales from the links on this page.


Comments
Join the conversation
❤️❤️I love this! I am going to try it on some shirts that need a refresh.