Thrift Flip: Simple DIY Halter Top in 2 Hours

From embroidered blazer to a lovely DIY halter top. What a magnificent transformation! I am going to do a thrift flip DIY halter top. Of course, I will teach you how to do this in this tutorial. It's super easy and may take some time but totally worth the thrift flip.
To do this sewing project, you can use any old buttoned-down shirt you want to alter. I hope you enjoy it, let's get started!
Tools and materials:
- Old blazer or buttoned-down shirt
- Interfacing ( If needed)
- Fabric blade
- Pins
- Sewing Machine
- Hook
- Measuring tape
- Chalk
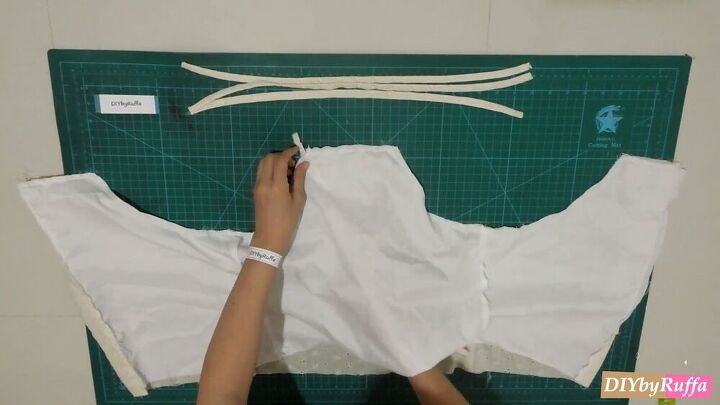
Measure
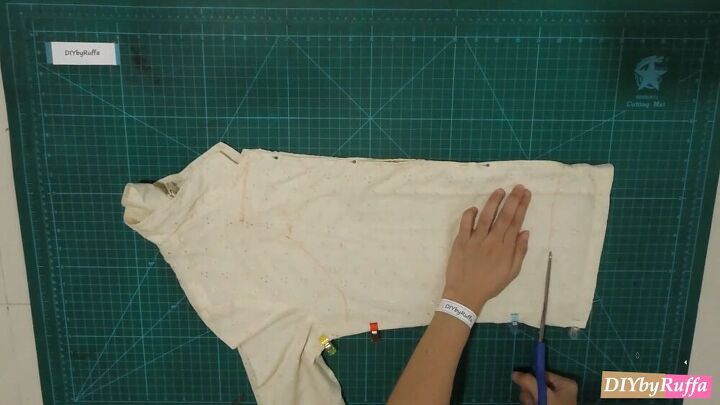
You should measure your neckline, armhole, and the length and width of your upper body. Button up your shirt, fold it in half, and mark your measurements, specifically those listed above.
TIP-
The blazer here fits me well, so I didn't really need to modify too much. If you are using a larger shirt, then make sure your measurements are accurate.
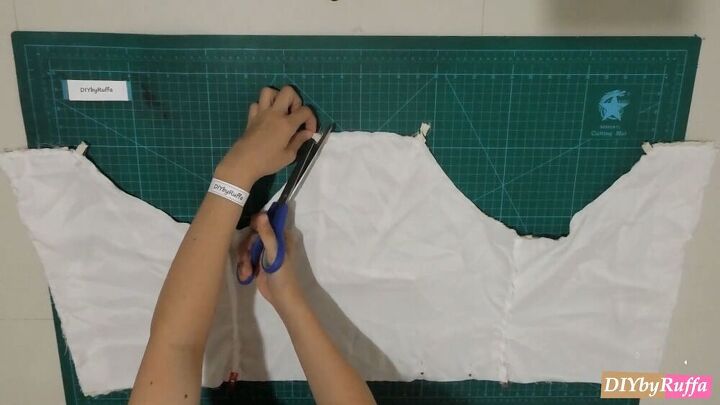
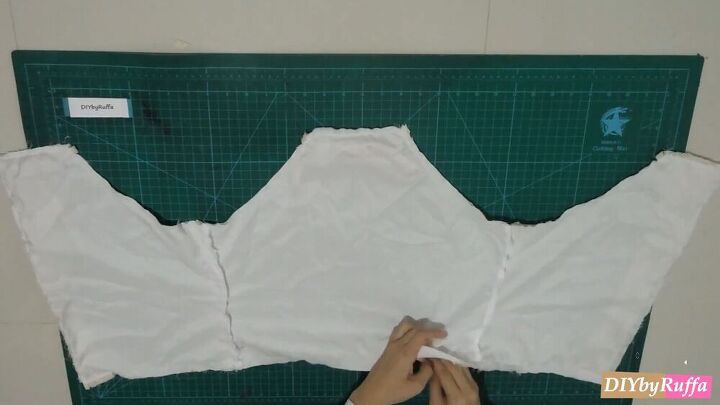
Cut and fit
Once your measurements are done, cut out the pattern and fit it on. This will ensure that if you need some adjustments, you can do so from the start. As you can see, I needed some adjustments and cut the upper side seams accordingly.
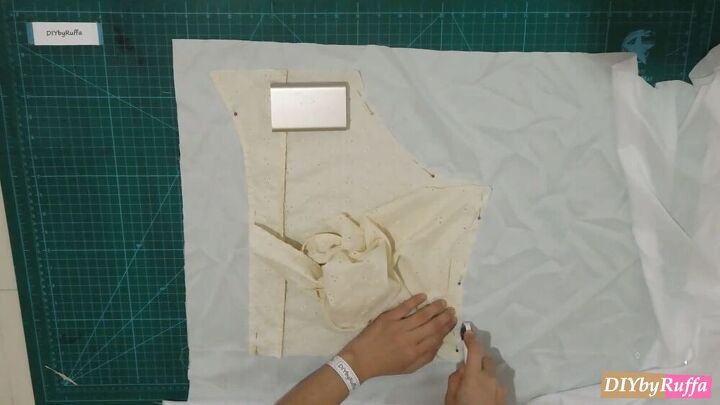
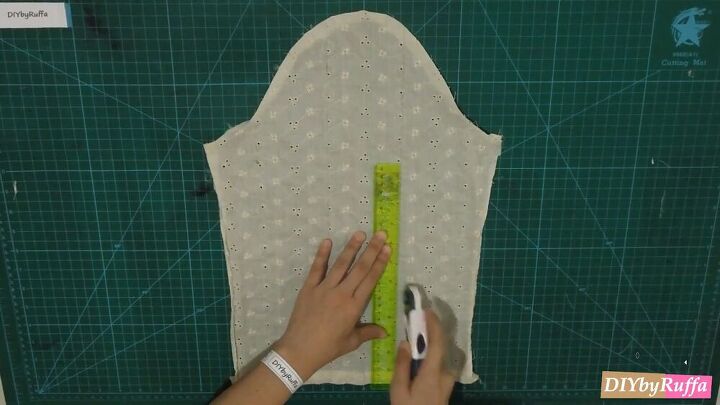
Optional - Add interfacing
Since my blazer has tiny holes, I decided to add interfacing. This step is optional, but if you also need this, don't skip this step. What you do here is trace the outline of your bodice on a layer of interfacing. I used a sharp fabric blade to make the lines as accurate as possible. Make sure to do this on all pieces, and then sew it together afterward.
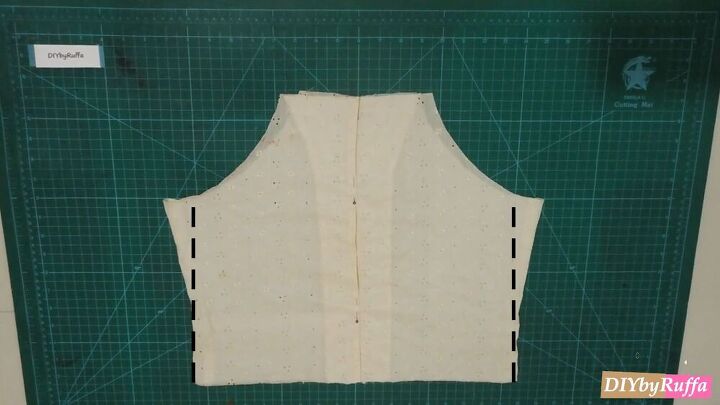
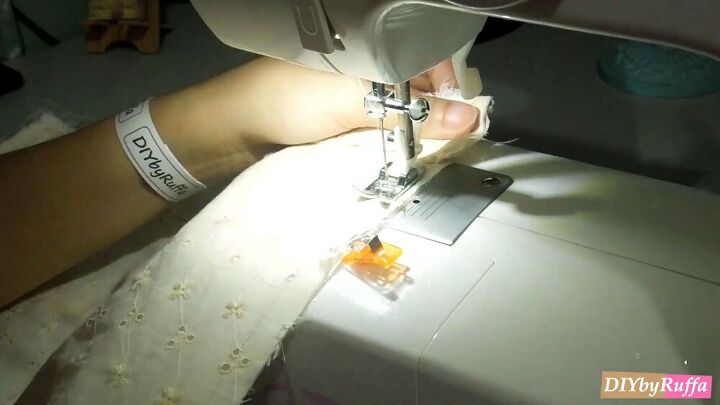
First, sew the side seams and then sew up all the seams, except for the bottom part.
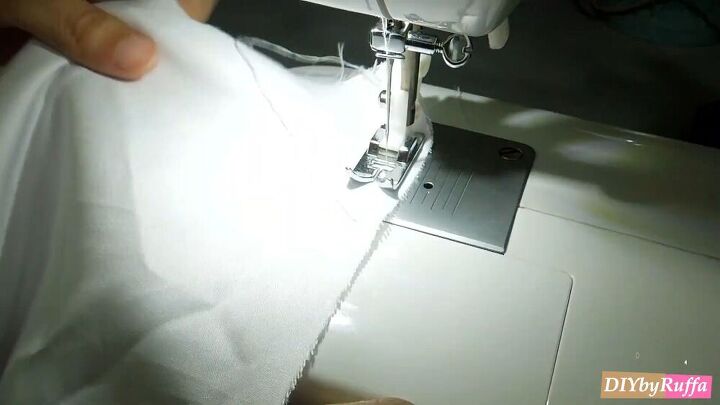
Next, sew the interfacing to the fabric.
Make the straps
From the sleeves of the blazer, cut 4 4cm x 46cm (1.5 x 18 inches) strips.
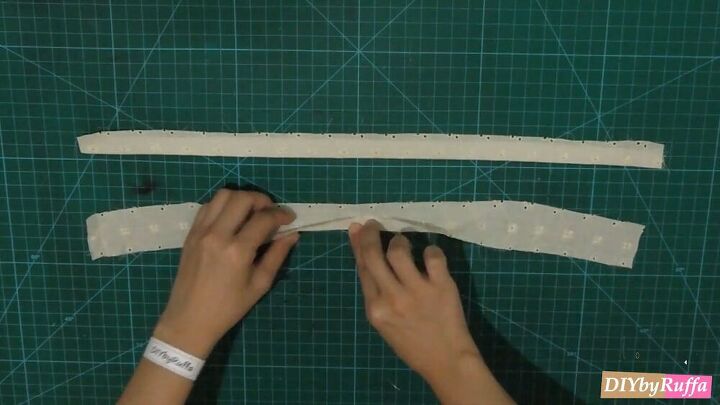
Then fold it together, with the right sides facing together, and sew. Don't forget to fold and hem the sides to get rid of the raw edges.
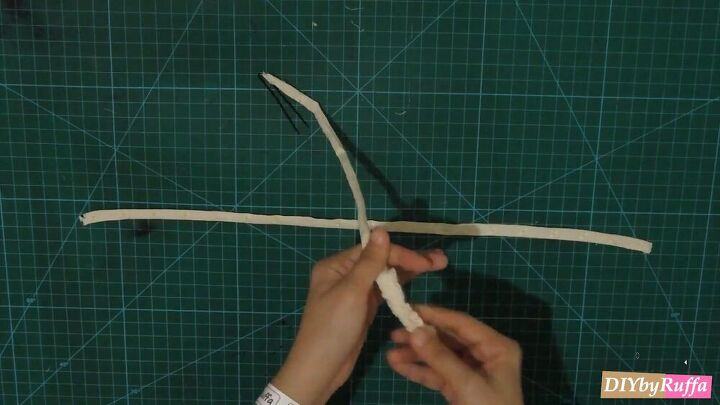
Finally, turn them inside out. Using a pair of tweezers to help guide you, pull it from the inside out.
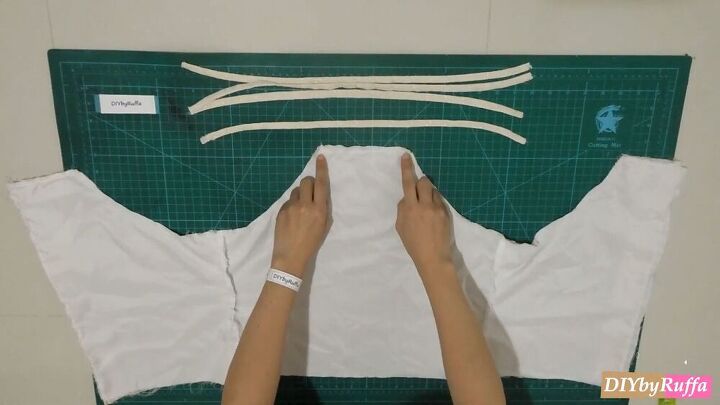
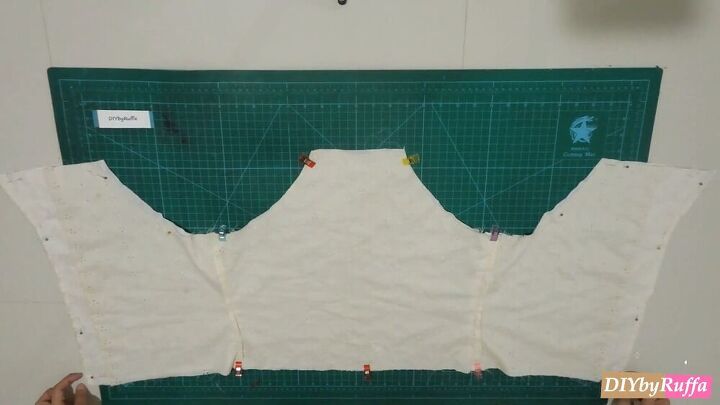
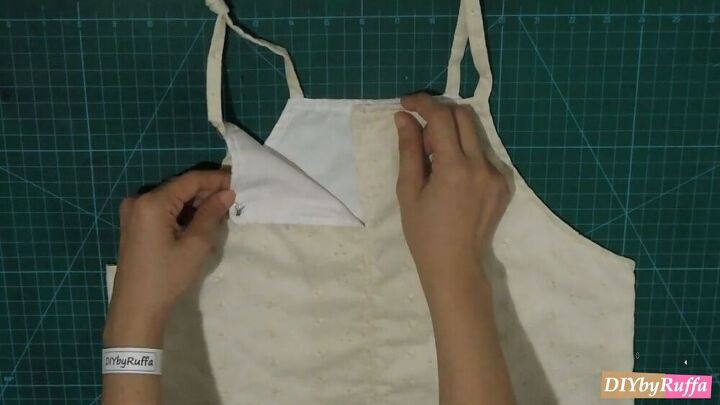
Assemble the DIY halter top
Seam rip four holes on either corner of the middle section on top and the side sections.
Next, feed the straps under the interfacing. If you do not have interfacing, simply attach it. Make sure the edges of the straps poke out on either corner. Pin in place once you are satisfied with the placement and sew to secure.
Snip off the excess straps.
Hem the bottom seam and turn inside out
Go ahead and hem the bottom seam, leaving a gap open so that you can turn the halter top inside out.
Now turn the top inside out through the gap at the bottom seam. Can you see the lovely design coming to life? Don’t forget to press the seams and stitch the gap closed.
Close the back part
Stitch the two back parts together by hemming them together. Leave a 4cm (1.5 inch) opening on top and attach a hook to the top edge as shown. Tie the straps together at your preferred length.
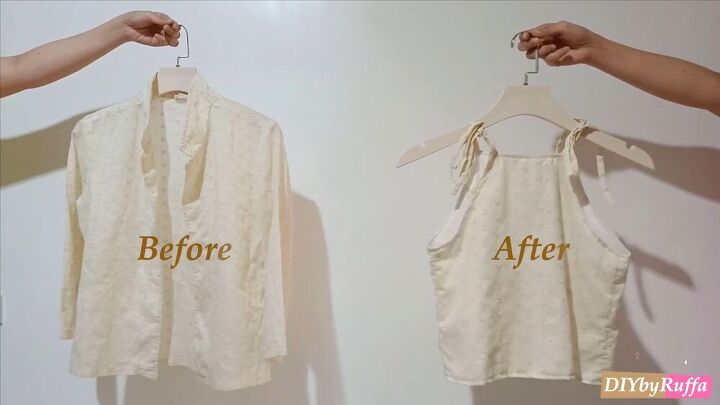
Let's take a look at the before and after results. Isn't this just jaw-dropping? I love a good transformation, and this one is my favorite thrift flip!

Wasn't that easy? Even easier if there's no need to put interfacing. I absolutely love this thrift flip, and I hope you did, too. I am so in love with the outcome, and I hope you are, too.
The author may collect a small share of sales from the links on this page.


Comments
Join the conversation