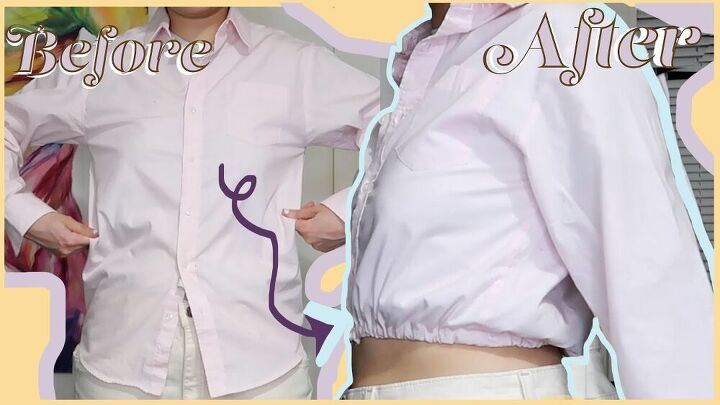
DIY Elastic Hem Top

If you guys are like me, you have some shirts in the back of your closet that can definitely use an update. This is a quick way to turn any shirt from drab to stylish. Follow the instructions below on how to make an easy elastic hem in any shirt!
Tools and materials:
- Old or oversized shirt
- Iron
- Sewing chalk or other marking tool
- Ruler, preferably a transparent one
- Sewing Machine
- Safety Pins
- Pen
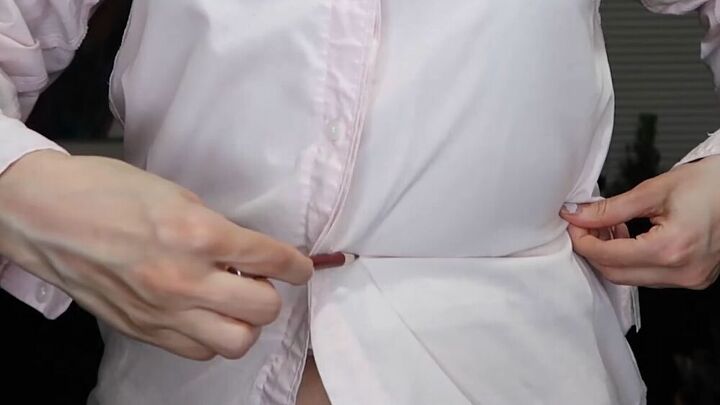
Mark the hemline
Iron your shirt so that there are no wrinkles or creases and put it on inside-out. Using any type of writing utensil (except for a Sharpie!) mark where you would like the hem to be. Take the shirt off when you are done.
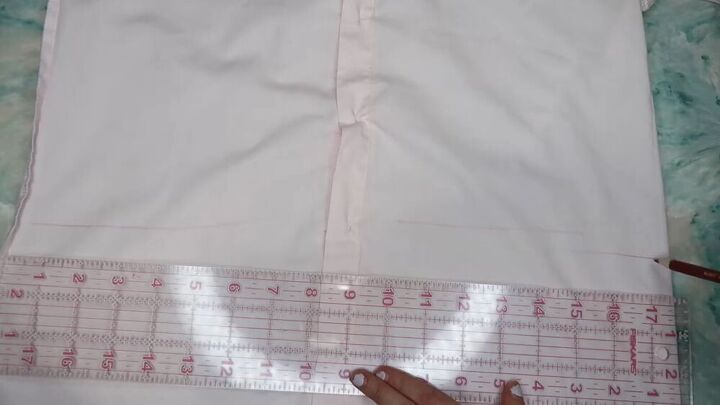
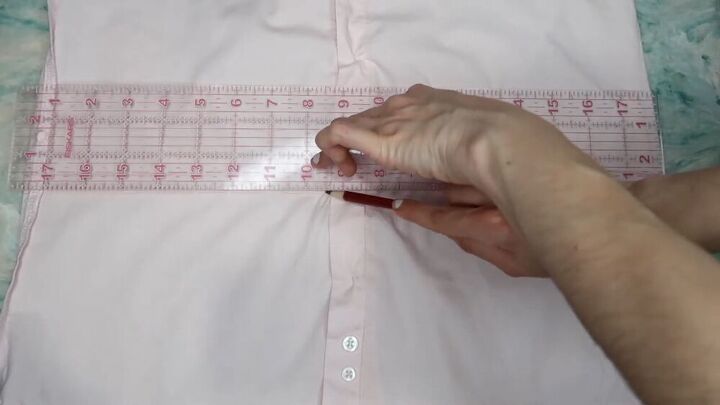
Trace the hemline so it’s straight
Trace the line that you made on the shirt using a ruler. To make sure that it’s straight, measure the distance from the line to the edge of the shirt. My line was six inches from the bottom of the shirt.
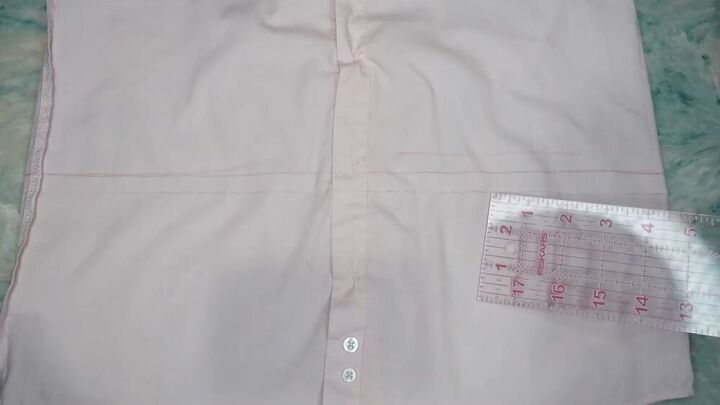
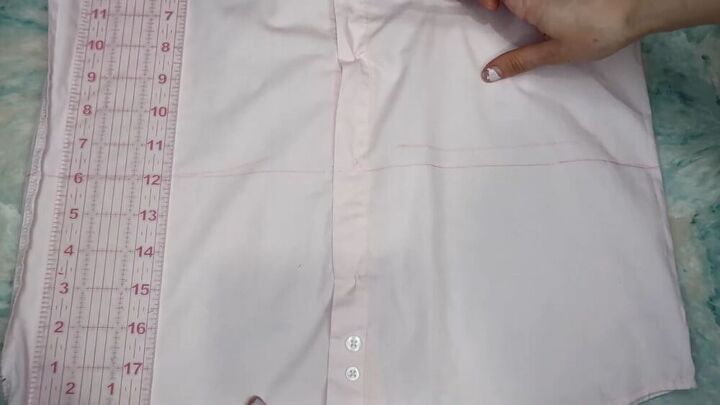
Add seam allowance
Once you have measured your hemline, draw another line about half an inch to an inch below the first one. This is your seam allowance, the part that will be sewn up to create a clean edge food your shirt and a pocket for the elastic.
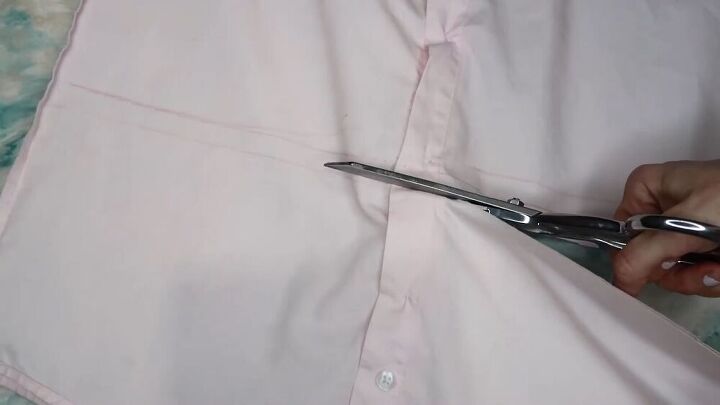
Cut
Cut the bottom of the shirt along the seam allowance line.

Iron
Fold the bottom of the shirt over along the hemline that you traced and iron it down. This will make the sewing process easier.
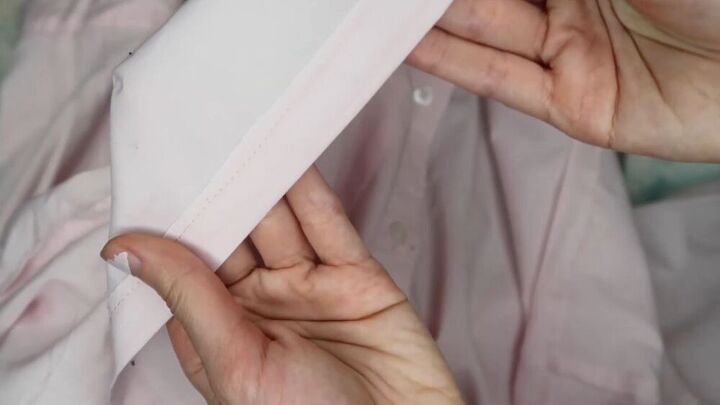
Sew the hem
Using a sewing machine, make the hem. When you do this, make sure to sew along the top of the folded edge so that you have enough space to string the elastic into the seam.


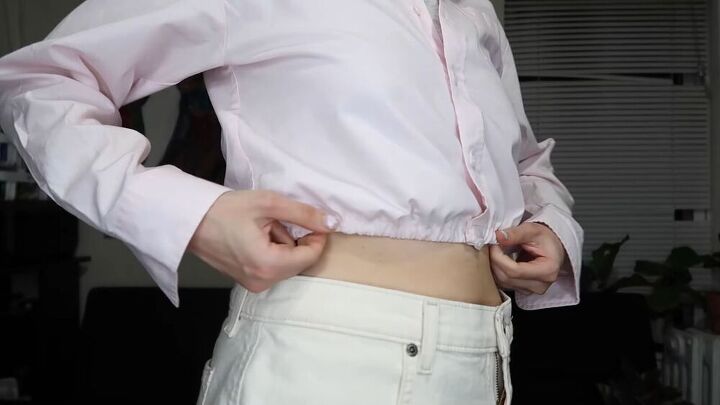
Measure and cut the elastic
Wrap the elastic around your waist and pull it until it is the desired tightness. Mark with a pen, making sure to allow half an inch extra for the seam allowance.
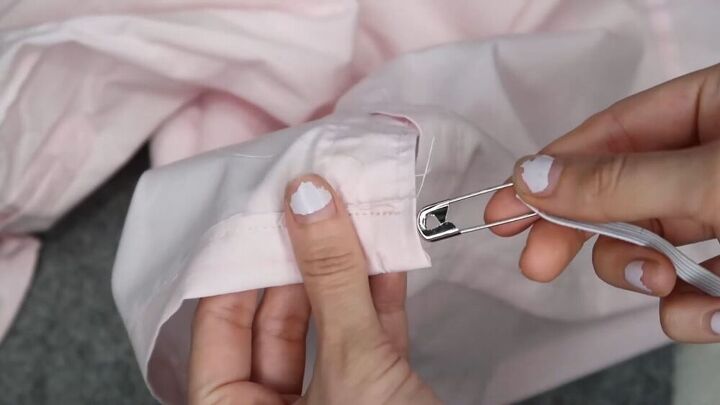
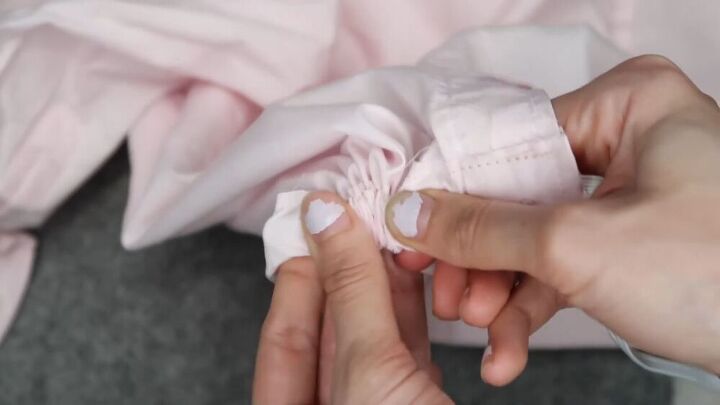
Thread the elastic into the hem
Put a safety pin into each end of the elastic. Use the safety pin to thread the elastic through the hem. Push the safety pin into the hem, stopping every once in a while to pull the fabric onto the elastic. Make sure that when you pull the fabric you’re holding tightly to the safety pin! Repeat this until the safety pin comes out the other side. During this process, you will see a nice ruching effect emerge.
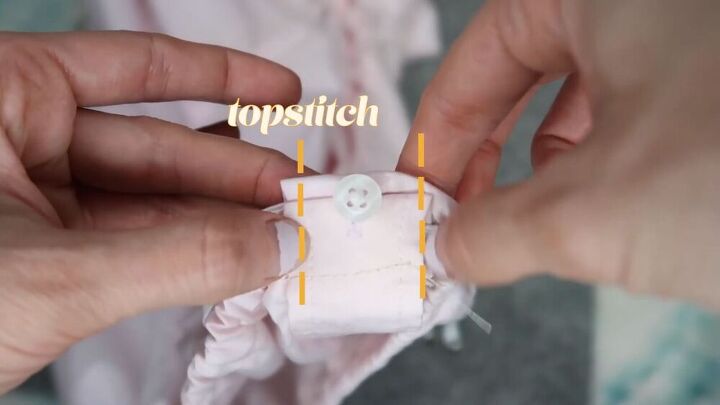
Finish it off
Once you’ve got the elastic through on both ends, try the shirt on again to make sure that the elastic is really as tight as you would like it to be. Once you’ve done this, you’re ready to finish the shirt by making two topstiches on either side of the hem where the elastic is sticking out. Then snip off the extra elastic and your shirt is ready to wear!
I hope you can use this tutorial to upcycle lots of shirts in your closet! Please leave your comments below to let me know what you think.
The author may collect a small share of sales from the links on this page.


Comments
Join the conversation