How to Make an Easy DIY Elastic Crop Top

In this DIY, I’m going to show you how to make an elasticated crop top. The top is really easy to sew and doesn’t take long, so if you’re a beginner at sewing, this is a perfect project for you.
The end result is super cute and perfect to wear on a hot sunny day.
Tools and materials:
- Non-stretch fabric
- Tape measure
- Fabric marker
- Ruler
- Elastic
- Pins
- Iron
- Safety pin
- Sewing machine
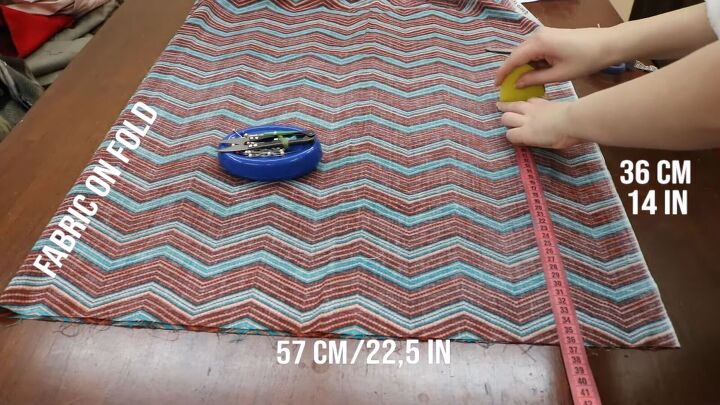
1. Mark and cut the fabric
Begin by folding the fabric in half so that the right sides are touching. Then you’re going to measure the fabric and proceed to cut it out.
The measurements I used are 57cm (22.5 inches) in width and 36cm (14 inches) in length.

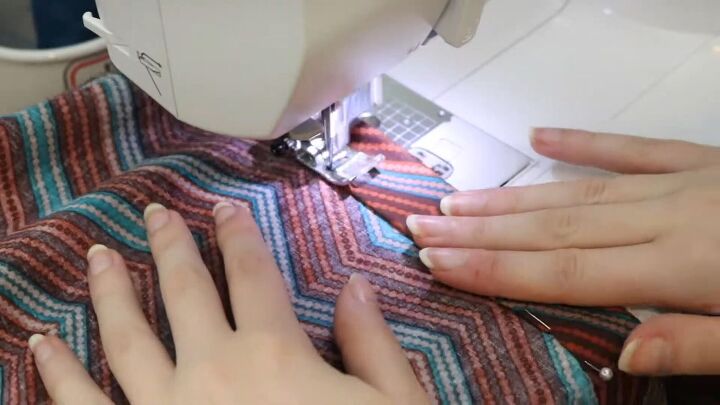
2. Pin and sew
Proceed to pin along the open side and then sew it down. After sewing that first part, press the seam open with an iron.
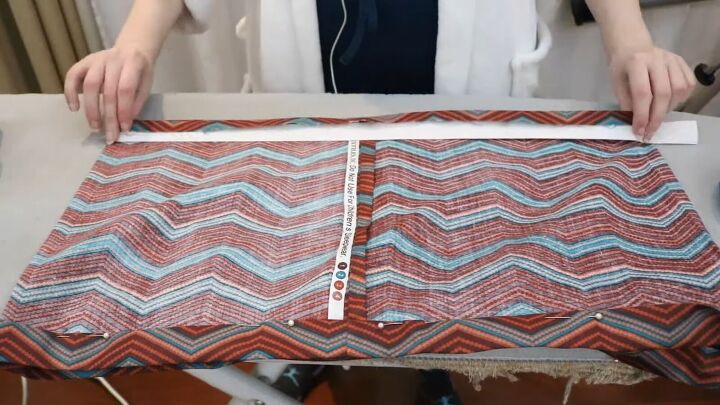
3. Prepare the fabric for the elastic
Now begin to prepare the fabric for the elastic. Start by folding 1cm (0.5 inches) along the top and bottom of the fabric and press it down with the iron.
Next, use the elastic as a guide and fold the fabric in the size of the fabric then press with the iron. This way it is easier to pin and sew the hem.
Proceed to pin all along the hems.
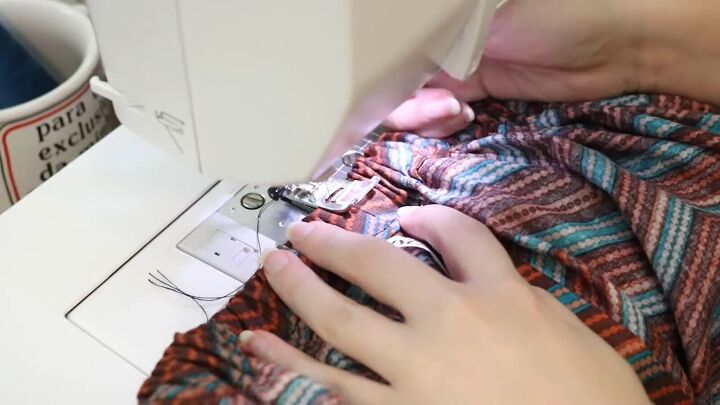
4. Sew the hems
The next step is to sew down the hem along the top and the bottom, making sure to leave a gap on each side to insert the elastic.
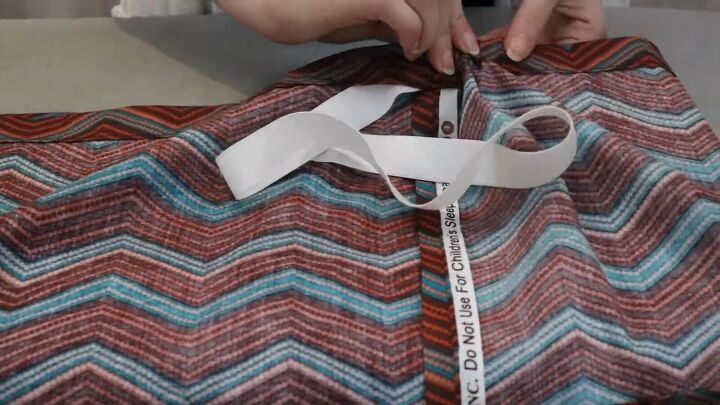
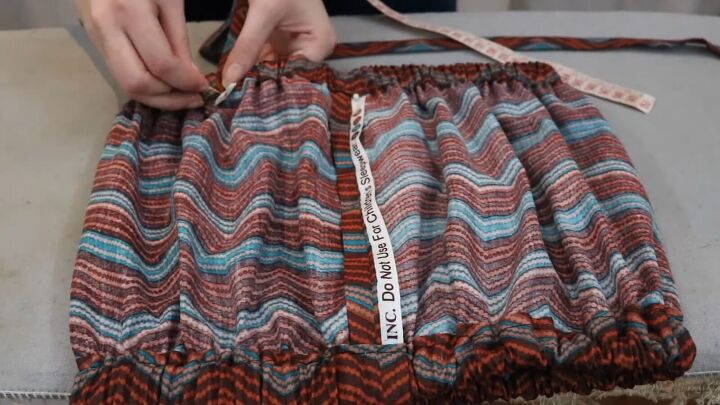
5. Insert the elastic
Use a safety pin to insert the elastic inside the part that you left open. I recommend pinning the other side of the elastic to the fabric so that you don’t lose it inside of your hem.
Once done, sew the two ends of the elastic together using a zigzag stitch. Then you can close the gap by stitching the rest of the fabric.
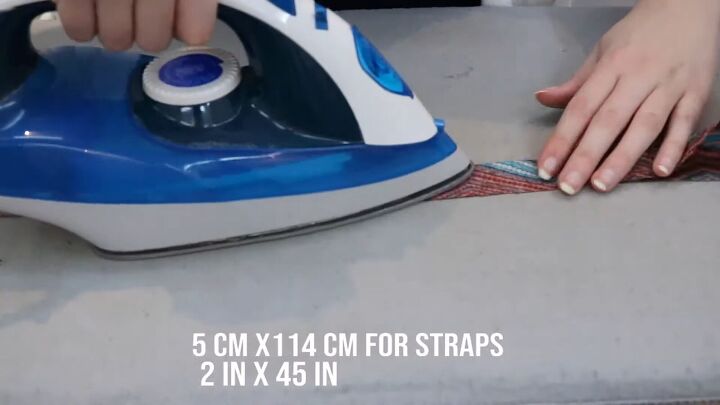
6. Make the straps
If you want, you can leave your top strapless but I want to make straps. Measure strips 5cm wide x 114cm long (2 inches x 45 inches).
Fold in half with the right sides facing each other and press with the iron. Pin the straps down and stitch them with the sewing machine.
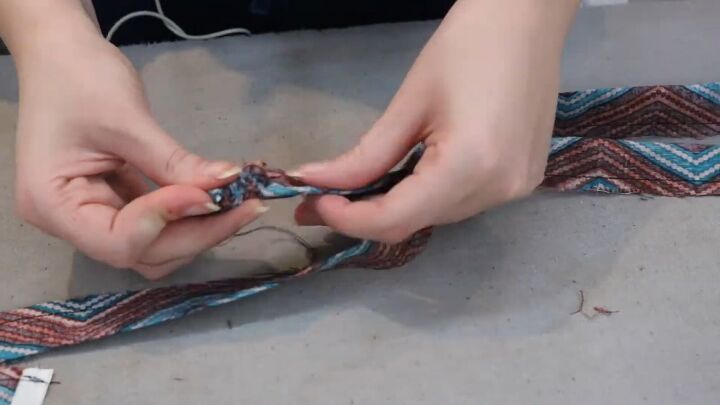
7. Turn right side out
Now, use a safety pin to turn the straps right side out. Insert your pin in one end of the strap and use your fingers to move the safety pin through to the other side.
When the safety pin gets to the other end, pull the fabric right side out and it is all done. Use an iron to press it down and make it look good.
8. Attach the straps to the top
Now that your straps are done, mark and pin the strap on the top. Make sure you make it symmetrical. Try on the top to see if you are happy with the placement of the straps.
Once you have them in the position that you want them, sew the strap to the top by making a little box.
9. Sew the elastic down
Finish by cutting off any excess strap and then I like to sew a bit over the elastic to ensure that it won't roll and move inside of the top. I’ll make a little stitch at a few different places around the top.

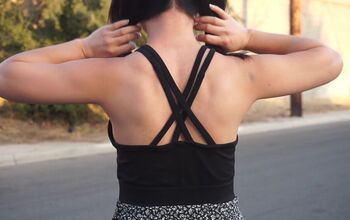
DIY elastic crop top
Here we have our finished DIY elasticated crop top! As I said, the perfect little top to wear on a summer's day. This top was so easy and quick to make, and I’m super pleased with the end result.
I went for fabric in a cute zig-zag pattern, but you can make this top unique to you and go with whatever fabric you like. This is a great beginner’s sewing project, and I hope you’ll give it a go!
The author may collect a small share of sales from the links on this page.


Comments
Join the conversation