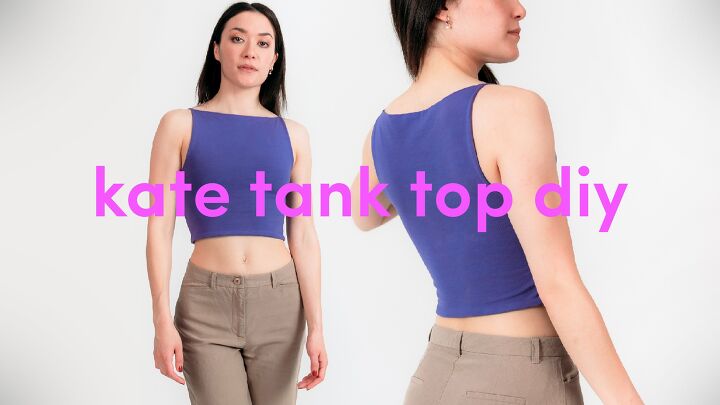
How to DIY a Cute Tank Top

I'm using one of my favorite fabrics for this double shell DIY tank top - cotton jersey with 5% elastane.
My original tank top sewing pattern is hip length. Here, I've shortened it to a crop top. Provided you're happy sewing stretch jersey, this is a very easy pattern to make.
Best fabric scissors!
Tools and materials:
- Kate Tank Top pattern
- Cotton jersey with 5 - 8% elastane
- Woven interfacing
- Paper for pattern
- Tape or glue for pattern
- Loop turner or crochet hook
- Pins
- Scissors
- Hand sewing needle
- Sewing machine

1. Print out the pattern
The letter on each page designates the pattern piece, so you want to tape together in numerical order all the pieces marked A and so on.
Cut off the margins before taping the pieces together.
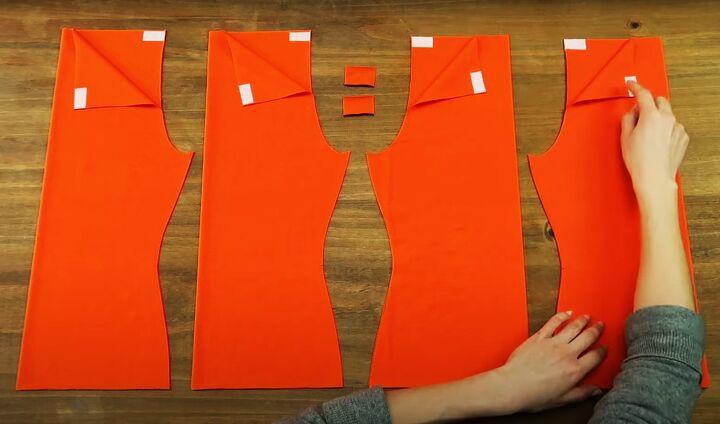
2. Cut out the fabric
Add interfacing to the straps. I recommend that you also attach a thin strip of interfacing along the entire front and back necklines to prevent stretching.

3. Join the side seams
Sew each back to a front at the side seams.
Sew the first 1 inch (3 cm) with a straight stitch, then switch to zigzag stitch for the remainder of the seam.
4. Sew the armholes
Turn one bodice right side out and tuck it inside the other bodice so the right sides are together. Make sure the two fronts are touching each other.
At this stage, I recommend that you try on the top and adjust the fit if necessary, before going any further.
Pin the two bodices together around the armhole, folding the seam allowances in opposite directions.
Use the same sewing method as before, starting and ending the seam with about 1 inch (3 cm) of straight stitches and switching to zigzag stitch for the main part of the seam.
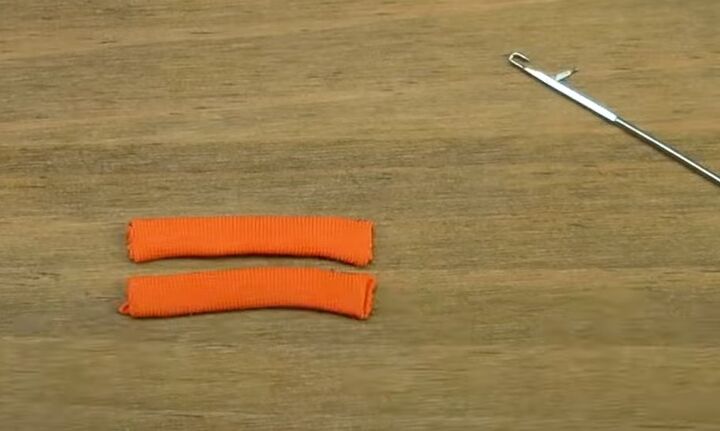
5. Make the straps
Fold the strap pieces in half lengthways with right sides together and sew with a zigzag stitch.
Use a loop turner or crochet hook to turn them right side out and finger press them flat.
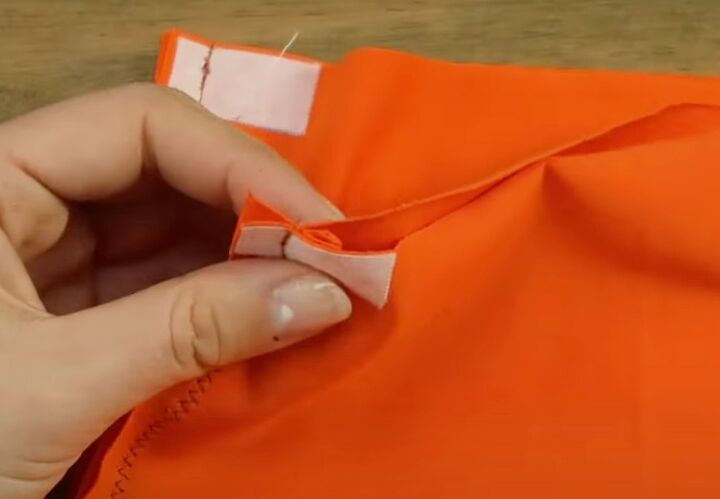
6. Attach the straps
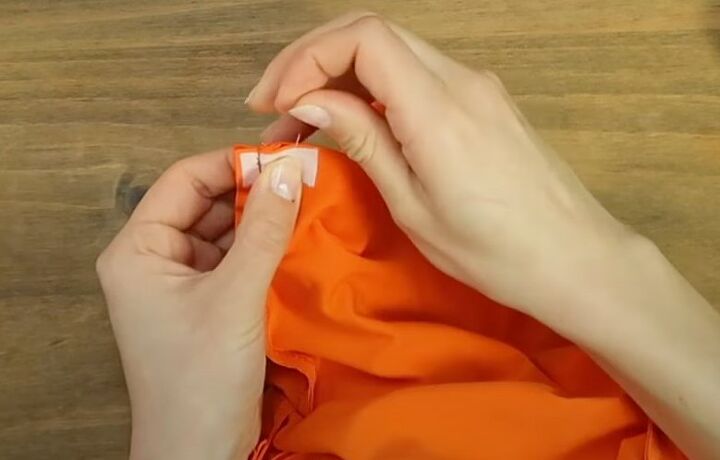
Insert the straps into the corners of the front neckline as close to the seam as you can, with one end of each strap flush with the raw edge. Pin them in place.
Pin the rest of the front neckline together. I first made a straight seam with basting stitches and then sewed another seam on top using the straight-zigzag-straight stitch method.
If you added interfacing on the entire width of the neckline, you can sew a regular straight stitch seam without basting it first.
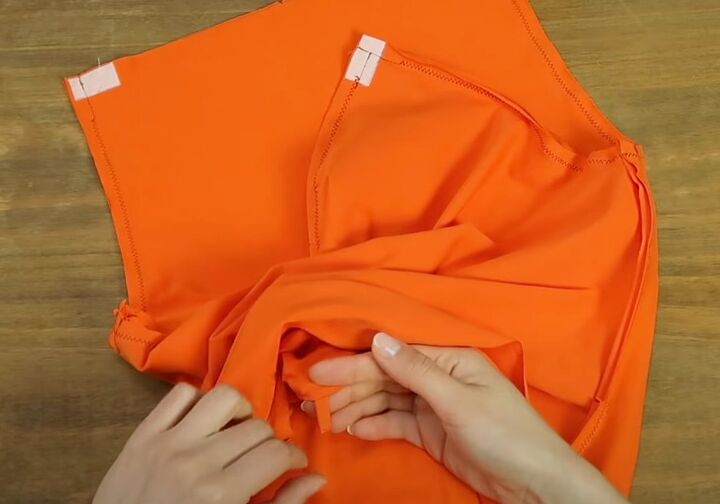
To attach the straps to the back bodice, put your hand between the two front pieces and hold the free end of the strap.
Take the end of the strap from the bottom edge between the two layers of the back and up to the neck edge.
Pin the free end at the corner of the back neckline.
Complete the neckline seam as you did for the front.
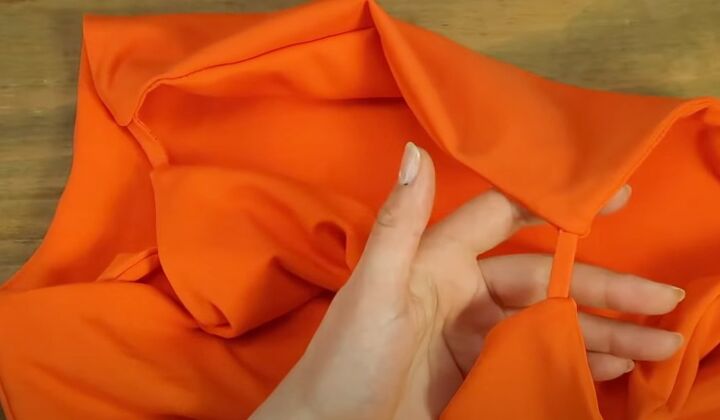
Check that the straps are neatly sewn before trimming the seam allowances at the corners.
Make notches into the seam allowance around the armholes.
Turn the top right side out.

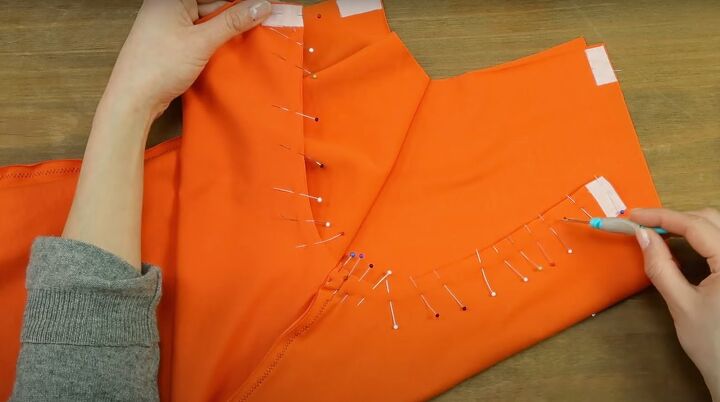
7. Join the lower front edges
Time for the famous "burrito method"!
Pin the side seam allowances flat so they don't get twisted. Lay your top flat with the front facing you and fold down the neck edge.
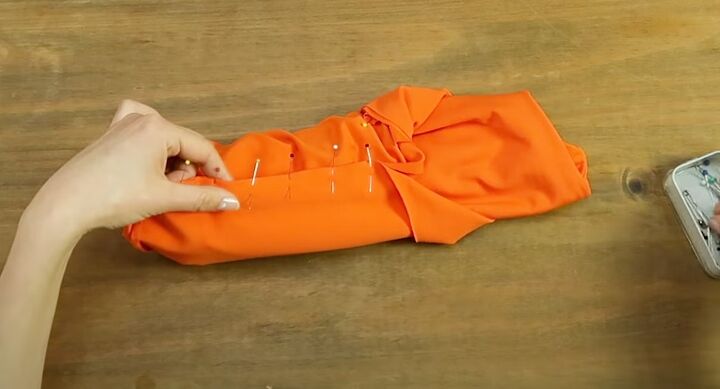
Pick up the top layer of the front, lift it over the fold and back down the other side to meet the other front layer.
Pin the two front edges with right sides together, matching the center front notches and connecting the shell with the lining.
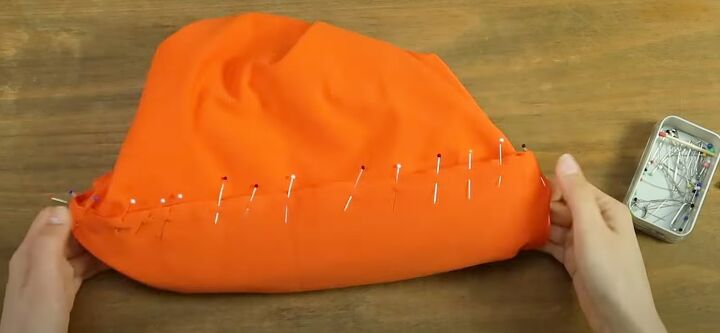
Pin the rest of the front edge, pulling out the fabric that hasn't yet been pinned as you go.
See the video at 8:17 - 9:24 for another view of how I did this.
Once you've pinned all the edges together, sew them with the same method as before but leaving a 2 inch (5 cm) opening.
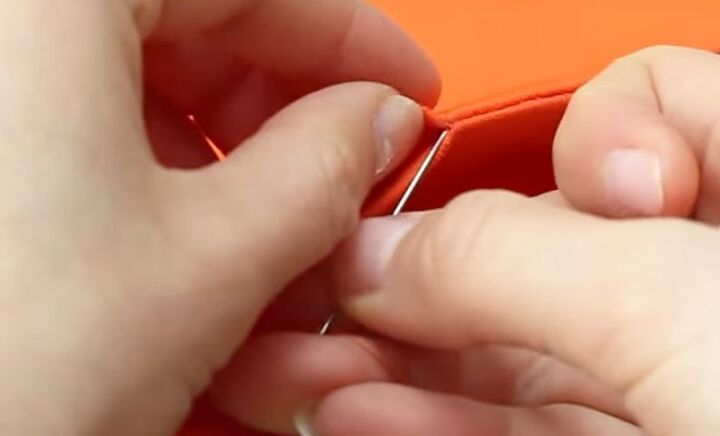
8. Finishing
Trim the ends of the side seam allowances.
Carefully pull the top right side out through the opening in the lower edge.
Fold the seam allowance inside the opening and hand sew it closed using an invisible or ladder stitch.
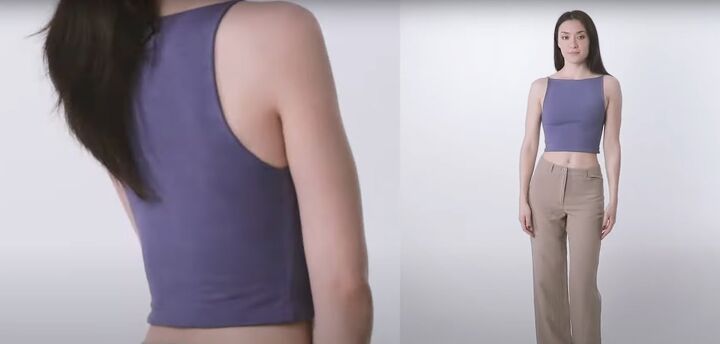
DIY tank top
This is drafted as a tight-fitting top, so don't be afraid to adjust the side seams if you need to. I think the tiny spaghetti straps are a charming detail and it's easy to adapt the pattern to different lengths.
You could add a skirt pattern to make a bodycon dress, as I've done in another tutorial.
I can't wait to see your DIY tank top ideas! Please leave me a comment below and tell me about your creations.
Check out my post on How to DIY a Sexy Racerback Maxi Dress.
The author may collect a small share of sales from the links on this page.


Comments
Join the conversation