How to DIY a Cute Slip Top

Today's project is a bias cut silky slip top with tie straps.
Once you've found the bias, the top is easy to draft out and make. It uses very little fabric, so it's perfect for those luxury offcuts that you often find in the scrap bin.
Use a fine needle and pins if you have them, to avoid making visible holes in the fabric.
Tools and materials:
- Silk satin fabric
- Tailor's chalk
- Measuring tape
- Ruler
- Fine pins
- Scissors
- Loop turner (optional)
- Sewing machine
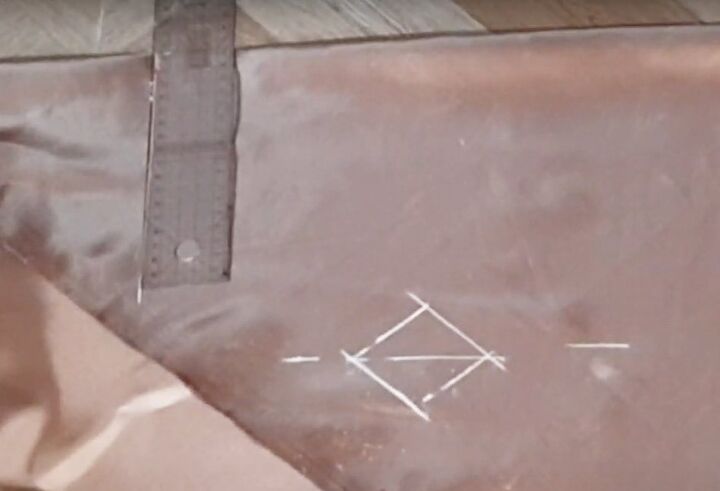
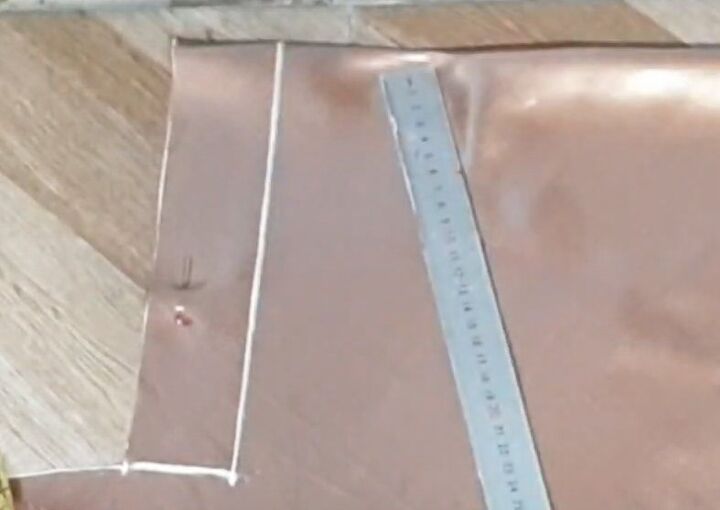
1. Find the bias
Draw a 2 inch square with tailor's chalk near the fabric selvedge, with two sides of the square parallel to the selvedge.
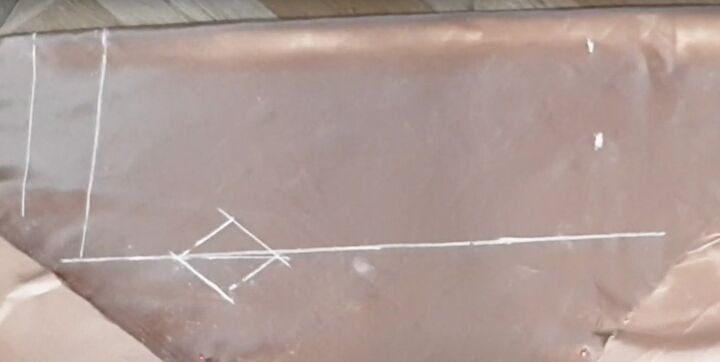
Join two opposite corners of the square with a diagonal line and extend this line by a few inches. This is the bias or stretch line of the fabric.
Fold the fabric so the bias line is parallel to the fold.
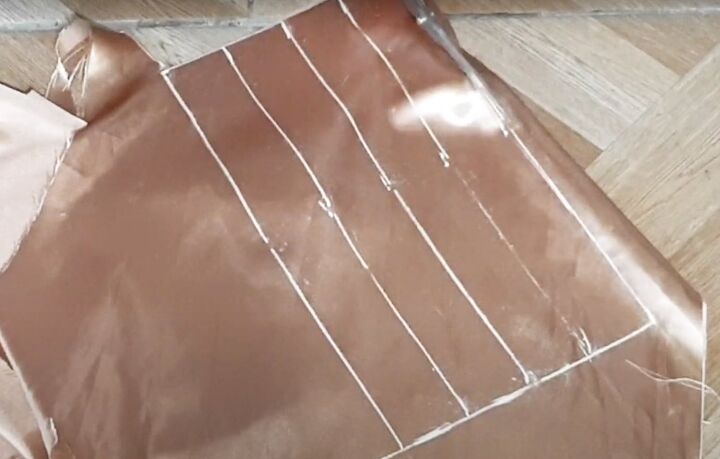
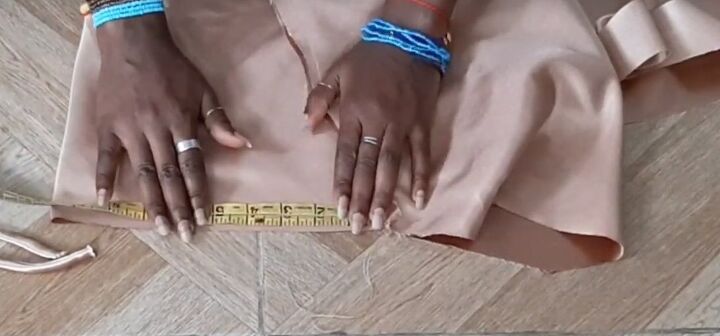
2. Cut front
From the fold, measure one quarter of your bust size across the fabric and draw a line.
Measure the length of your top from that line plus a one inch seam allowance. Draw a second line across the fabric at that point. Join the two lines.
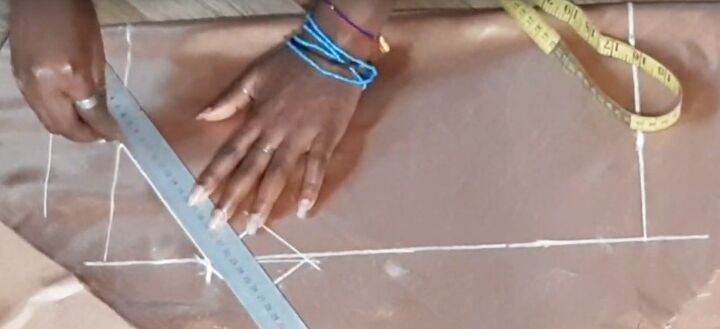
Mark the center of the top line and 3 inches down the side seam and join the two points with a diagonal line. Cut out the front.
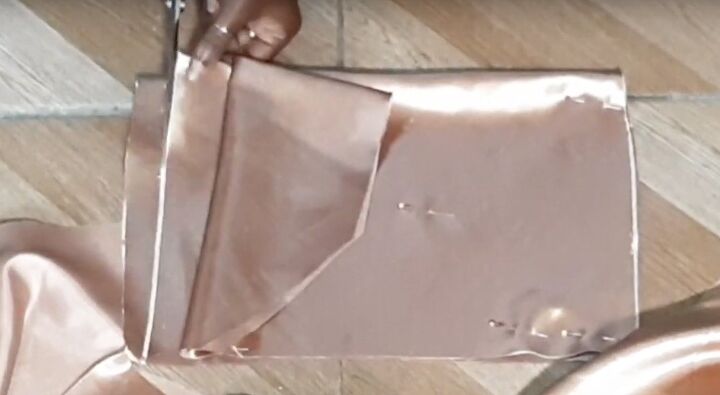
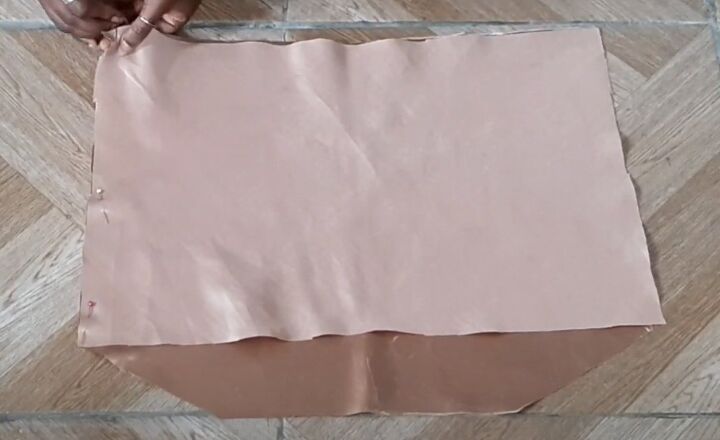
3. Cut back
Use the front as a template for the back, but cut the back straight across at 1 inch above where the diagonal line starts on the front.

4. Cut facings
Place the folded front on the fold of the fabric and mark 6 inches down both sides.
Trace the shape of the front on to the fabric from that point and cut out.
Make the back facing in the same way. I made mine 2 inches deep but I think 3 inches would have been better, so it would match the front.
5. Cut straps
Cut 4 strips of fabric for the straps.
Mine were 15 inches long and 2 inches wide but you could make yours 1.5 or even 1 inch wide if you prefer a narrower strap.
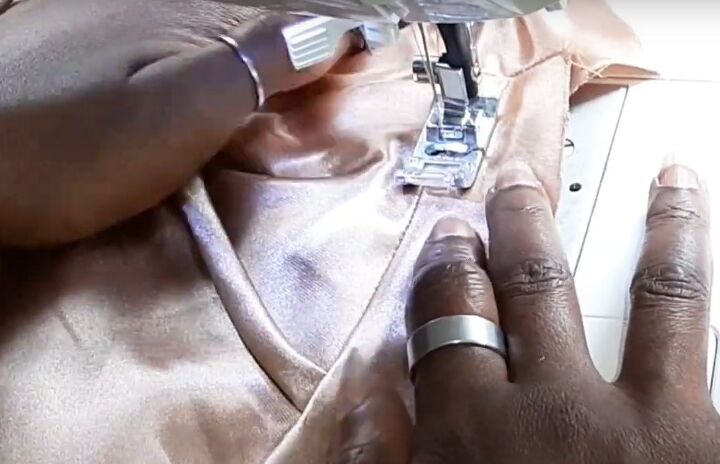
6. Sew side seams
Place the front and back together with right sides facing and pin the side seams.

Join the facings in the same way, making sure the top of the back facing matches the start of the diagonal armhole line.
Sew the sides seams with a straight stitch.
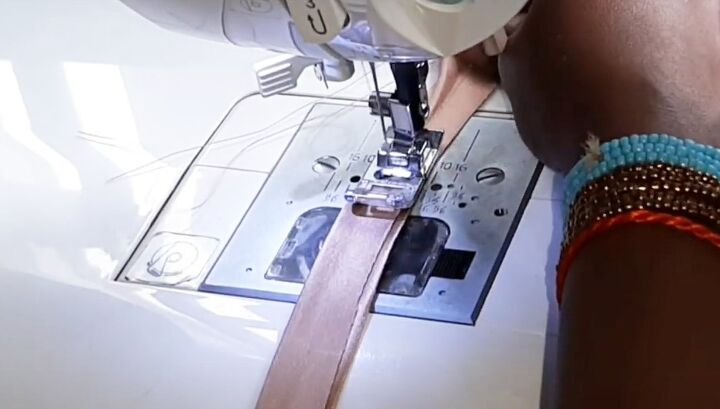
7. Sew straps
Fold the straps lengthways with right sides facing and sew them half an inch from the raw edge.
Trim off the excess seam allowance and turn them right sides out with a loop turner, crochet hook or safety pin.
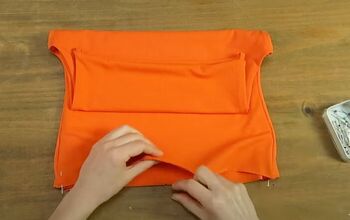
8. Attach facings and straps
Fold the back of the top in half lengthways.
Cut a notch halfway between the side seam and the center back to mark the position of the straps.
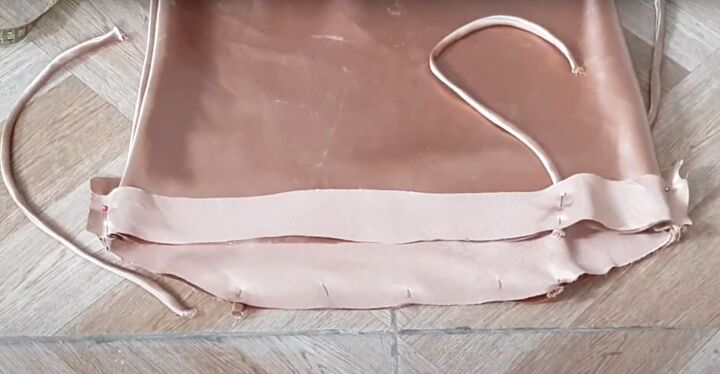
Lay the top flat, right side out, and slide the facings into position over it so the right sides are together.
Pin the straps between the facings and the top on the front and back.
Sew around the top edge and trim the ends of the straps.
Open out the facing and finger press the seam towards it.
Stay stitch the facing to the seam allowance on the right side, close to the fold, moving the straps out of the way as you sew.
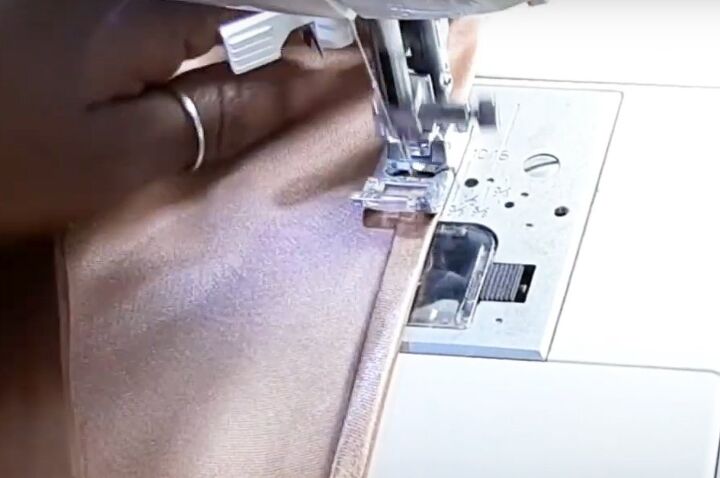
9. Hem
Turn up a narrow double hem at the bottom edge and sew it on the wrong side.
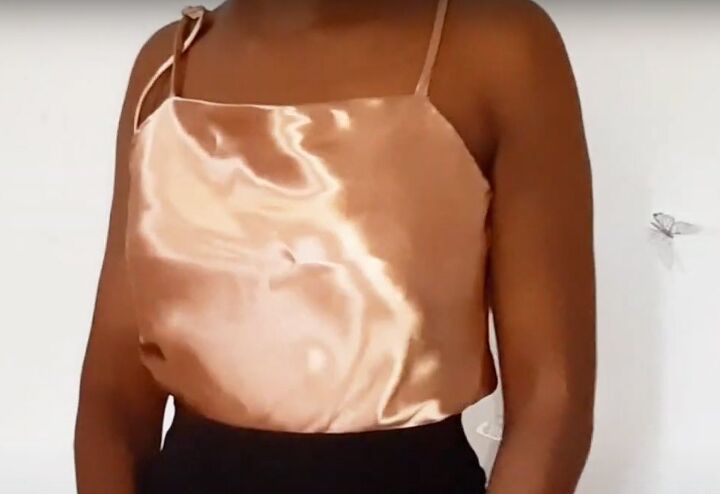
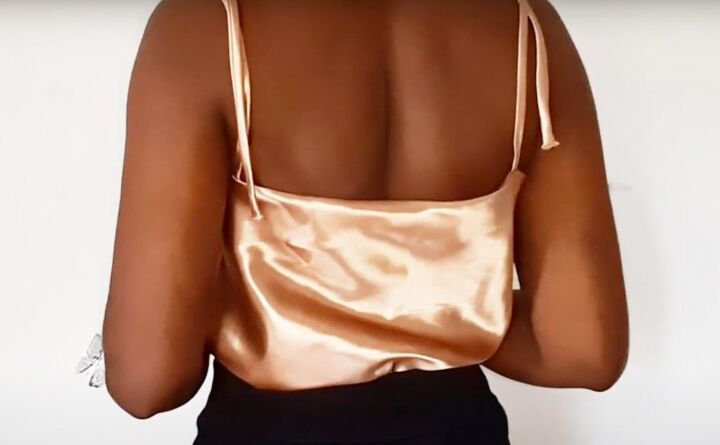
DIY slip top
I'm so pleased with the look and fit of my silk sleeveless top. It really makes a difference to the way it moves if you cut it on the bias, so it's worth taking the time on that step.
I hope you've enjoyed seeing how to sew a cami top and that you'll try it yourself.
If you do, I'd love to hear how you get on. Please leave me a comment below and let me know what you think!
For more sewing content, check out my post on How to Turn Old Curtains Into a Cute Off-Shoulder Dress.
The author may collect a small share of sales from the links on this page.


Comments
Join the conversation
Ok yours is just so perfect, I will never be able to get mine as nice as yours!! And I love the color of that fabric.