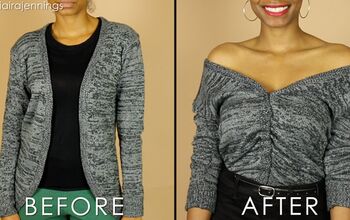
How to DIY a Cute Off-shoulder Top

Here’s another of my men’s shirt refashion tutorials. This time I’m upcycling the shirt into a DIY off-shoulder top that can be worn in several different ways.
This is an easy and stylish refashion. Choose a shirt that’s a size larger than you would usually wear and let’s get started!
Tools and materials:
- Men’s oversized shirt
- 0.5 inch wide braided elastic
- Seam ripper
- Ruler
- Fabric marker
- Pins
- Scissors
- Safety pin
- Hand sewing needle and thread
- Sewing machine
1. Deconstruct the shirt
Use a seam ripper to remove the breast pocket.
Undo the first few stitches of the armhole seam and pull the thread to remove the sleeves.
Put them aside as we'll be using them a bit later.
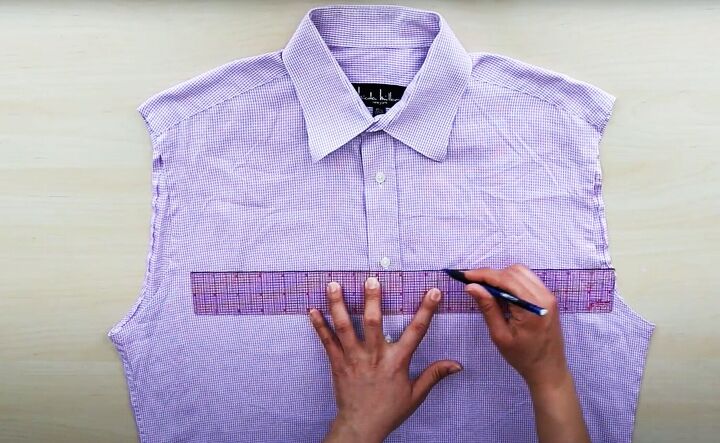
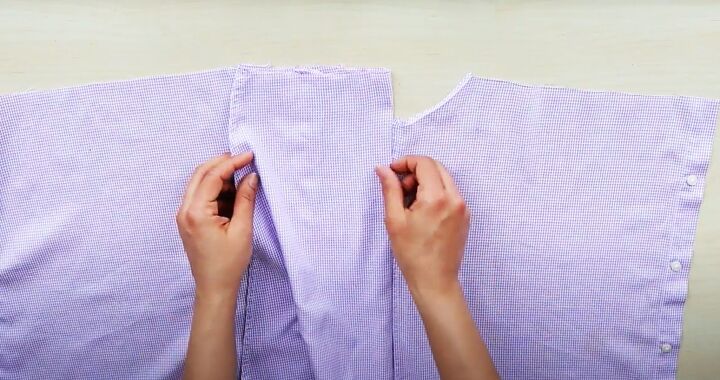
Lay the now sleeveless shirt on a flat surface. Fasten the buttons and align the side seams.
Using the third button as a guide, rule a line across the front of the shirt from armhole to armhole.
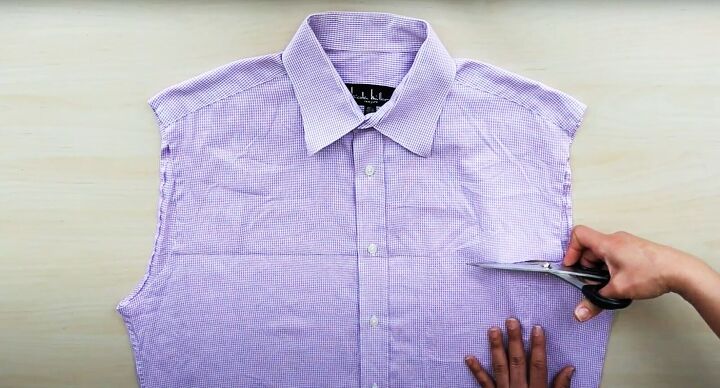
Cut along the line, through both layers.
Re-stitch the top of the side seams and press the armholes.
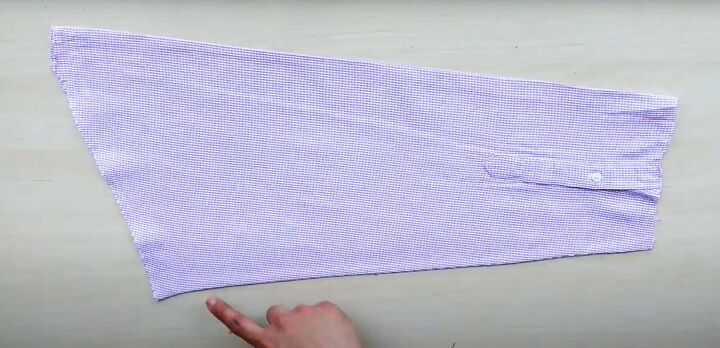
2. Prepare the sleeves
Cut the cuffs off the end of the sleeves.
Iron the sleeves well, pressing in a crease directly opposite the sleeve seam.
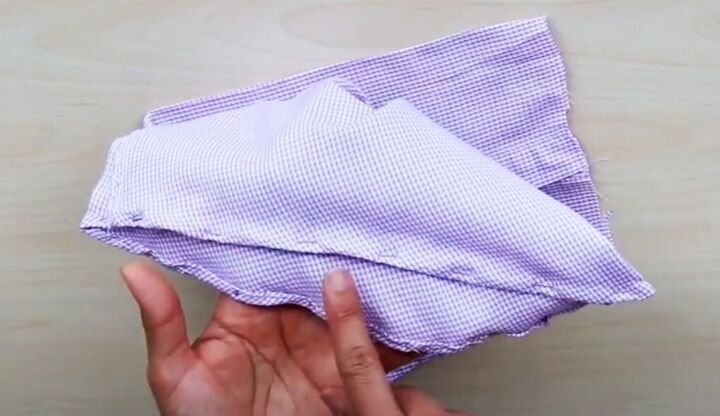
Turn under a narrow double hem around what was the top of the sleeve and sew it down. This will become the bottom of the bell sleeve.
3. Attach the sleeves
Open the shirt out flat with the right side uppermost.
With the sleeve placket facing the back of the shirt, align the crease at the narrow end of the sleeve with the shirt's side seam.
Pin it in place.
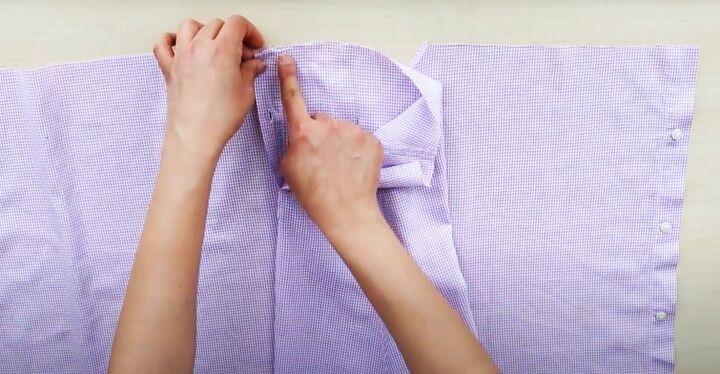
Refold the sleeve so it covers the rest of the armhole, with the sleeve seam facing you.
Pin the lower layer of the sleeve to the shirt at either side of the armhole.
Flip the shirt over to the wrong side to pin the sleeve to the rest of the armhole.
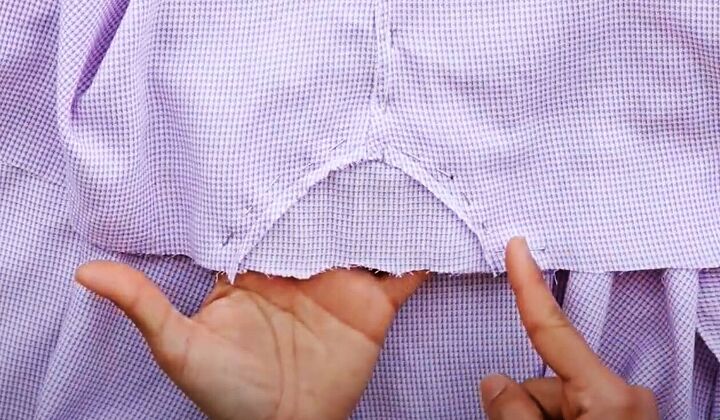
Sew it in place on the wrong side, being careful to only sew through one layer of the sleeve.
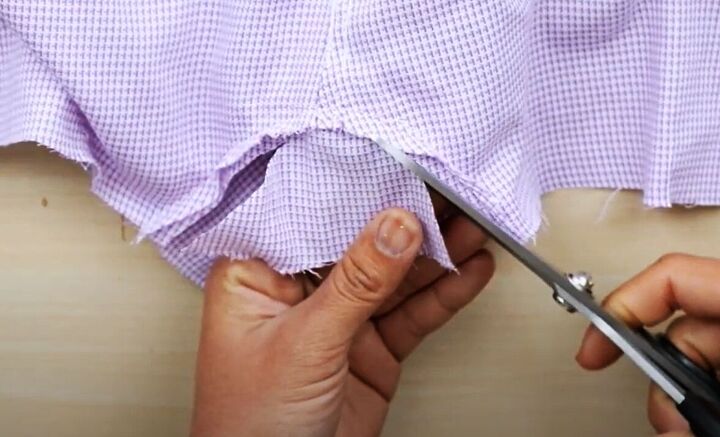
Cut away the excess fabric from around the armhole.
Repeat for the second sleeve, ensuring the sleeve placket is the same distance from the armhole.
Close the sleeve placket and tack it in place.
4. Create the casing
Measure the width of the entire top edge of the shirt, and add a couple of inches allowance.
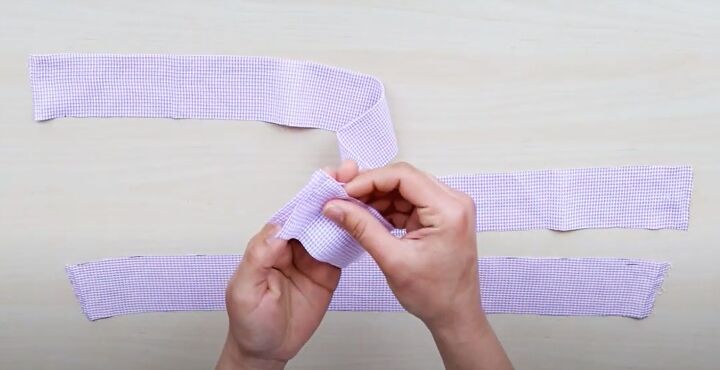
Cut two inch wide strips from the shirt remnants, until you have enough length when they're joined to match the measurement across the shirt.
Join the short edges of the strips so you have one long strip.

Leaving a half inch free over the edge of the button placket on each side, pin and sew the strip to the top edge of the shirt with the right sides together.
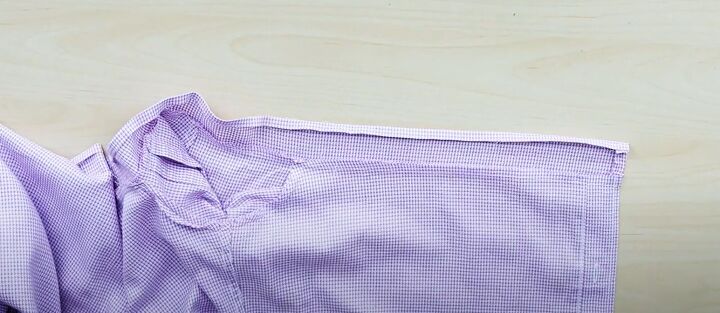
Turn in and press the seam allowance on the short edges and a narrow hem on the long raw edge.
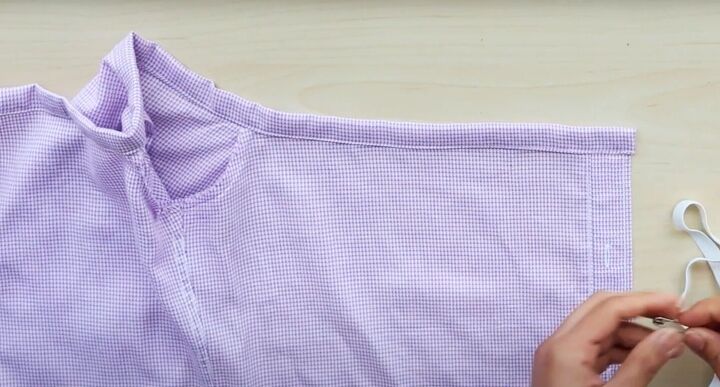
Fold the strip to the wrong side and sew in place along the long edge, leaving the short edges open.
5. Insert the elastic
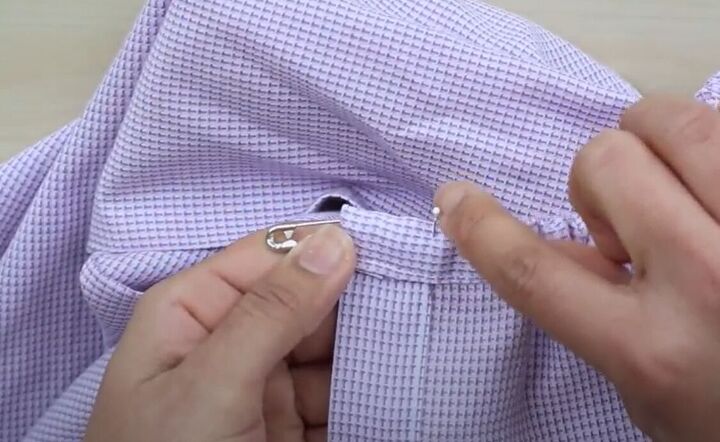
Use a safety pin to thread the elastic through the casing.
Secure one end of the elastic in line with the button placket. Close the end of the casing on that side.
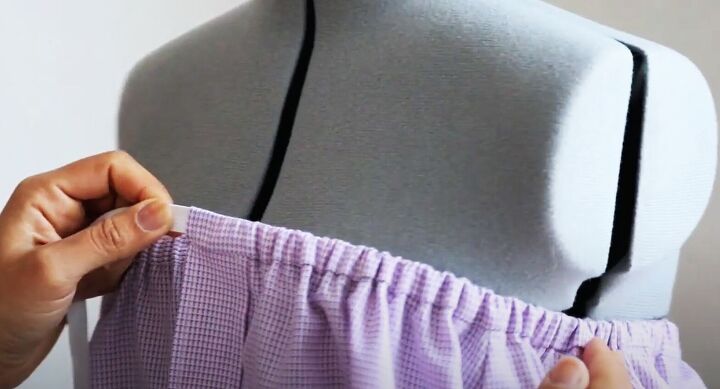
Try the shirt on and adjust the elastic until it fits snugly above your bust.
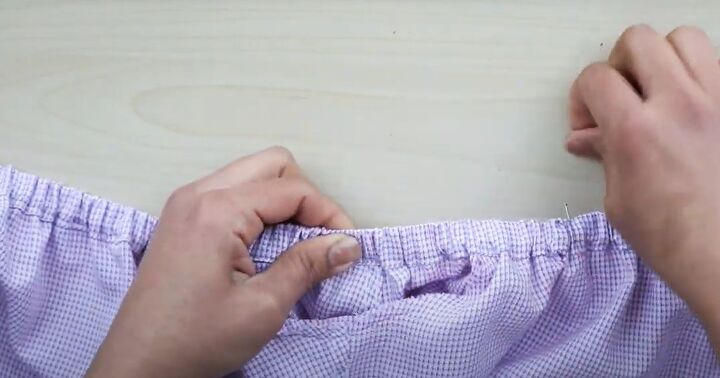
Pin the free end of the elastic in place.
Before stitching it, work across the casing in sections to make sure that the elastic is lying flat and isn't twisted.
Pin each section as you go then tack them with a straight stitch.
Secure the second end of the elastic and close the casing.
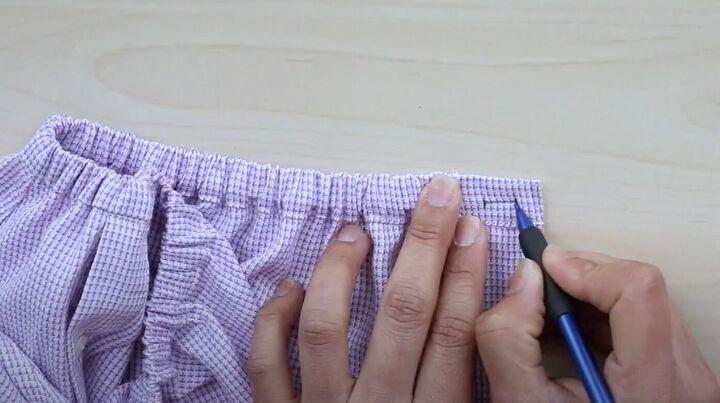
6. Finishing
Add a horizontal buttonhole at the top of the buttonhole placket. Hand sew a button in place to match it.
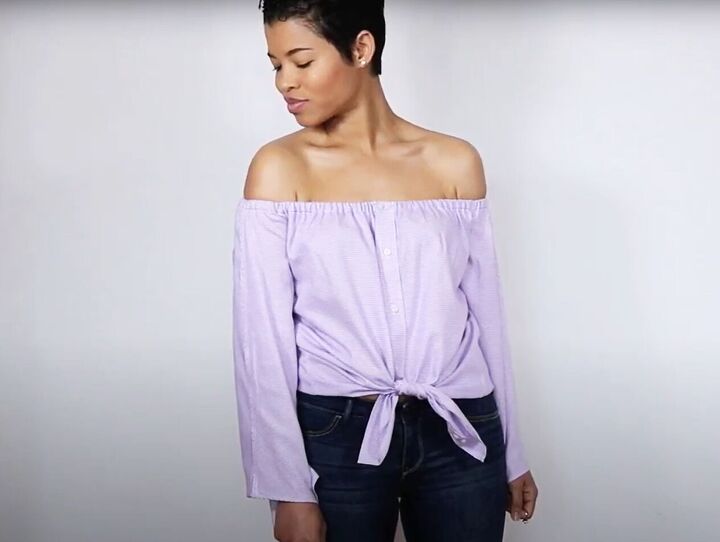
DIY off-shoulder top
This off-shoulder top DIY turned out really well, I think! I’ve found three ways so far to wear or style this top, maybe you can find more?
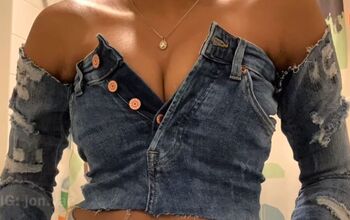
You can wear it as a button front and knot the lower edge into a crop top.

It looks very stylish buttoned at the back and with the sleeves knotted in the front, below the bust.

And my favorite I think is the simple, elegant bell-sleeved version.
Which is your favorite? Please let me know in the comments below.
Check out my post on 3 Trendy Upcycled Blazer Ideas.
The author may collect a small share of sales from the links on this page.


Comments
Join the conversation