Make a Beautiful, Oversize Linen Top With Intricate Details

Oversize items are the in-thing right now! So, do you want to know how to make a linen top that's easy, oversize, and personalized to your body type? If so, you've come to the perfect DIY linen top tutorial. There's no pattern needed. I've got a clever sewing hack - the sleeves of this linen top are built-in, there are no shoulder seams, and the front and back bodice are actually one piece. Sounds good? Let me show you how to make your own!
Tools and materials:
- 2 yards linen fabric
- Measuring tape
- Paper
- Pen
- Shirt as a guide
- Sewing machine
- Needle
- Thread
Draft the pattern
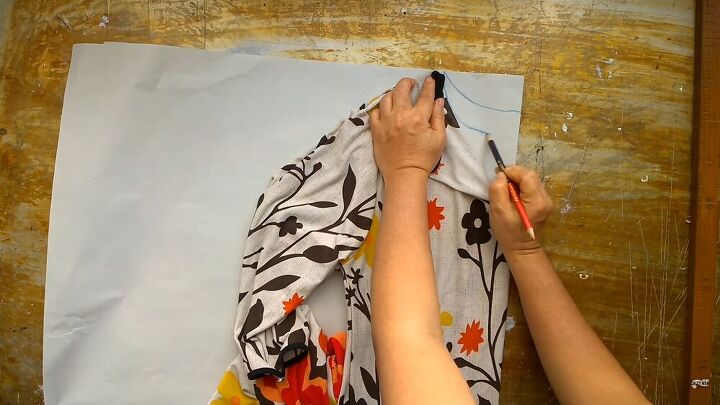
You'll need to do a little drafting to get this right. So get a paper and pen out and start withdrawing the collar. I used an old shirt as a guide, and I traced the shape of the collar on the edge.
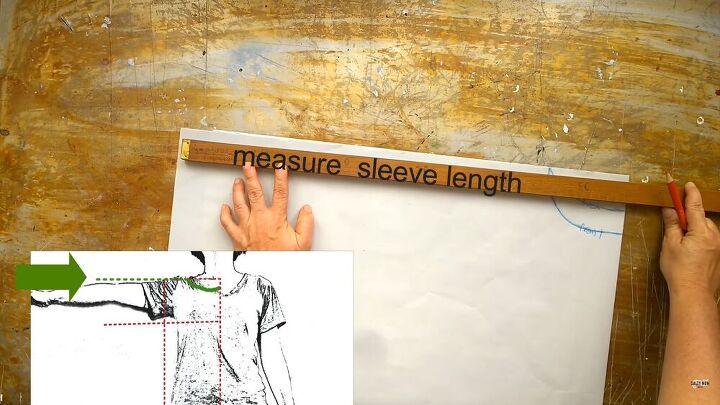
Next, measure your sleeve length and mark it on the paper.
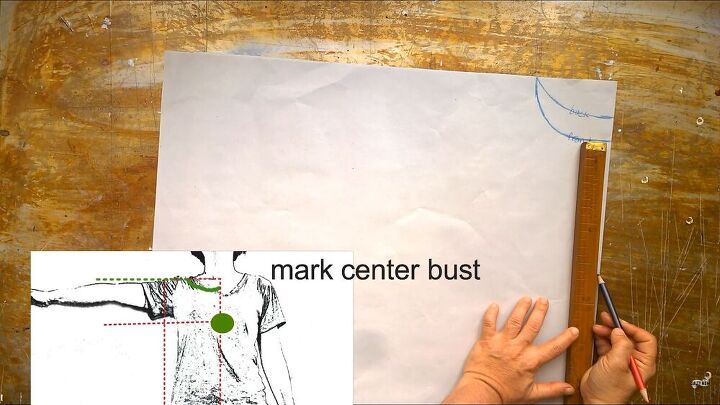
Also, mark the center bust.
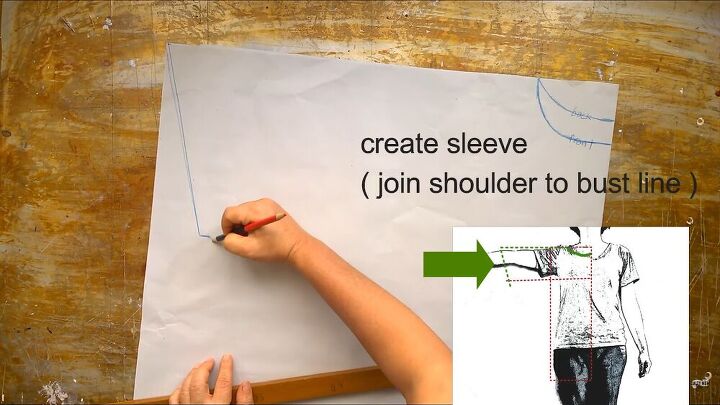
Draw the sleeve (create the shoulder to bust line, as shown).

Draw the side of your top; this should curve in at the waistline so that the top has a little curve to it.
Cut the pattern
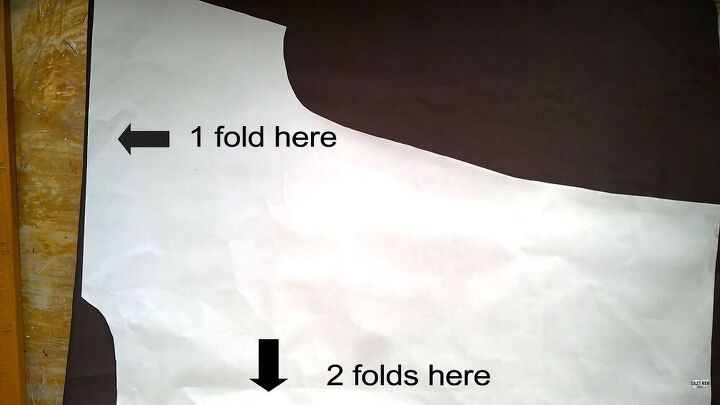
Now, fold your fabric over twice. Take your paper pattern and place it on the fabric, with the collar on the fold with one layer of fabric and the full piece of the shirt on the fold where there's a double layer.
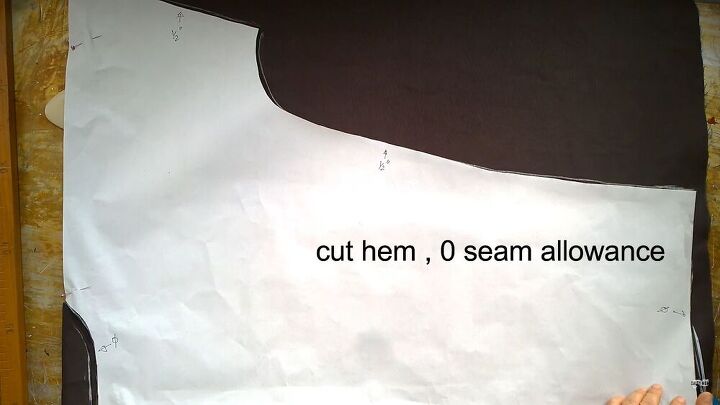
Cut the back collar and hemline without a seam allowance.
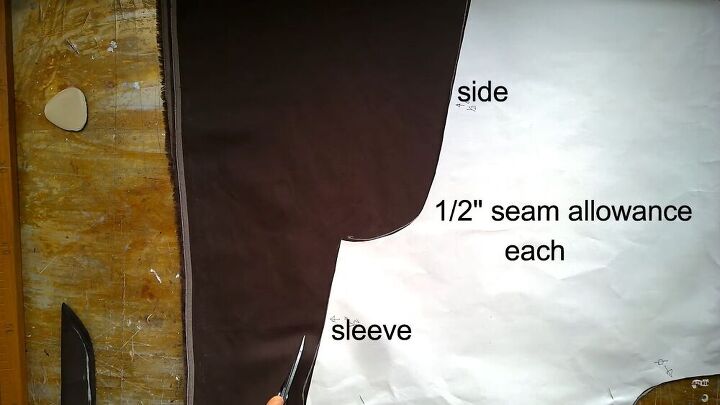
The sleeve and the sides should be cut out with a ½ inch seam allowance.
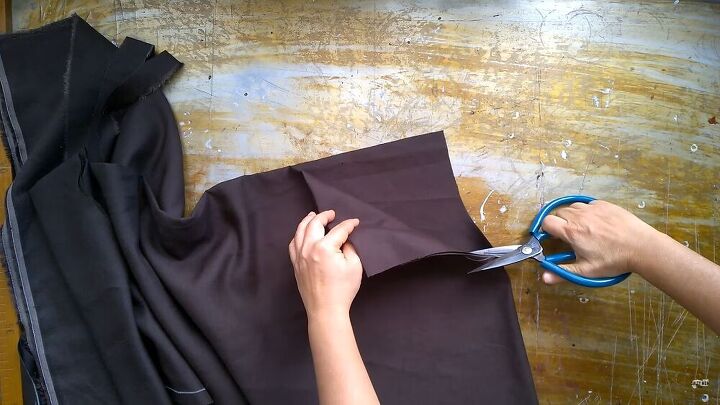
Then, make the front collar, which should be slightly rounded off than the back collar, and cut on one side of the layer, as shown.
TIP-
To see exactly how I cut the pattern, watch from 1:20 minutes.
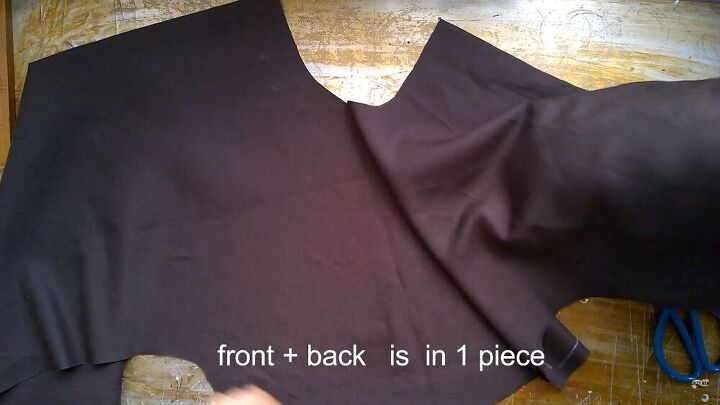
As you can see, the front and back is one piece.

Sew the seams
Fold the fabric right sides facing out and sew the side seams. Do a french seam for this.
Draw a line along the sides so that you have a guide on where to sew.
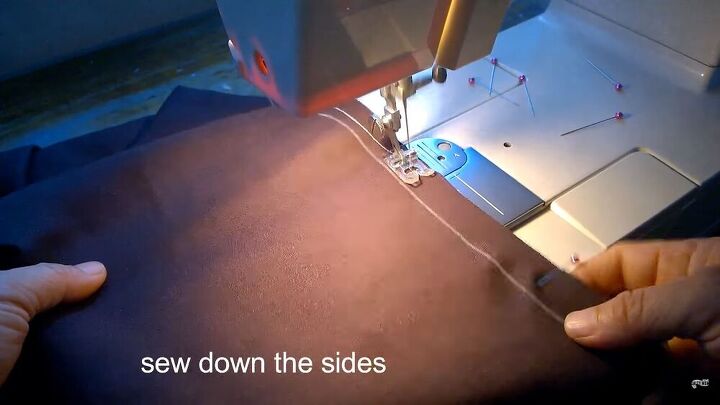
Sew along the center, using the left side of the footer as a guide with it’s end touching the line.
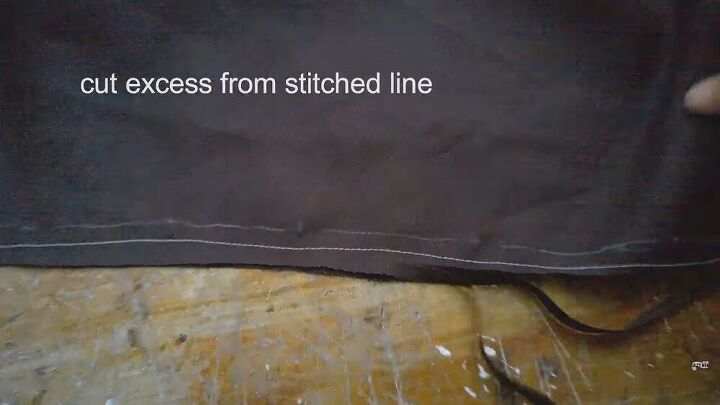
Then, cut the excess off along the stitched line.
Flip the shirt right sides in and sew the edge.
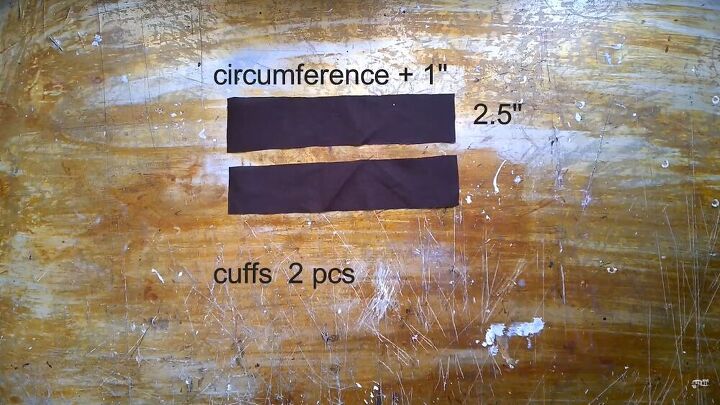
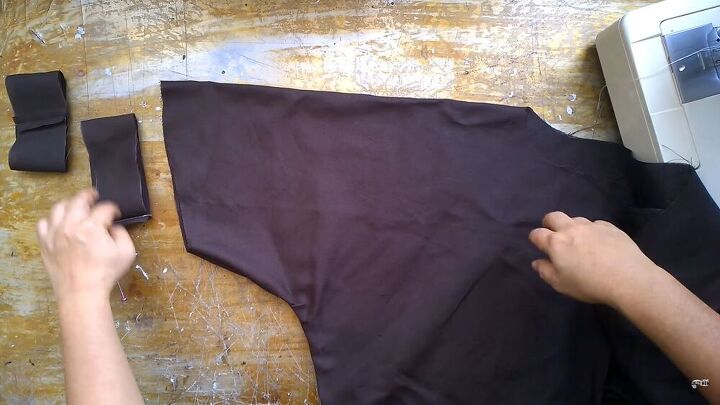
Make the wristbands and attach
Cut out the wristbands for the sleeves using the measurements above. Measure your wrist’s circumference, too.
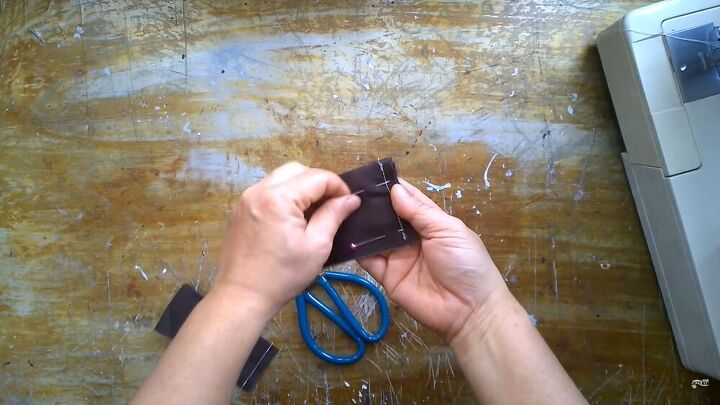
Next, stitch the short ends together.
Now, you'll notice the sleeve's circumference is bigger than the wristband. This is on purpose, as you will be creating gathers around the edge of the sleeves.
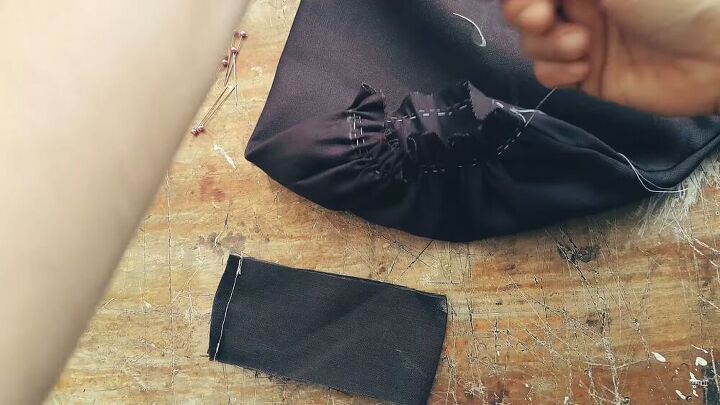
To make the gathers, sew two rows of running stitches around the sleeve. I did this by hand.
Now, pull the thread to create the gathers. Pull just enough so that the length of the sleeve is the same as the wristband.
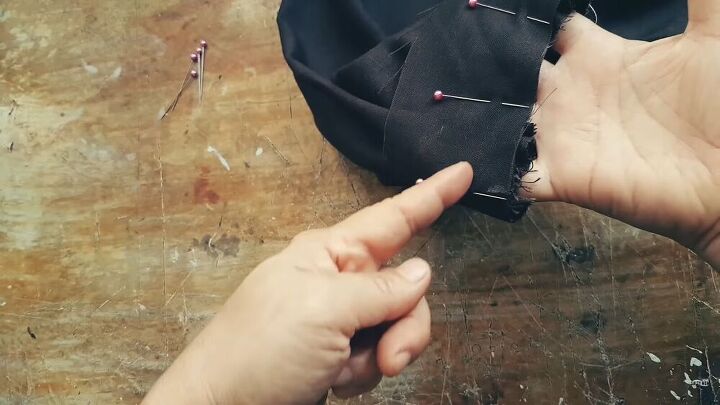
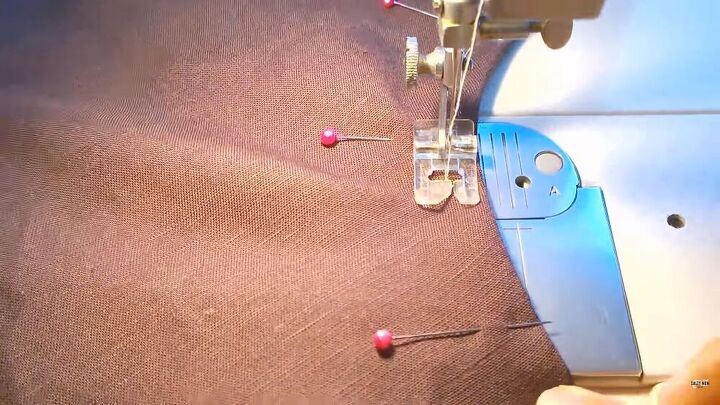
Pin the waistband seam to seam, and sew to secure.
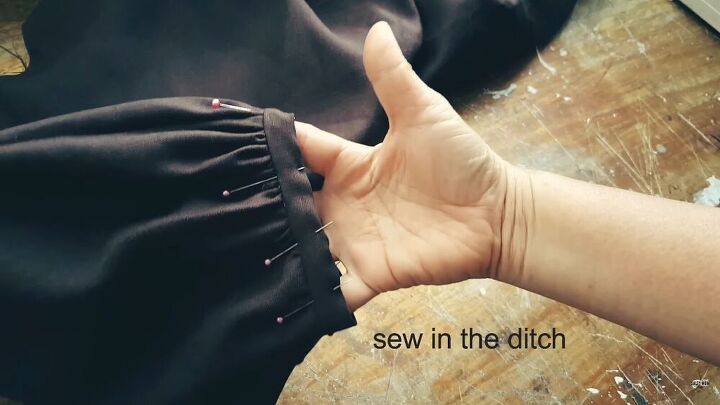
Hem the wristband with a double fold. Pin in place, and sew all around. Be sure to repeat this whole process on the second sleeve.
Make and attach the neck binding
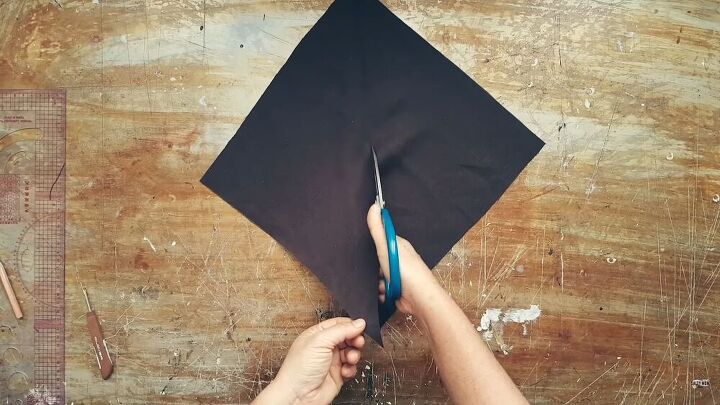
To make the neck binding, simply take a square piece of fabric and cut it into two diagonally. You should have two triangles.
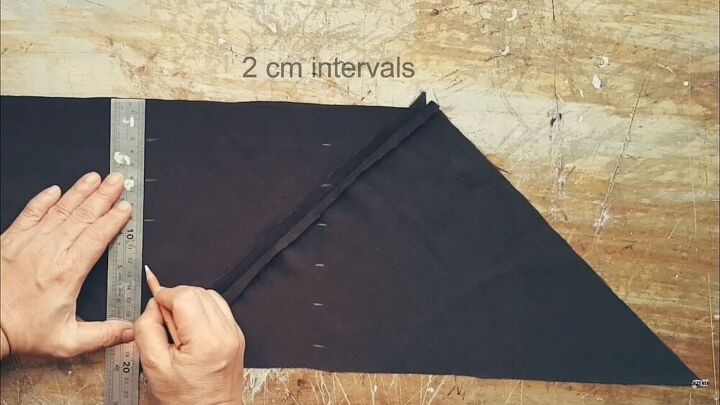
Next, flip the triangle so that both tips are on opposite ends. Sew the seams and mark lines all the way down at 2-inch increments.
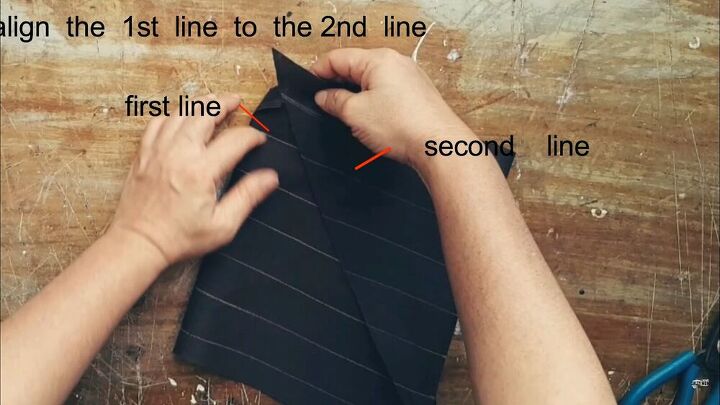
Match the opposite ends with the first line lining up to the second. Pin the edges and sew.
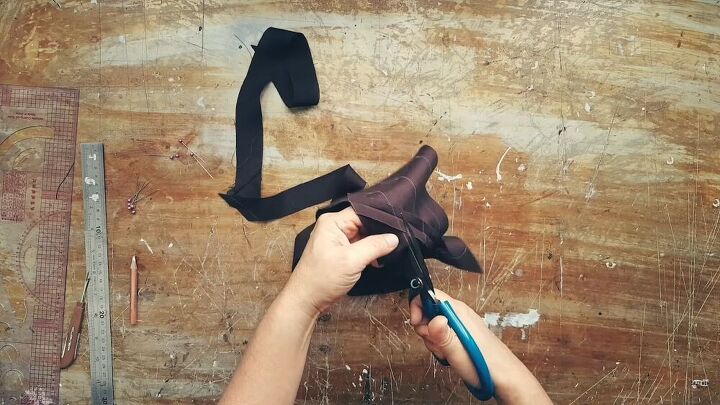
Cut through the lines continuously so that you have one long piece of fabric. This will be for the neck binding.
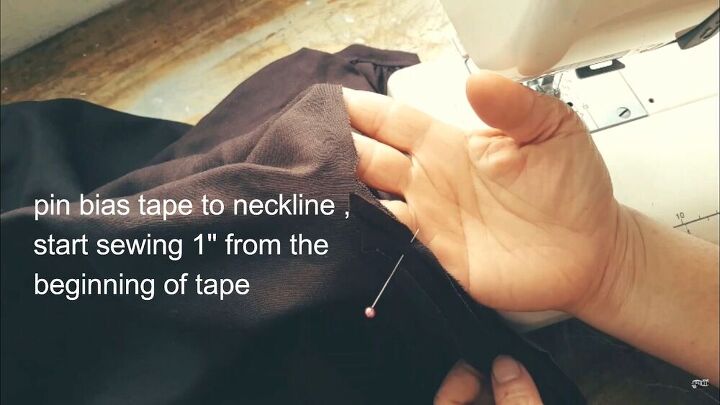
Pin the bias tape to the neckline and start sewing 1 inch from the beginning of the tape.
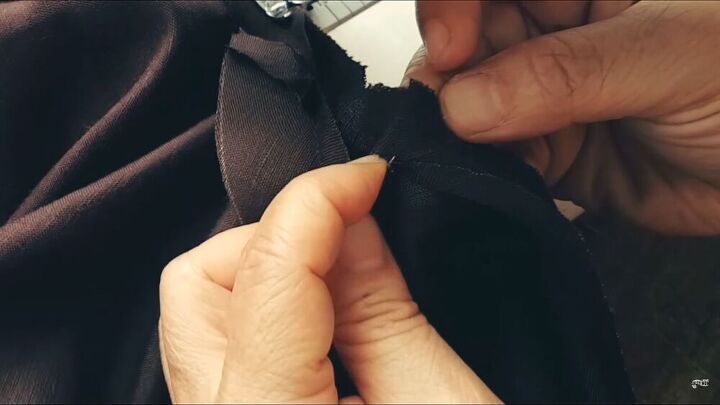
Fold the unsewn part down and sew over the ends.
Now, fold the bias tape over twice (over the edge of the neckline to encase it) and sew to secure.

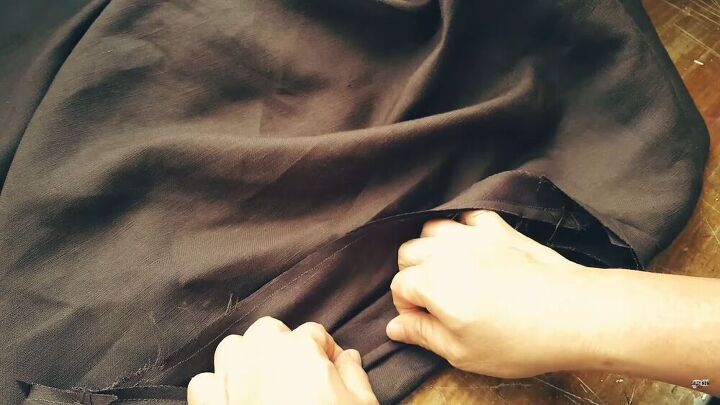
Make the waistband
Measure 4.5 inches from the bottom of the top and draw a line. Then, cut the top along the line.
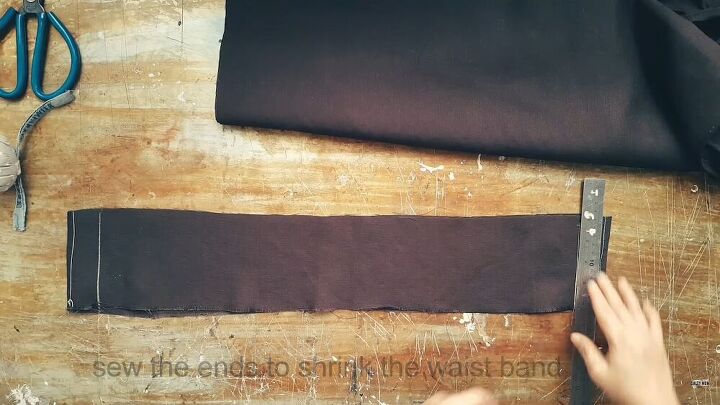
Sew the ends to shrink the waistband.
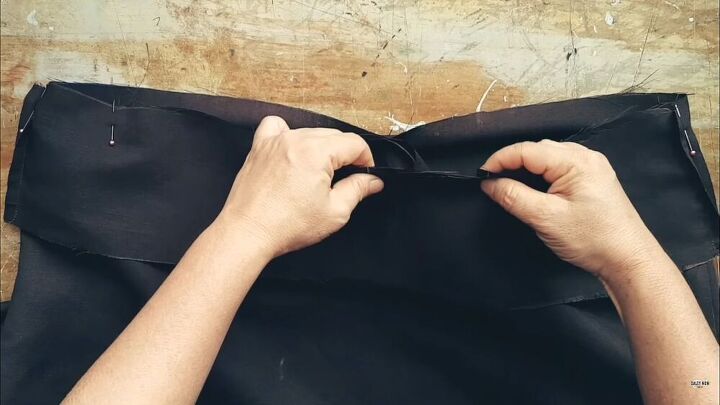
Pin the waistband to the bottom by matching the midpoints and the seams accordingly. Also, while pinning, create darts to fill the waistband.
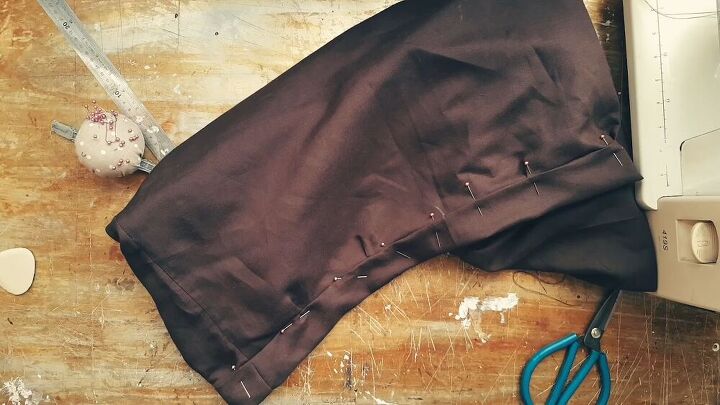
Sew the waistband and the top. Next, fold the waistband as shown, pin it all around, and sew to finish off the top.
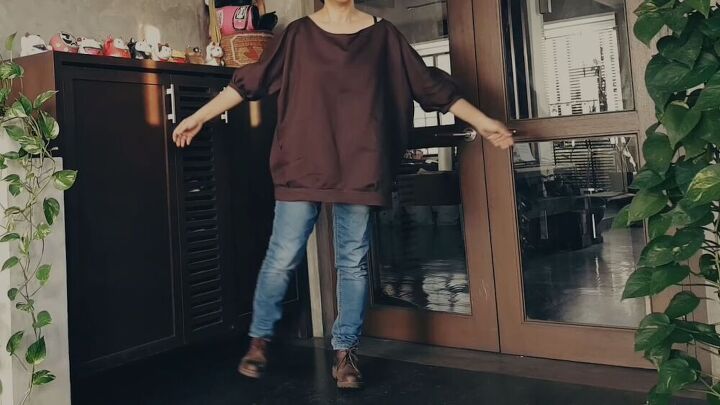
Here's the finished look. Isn't this just lovely? It's trendy and elegant and really can be dressed up or down, depending on the occasion. Thanks for tuning in to my simple linen top tutorial.
The author may collect a small share of sales from the links on this page.


Comments
Join the conversation
Great tutorial and your sewing skills are lovely. Thank you for taking the time to share your project. :)
I love it!!!🥰🥰🥰