Quick and Easy One-Shoulder Top From Scratch

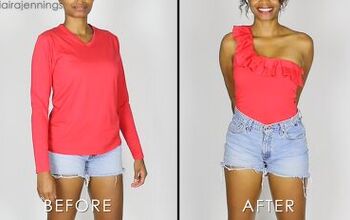
I love to explore different ways to turn fabric into signature pieces and really level it up. Today, I did that by making a DIY one-shoulder top from scratch. I think my changes just took this top to the next level. It went from lazy Sunday afternoon to sexy Sunday brunch!
Tools and materials:
- T-shirt
- Marker
- Ruler
- Scissors
- Stretch fabric
Make your pattern
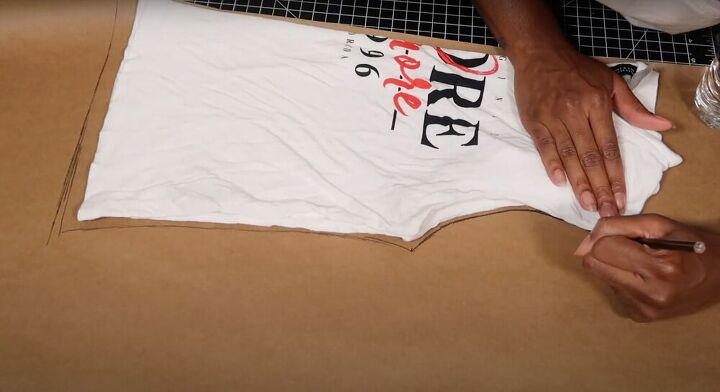
The first step is to make a pattern for my one-shoulder top. I did that with some pattern paper and a t-shirt I already own. For the first step, fold the t-shirt in half and place the folded side along the edge of the pattern paper. I traced around the shirt (excluding the sleeves) and then cut out the shape. This is half your pattern. To turn it into a full pattern, lay your pattern onto a fresh sheet of pattern paper and trace out the shape you just cut, flip it over and trace again so that you have one full pattern.
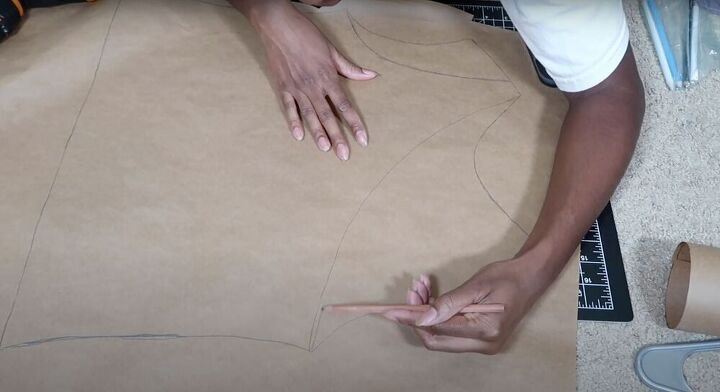
Because this is a one shoulder top, I modified the sleeve by drawing a line from the shoulder to the armpit and then from the shoulder again to the opposite armpit. Once everything is traced and adjusted, cut out your pattern.
Cut your fabric
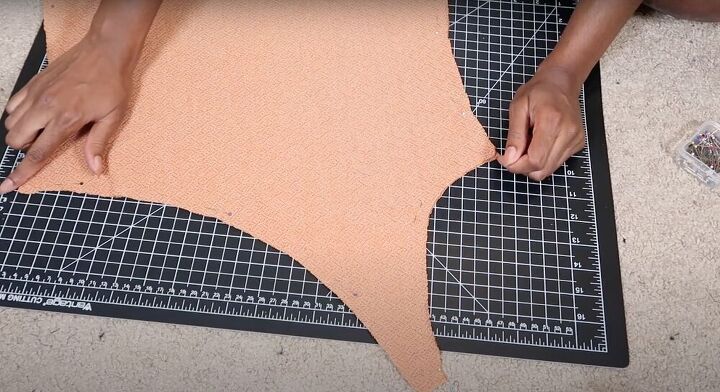
Take your stretch fabric and fold it over itself four times. (Note that I used stretch fabric so that I wouldn’t have to use a zipper). Next, I placed my pattern onto my fabric and cut it out. Once that was done, I took two out of the four pieces of fabric and paired them together. I made sure the edges were aligned and then I sewed a zigzag stitch along the entire perimeter of the top. I did, however, leave a 1.5 inch gap so that I would be able to flip the shirt right side out. Repeat this with the remaining two pieces of fabric.
Finish the shirt
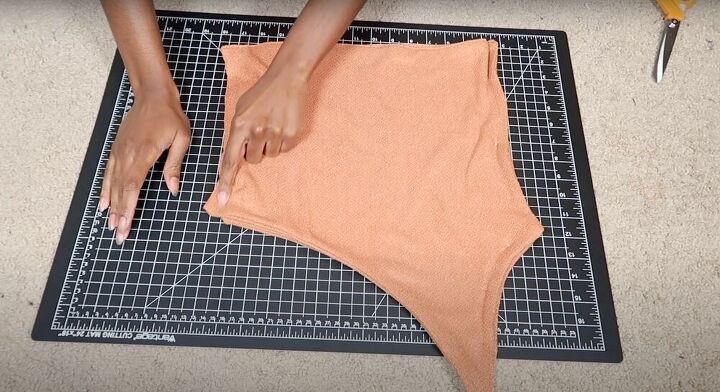
Turn the fabric right side out through the gaps you left and then sew the opening closed with a straight stitch. Next, connect the front and back pieces of the shirt by sewing the sides seams and the very top of the strap using a zigzag stitch.
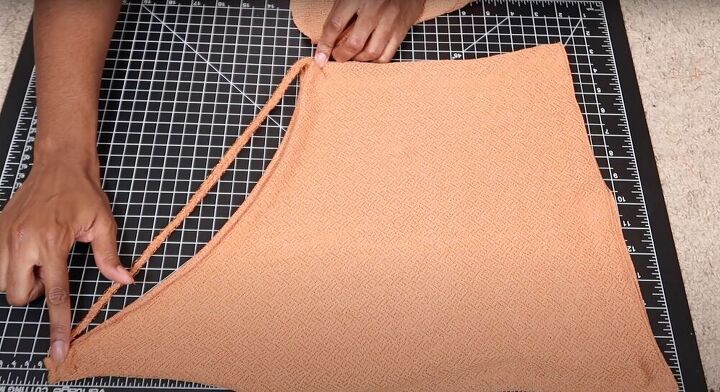
Add a strap - optional
I cut out a piece of fabric and made sure it was long enough to connect from the strap to the armpit. Next, I pulled on the strip of fabric so that it would curl up (as stretchy fabric does) effectively hiding the raw edges. I turned the shirt inside out and pinned the strap to the armpit and shoulder strap. Use a straight stitch to secure.
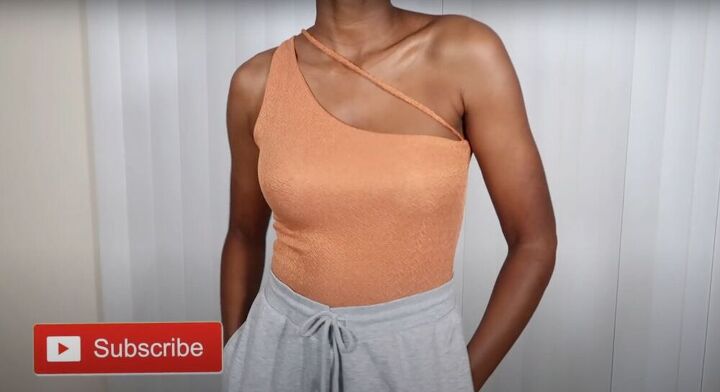
There you have it, how to make a one-shoulder top! I am so happy with how this turned out and am thoroughly impressed with myself for not turning it into a crop top as I do with most shirts. The color and cut both look great and I cannot wait to wear it out.
The author may collect a small share of sales from the links on this page.


Comments
Join the conversation
the stretch fabric looks gorgeous and what a great idea! looks like the t-shirt you used to trace from is on the shorter side? it's not one of those tees which can be a little long.
thanks for sharing!