Papercut Patterns Pinnacle Top Tutorial

Today, I’m going to be taking you step-by-step through the construction of the pinnacle top pattern from Papercut patterns. This basic top tutorial is only one of three different versions of the top that can be created with this very popular pattern. If you are between sizes, I recommend sizing down for this pattern.
Tools and materials:
- Pinnacle top pattern
- Woven fabric
- Interfacing
- Scissors
- Pins
- Fabric pen
- Iron
- Sewing machine
- Serger
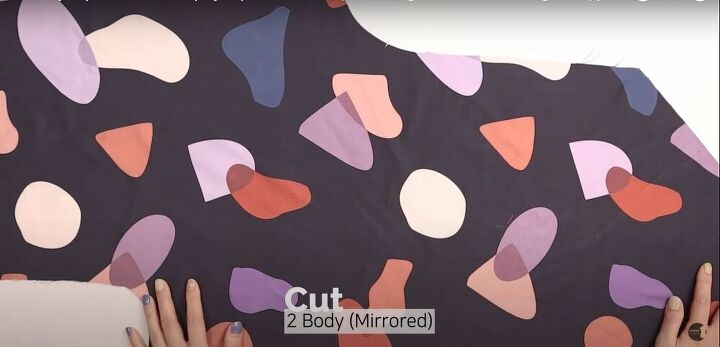
Cut
Cut out all your pattern pieces: two body pieces (mirrored), one triangle, and one neck facing.
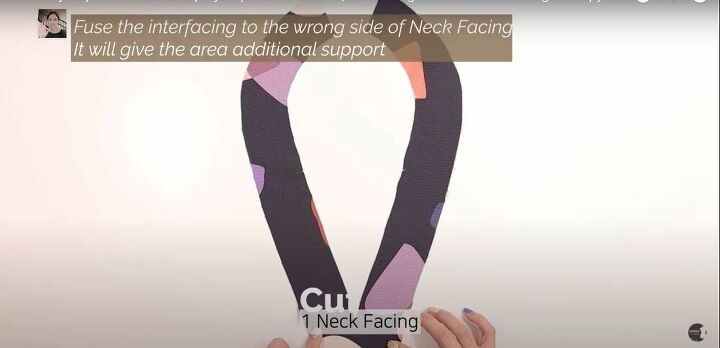
Attach interfacing
Attach the interfacing to the wrong side of the neck facing.
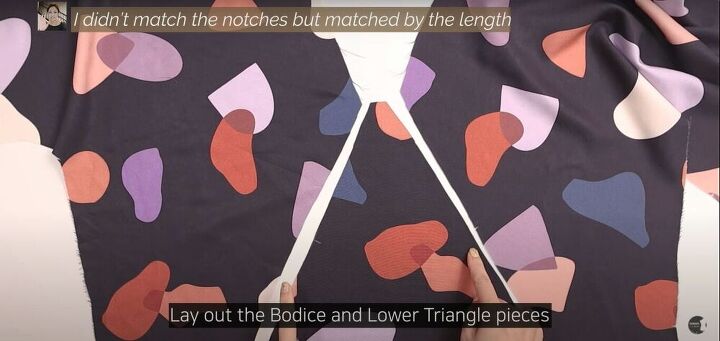
Pin, sew, and serge
Match the diagonal edges of the bodice pieces to the edges of the triangle, pin them, sew them together. Then serge the seam allowance.
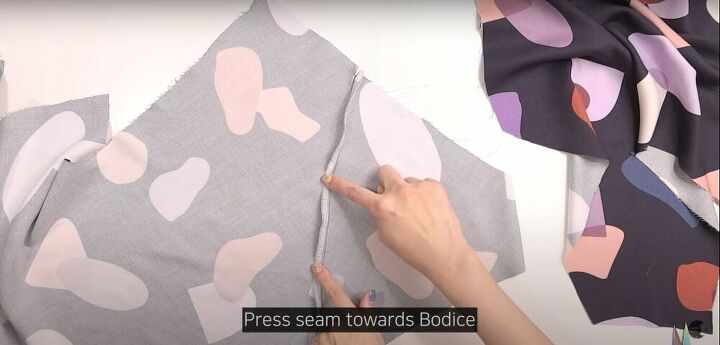
Press
Iron the seams towards the bodice pieces.
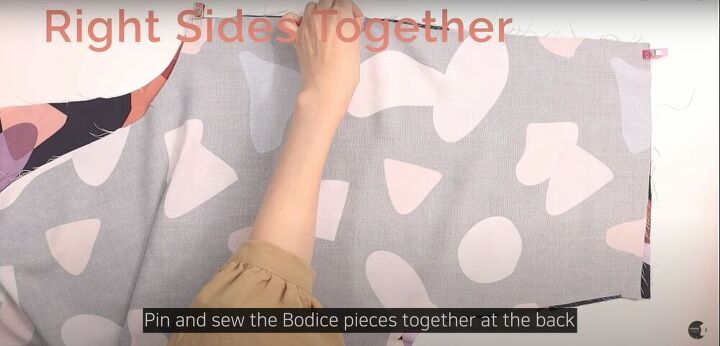
Pin, sew, and serge
Match the edges of the bodice pieces in the back of the top, pin them, and sew them together. Then serge the seam allowance.

Press
Iron the seam flat.
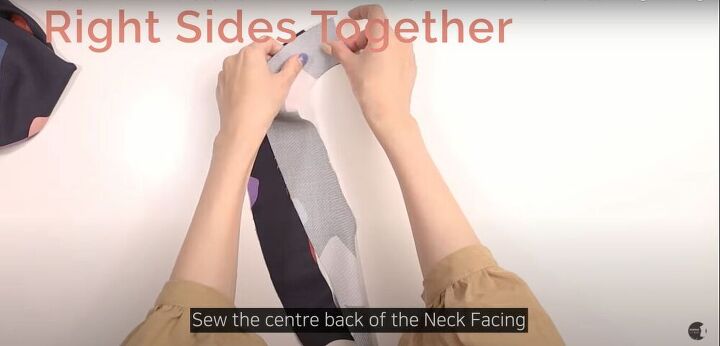
Sew
Lay the two edges of the center back of the neck facing right sides together, and sew.

Press
Open the seam allowance and press the fabric flat.
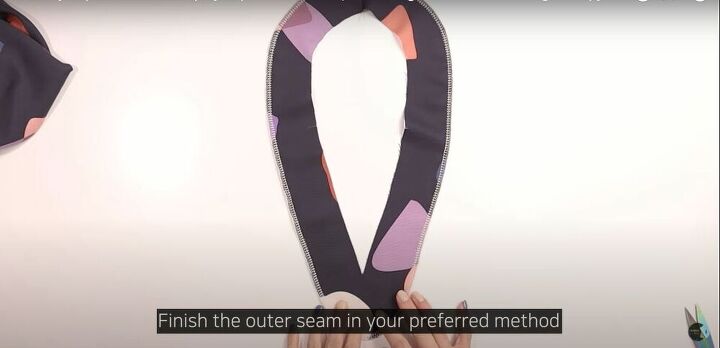
Finish the edges
Finish the edges of the neck facing, either by serging or with a zigzag stitch.
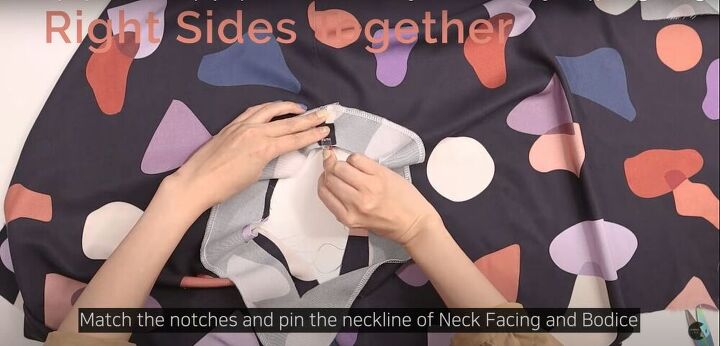
Pin
Match the notches on the facing and bodice, and pin them together.
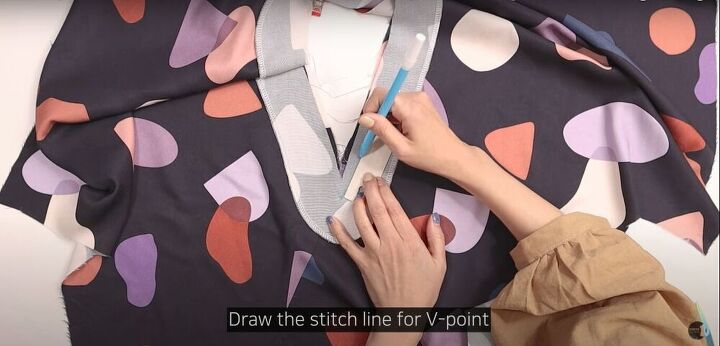
Mark
Mark where the stitching will be around the V on the facing.
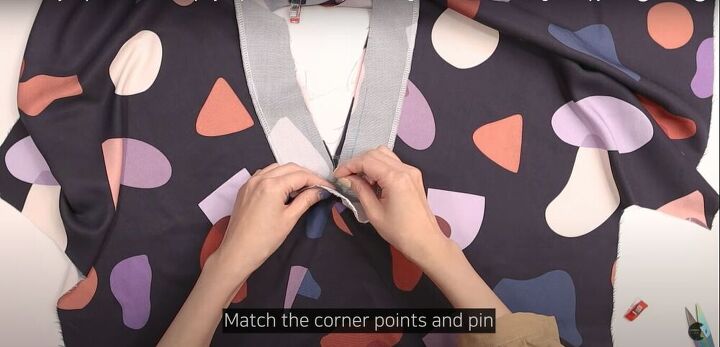
Pin
Match the corner point of the marking around the V with the tip of the triangle piece, and pin them together. Then match the rest of the notches around the neckline, and pin them together.
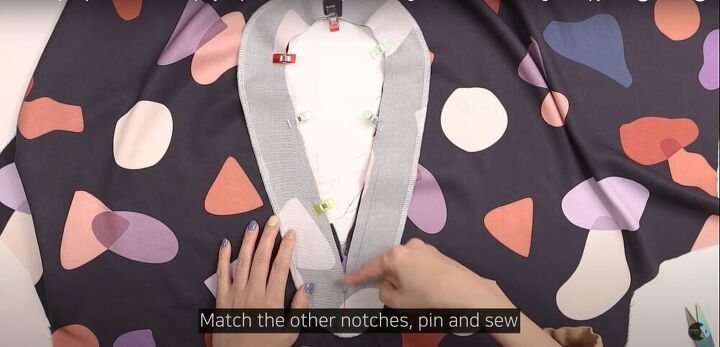
Sew
Sew down the neck facing.
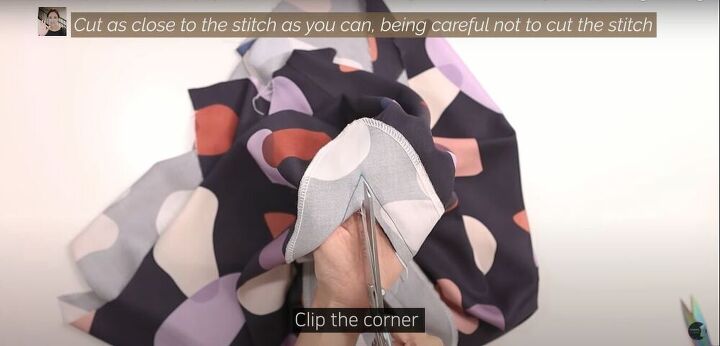
Cut
Clip the fabric in the center of the V, as close to the stitching as possible, taking care not to cut through the stitches.
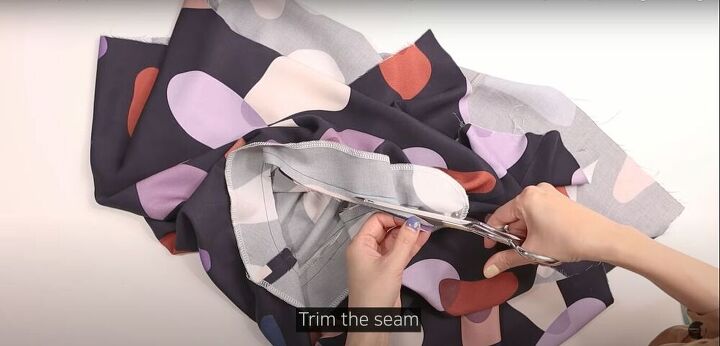
Then, trim the seam allowance.
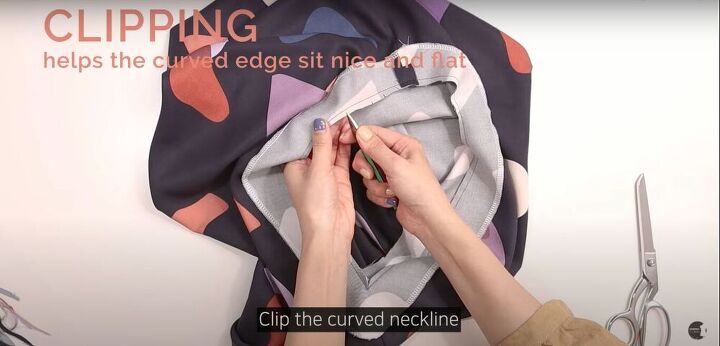
Clip the curve
Make a few small clips in the seam allowance of the curved part of the neckline. This will help the edges lay flat.
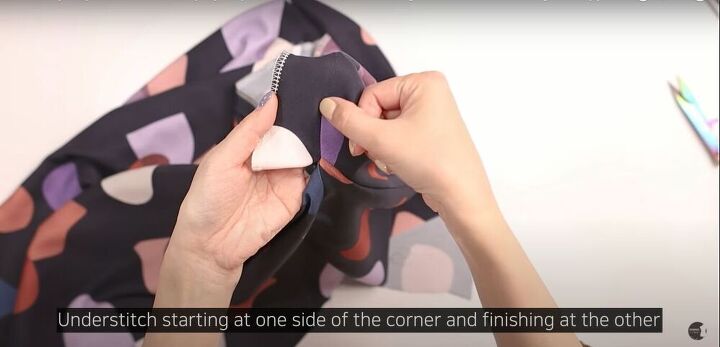
Understitch
To understitch the facing, sew along the fabric of the facing, right beside the neckline seam, starting on one side of the V and finishing on the other.
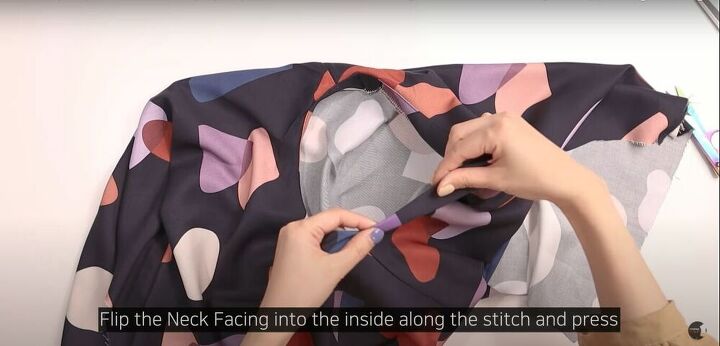
Press
Flip the facing inward along the line of understitching and press flat.

Topstitch
Topstitch along the edge of the facing, starting at the back seam and stopping at the seam of the front triangle. Then repeat on the other side.
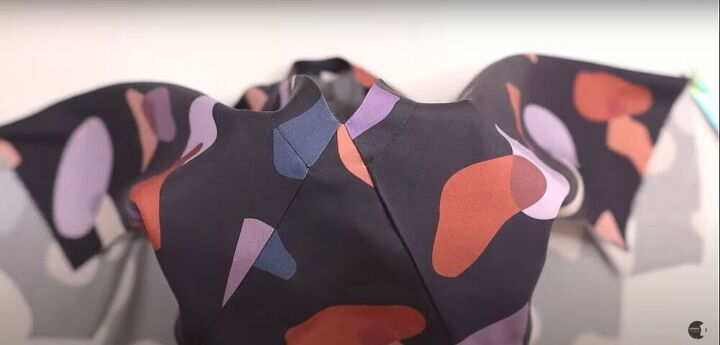
The result should look like this.
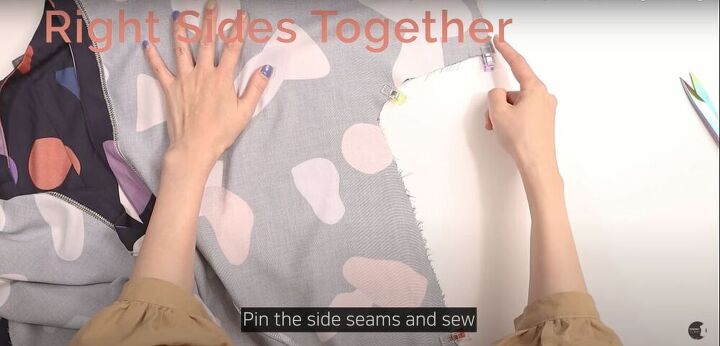
Pin, sew, and serge
Pin the side seams, right sides together, and sew. Then serge the seam allowance.
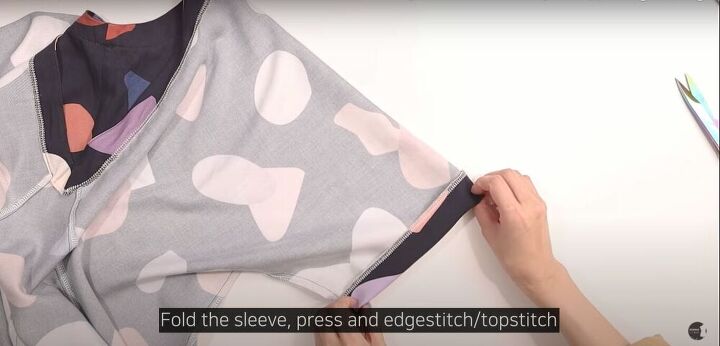
Hem the sleeves and bottom
Finish the edges of the sleeves with the serger. Then, with the top still inside out, fold the edges of the sleeves up, press flat, and topstitch all around the finished edges.
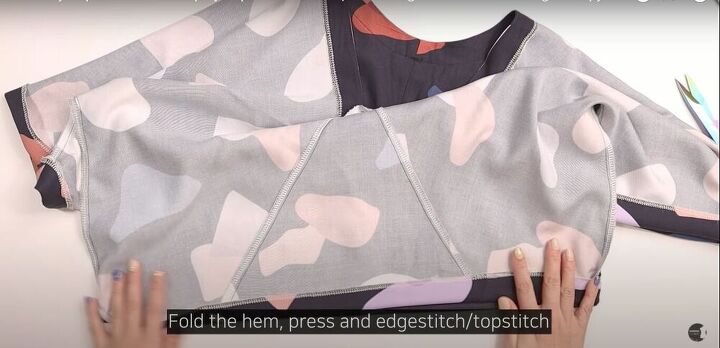
Do the same for the bottom edge.

Your pinnacle top is complete!

I hope this simple top tutorial was helpful to you. Let me know what you think of this pattern.
The author may collect a small share of sales from the links on this page.


Comments
Join the conversation