How to Do Ginger Rogers-inspired Vintage Curls

In this vintage hair tutorial, we're doing fabulous vintage curls inspired by the look of Ginger Rogers in the movie Heartbeat. When I saw it, I knew I had to do it, so let’s see how to create this look!
Tools and materials:
- Foam rollers
- Wrapper roll
- Hair clips
- Smoothing serum
- Hairspray
- Pomade
- Teasing brush/comb
- Bobby pins
- Hair flower comb/clip
1. Do an overnight wet set
Before starting this look, I did an overnight wet set using my favorite foam rollers and wrapper roll.
To achieve this set pattern, roll everything on the sides and back under and roll everything on the top backward.
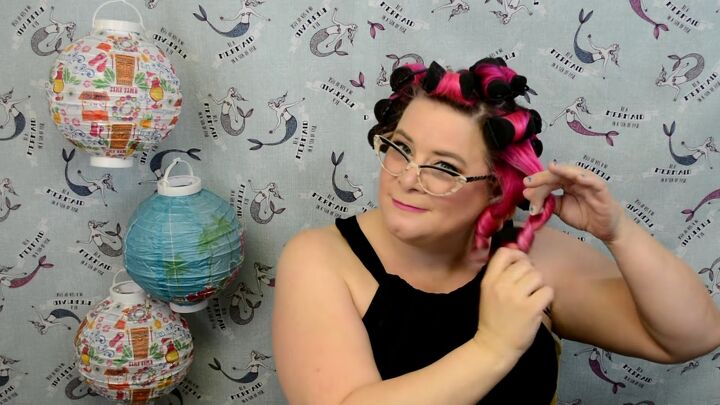
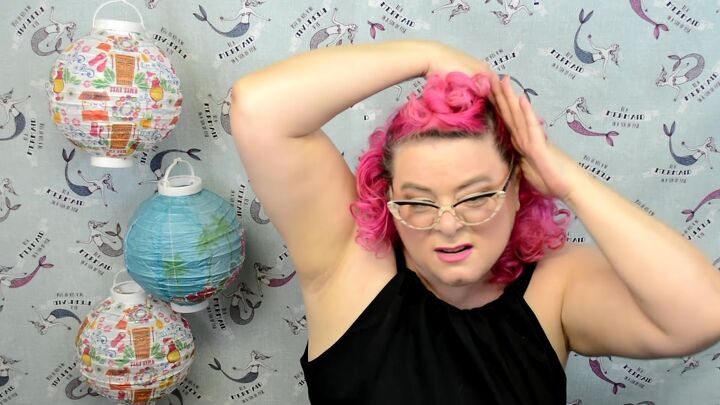
2. Unroll
Start to carefully unroll your curls.
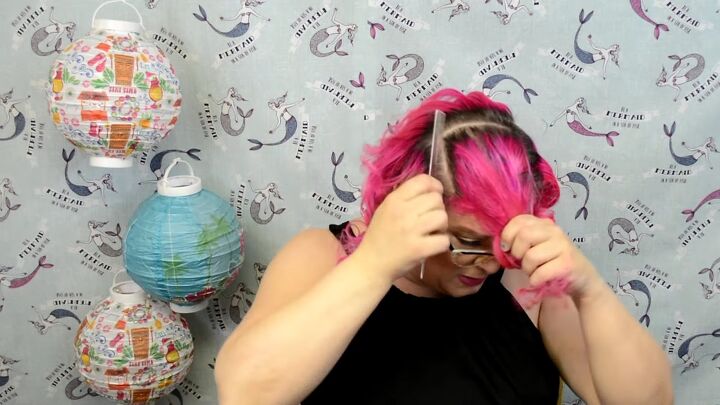
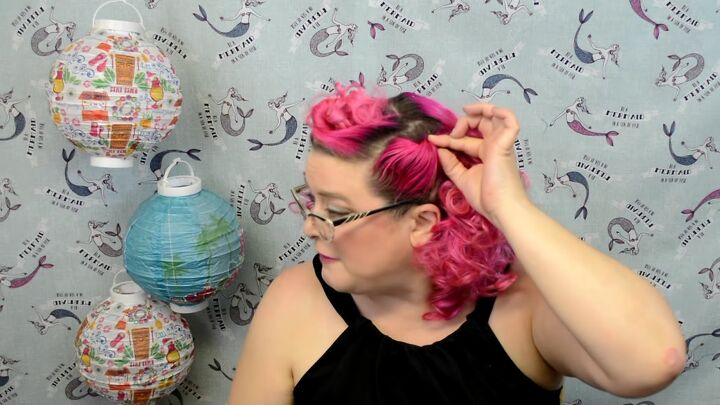
3. Separate the crown section of your hair
To separate the crown section, do a really deep part just past the corner of your forehead to create a U-shape.
Clip it away to deal with later.

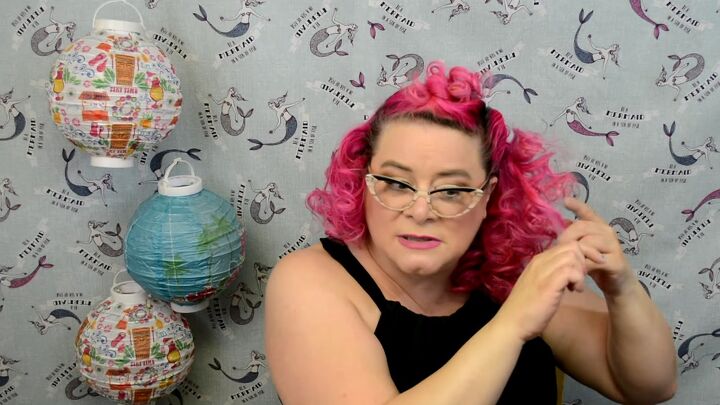
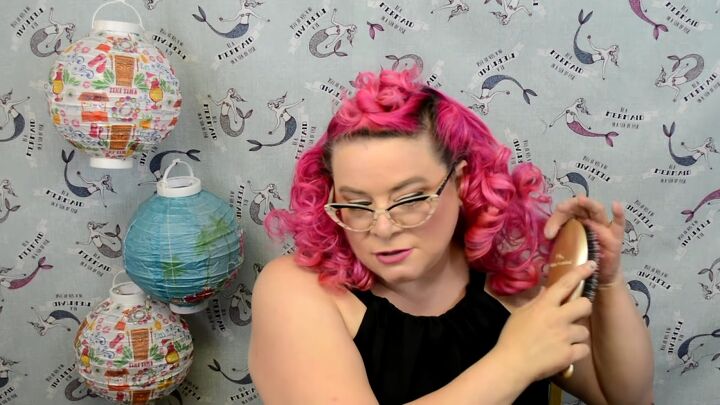
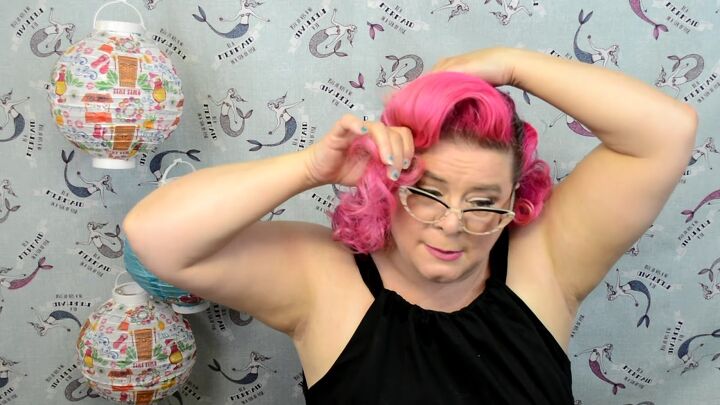
4. Separate the curls
We’re not going to brush through our hair since we actually want to maintain as much of these curls as possible.
Instead, start separating the curl from itself so we go from being Shirley Temple to fabulous 70s disco curls.
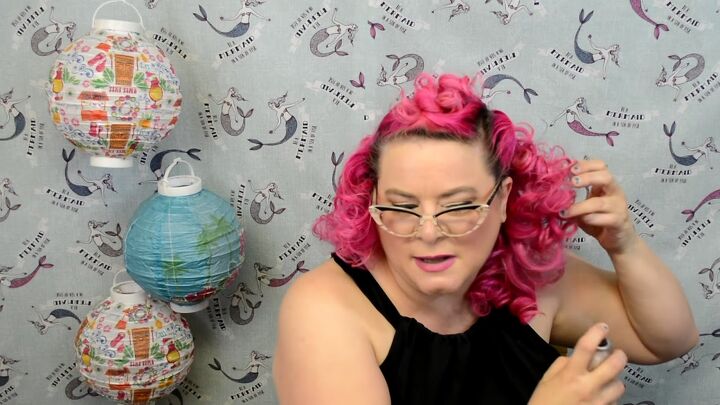
5. Scrunch in smoothing serum
Drop a bit of smoothing serum into your hands. You don’t want to pull through the curl, so just scrunch it instead.
This is going to help cut down on some of that frizz and it provides nourishment to your ends as well.
6. Smooth one side of the head with a pomade
Decide which direction your part is going.
On the opposite side, take a bit of pomade and run it along that side, brushing it back so it’s nice and smooth.
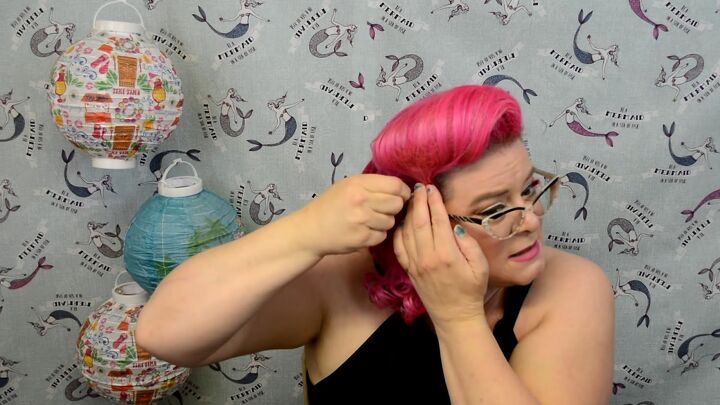
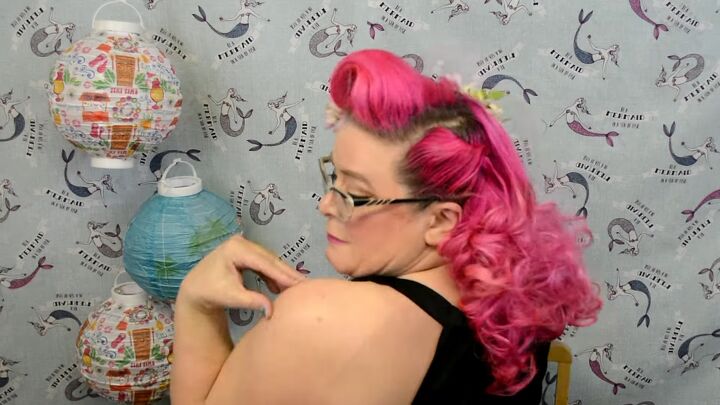
7. Pin the side of the hair
Pinch the ends of the hair on the side with a little twist, and push it slightly forward. We don’t want it to be completely tight to the head. You want to have a bit of volume.
Place a bobby pin where your fingers are pinched. Pin from the back towards the front and hide the pin in the hair.
Cross the bobby pins so they hold really well.
8. Use pomade to add definition to the curls
Since it’s a little bit frizzy, create some definition by adding a bit of pomade to your hands and running it over small sections of curls.
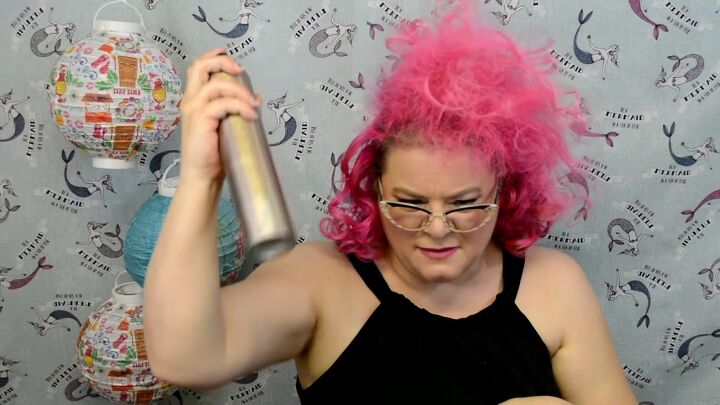
9. Spray hairspray
As you go, give your curls a spritz of hairspray.
10. Brush the curls to join them
Use a brush to join some of the curls together again since you don’t want them too separated.
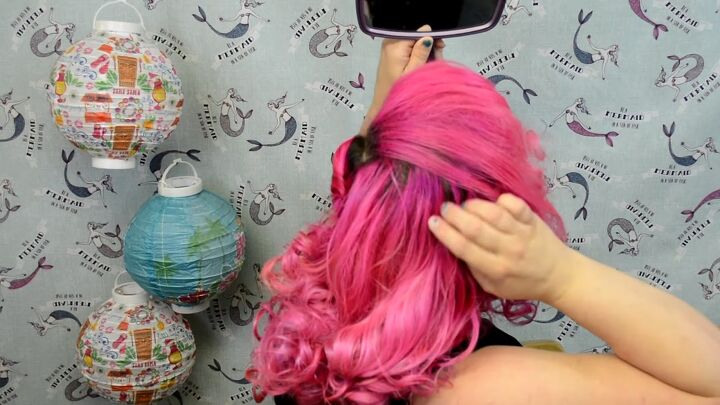
11. Brush the back of the head down
For the back of the head, push the curls down to the base of the head.
Make sure everything’s brushed nice and smooth towards the bottom. Hairspray afterward.
12. Brush through the hair at the crown
Brush through the hair we clipped away at the crown so the ends are smoothed together.
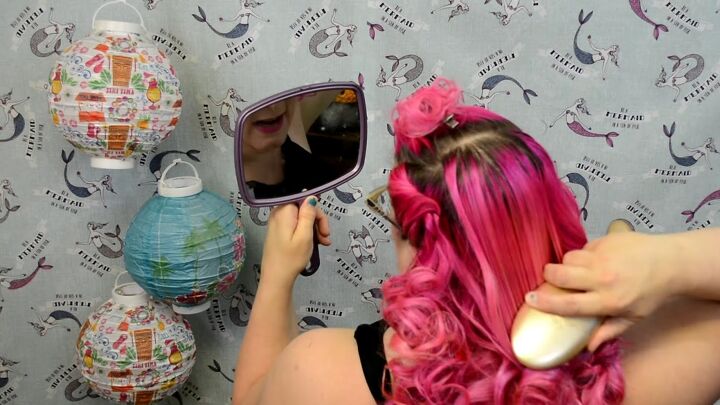
13. Backcomb the crown of the head
Now, take a teasing brush or comb and backcomb the entire length of the hair, doing fairly thin sections of hair at a time.
Spritz with hairspray, and then move on to the next one until you reach the opposite corner.
Once everything is backcombed, give it another spritz and then wait for it to dry.
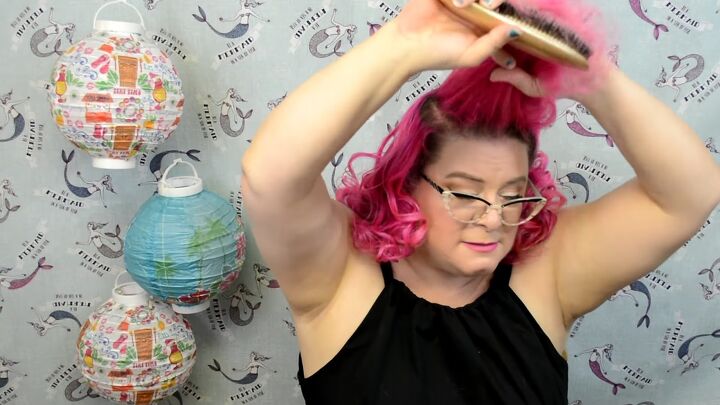
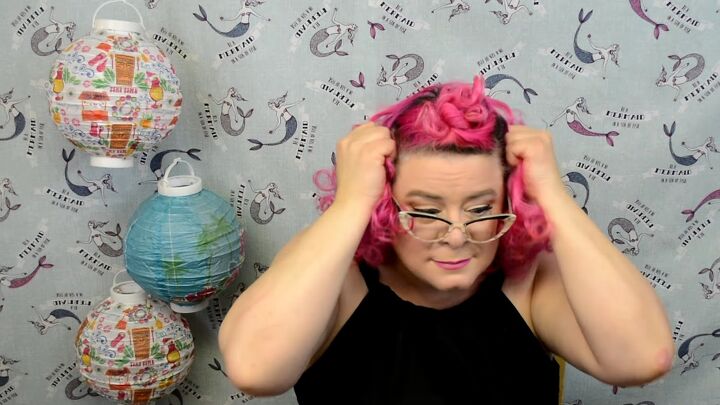
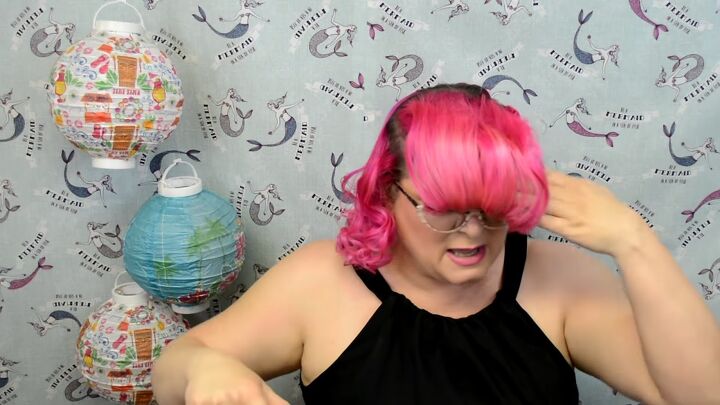
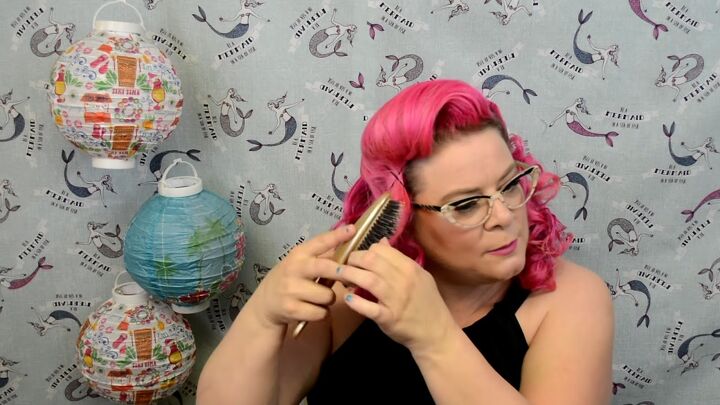
14. Lightly brush the hair at the crown
Lightly brush the outside and sides of the hair.
I’m using a brush with really loose bristles because it’s not going to brush through everything.
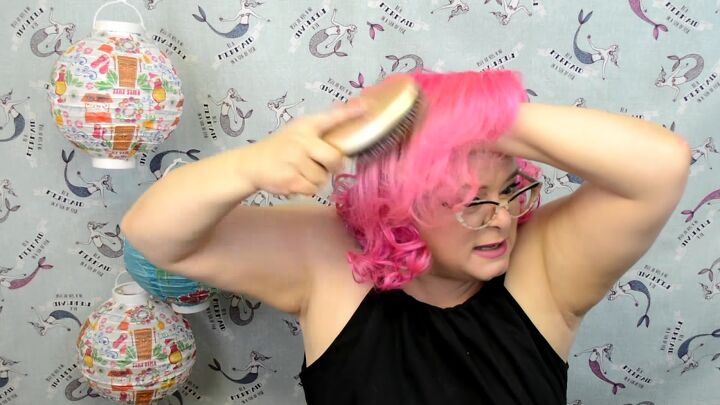
Once I get the swoop, I put my hand underneath it so I don’t pull that height out.
15. Apply pomade
Run pomade over the top of the hair to get rid of any flyaways.
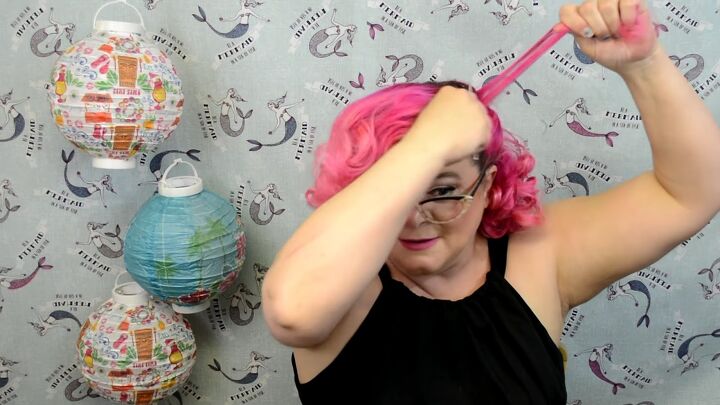
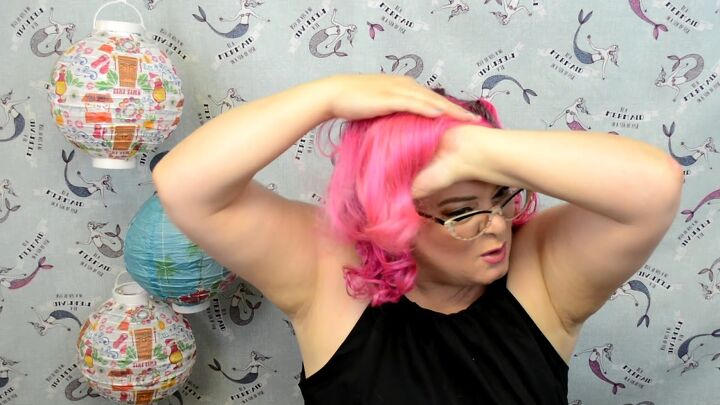
16. Pin down the big swoop
Place the hair down so you get that nice, big swoop.
Also, make sure the hair wraps around the back.
Pin in place.
17. Comb the ends
If you have a bit of extra hair sticking out, comb through the ends to make them nice and smooth.
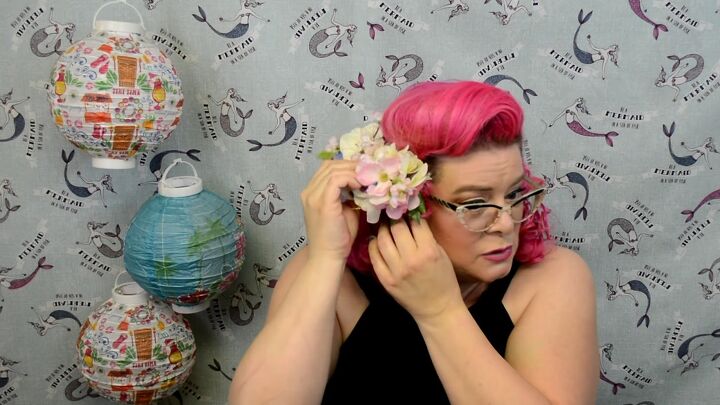
18. Add hair accessories
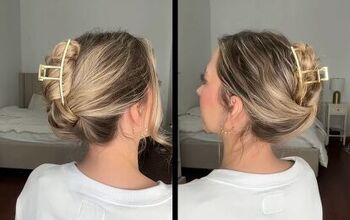
Completed vintage curls
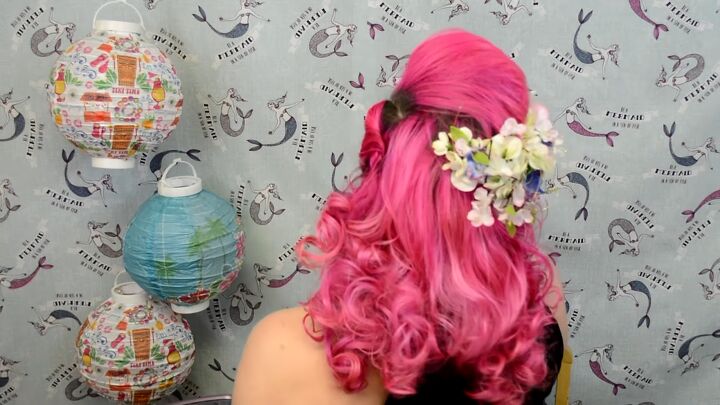
Here’s the finished vintage hairdo! Let me know what you think of this vintage curly hairstyle down below.
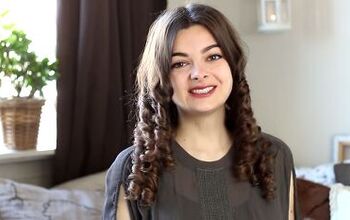
For more hair content, check out my post on How to Preserve Curls Overnight.
The author may collect a small share of sales from the links on this page.


Comments
Join the conversation