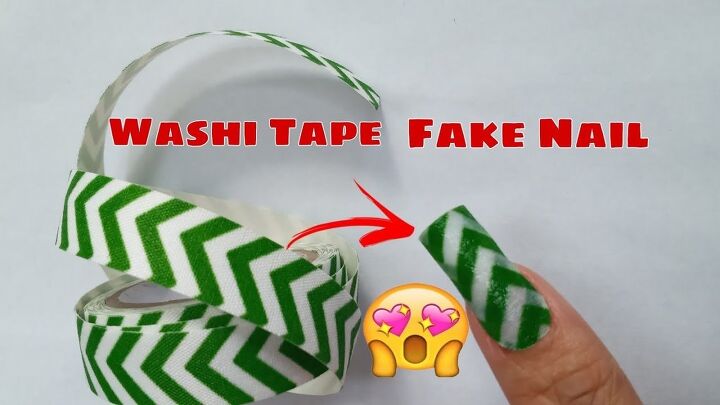
Washi Tape Nails: Decorate Nails With Washi Tape for a Festive Look

Christmas is on its way, and I’m getting into the festive mood with some fun washi tape nails. So if you want to know how to decorate your nails with washi tape, keep reading. This nail DIY might be a little unexpected, but I guarantee you that it looks great!
Tools and materials:
- Washi tape
- Scissors
- Nail glue
- Tweezers
- Nail file
- Nail polish remover
- Cotton wool
What is washi tape?
Washi tape is a decorative adhesive tape similar to masking tape and is made from traditional Japanese paper.
1. Cut the tape
Start by cutting a piece of washi tape that is the length you would like it to be for your first fake nail. You want to fold the washi tape in half when you cut it so that there are two layers of tape. Then, cut the tape where it is folded over so that you will be left with two pieces.
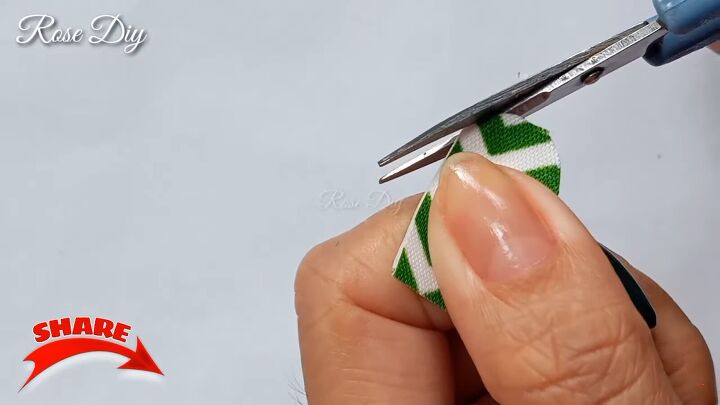
2. Trim the tape
Hold both of the cut-out pieces together and proceed to trim the tape in the corners to make them curved. This is so that the tape will better fit your nail.
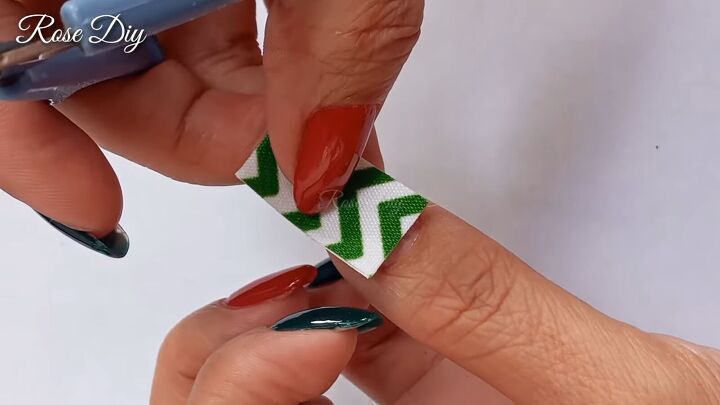
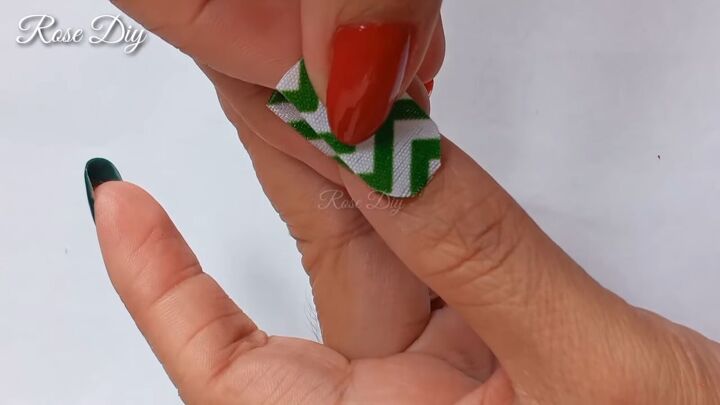
3. Stick the washi tape onto the nail
Remove the back of the tape and stick it onto your finger, pressing down firmly.
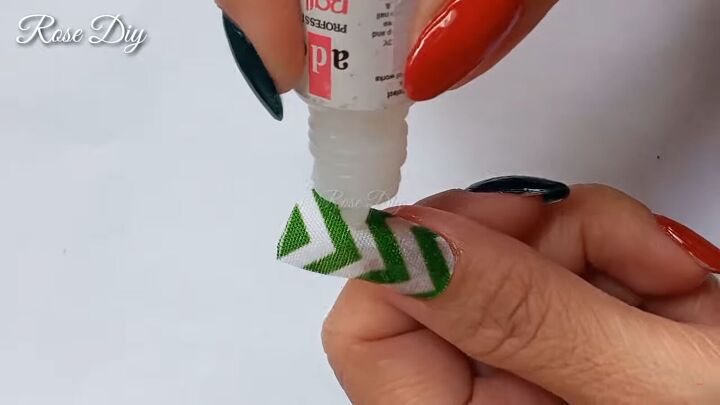
4. Apply glue
Next, take some nail glue and squeeze it on top of the washi nail.
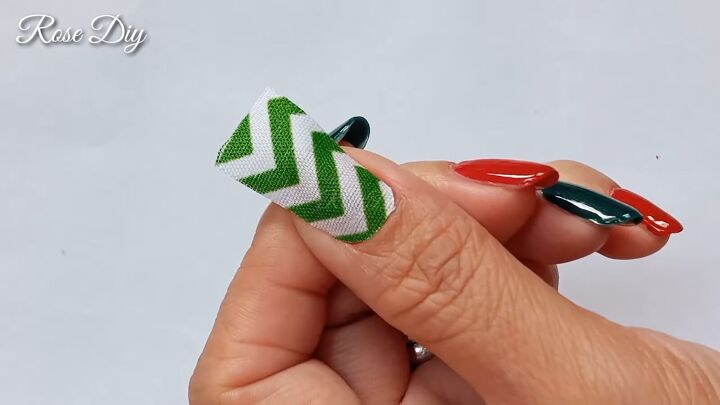
5. Add on a second layer
To make the nails thicker and more durable, take your other cut out from before, remove the backing, stick it on top of your other nail and press it down.
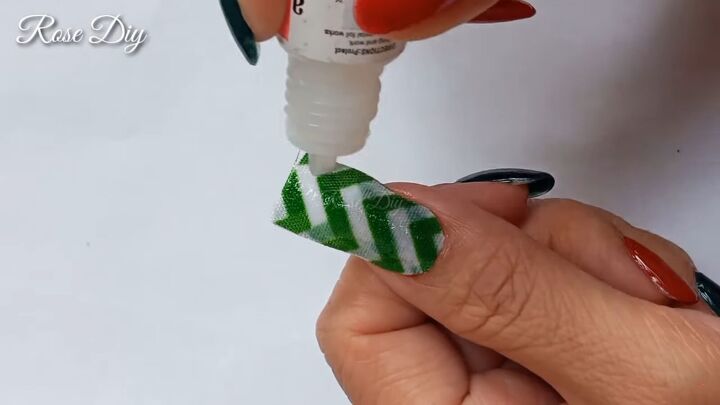
6. Apply more glue
Once done, apply another layer of nail glue. This time, place the glue both on the front side of the washi nail and on the part of the exposed back side.
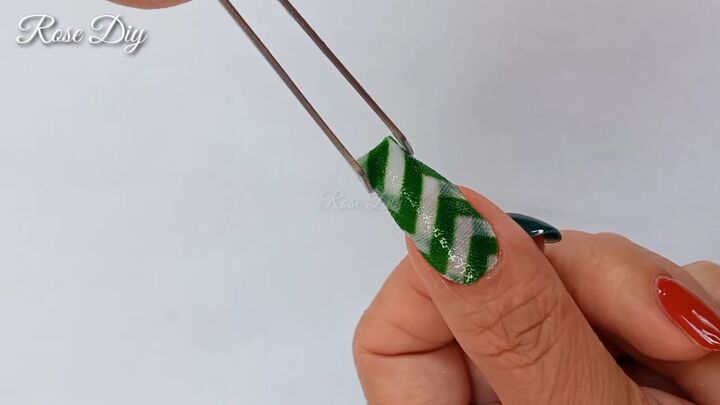
7. Shape the nails
As the glue is drying, use some tweezers to help shape and curve the nail to make it look more nail shaped. Hold the tweezers in place for the duration of the dry time.
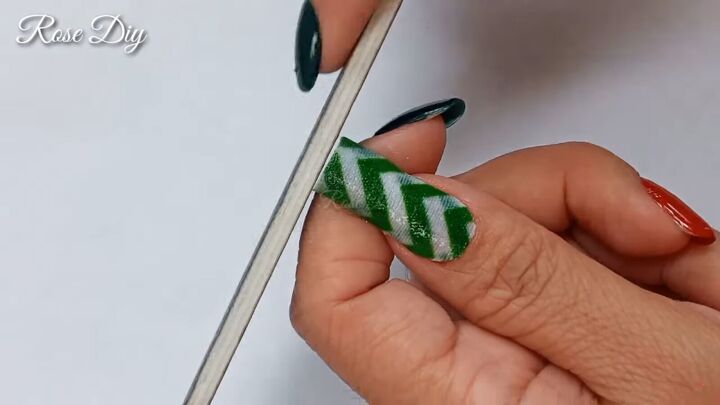
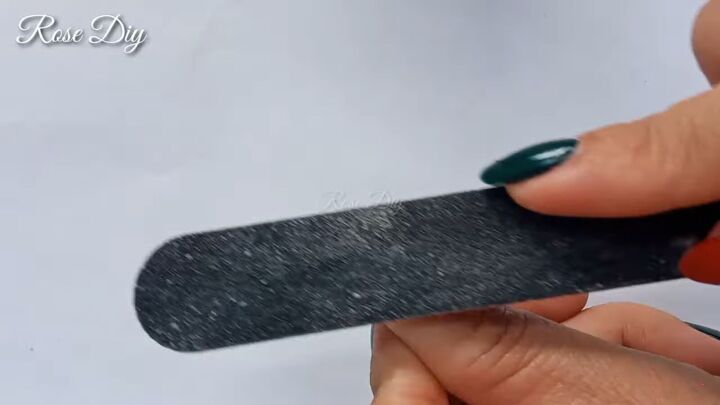
8. File the nails
The next step is to file the top and sides of the nails.
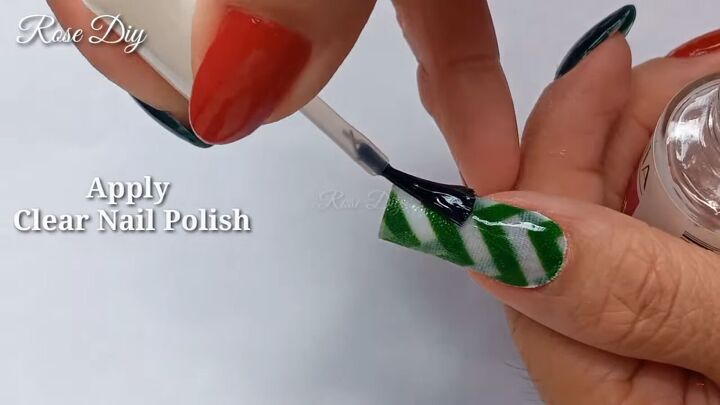
9. Apply clear nail polish
Lastly, apply clear nail polish to finish off your look.
How to remove washi tape nails
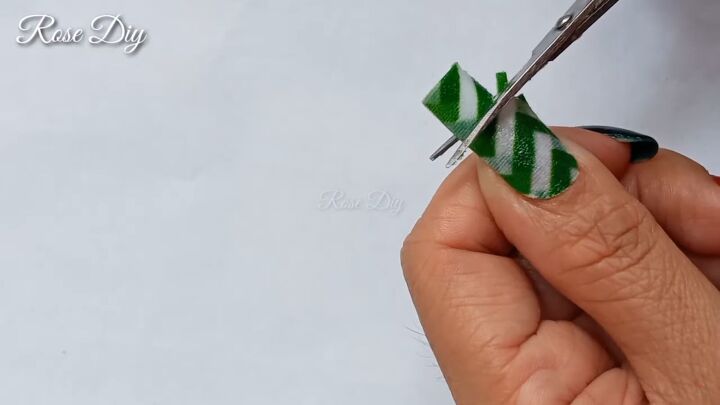
1. Trim the nails
To take the nails off, start by cutting the top part of the nail that is higher than your actual nail.
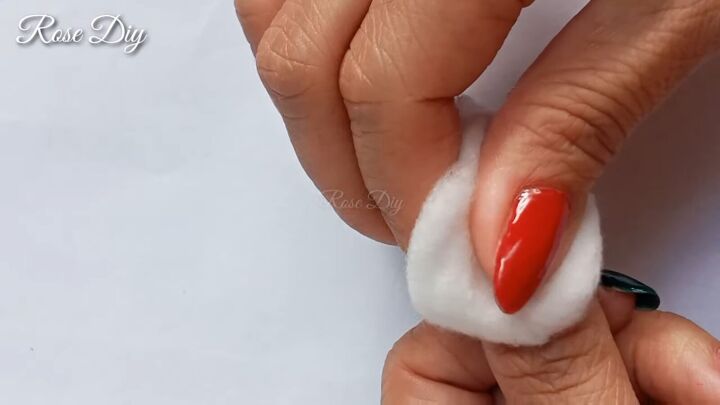
2. Apply nail polish remover
Then, take some nail polish remover, dab it on some cotton wool and press the cotton wool onto your nails. This will help to break down and remove all of the nail glue that you’ve applied.
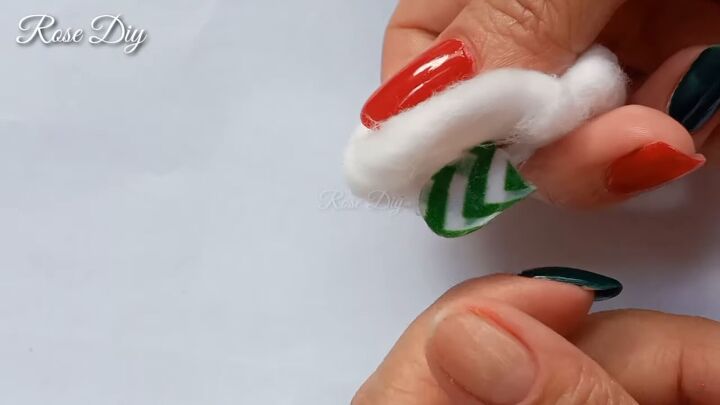
3. Take the nails off
The washi tape nail will then easily come off your nails. You can then give your nails another little wipe with the cotton wool to just make sure that all the glue has come off.
4. File your nails
I would also advise filing your nails to help remove any of the glue residue.
Washi tape nails tutorial
I hope you enjoyed this washi tape nails DIY. You can either just apply the washi tape to one nail like I did and apply nail polish to all of your other nails, or you can put the washi tape on all of your nails.
Washi tape nail art is so unique and different and creates a beautiful finished look that is perfect for Christmas!
Let me know what you think of this tutorial in the comments below.
The author may collect a small share of sales from the links on this page.


Comments
Join the conversation
Great idea!
No. I think all that clue damages the nails because you have to file over the nail bed to completely remove it. Besides it is more time consuming than just painting my nails.