Why, How & Where to Apply Highlighter For the Perfect Amount of Glow

Applying highlighter as part of your makeup routine illuminates the face, gives you a gorgeous glow, and highlights the high points of your face. If you’re wondering where to apply highlighter and how to use it correctly, then I’ve got you covered!
Check out my comprehensive makeup guide on how to apply highlighter - it’s easier than you think! Let’s get started!
Tools and materials:
- Primer
- Highlighting cream
- Foundation
- Concealer
- Assorted makeup brushes for the face
- Contour
- Highlighter
- Lightweight highlighting setting powder
- Blush
- Lip liner
- Clear chapstick
1. Apply primer
Before we get started, I just wanted to let you know that I did my eye makeup first; that’s why you’ll see that my eyes are all done up.
I have not, however, added anything to my face as I want to show you step-by-step on where to apply highlighter on the face.
Let’s start with the primer, as it’s super important. It gives you a smooth finish and fills in pores. Apply a good amount and focus on blending it on the center of your face and working your way out.
2. Add a highlighting cream
One way to use highlighter is to apply a highlighting cream that goes under your makeup. It will peek through your foundation and give you that beautiful illuminating glow.
3. Apply foundation
Apply your favorite foundation. The one I’m using has a cream consistency with medium coverage. I liberally apply it to the areas where I need most coverage and then blend it out for a clean finish.
Now, blend your foundation with a very dense face brush.
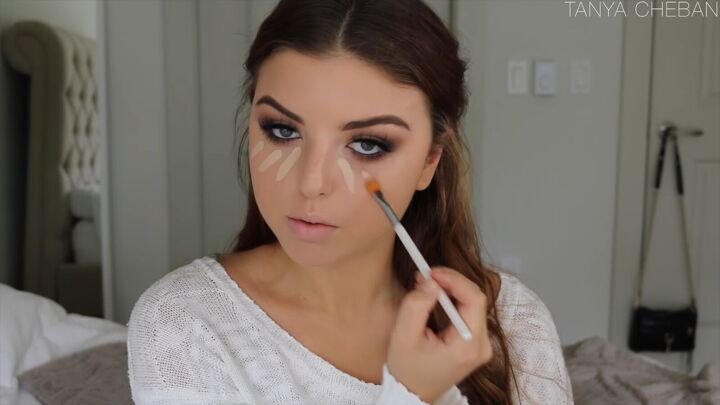
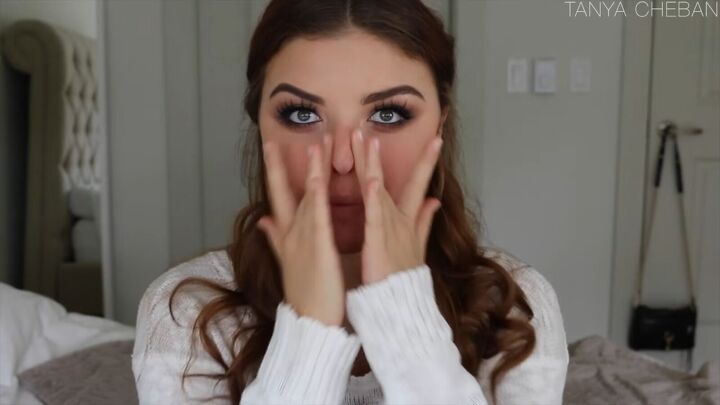
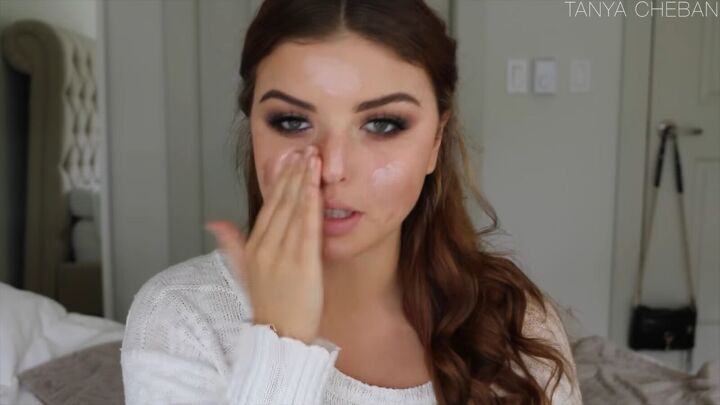
4. Apply concealer
Onto the concealer! Dab your favorite concealer under your eyes, as shown.
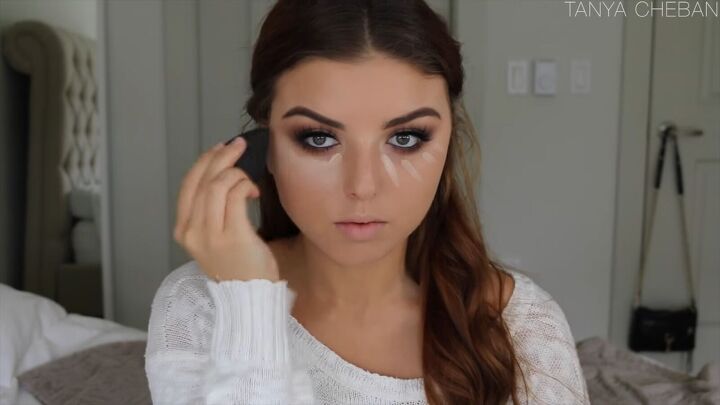
Then lightly tap a makeup sponge right under your eyes so that it blends in.
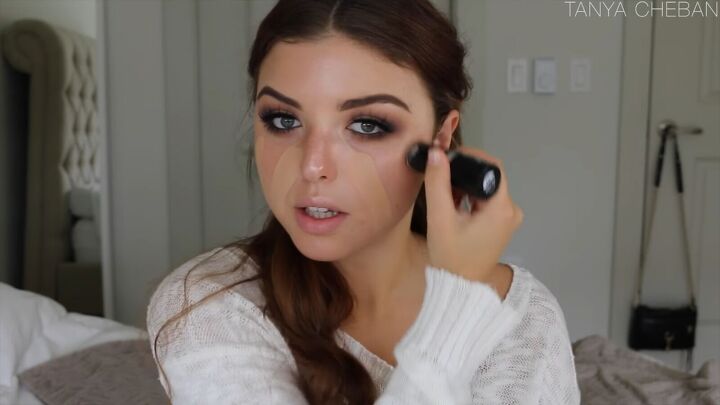
5. Add contour
With a flat sculpting brush, add a cream-based contour right onto your cheekbones. Press it right into the cheekbone with dab-like motions.
Contour is the opposite of highlighter. Darker colors set areas back, whereas lighter colors bring areas forward. For a highlighter to be most effective, use contour for contrasting light and shade.
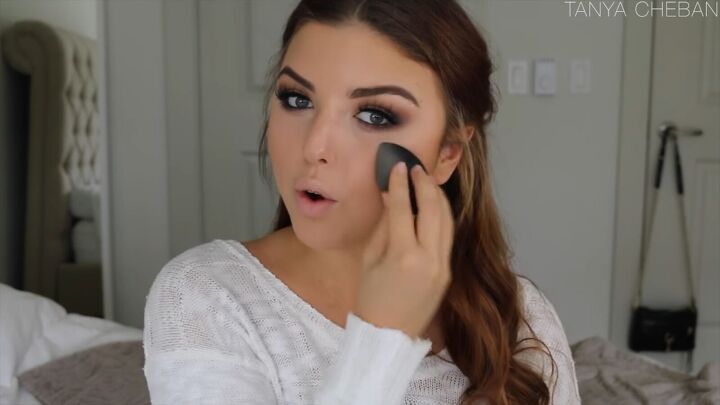
Blend the contour with a makeup sponge. The better you blend, the more natural your highlighter and makeup in general will look.
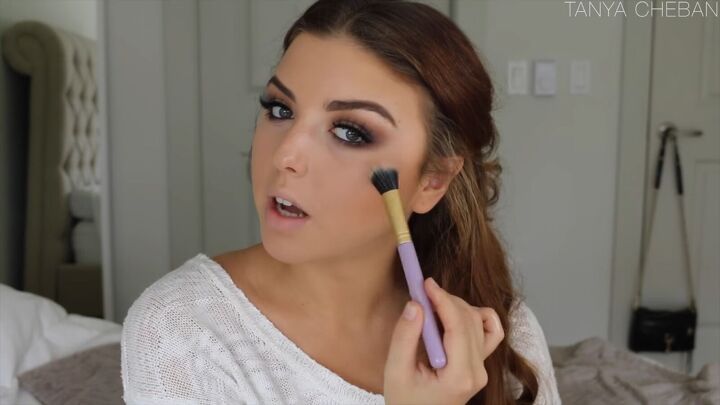
6. How to apply highlighter
Now it's all about applying highlighter! Start by focusing on the highest point of your cheekbones.
Apply using soft circular motions with your brush, so it looks like the light is catching on an area of your face, rather than brushing a line of highlighter, which can look unnatural.
Tip: It’s best to apply a highlighter before you set your makeup. Like this, your face is still somewhat tacky from the foundation. This will really make the highlighter stick.
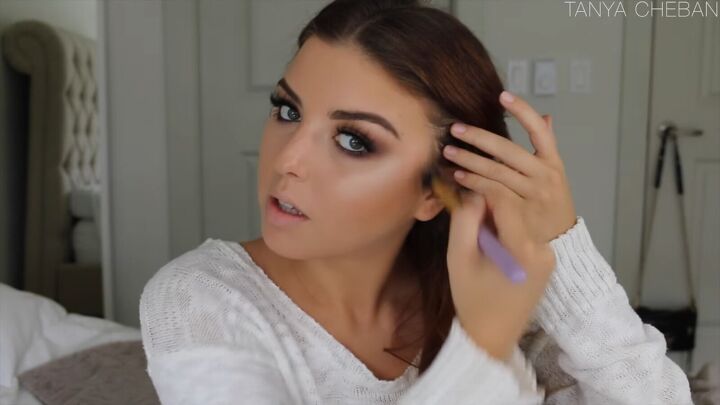
Next, drag your highlighting brush upward and add a little highlighter on your temples, right by your brows.
Can you already see how the right side is lifted and highlighted? Highlighter makes a huge difference!
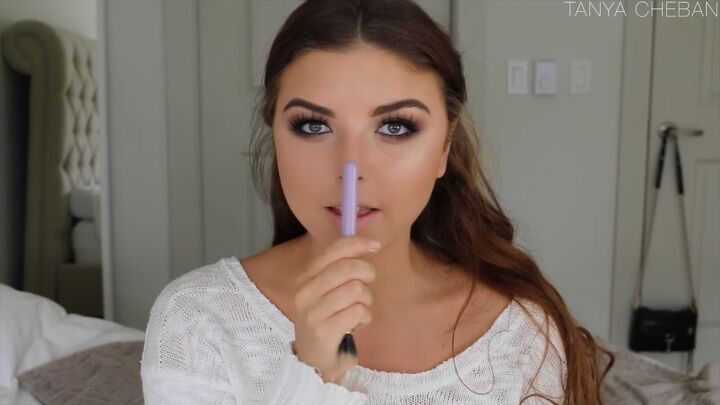
Next, brush a tiny bit on your chin, cupid's bow, and the bridge of your nose.
7. Set your makeup
Once the highlighting is out of the way, go ahead and set your face with powder.
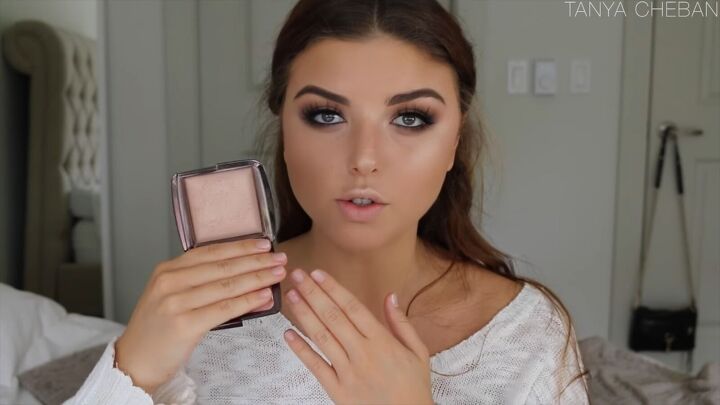
How to apply highlighter powder
I’m actually using a setting powder that is a very light version of a highlighter. This will give my face a beautiful glowing finish. Lightly dust the powder on your face with a big fluffy brush.
Tip: Don’t use a dense brush for this as you want very light coverage.
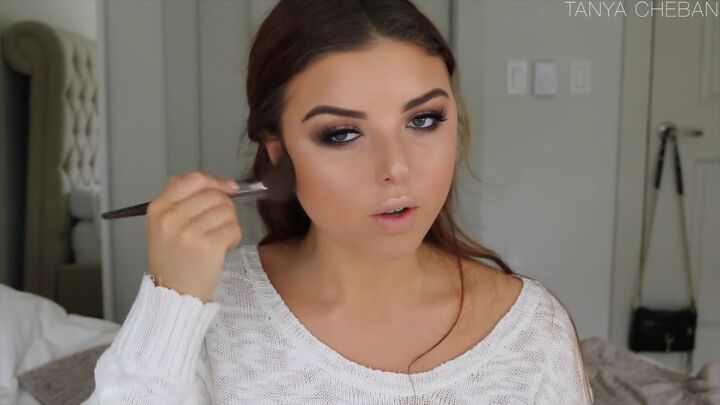
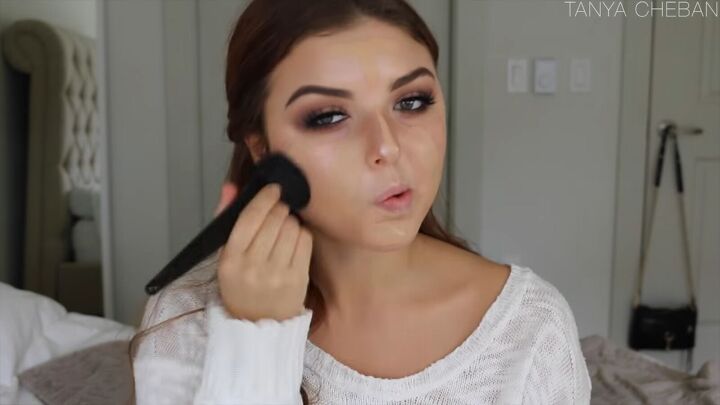
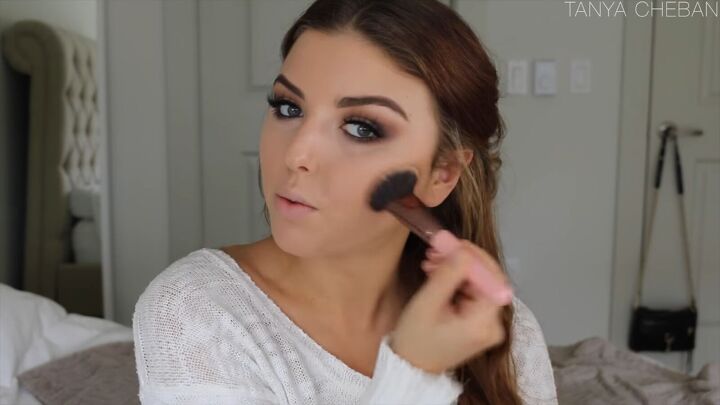
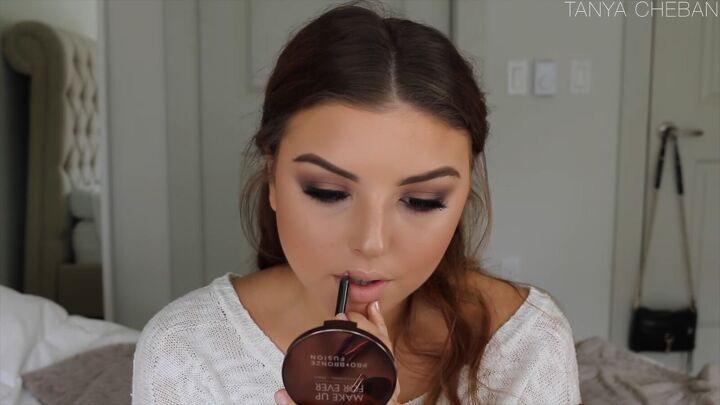
8. Apply bronzer
Next, apply bronzer to your cheekbones. Again, use a fluffy brush, so you don’t get a lot of pigment; the aim is to have something light.
9. Apply lip liner
Line your lips with a lip liner. I’m going for a nude look, as I want the focus to be on my glowing skin, but you can choose any color you like.
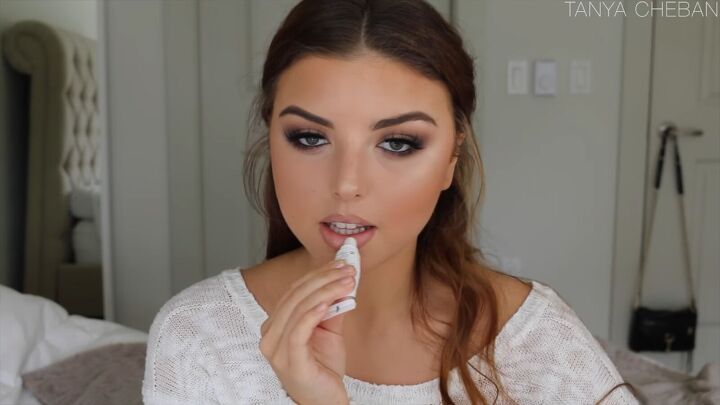
Then, apply a chapstick. This will give your lips a stunning dewy glow that goes well with the glowing face makeup.
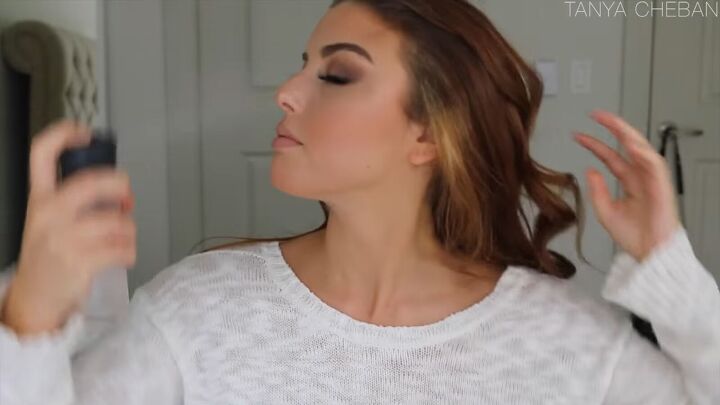
10. Use setting spray
Lastly, set your makeup with a setting spray.
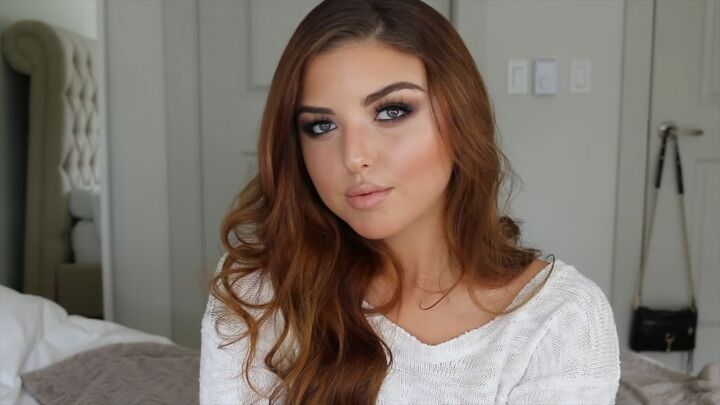
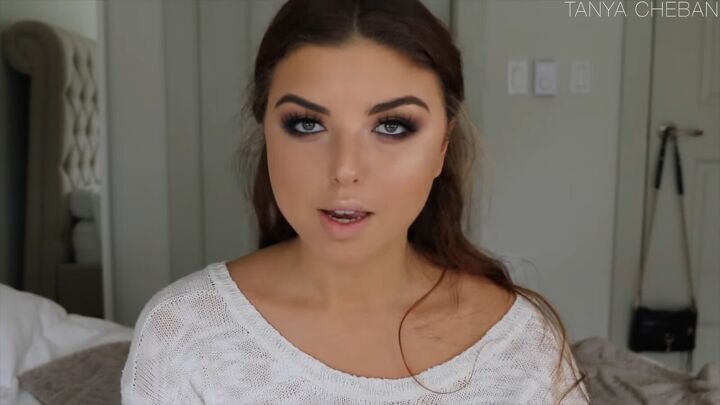
Where to apply highlighter tutorial
We are done! Can you see how the highlighter illuminates my face? The trick is to focus on the highest points of your face and add a dash to other areas so that when the light hits, your face looks sheer and glowy.
Let me know what you think in the comments below. I hope you enjoyed this tutorial on where to apply highlighter, and I’ll see you again next time!
Products used
- Too Faced Pore Filling Primer
- MUF Ultra HD Stick Foundation 118
- Mac Pro Longer Concealer NW20
- Chanel Creme Bronzer
- Mac Soft N Gentle
- Hourglass Ambient Lighting Powder Luminous Light
- MUF Pro Bronze Fusion Bronzer
- Painted Earth Lip Liner Naked
The author may collect a small share of sales from the links on this page.


Comments
Join the conversation
That's awesome, gonna try it!