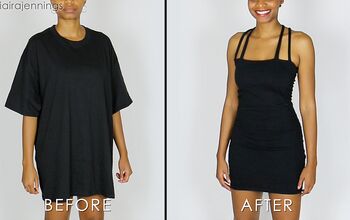
DIY a Classic T-Shirt Dress With Pockets

There’s nothing better than a simple T-shirt dress. It’s so easy to throw and it always looks good. I decided to refashion an oversized T-shirt that I found at home and the results are just amazing! I am so obsessed with my new dress and the best part is, it has pockets! If you are looking for your next fashion upcycle, this tutorial is definitely for you! Follow my easy, step-by-step guide and get started on this absolutely amazing transformation. I have no doubts you will end up with a new wardrobe favorite!
Tools and materials:
- Oversized T-shirt
- Coordinating fabric for finishes
- Measuring tape
- Pencil
- Pins
- Fabric scissors
- Sewing machine
- Coordinating thread
- Iron
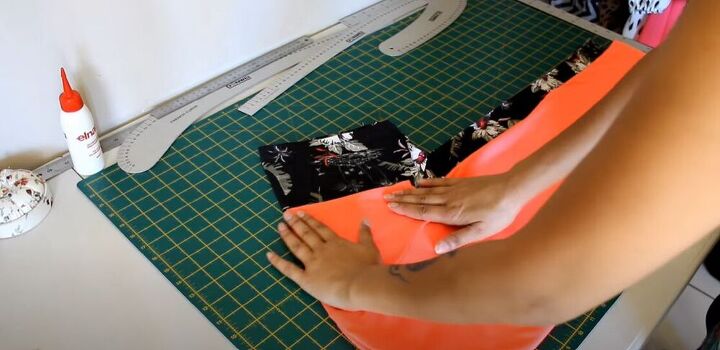
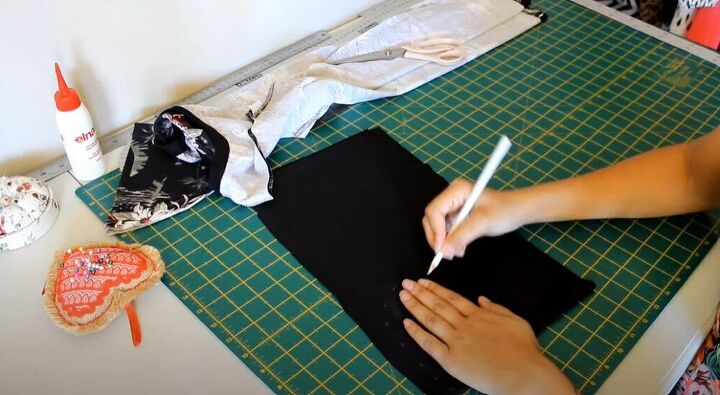
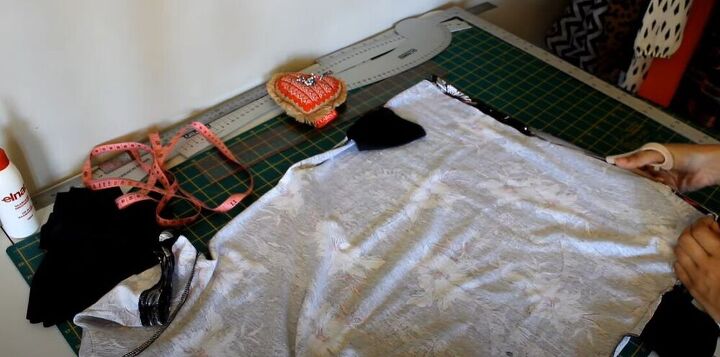
The first step is to fold your oversized T-shirt in half and lay it down. Take your favorite T with the perfect fit and place it on top of the oversized one to use as a pattern for your new dress.
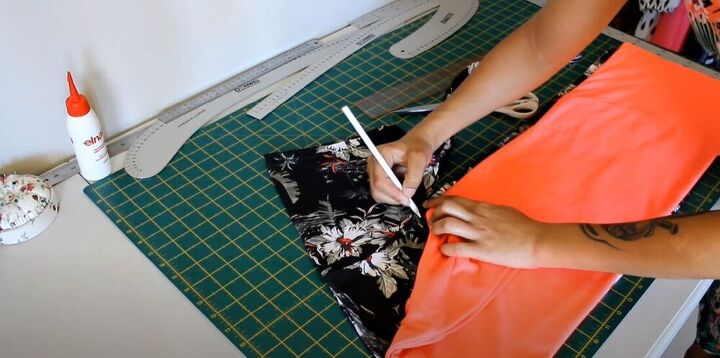
Use a pencil to trace the pattern leaving a half-inch for seam allowance.
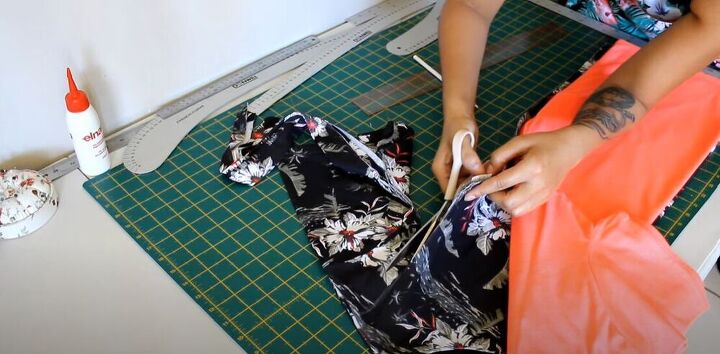
Once your tracing is finished, you can start cutting your oversized T.
No T-shirt is complete without a sleeve! Use your pencil to mark around the shape of the sleeve leaving a half-inch for seam allowance. You can then cut out the sleeve for your stunning new T-shirt dress.
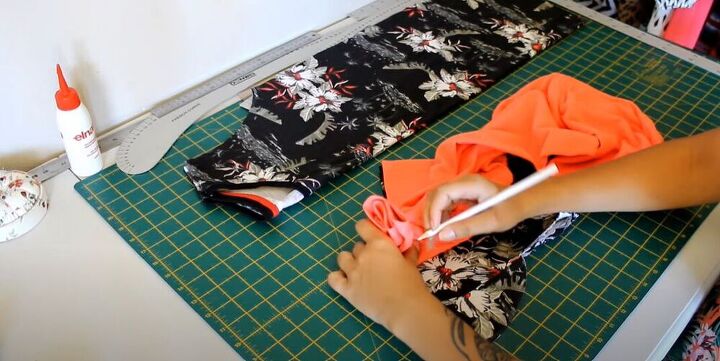
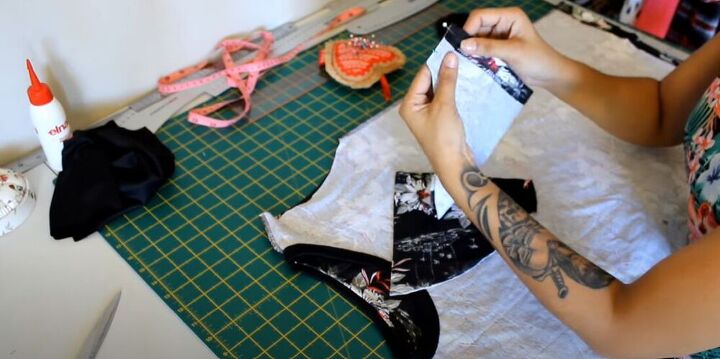
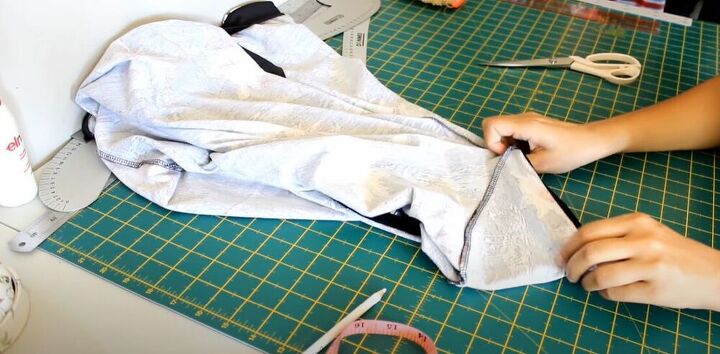
One of the best elements of this T-shirt dress is definitely the pockets! Fold your additional fabric over twice so that you have four layers of fabric. Use your hand to trace the shape of the pocket and cut it out.
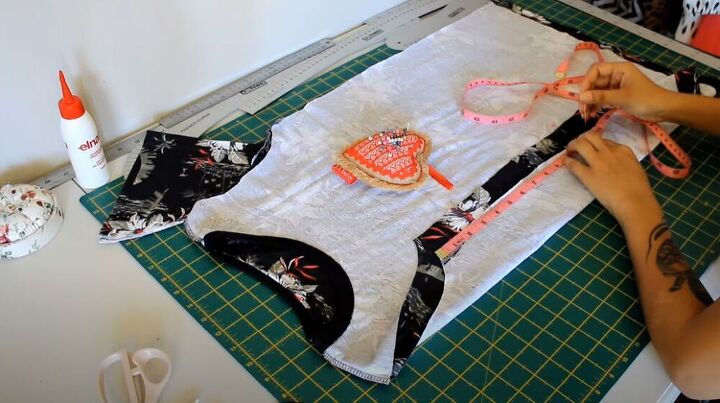
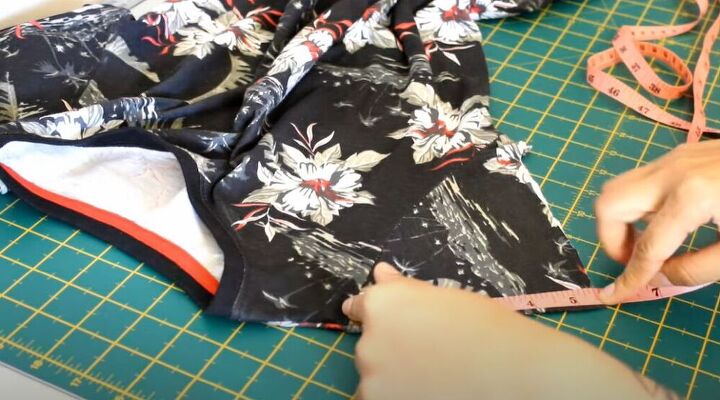
Turn your dress inside out and measure about 12 inches from the armpit. Pin this point to mark where the pockets will go.
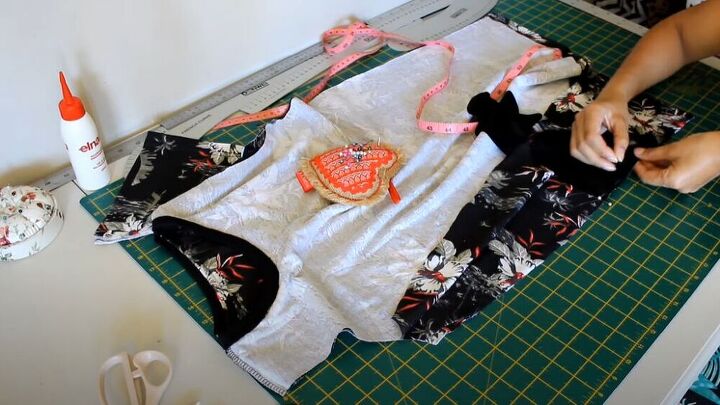
Sew the side of the pocket layer onto the side seam of the dress. Make sure to do this for all four pocket layers.
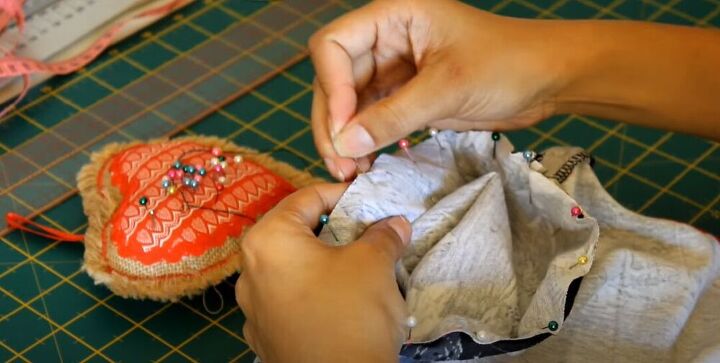
Next, match up the side seams of the T-shirt. Pin from the armpit area down. Make sure to go around the pocket area. Hop on over to your sewing machine and sew along your pinned lines.
It’s time to move on to the arms. Fold the fabric so that it is right sides together. Then sew the side seams of the sleeves.
To attach the sleeves to this gorgeous T-shirt dress, turn them right side out. Slide them through the armhole and make sure that the side seams line up. Pin the area and sew around it to get the perfect sleeves.
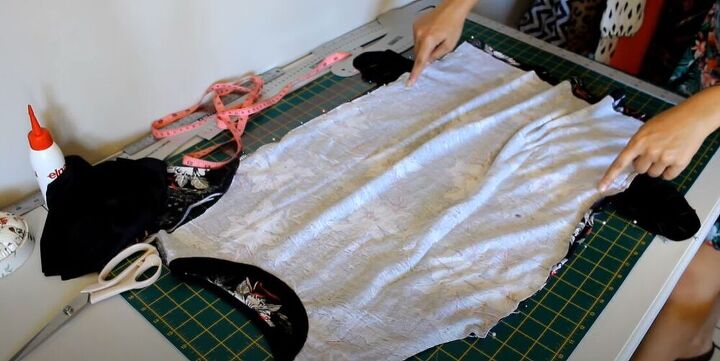
Give all your seams a good press with a hot iron to get the fabric sitting perfectly.
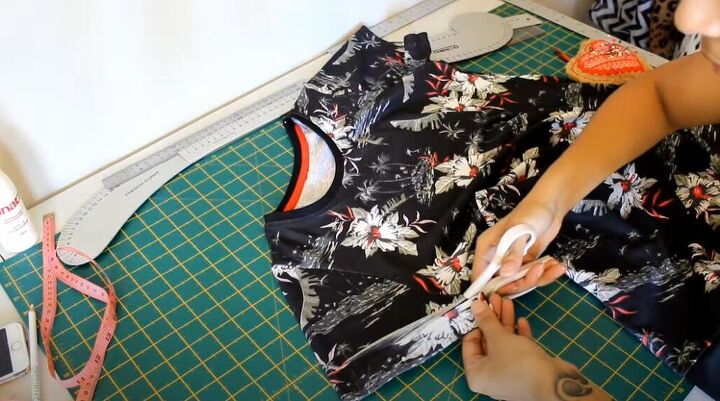
Since you will be adding new fabric to the hemline of this amazing dress, you can go ahead and cut the old hemline off.
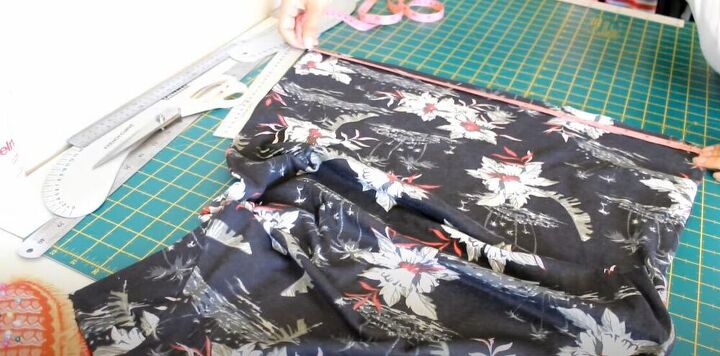
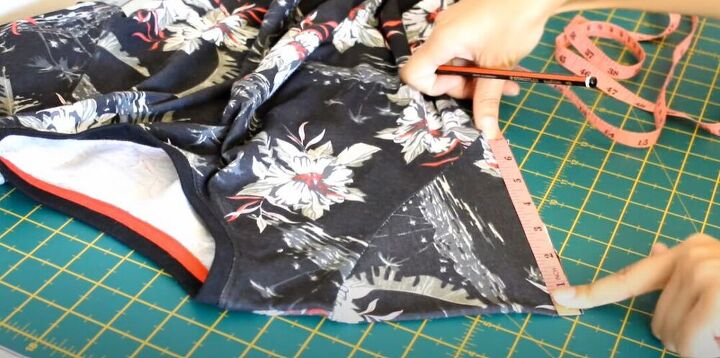
To determine the measurements for the new hemline, use a measuring tape to measure the width of the current hemline. Then measure from the shoulder down to get the height of the existing dress. Next, Measure how long you would like your new dress to be. The difference between the existing length and your desired length will be the length of your new hemline. Make sure to multiply this by 2 since you will be folding your fabric in half. Also, add a half-inch for seam allowance.
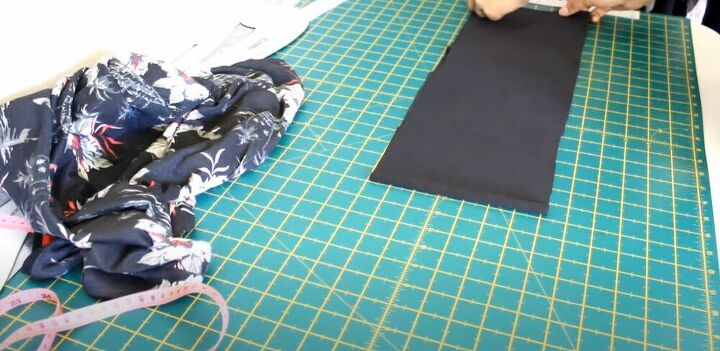
Use the width and length you just measured to cut two layers of fabric.
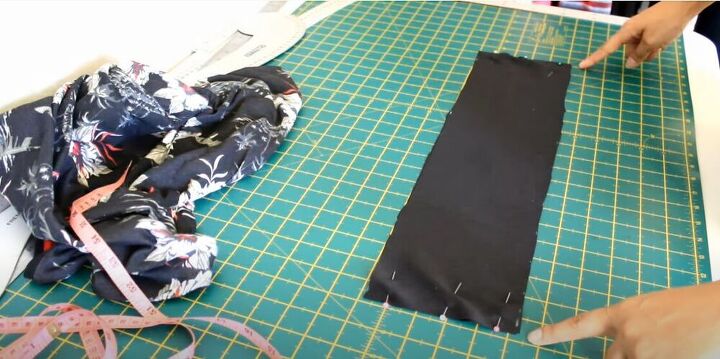
Place your two strips of fabric, right sides together. Pin along the side seams and sew.
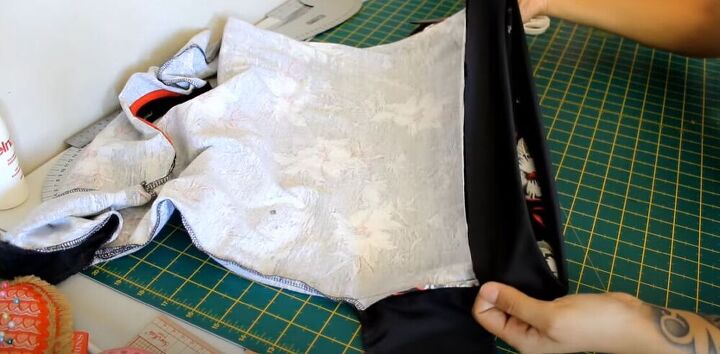
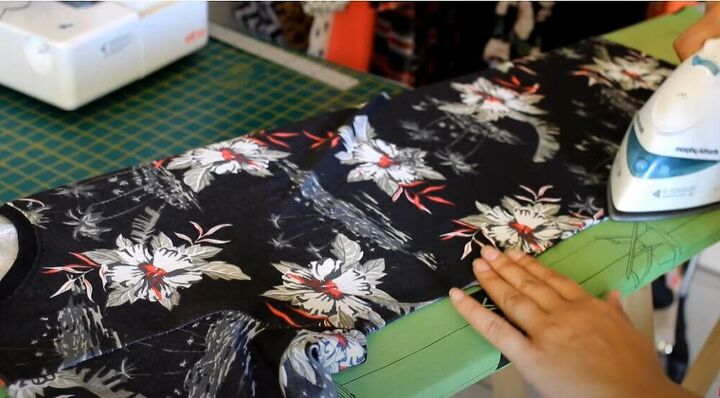
Now it’s time to attach your new hemline. Fold it in half lengthwise and make sure your dress is inside out. Slip the hemline on the inside of the dress so that the raw edge of the new hemline matches up with the bottom of the dress. Pin the raw edges and sew all the way around.
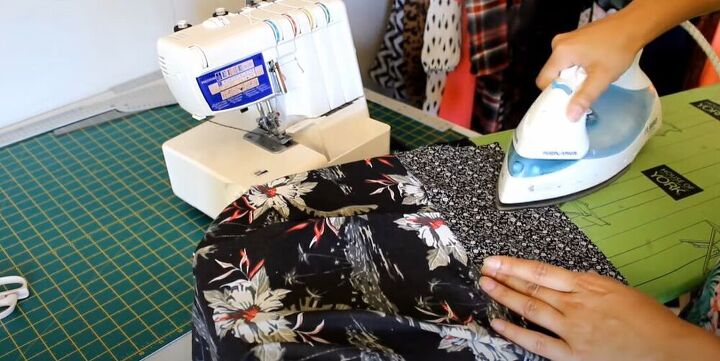
Make sure to press your new hemline. A great tip is to use a piece of cotton to protect the fabric.
Now you are going to do the same technique on the sleeves. Cut the hemline of the sleeves off your dress.
Now measure the width of the sleeve.
Make sure to also measure the existing height from the shoulder point downwards. Measure how long you want your sleeve to be and calculate how long your fabric strip will need to be. Make sure to multiply by two and add a half-inch for seam allowance just like you did before with the hemline.
Repeat the same process as you did with the hemline, pinning, and lining up the edges of the seam. Then you can sew it into place.

This T-shirt dress is so amazing! How would you style this stunning piece? Let me know in the comments below!
The author may collect a small share of sales from the links on this page.


Comments
Join the conversation