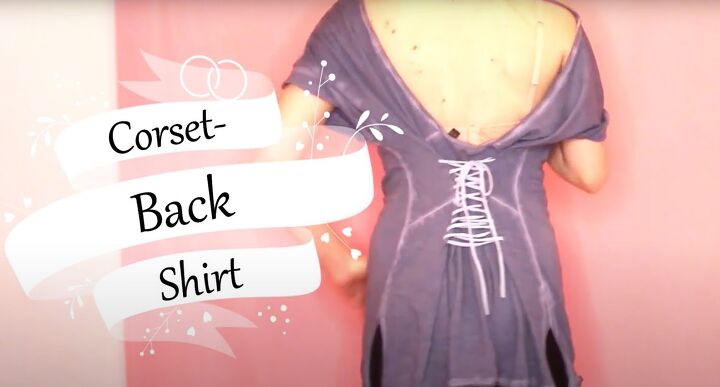
How to DIY an Easy T-shirt Dress or Corset Top

Today, I’m using a corset inspired technique to turn oversized t-shirts into a top or no-sew DIY t-shirt dress.
For the top, you’ll need a shirt about 4 inches wider than you’d normally wear.
For the dress, you want one at least twice as big that’s long enough to be a dress.
And if you don’t have the right ribbon or cord, I’ll show you how to make your own from a t-shirt with no side seams.
Tools and materials:
- 2 oversized t-shirts
- Ribbon or fabric cord OR
- a t-shirt with no side seams
- Fabric marker
- Clothes pins or other clips
- Scissors
- Skewer or knitting needle
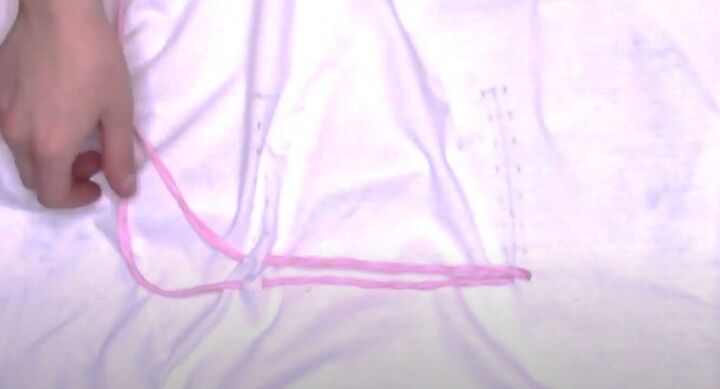
1. Make the lacing (optional)
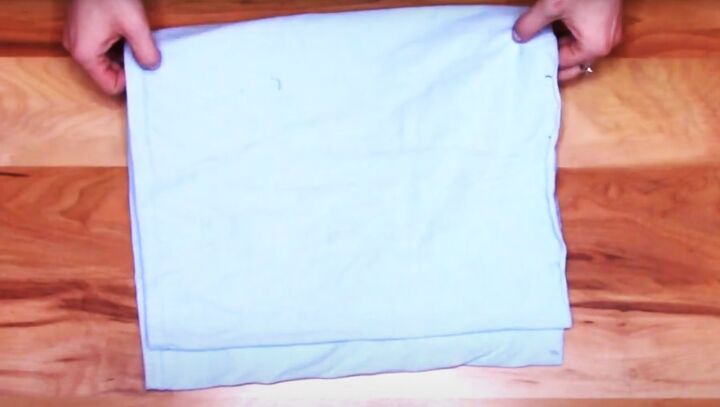
Grab a t-shirt with no side seams and lay it flat.
Fold the bottom of the shirt almost in half, leaving about an inch of the underlayer exposed.
Cut off the hem.
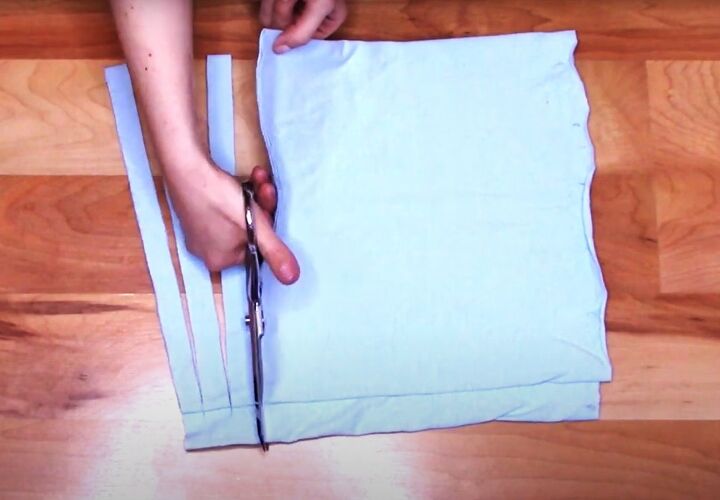
Cut the fabric into strips, only cutting as far as the end of the top layer.
I cut three strips to make this lacing.
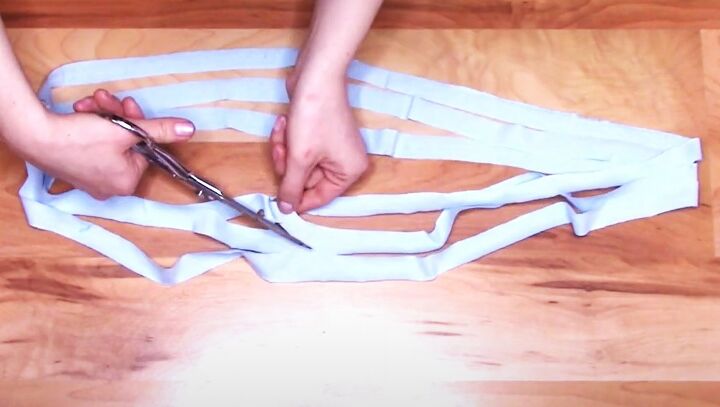
Unfold the strips and lay them out flat.
Cut diagonally through the uncut part to connect the strips and create one long piece.

Stretch the fabric to make laces.

2. Fit the corset back top
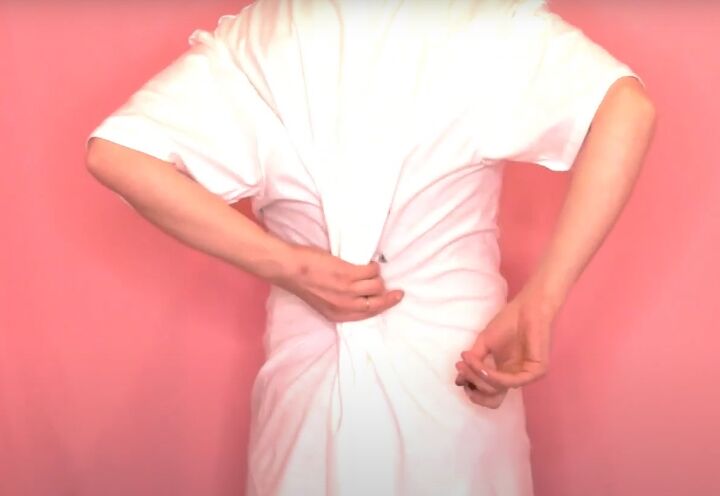
Put the shirt on inside out and make sure it’s centered.
Wrap the fabric from both sides towards the center of your back and pull it together until it fits.
Grip the loose fabric with one hand, and with your other hand mark where your fingers are touching the main part of the shirt.
Make marks slightly above and below your fingers, as you want the lacing to be 4 to 6 inches deep.
3. Make the holes
Lay your shirt flat, still inside out, with the back uppermost.
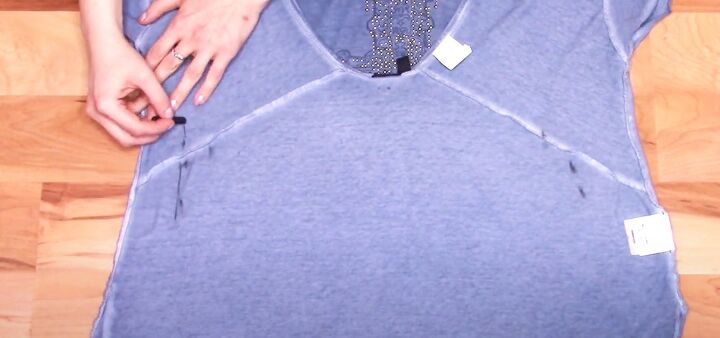
Connect your markings on each side of the shirt by drawing a vertical line at the widest mark.
Make sure the lines are the length you want the corset section to be and are at the same height on both sides.
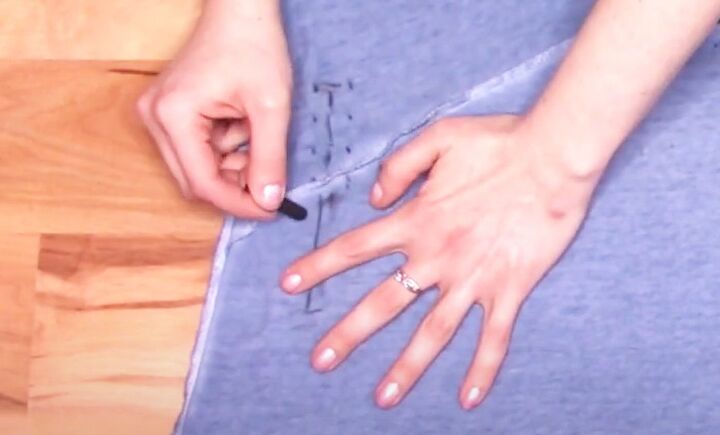
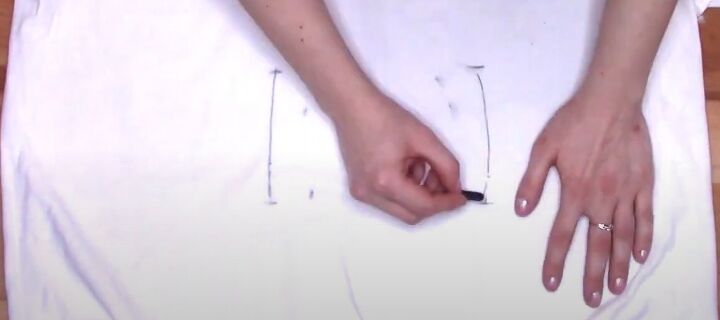
Draw two small dots at the top of one of the lines, one on each side of the line.
Continue marking dots down the rest of the line, about 0.5 to 0.75 inches (1 to 2 cm) apart.
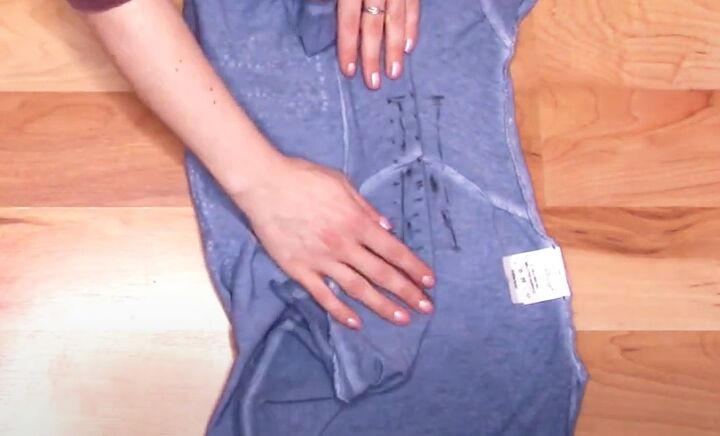
Fold the shirt so the lines are next to one another and copy the dots to the same position on the other side.
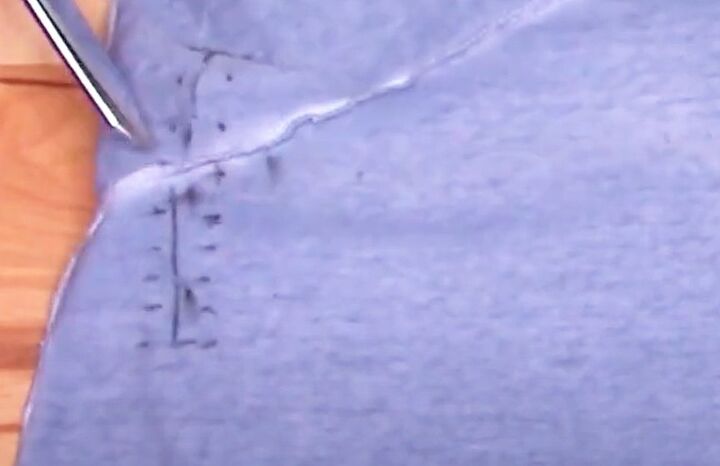
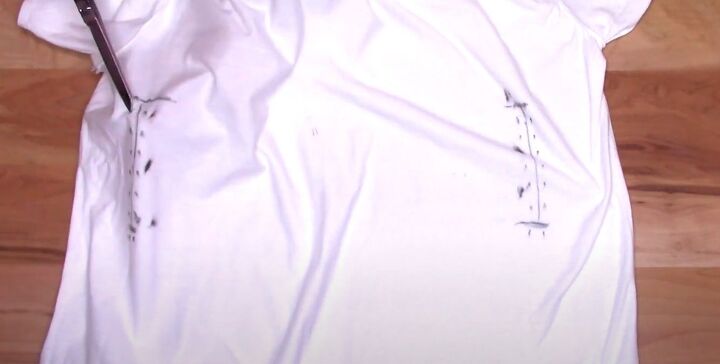
Open out the shirt and put one hand inside it.
With the other hand, cut tiny holes where the dots are.
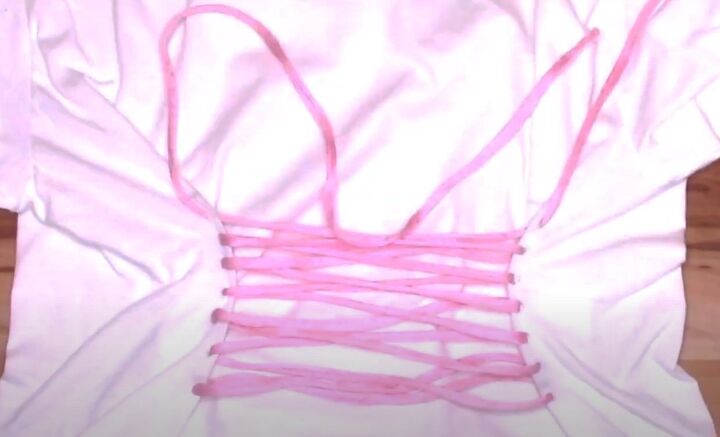
4. Lace up the corset
Turn your shirt right side out. Fold the sides in so the holes are close together.
Measure out your lacing to be twice the length of the shirt and double it.
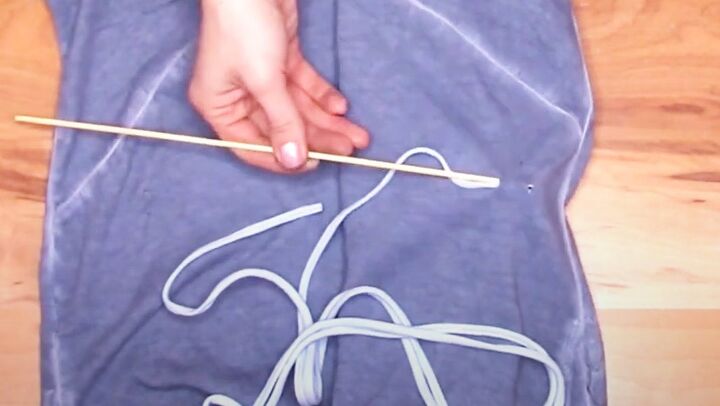
Start lacing from the bottom set of holes. Use the skewer or knitting needle to push the lace in through the inner hole and out through the outer one.
Pull the lace almost halfway through and repeat on the other side with the other end.
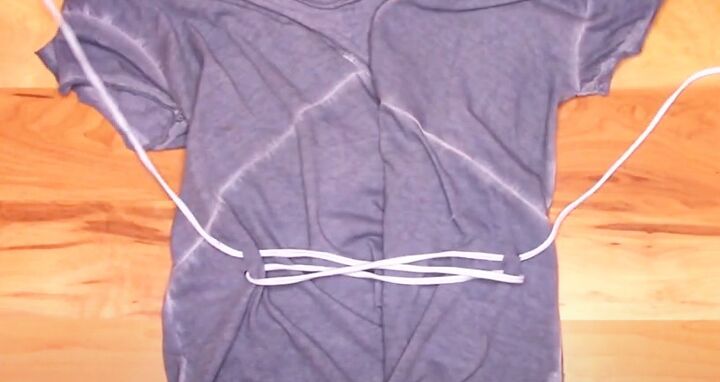
Continue as if you were lacing a pair of shoes, keeping both sides the same length.
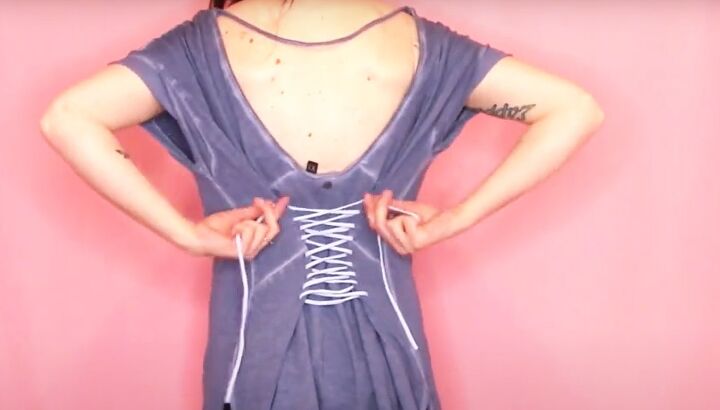
Wear your shirt and tighten and adjust the laces as needed, then tie the ends in a bow.
5. Fit the corset dress
This has lacing at the front and the back but the basic technique is the same.
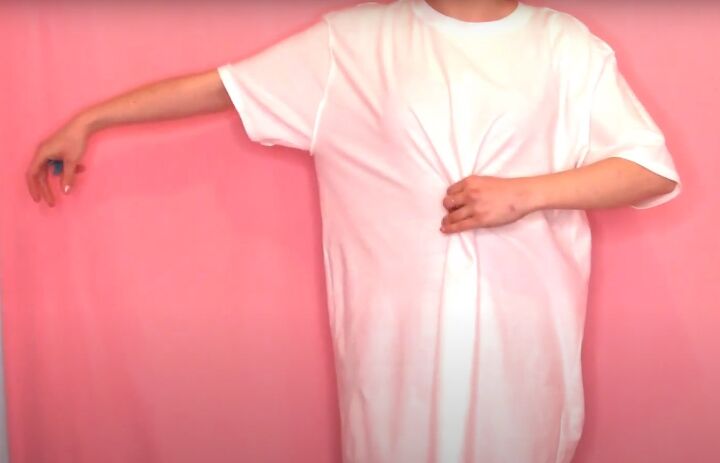
Try your dress on inside out and fit the front first.
Pull the fabric in the center front together until you feel some resistance when lifting your arms.
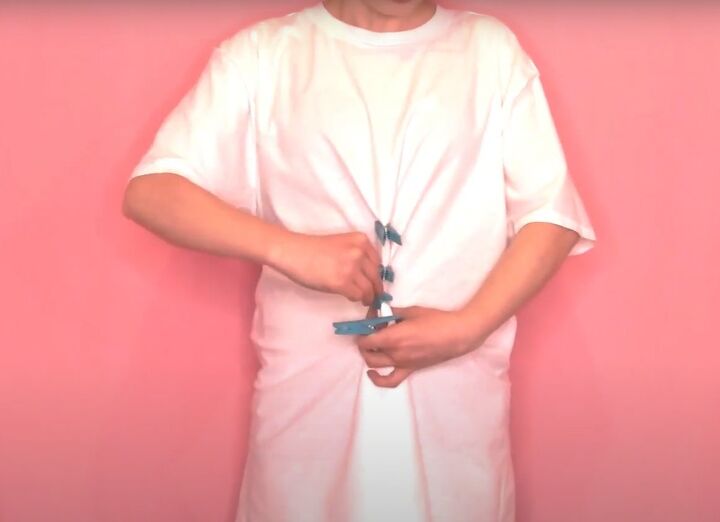
Use clothes pins to hold the front gathers in place.
Grab the fabric at the center back of the shirt and pull it together until the shirt fits.
Mark where your fingers are, in the same way as for the top.
Mark the front where the clothes pins are before removing them.
6. Make the holes
Starting with the front, draw the vertical lines at least one inch outside your marks.
Mark and cut the holes as for the top.
Repeat on the back of the shirt.
7. Lace up the back and front
Turn your shirt right side out and lay it down face up.
Lace up the front and then the back, exactly as before.
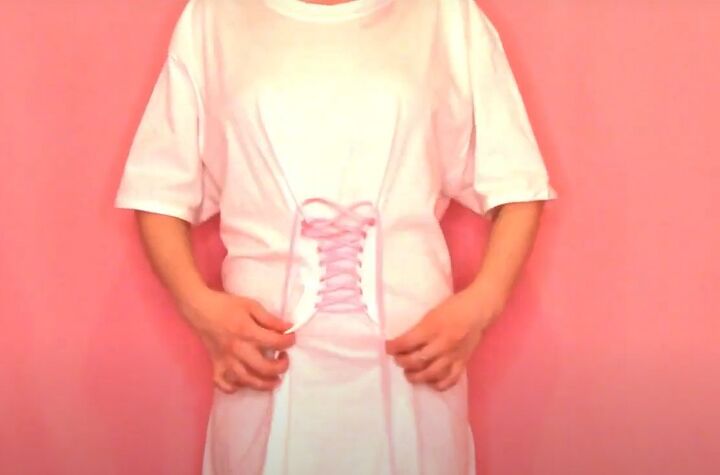
Try the dress on and tighten the front until the lacing is 2 or 3 inches wide, then tighten the back.
Once the laces are as you want them, tie both sets into bows.

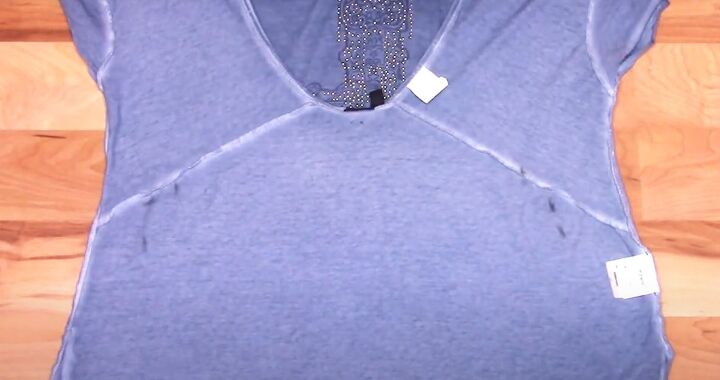
DIY t-shirt dress
If you have eyelets and an eyelet punch, you could use those instead of cutting holes, to prevent them from stretching.
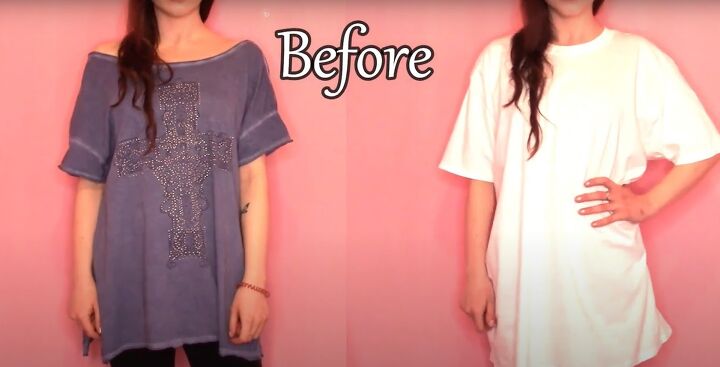
As a guide to sizing, the blue shirt was a woman’s M and the white one was a men’s XL.
Do you like these? Please let me know in the comments!
Next, check out this Easy Tutorial for 2 Super Cute Beaded Fringe T-shirts.
The author may collect a small share of sales from the links on this page.


Comments
Join the conversation