DIY an Amazing Jacket From Scratch

I was thinking about my next fashion DIY when a pattern for the most perfect jacket popped into my head. I found an amazing fabric and I knew that I had to get started on the project! The end result was perfect and the jacket is exactly what I wanted! It can totally be dressed up or down and can be worn in more professional or casual looks. This gorgeous, versatile piece is something you need to add to your closet! Follow my step-by-step tutorial and get started on making this absolutely stunning jacket.
Tools and materials:
- Fabric
- Lining fabric
- Interfacing
- Ribbon
- Buttons
- Two threads
- Needle
- Pins
- Scissors
- Sewing machine
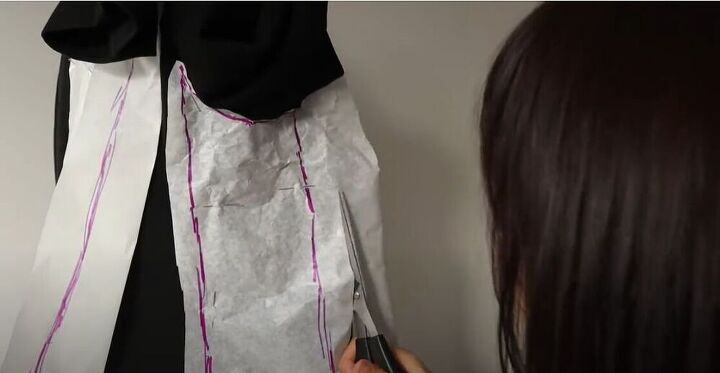
To get started on this amazing new jacket, I used a jacket I already had made, with a perfect fit, to draft my pattern. I pinned my paper on the jacket and marked all of the seams. I then cut out my pattern pieces.
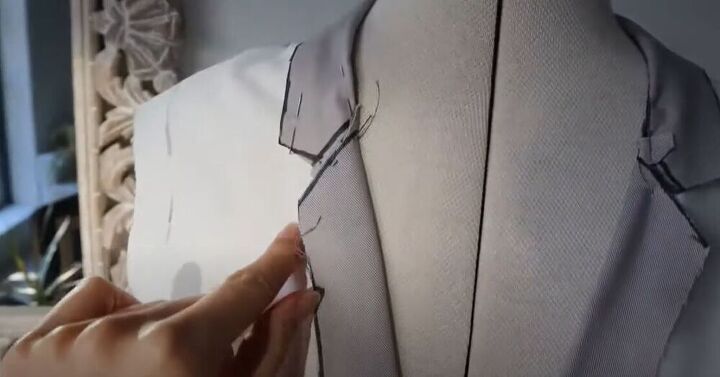
I didn’t make any adjustments to the shoulders or the arms but I made a mockup to see how the collar and lapel for my new jacket would work. I loved how the mockup looked so I moved on to making the final pattern.
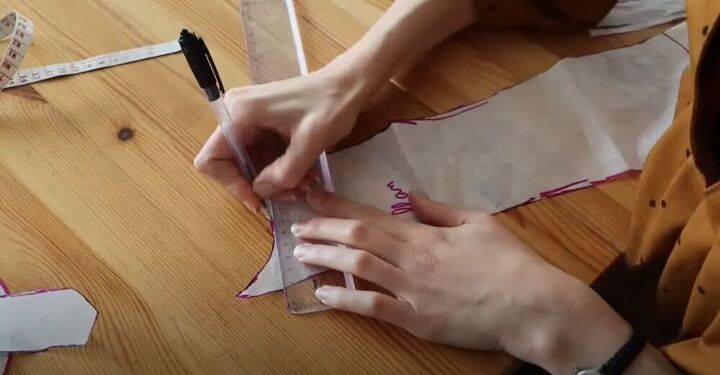
I measured all the pieces around the armhole to make sure that the opening around the arm would have the same width as the opening on the bust. I was really lucky since I only had to adjust by ½ a cm.
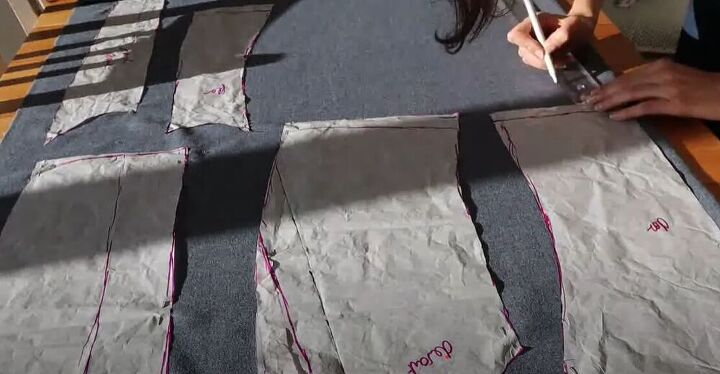
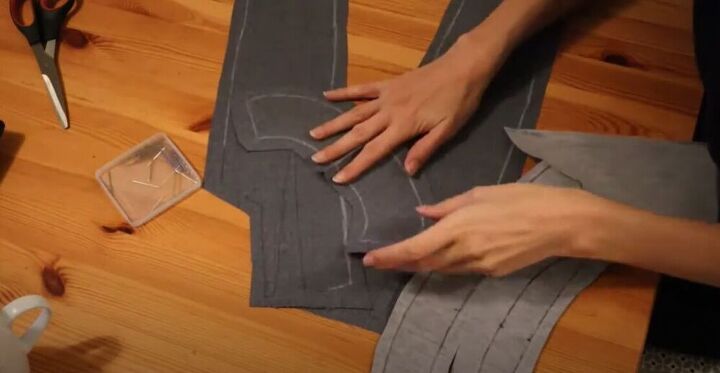
Once I had made all the adjustments to the pattern pieces, I pinned them down on the fabric. I made sure to mark a 5 cm (1.97-inch) seam allowance at the bottom. I then worked on cutting out the fabric.
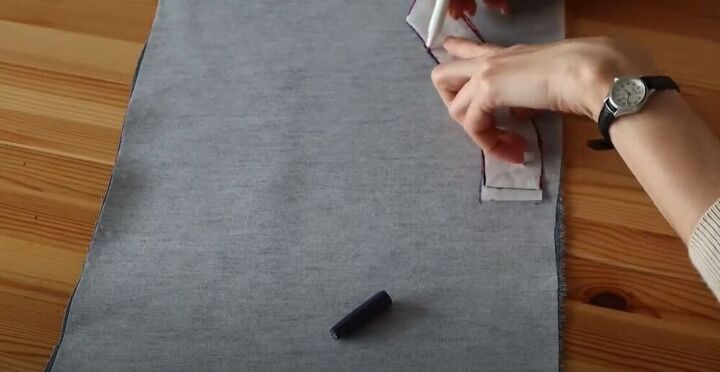
The most challenging element of this amazing jacket was definitely the collar so I decided to tackle it head-on. I cut a rectangular piece of fabric and pressed on interfacing. I then marked all of my collar pieces on the interfacing.
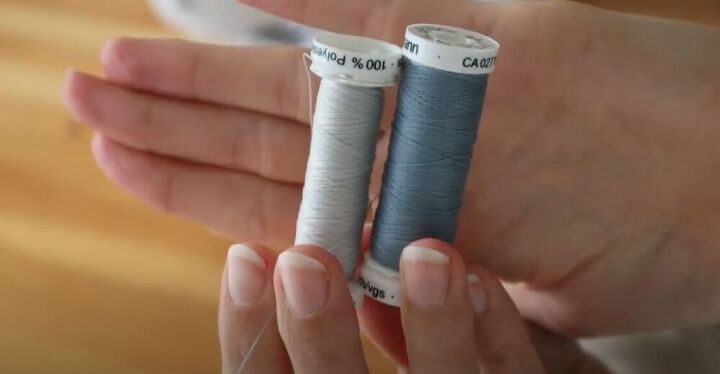
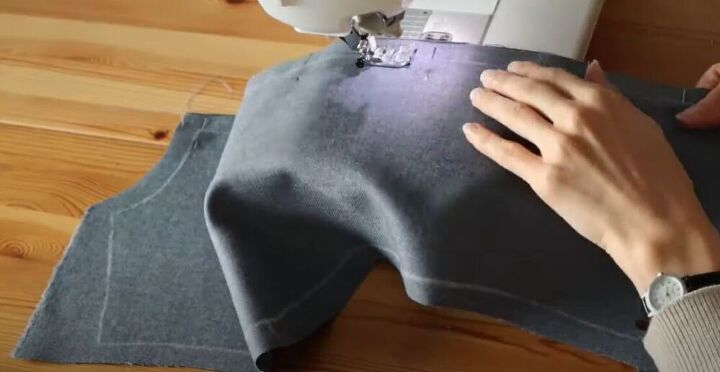
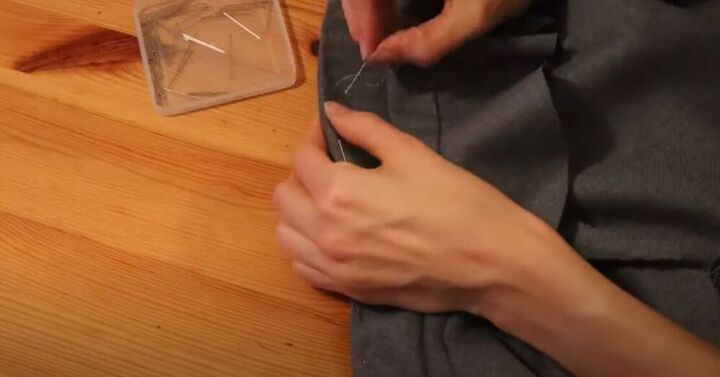
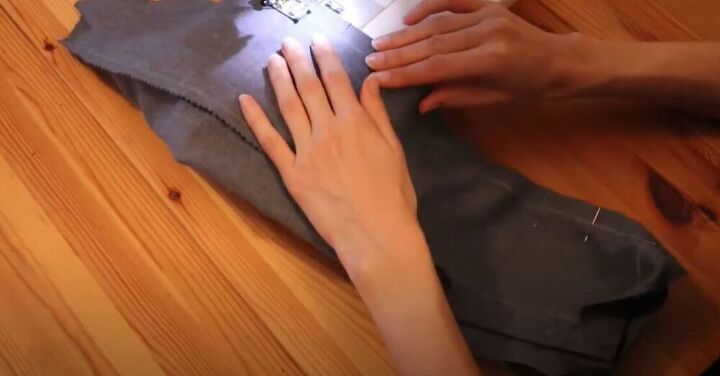
When sewing this stunning jacket I used two different thread colors. The darker grey was used for the seams and the light grey was used for the basting stitches.
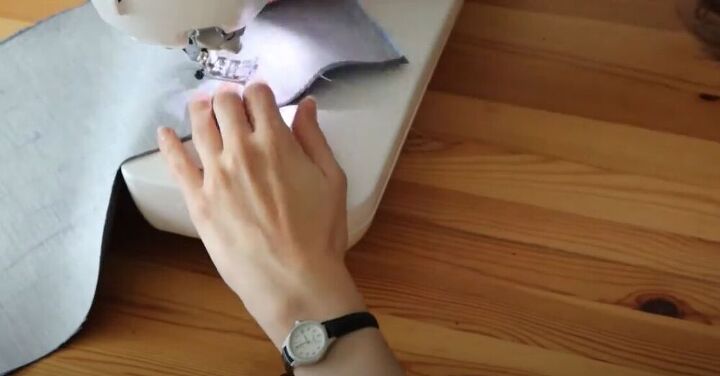
To ensure that my interfacing wouldn’t separate from the fabric, I decided to stitch just around the edges of every piece.
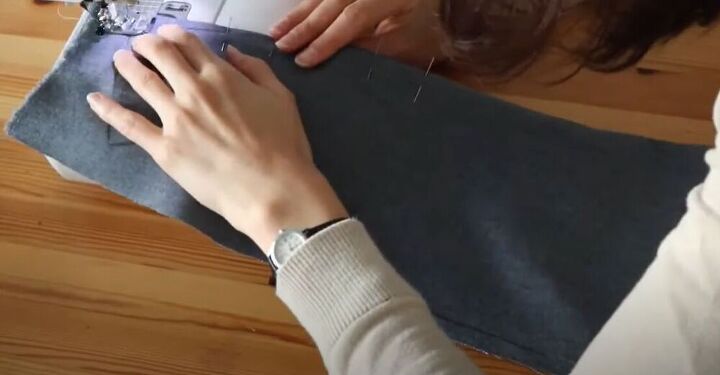
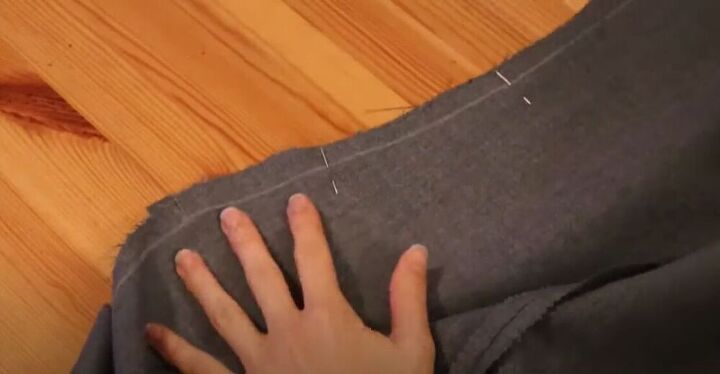
Next, I pinned the darts on the front piece and sewed them in place. Darts really help create a beautiful fit.
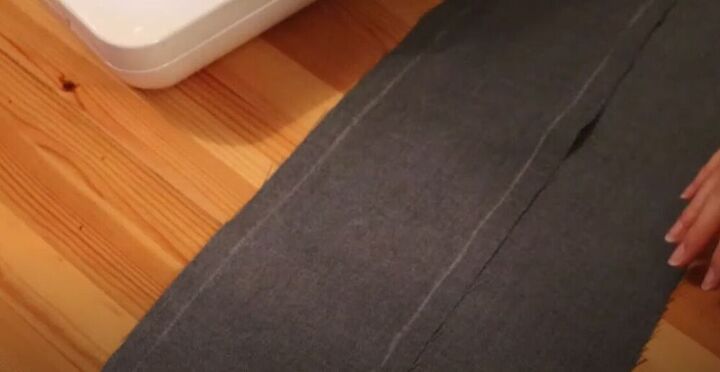
I then placed the two back pieces, right sides together, and sewed them along the middle. I cut off the excess fabric and pressed the seam flat and while I was at it, I also pressed the darts on my front piece. I then placed the front and back pieces, right sides together, and sewed along the shoulder seams.
Next, I pinned the collar stand piece onto the vest, right sides together. I hopped back on over to my sewing machine and sewed it in place.
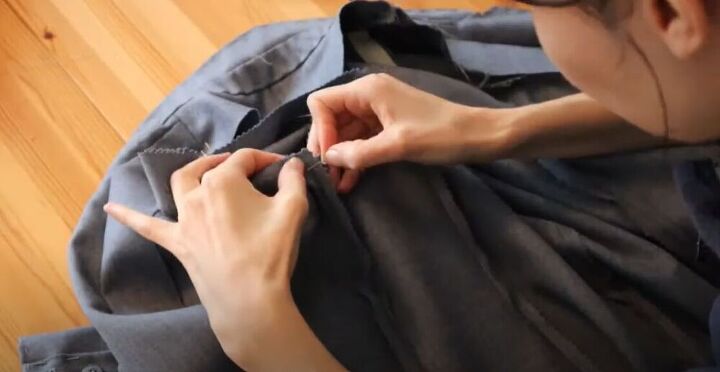
It was then time to pin and sew the collar onto the collar stand. I also wanted to make sure my collar stand fabric would stay in place so I basted it by hand.
I then cut all of the lining pieces for the collar out and repeated the process.
I could then sew the two pieces, right sides together. I turned the lining back to the right side and hand-stitched it in place to help maintain its shape. I really wanted the collar to be perfect since it’s such a feature element of this jacket.
I pinned the side panels of the vest on the front and the back, right sides together, and sewed them in place. I then cut off the excess fabric and pressed down the seams so get the professional finish I wanted for my new jacket.
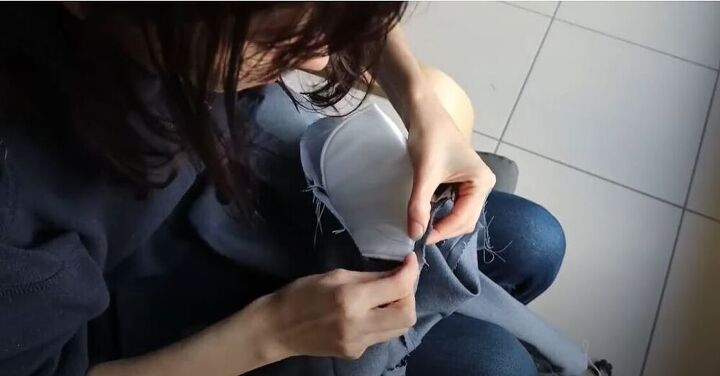
In the next step, I moved on to working on the sleeves. I pinned the two pieces, right sides together, along the seam under the arm. I sewed the pieces together and stopped just before the button top.
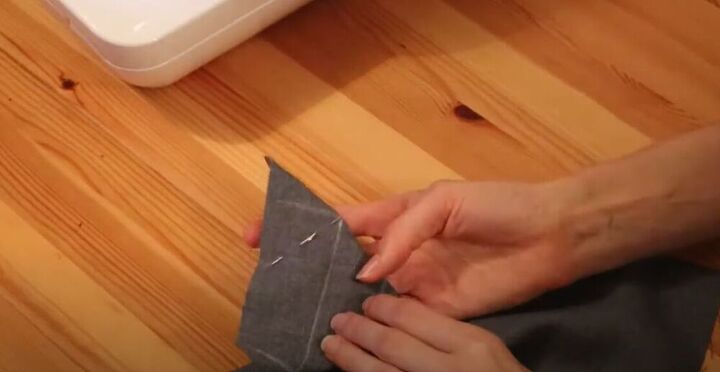
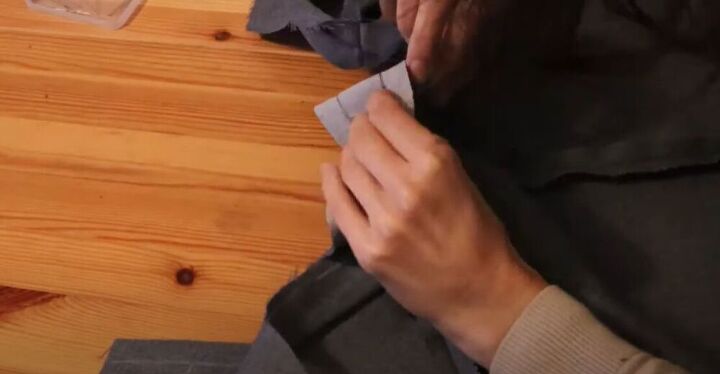
I pinned the hem of the sleeve diagonally so that when I sewed I would have the perfect junction between the hem and the button top. Next, I had to simply sew the buttons and buttonholes in place on the sleeve.
I then sewed the sides of the sleeve closed, right sides together. I also basted the hem of the sleeve by hand to secure the fabric.
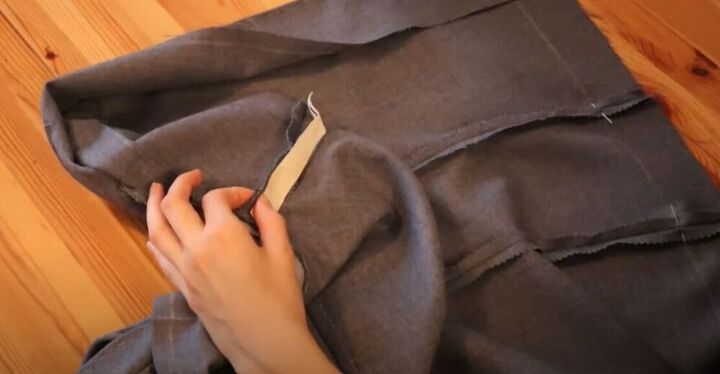
I wanted to ensure that the fabric along the shoulder wouldn’t stretch so I hand-stitched a piece of thick ribbon along the shoulder seam.
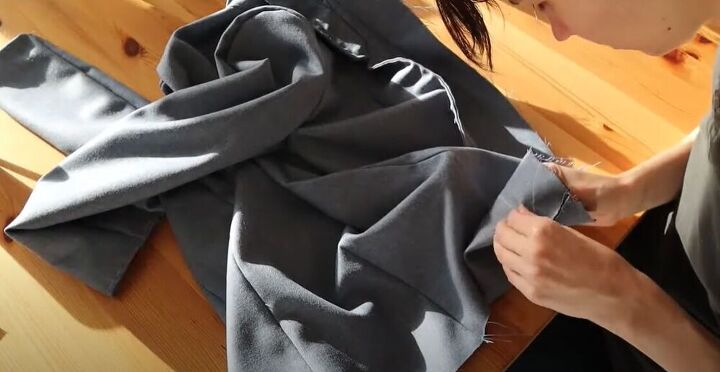
Next, I carefully lined up the sleeve seam with the underarm seam and pinned the sleeve in place, right sides together. With all the pins in place, I sewed the pieces together.
To create the perfect style for my new jacket, I hand sewed shoulder pads underneath the shoulder seam and close to the collar.
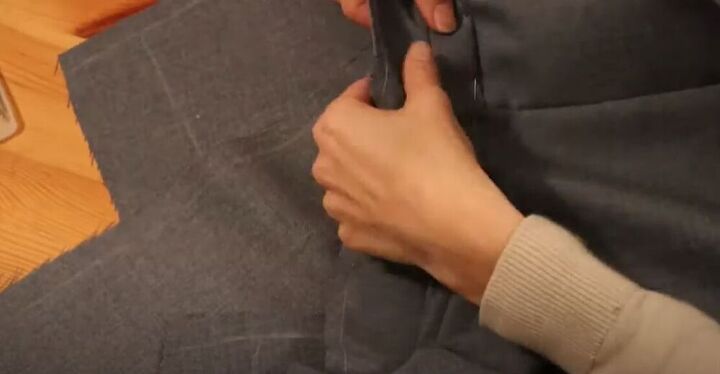
Once the sleeves were on, I moved onto the front of the jacket. I used the same technique as the sleeves to hem the front. I folded and pinned the hem diagonally. I cut off the excess fabric, turned it back to the right side, and pressed the fabric in place. I pinned the hem in place and sewed close to the edge.
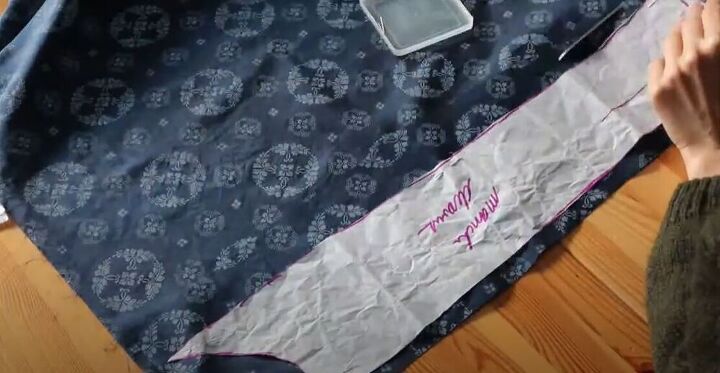
My jacket was almost ready and I couldn’t wait to see the end result. I cut out all the pieces I needed for the lining of the jacket and sewed the pieces together.
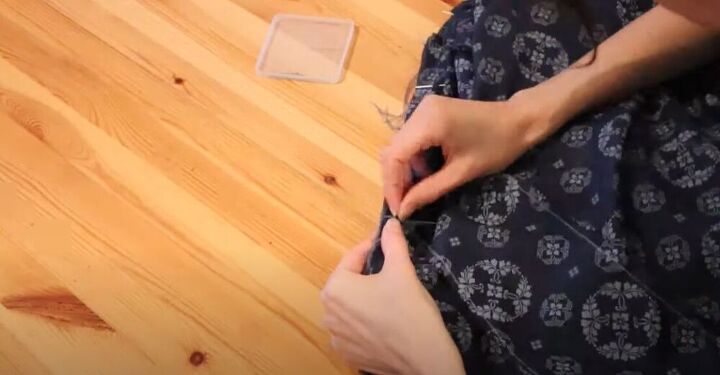
I pinned the lining fabric onto the collar, right sides together. I then sewed all along the pinned lines. I then moved on to pin the lining to the hem of the jacket. To do this, I folded the bottom of the lining over and pinned it onto the hem of the jacket. I hand sewed the lining along the bottom. I used the same technique for sewing the lining onto the hem of the sleeves.
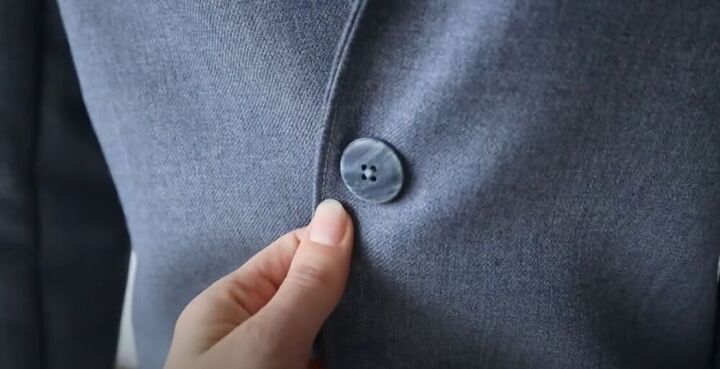
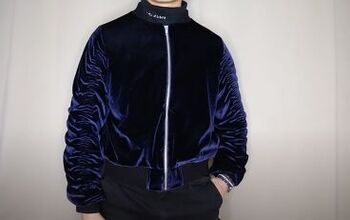
Lastly, for the finishing touch, I sewed a button and buttonhole onto the front of my awesome new jacket.

I am so obsessed with this jacket! How would you style this amazing piece? Let me know in the comments below!
The author may collect a small share of sales from the links on this page.


Comments
Join the conversation
So impressive!