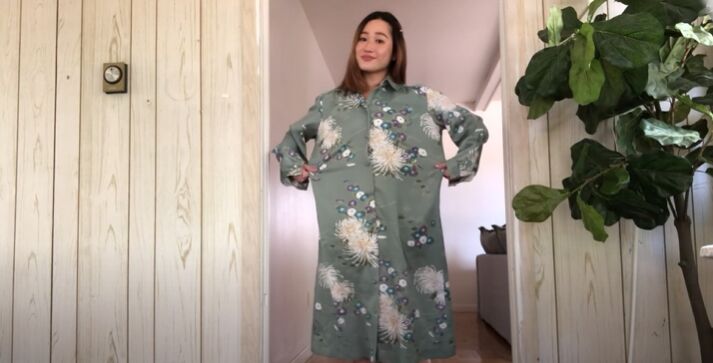
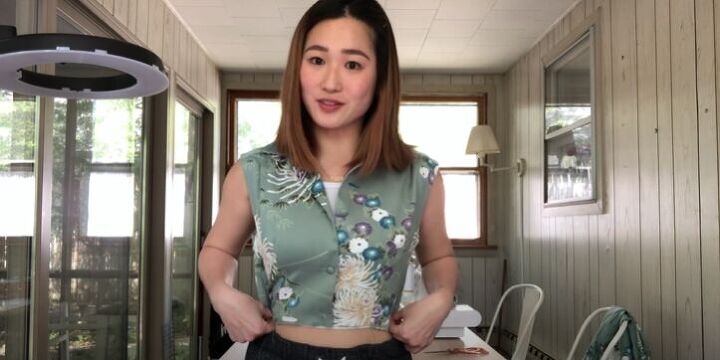
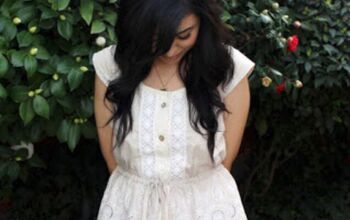
Upcycled Button Down Midi Dress

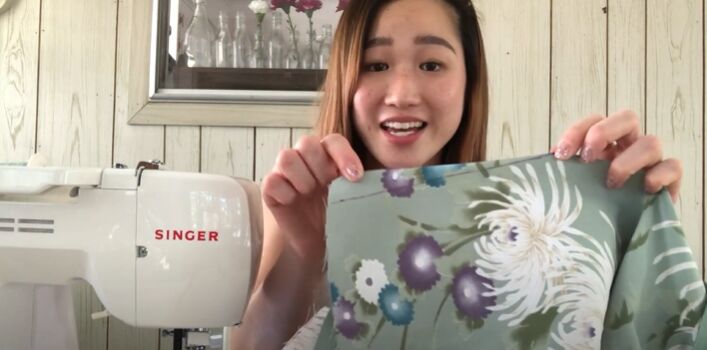
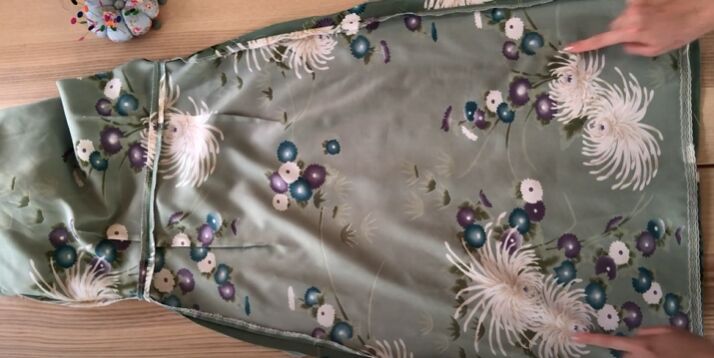
On a recent trip to the thrift store, I bought a bit of an oversized, unflattering dress with a truly gorgeous fabric design! I knew that I would be able to salvage the fabric and create something that I would love wearing. I took the dress and refashioned it into a tight-fitting, button-down midi dress and because it was my dog Daisy’s birthday, she got a matching dress made as well.
PS: If you like what I do come follow me on YouTube and Instagram!
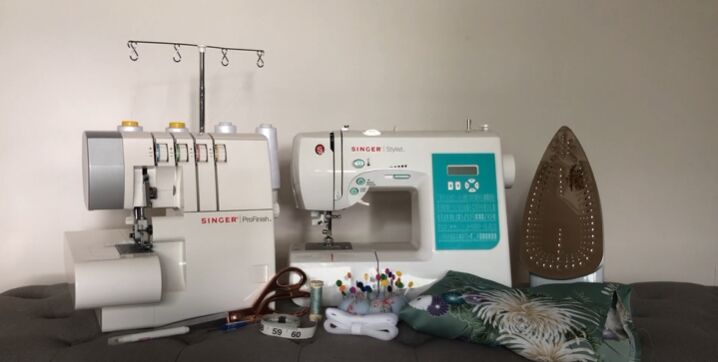
Tools and materials:
- Sewing machine
- Serger
- Iron
- Measuring tape
- Pins
- Needle and thread
- Sewing pins
- Marker
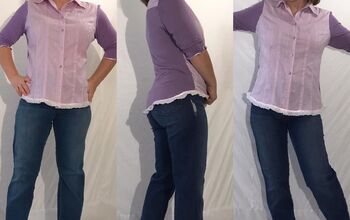
This is just a peek at the thrifted dress that I bought. I loved the fabric and couldn’t wait to transform this piece!
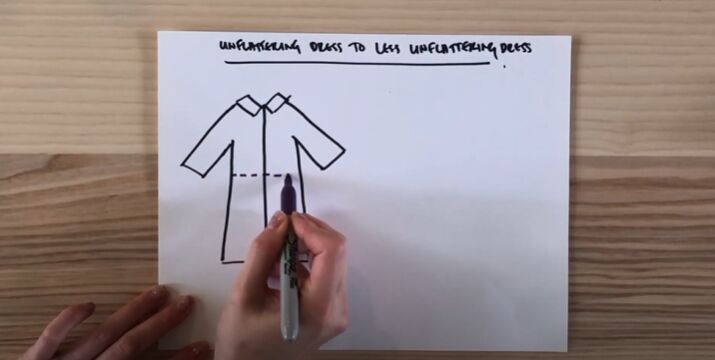
Plan
My idea was to make a new waistline for the dress so I would be cutting the dress at the waist.
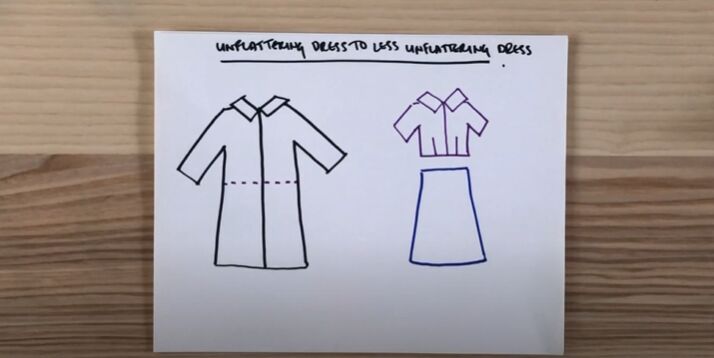
I would be making the bodice of the dress more fitted. For the skirt, I would be making a fitted a-line skirt.
I would use any leftover fabric to cut out the pattern for my dog, Daisy’s dress.
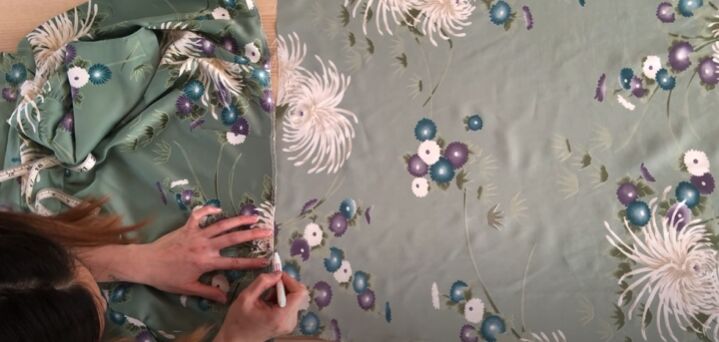
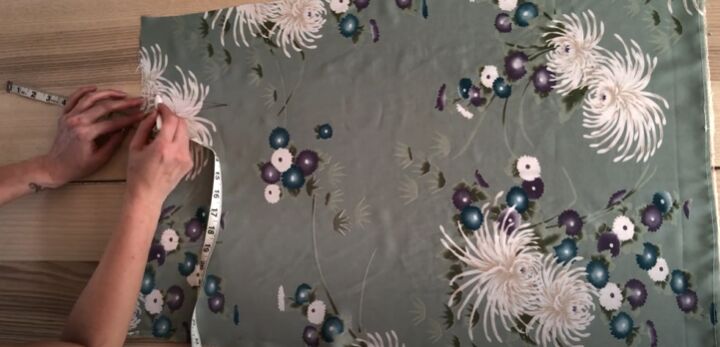
Measure and mark
The shoulder seams of the original dress sat a little low on my shoulders so I used a safety pin to mark where I wanted the new shoulder seams to be. I also marked where I wanted the new waistline to be.

Next, I measured around my waist so that I would know how much of the fabric I would need to take in to get a gorgeous fitted dress. My waist measurement was 27 inches.

In order to know how big to make the armhole, I measured from the shoulder to the underarm. This measurement was 10 inches.

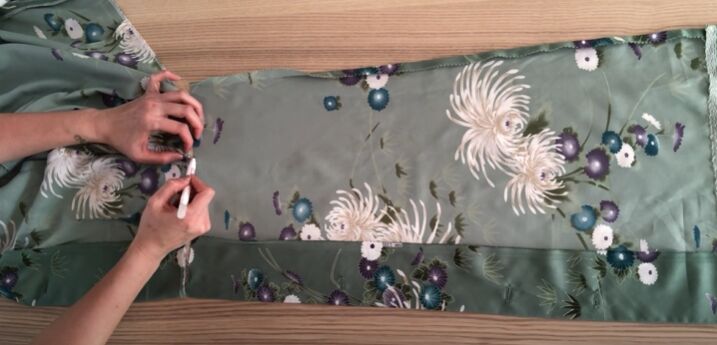
Next, I used a safety pin to mark two bust darts for the new dress.
The last measurement I had to make was from the dart marking to the waistline which came to 6 inches. This measurement told me how long the bust darts needed to be.
The measurement from the hem of the dress to the new waistline was 28 inches. I marked all the way across the waistline of the dress.
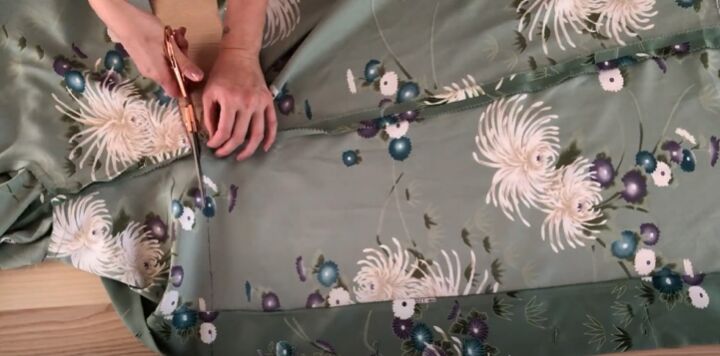
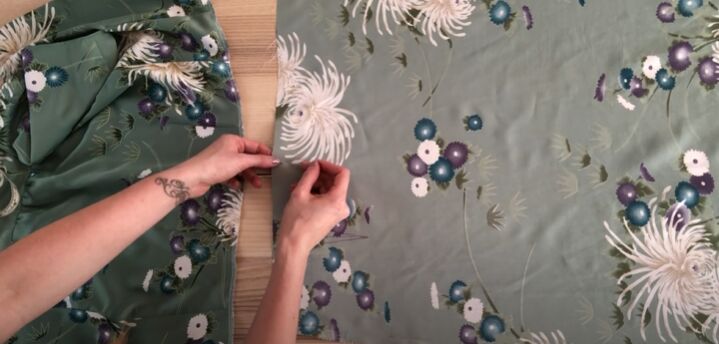
Cut
I then cut along the line I had just created.
To continue this awesome thrift flip, I took out the old shoulder pads and seam ripped off the sleeves.
Mark the fabric
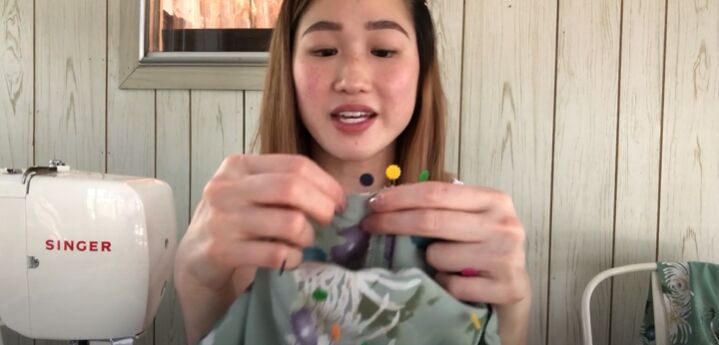
I replaced the safety pins with sewing pins so that I would be able to lay the bodice flat. I also used a pin to mark the center of the bodice.
Next, I moved on to mark the darts. To start, I measured 4 inches from the bottom center point. I then measured and marked ¾ of an inch on either side of the first marking. I drew a line from the dart pin to the 4-inch marking. I then drew two lines from the pin to the ¾ markings to create a triangle. I repeated this to draft the dart on the other side.
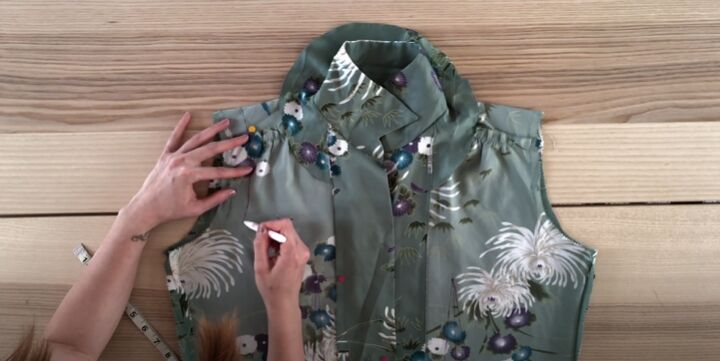
To draft the new armhole, I used the pin marker and the existing armhole as a guide. I measured to 10 inches and made a marking. I then measured 9 inches from the bottom center of the top and made a marking. I drew a line between those two markings to create a new side seam for the bodice. I repeated this on the other side.
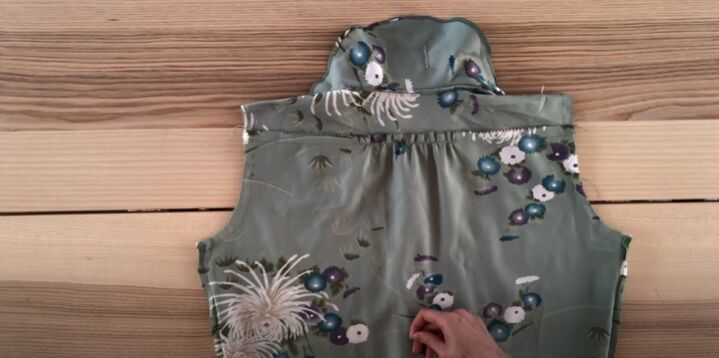
I turned the bodice over and, once again, used a pin to mark the center. I then measured and marked 3.5 inches on either side of the center pin.

I then drafted a dart with a height of 4 inches and repeated on the other side. I also drafted the armhole the same way as I had on the front only this time I measured 8.5 inches from the center pin.
I flipped the top and used a pin to mark the bottom of the underarm so that it would be the same in the back.
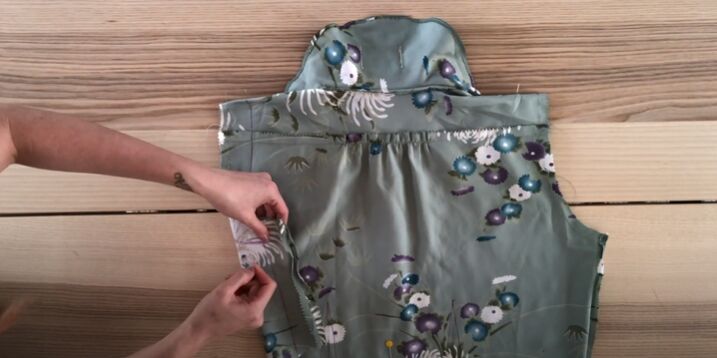
Cut along the markings
I grabbed my scissors and cut making sure to leave a half-inch seam allowance.
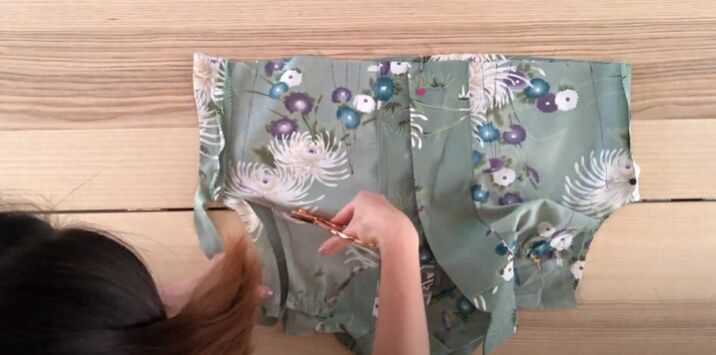
Sew the darts
To sew the dart, I folded along the centerline. I then sewed from the wide end of the dart to the narrow top. I decided not to backstitch at the narrow end because I would tie a double knot with the thread. I then went ahead and sewed the rest of the darts.
I tried on the top and realized that it was still a little too big for the fitted look that I wanted. I would take in the sides a little more to get the fitted style.
Work on the sleeves
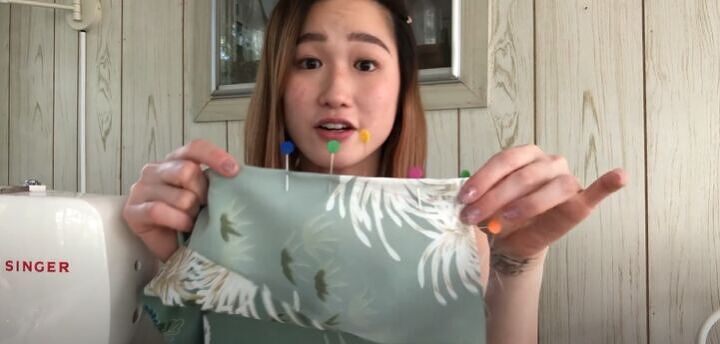
Next, I moved on to the sleeves. I marked on the original sleeves where I wanted my new sleeve to end.

With my pinned marking as a guide, I drew a line for my new sleeve length. I marked on the sleeve where my armhole ended so that the sleeve would fit onto the bodice perfectly. I cut along the lines leaving a half-inch seam allowance.
I pinned the sleeve to the armhole only to realize that it didn’t fit perfectly. I didn’t want to seam rip anything so I decided to do a quick fix and I ruffled the excess fabric on the top, creating a slight puff sleeve.
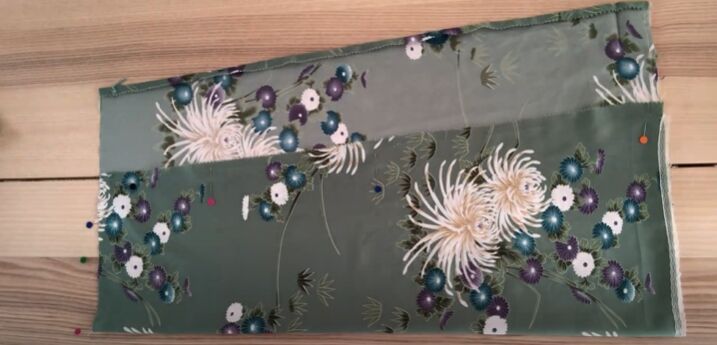
Mark the skirt
With the top done, I was ready to move on to the skirt of the dress. I wanted to make sure that the seams all lined up so I used the top as a guide. First I marked where the side seam would be and I also marked where I would have the first dart start. I then drafted that first dart.
Just as I had done on the top, I used a pin to mark the center of the back piece of the skirt.
I folded the piece in half and pinned it together to keep the fabric from shifting while I cut.
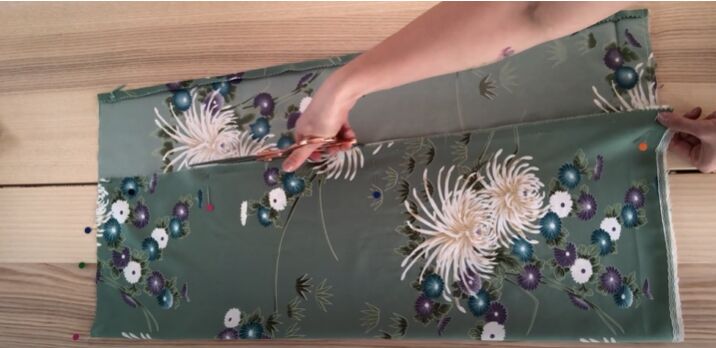
I grabbed my scissors and cut, to make the back piece for the skirt.
Now that I had the perfect piece, I went ahead and drafted the second dart.
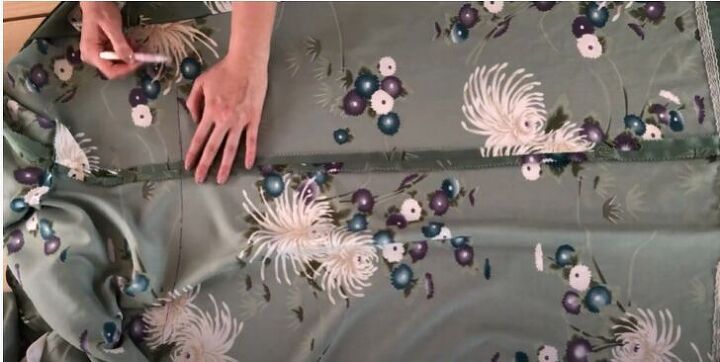
For the front of the skirt, I also used the top as a guide. I lined the skirt piece and top up and marked where the new seem needed to be.
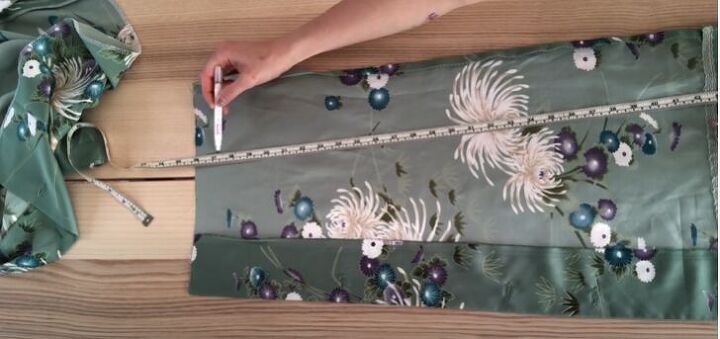
Using my tape measure as a guide, I drew a line from the top to the hem to mark the new side seam. I cut along the line and repeated this for the other front piece.
Sew the skirt darts
I pinned and sewed the darts at the back of the skirt. The reason I added these was to help accentuate my figure and add a little more shape to the dress.
Make adjustments
I tried on the dress and, sadly, realized that the skirt just didn’t look or feel right! I ended up seam ripping the side seams.
I then resewed the side seams, making the dress a lot more fitted.
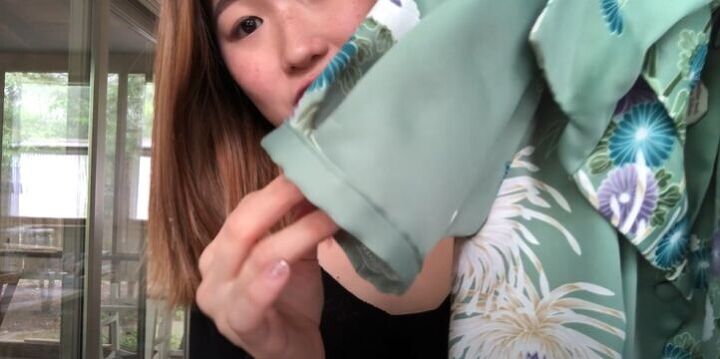
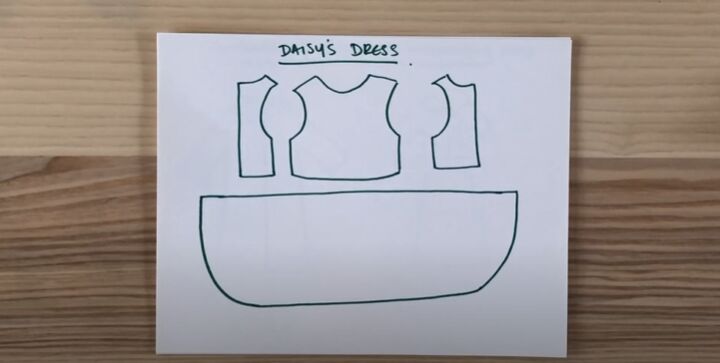
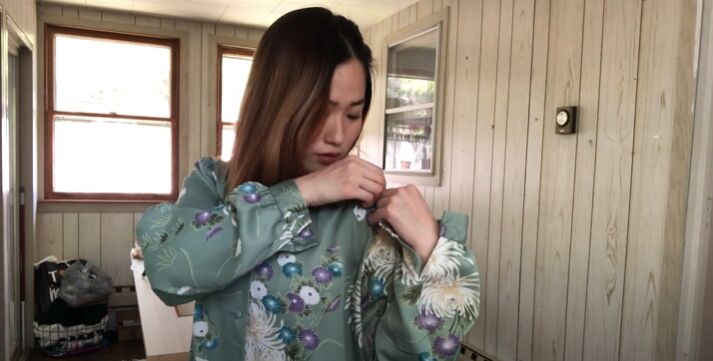
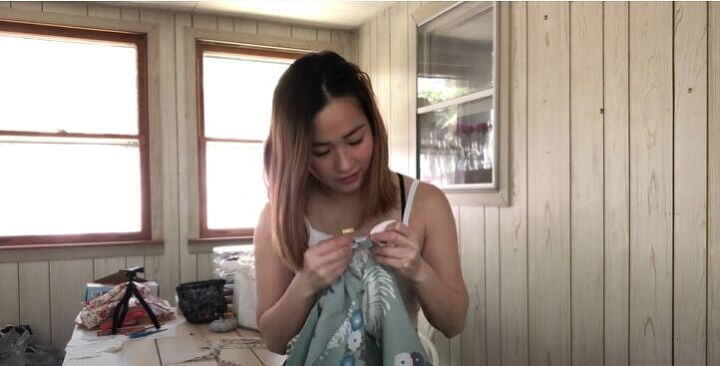
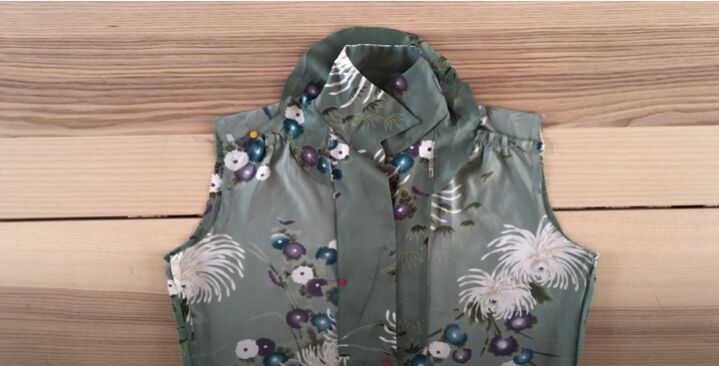
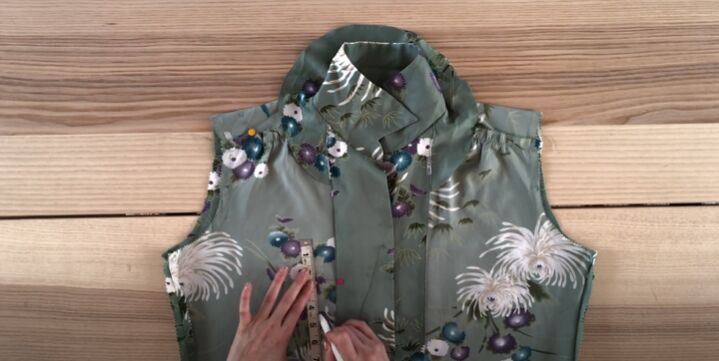
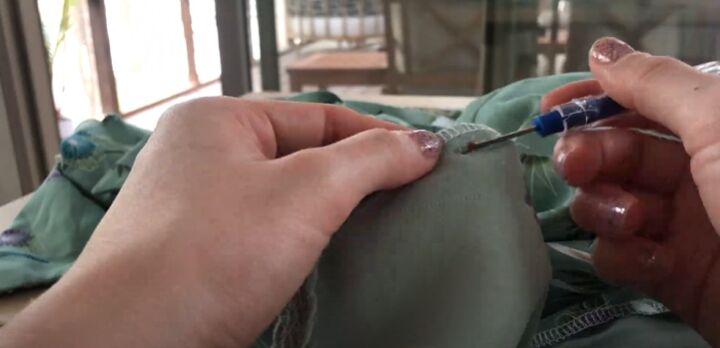
With the fabric I saved from the new side seams, I was able to create a gorgeous cuff for the sleeve and give the dress the perfect finish. I also added a new buttonhole for where the waistline is. With my dress ready, I moved on to work on Daisy’s. If you want to see how I made her a matching dress go to 11:40 in the video tutorial.
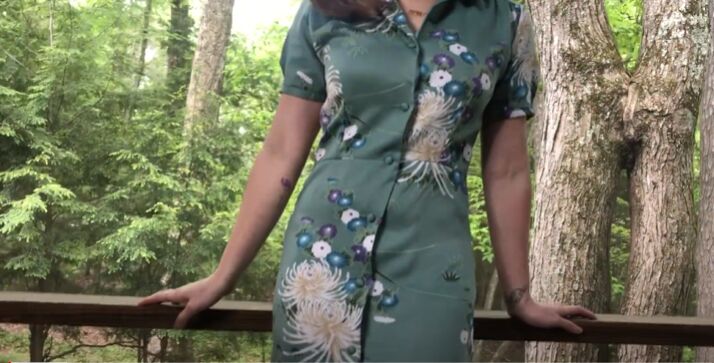
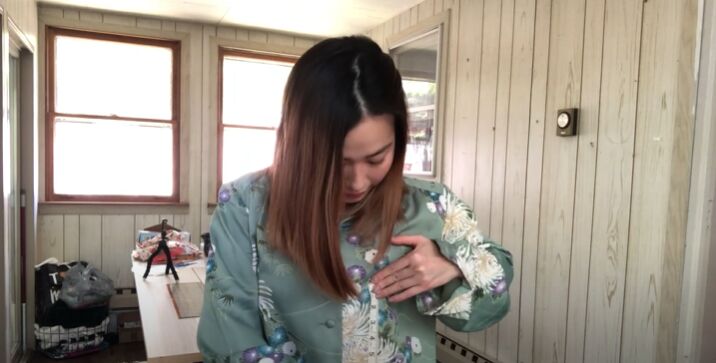
This refashioned dress turned out exactly how I wanted it! I would love to hear how you would have upcycled the original thrifted dress. Share your ideas with me in the comments!
The author may collect a small share of sales from the links on this page.


Comments
Join the conversation
I love your dress and of course your doggies.Just ones question though.I don,t have a serger,can I do with my sewing machine what a serger does?
Ty 🇨🇦