Make a Silky, Satin Sleepwear Set

I picked up this gorgeous floral satin fabric from a thrift store a few months back and have been waiting for the perfect project. This satin sleepwear set was the best decision! It’s stylish, comfortable, and super fun to make.
Tools and materials:
- Floral satin fabric
- Pattern
- Chalk
- Rotary cutter
- Scissors
- Sewing machine
- Measuring tape
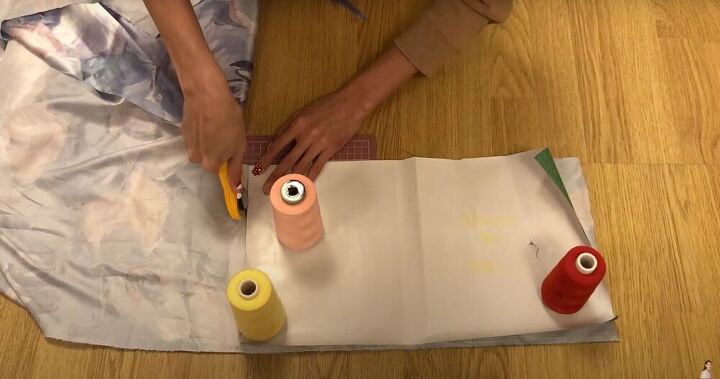
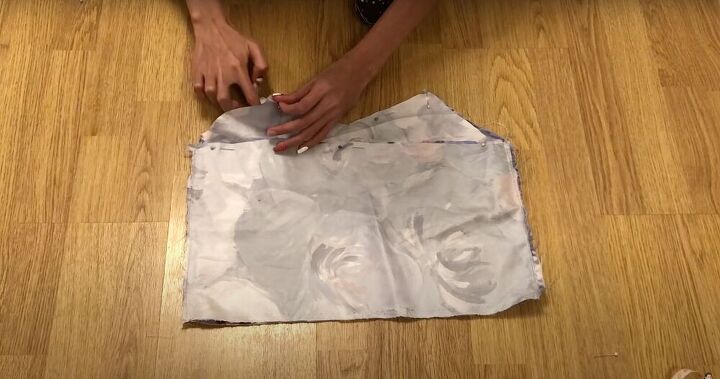
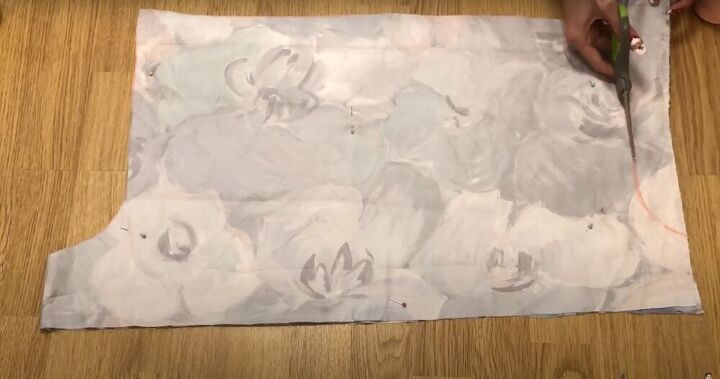
Cut the front back pieces
Using a pattern (mine is homemade but you can search for a free one online), cut out the top of the pajamas. Simply place the pattern on the fabric (wrong side down) and use a roller knife to cut out the shape. Do this in two steps; front and back.
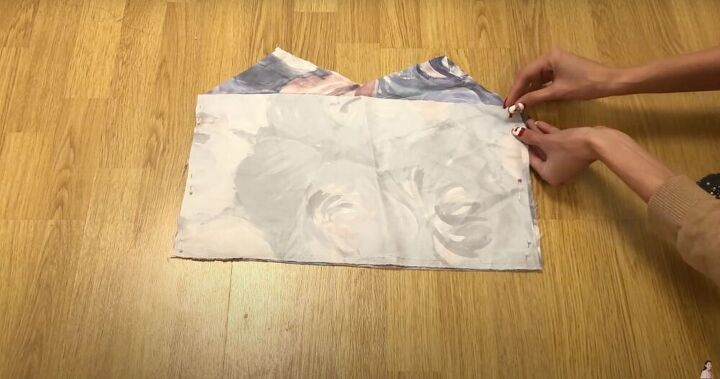
Attach the pieces
Take the front and back pieces that you just cut, place them right sides together, and pin the side edges. Next, use a straight stitch and zig-zag stitch (to keep edges from fraying), to sew the sides together.
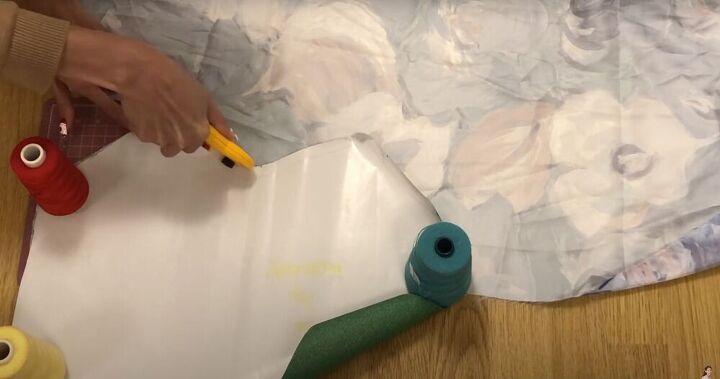
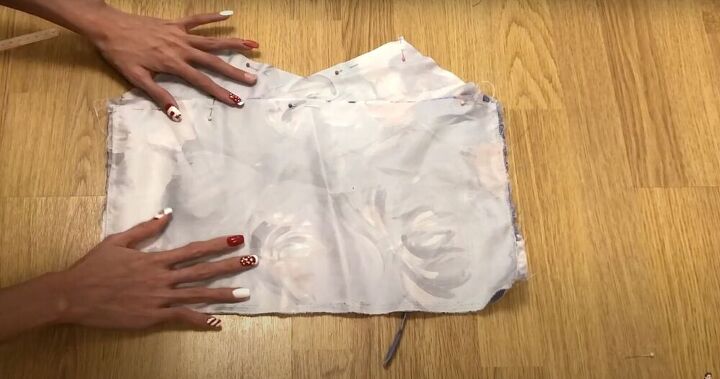
Cut more fabric
Take the front pattern again and place the top half (with V) on the fabric. Cut. (This will leave you with a shorter version of your front cut). Do the same thing with the backside, cutting about nine centimeters (about three and a half inches).
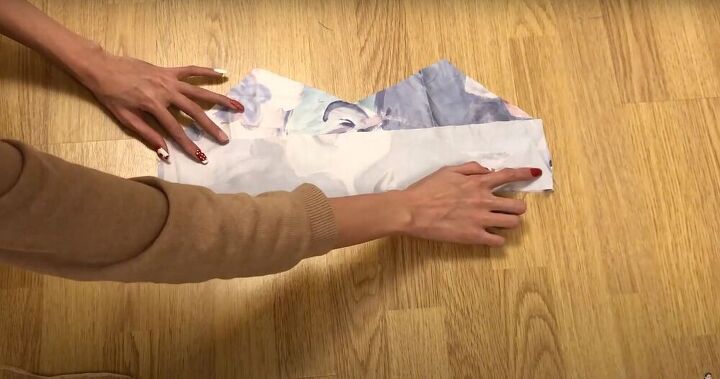
Sew together
Place the newly cut fabrics right sides together and pin to secure. Again, attach with a straight stitch, followed by a zig-zag stitch for a clean finish.
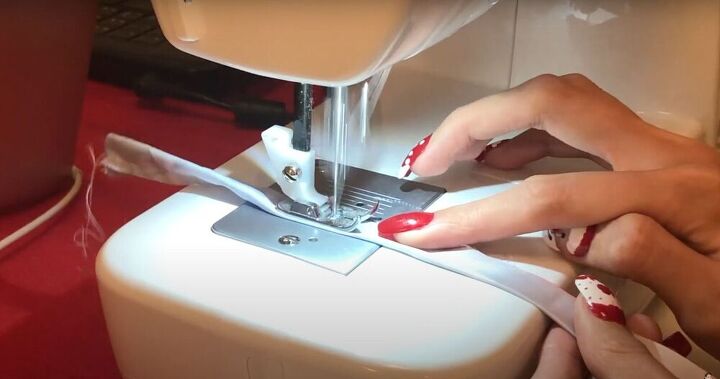
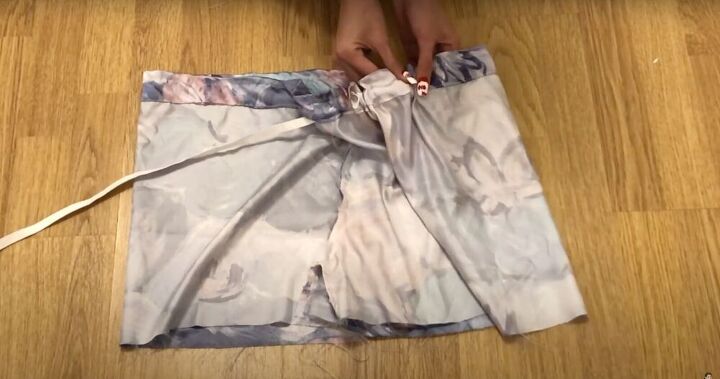
Make the straps
Now, we’re going to cut out the straps. The length of the strap should be 42 centimeters (about 16.5 inches) and the width should be 3 centimeters (a little over an inch). Once cut, cut the strap in half to make two. Next, fold the straps right sides together and sew with a straight stitch. Use a safety pin or stick to turn the straps right side out.

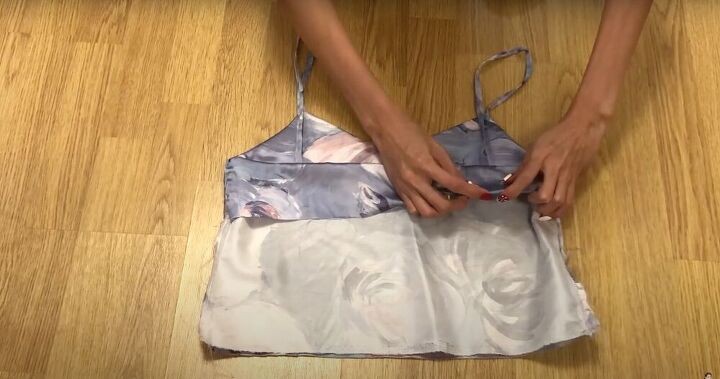
Connect the top and insert
Fold the top inside out and keep the insert right side out. Then, slip the insert into the cami so that the two pieces are touching right sides together. Pin to secure.
Attach the straps
To attach the straps, insert them in between the two front pieces of the cami. Keep one end of the strap slightly emerging from the neckline and pin into place. Make sure you do this on both sides.
Next, slip the straps back up through the back pieces and pin. In the end, your straps should be peeking out from the neckline and the back. To finish, sew with a straight stitch along with all pinned areas.
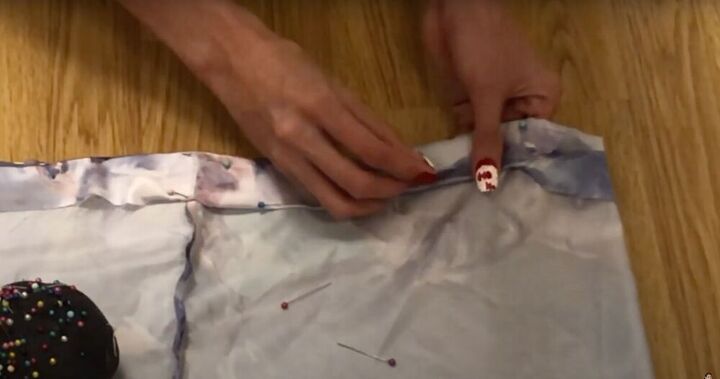
Hem the cami
Double fold the edges of the insert and pin to secure. Then, sew with a straight stitch to hem the insert. Next, repeat the same steps to the edge of the shirt to hem the cami.
Cut fabric for shorts
Fold the fabric in two and place the pattern (homemade or otherwise) on top of it - the wrong side. Then trace the fabric with some chalk. Use scissors to cut out the pattern - remember to cut and separate the two pieces of fabric.
Sew the shorts
Sew the side curved edges to attach both halves. Next, move the shorts so the seams meet in the middle and align the crotch. Pin to secure. Using a straight stitch, followed by a zig-zag stitch, sew the crotch together.
Hem the shorts
Measure out 5 centimeters (about 2 inches) from the top of your shorts and fold over (wrong sides together). Pin to secure. Next, sew the hem using a straight stitch, leaving a once inch gap open.
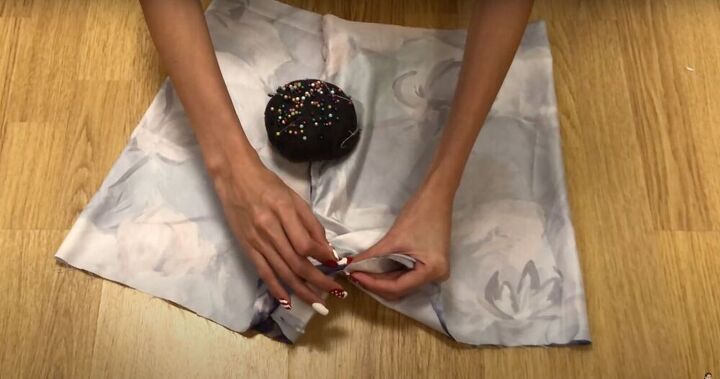
Insert the elastic
Using a safety pin, loop the elastic through the gap in the hemming. Then, push the elastic through the pants until it emerges on the other side. Tie elastic together and close the gap.
Hem the shorts
Double fold the bottom edges of the shorts. Pin to secure and then sew with a straight stitch to finish.

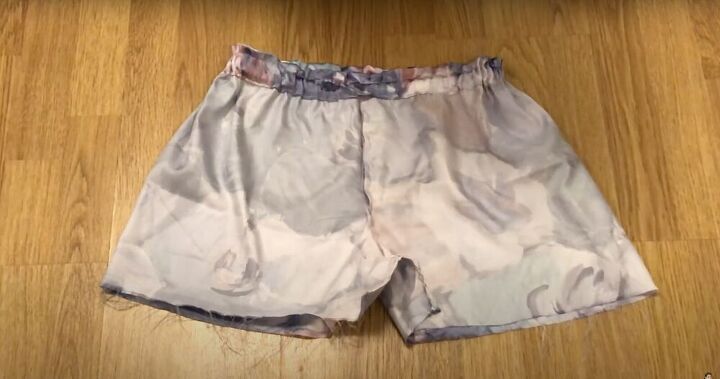
Take a look at the final product, isn’t it great! This set is so cute, completely one of a kind, and super comfortable. I’m so happy with how mine turned out and can’t wait to see some of yours!
The author may collect a small share of sales from the links on this page.


Comments
Join the conversation
Beautiful!
Very beautiful!!! I like gowns and I have a satin gown. They are equally nice and comfy!!!