Make a Chanel Inspired Tweed Suit for $10

I’m sure most of you are already familiar with my inspiration for today - it is the iconic Chanel suit. I’ve known for a while that I would like to have a go at this tweed Chanel suit and I figured sharing it with you guys would be an awesome way to kick off my goal of sharing more content in 2021.
Tools and materials:
- Two meters (6.5 feet) of tweed
- 1.5 meters (five feet) of lining
- Interfacing
- Scissors
- Marker
- Paper
- Zipper
- Buttons
- Sewing machine
- Pins
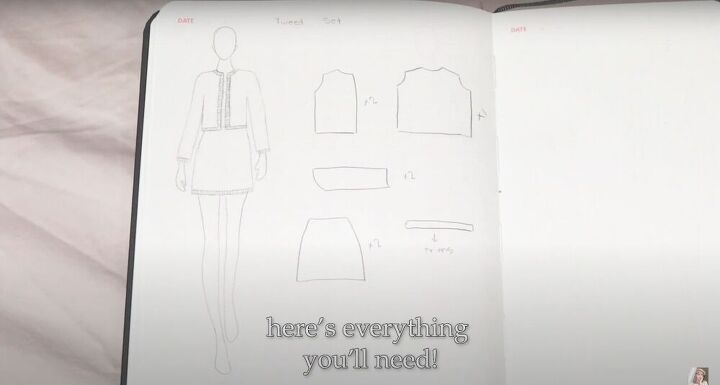
Make your pattern
To make this Chanel suit, you are going to need two front pieces, one back piece, two skirt pieces, two sleeves, and multiple rectangles for the waistband and frayed trimmings. To find your size, start with a jacket that you already own and use it as a template. Do the same with any a-line skirt that fits you well. Trace the jacket onto some paper and then add half an inch of seam allowance all around - if you want the jacket to be cropped simply mark it off shorter than the jacket you’re using as a template. Repeat this process for the back piece and the sleeves.
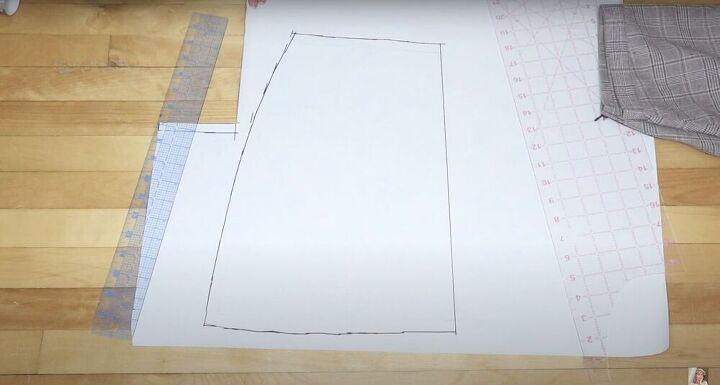
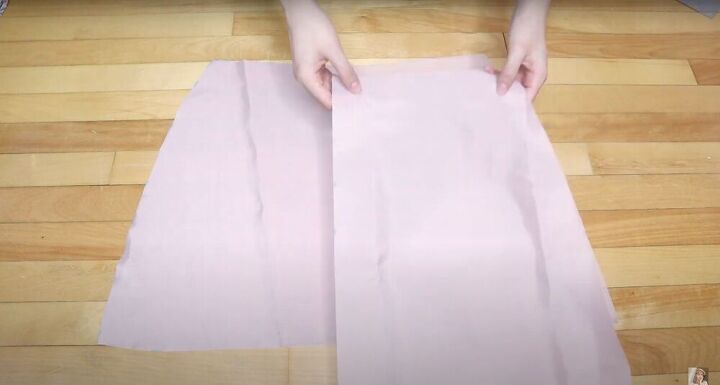
For the skirt, fold it in half and trace the outline - make sure to trace below the waistband. Next, similar to the jacket, add half an inch of seam allowance all around. Once you’re done, cut out all the pattern pieces.
Cut out your fabric
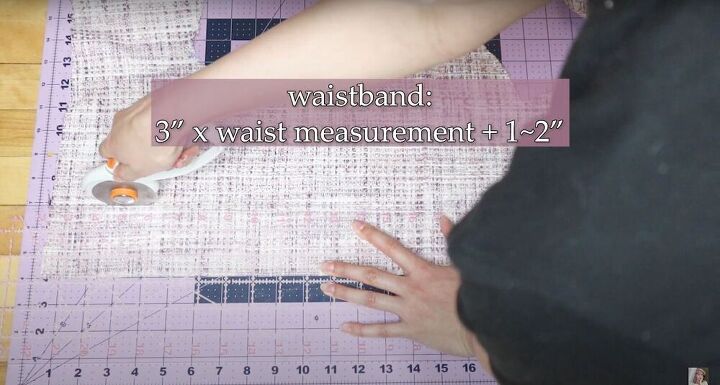
Place your pattern pieces onto your fabric and cut out all the pieces. What works best for me is tracing the pattern onto the skirt, pinning the two pieces of fabric together, and then using some scissors to cut it all out. For the waistband, however, use a rotary cutter to cut out a rectangle following the measurements above (3 inches x waist measurement + 1-2 inches depending on seam allowance). Finally, finish by using your rotary cutter to cut straight down the center of your front piece so that you have two separate pieces - repeat with the back piece of the skirt.
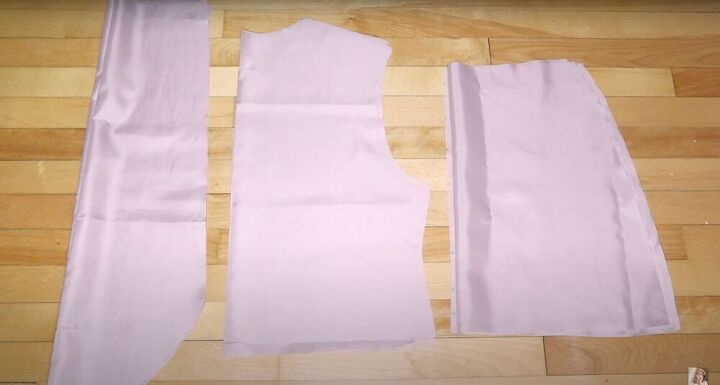
Cut out the lining
Repeat all the previous steps with the lining.
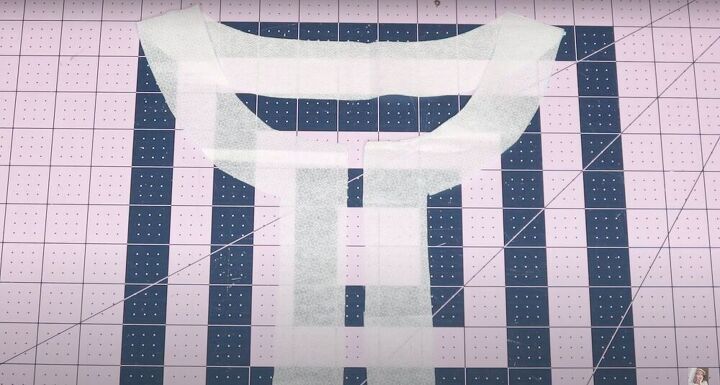
Cut out your interfacing
For the interfacing, trace the center front of the jacket and the collar. Add 1.5 inches seam allowance to the marking. Cut out two pieces for the front piece and one piece for the back collar. Your end result should look like the image above. Finally, cut out one last piece of interfacing for the waistband.
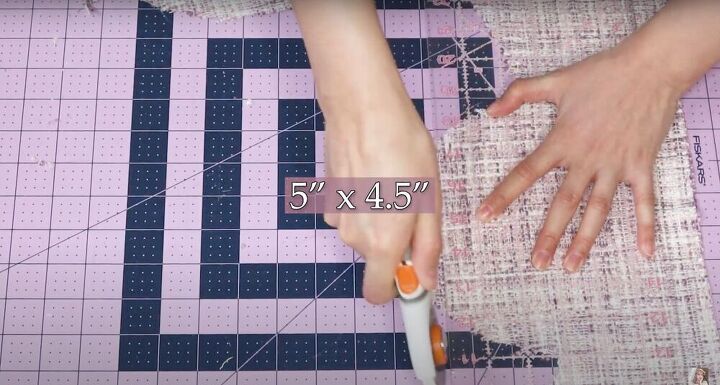
Cut leftover fabric
Take any leftover fabric and cut out as many one-inch strips as possible - this will be for adding pockets and fraying to the jacket and giving it a little more personality. You’ll need strips for the bottom of the skirt, the cuffs, the collar, and the center of the jacket. Next, cut out two rectangles for the pockets that follow the measurements above (five inches by 4.5 inches) plus two strips for the frayed trimming at the top of the pockets.
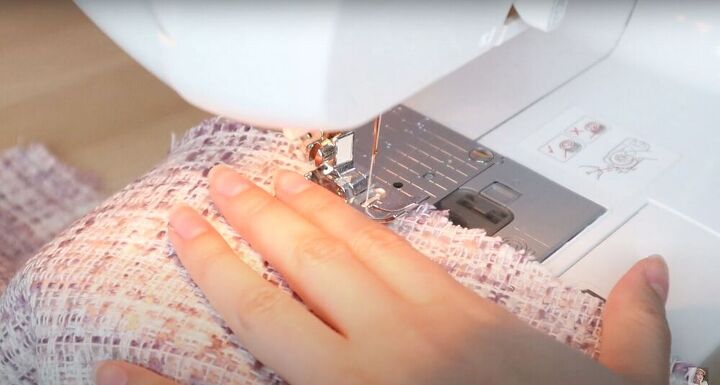
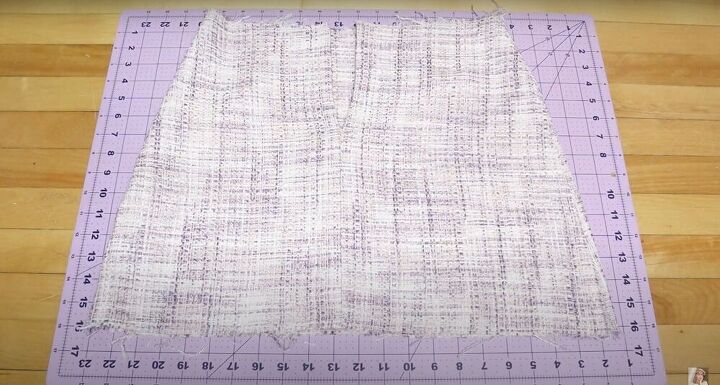
Connect the skirt
Take the front and back pieces for the skirt and pin the sides together, right sides together. Next, go in with a straight stitch to sew the pinned sides followed by a zigzag stitch to finish. Remember to also finish off the edges!
Insert your zipper
Get your zipper and place it on the back of the skirt. Measure the length of the zipper on the skirt and mark off the end of the zipper with a marker - remember to take into account the extra inch you’ll need for the waistband. Next, place the back pieces of the skirt right sides together and sew until you reach the marking.
Sew the lining
Repeat the same steps we just did with the tweed for the lining of the skirt.
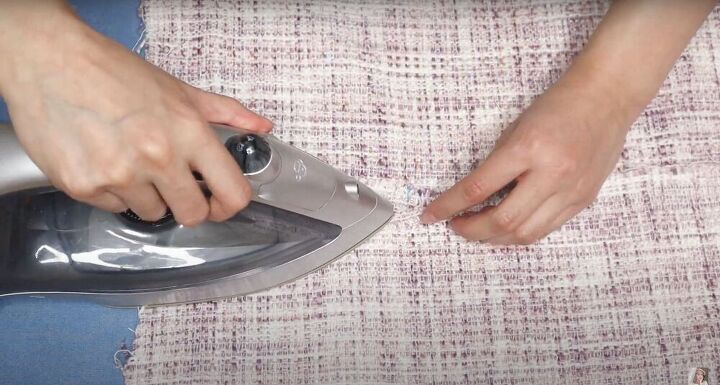
Iron your fabric
Iron the interfacing onto the waistband and then iron the zipper opening to make it easier to insert the zipper later.

Attach the waistband
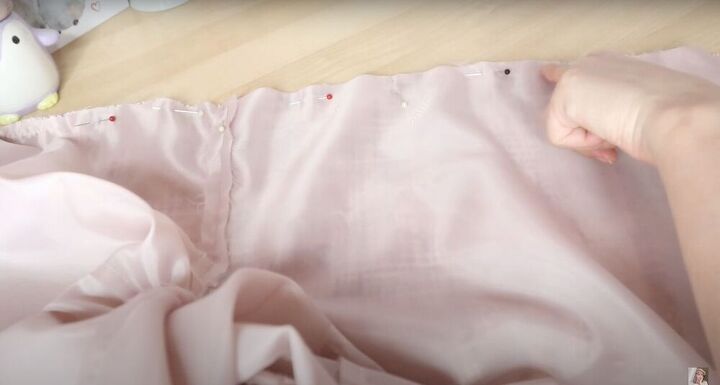
Place the lining and the tweed skirt, right sides together, and sew the two layers together at the bottom. Finish with a zigzag stitch to prevent fraying. Next, flip the lining to the inside of the skirt and add the waistband. Pin the waistband to the skirt, right sides together, and sew it. Make sure to sew the waistband only onto the tweed fabric and not onto the lining.
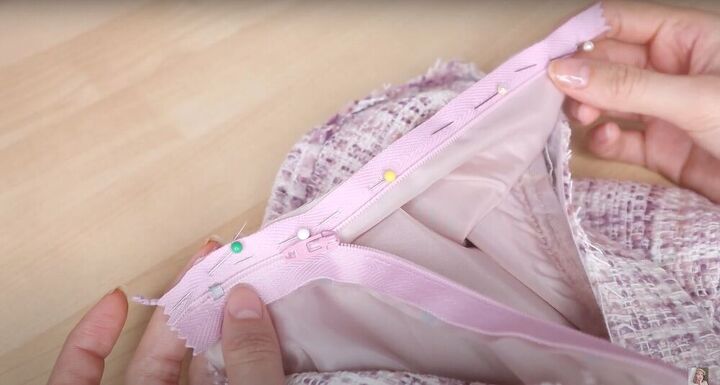
Attach the zipper
Pin the zipper to the lining and sew it (I recommend using a zipper foot to sew the zipper as close as possible to the teeth). When you reach the zipper head, lift your foot off the pedal, zip the zipper so the head is out of the way, and continue sewing. Repeat on the other side. Next, sew a top stitch to prevent the zipper from getting caught in the lining. To finish, pin the tweed fabric to the zipper and top-stitch it down. Make sure the fabric covers the zipper teeth so that the zipper will be invisible when zipped up.
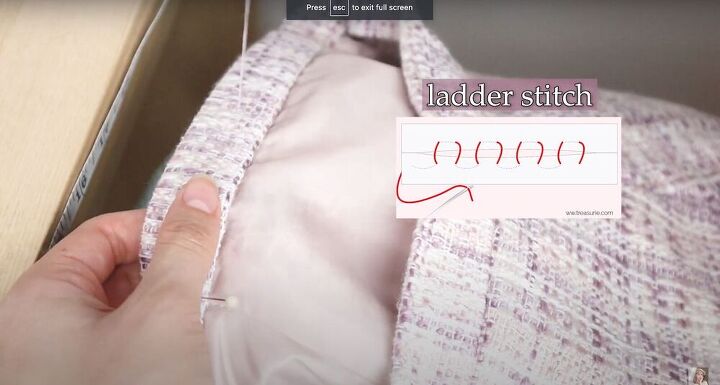
Finish the waistband
Iron the edge in, fold it in half, and pin it down. Next, hand sew the waistband down. I chose to hand sew here because the fabric was getting pretty thick and I didn’t want the stitching to show from the other side. I used a ladder stitch (pictured above).
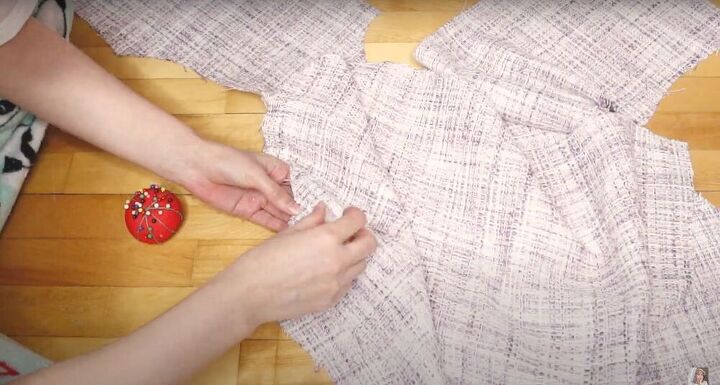
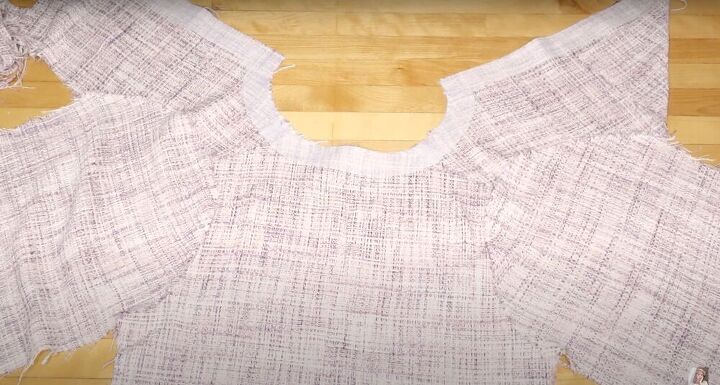
Make the jacket
Place your front pieces and back pieces right sides together and sew the shoulder seam. Next, open up the jacket (so that the front and back pieces aren’t laying on top of each other) and start pinning the sleeves to the armholes. Start by pinning the center of the sleeve and continue pinning until you’ve reached the end. After that, sew it down.
Iron the interfacing
Iron the interfacing to the inside of the jacket (iron it to the center front and to the collar). See the image above for exact placement.
Make the lining
Sew the side seams and sleeves and then repeat these same steps to create the jacket lining.
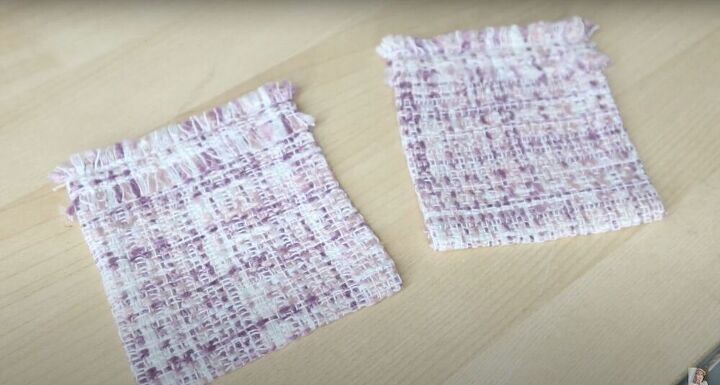
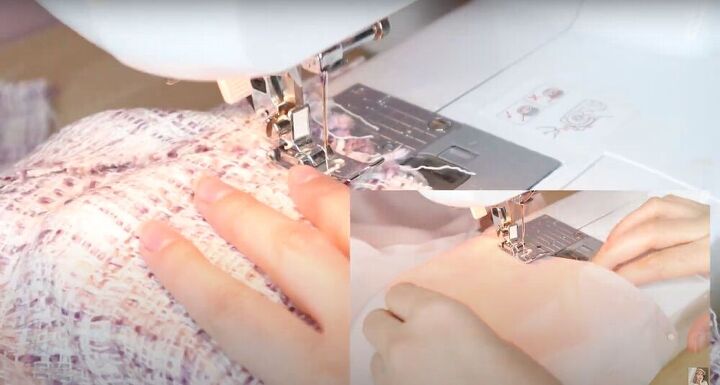
Make the front pockets
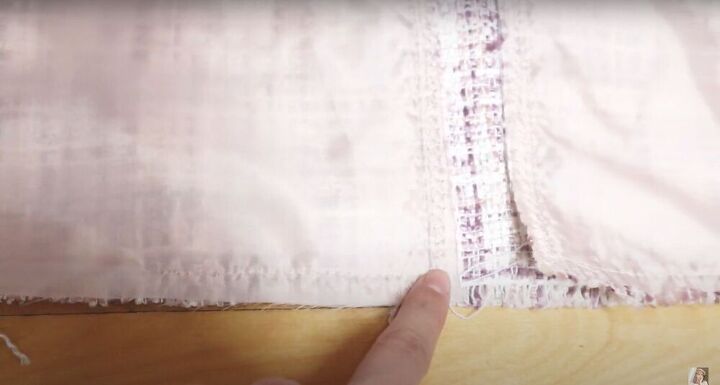
Place the trimming a third of an inch below the top of the pocket and sew two rows of basting stitches. Next, fray the ends by removing the bottom and top threads until you reach the basting stitches. Finally, sew the top edge of the pocket down, fold the rest of the edges inside and your pockets are ready!
Try on the jacket and mark off where you want to place the pockets. Pin it and sew the edges of the pockets to the jacket.
Attach the lining
Turn the lining inside out and place it over the main fabric so that they are right sides together. Next, pin and sew the front opening, all around the collar of the jacket, and a couple of inches of the bottom edge (by the bottom of the opening). Remember to add a zigzag stitch to keep the fabric from fraying.
Sew the bottom
Flip the jacket right side out and adjust the lining. Next, understitch the lining for the center front and collar. Now, flip the jacket inside out again and sew the bottom of the jacket. This time, however, leave a five-inch gap and sew it closed. Once it’s sewn, use the gap to flip the jacket back and iron the jacket.
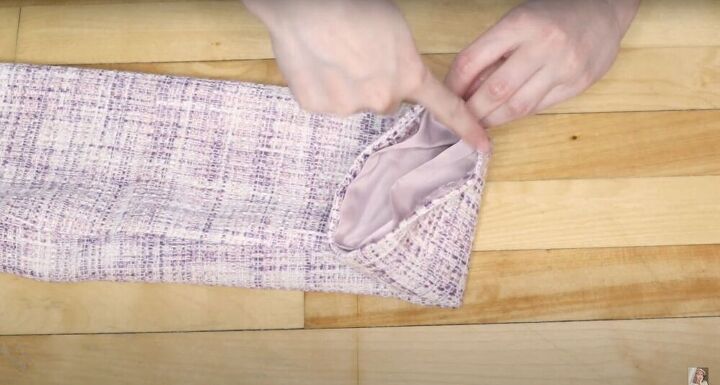
Hem the sleeves
Fold and iron the edges towards the inside and then just sew the two layers together.
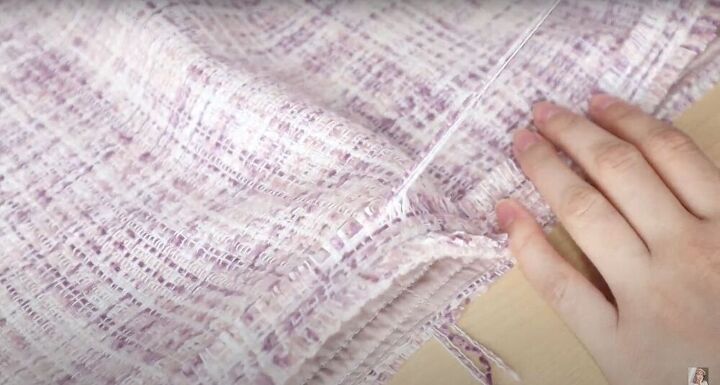
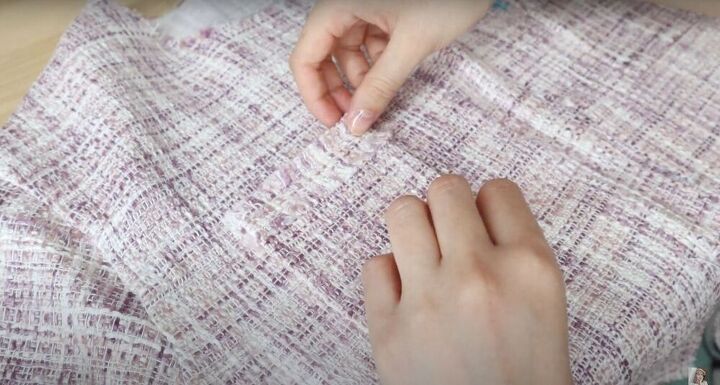
Add the frayed trimmings
For the skirt, place it on the bottom hem and sew two rows of basting stitches. Then, carefully remove the threads from the top and bottom until you reach the basting stitches. When you’re done, cut off all the extra loose threads. Repeat this for the bottom of the jacket, the cuffs, collar, and center front.
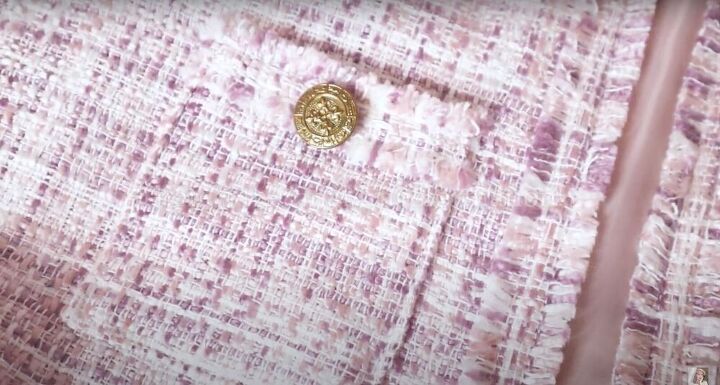
Add buttons
To finish the jacket, add buttons to the pockets. I used some olf vintage buttons, but I will probably end up switching them out for some gold pearled buttons later on. Anything old or vintage would pair great!


Here it is, my Chanel-inspired tweed suit! I love it! It looks amazing and it was so cheap to make. It does take a while, so be prepared to spend a good few hours sewing, but if you ask me it is more than worth it in the end.
The author may collect a small share of sales from the links on this page.


Comments
Join the conversation
You need to shorten the sleeves to the wrist bone. Coco Chanel was a stickler for detail and great tailoring. Other than that little thing you did a good job on your suit.
Really lovely.