You’ll Be Amazed by This Easy Shirt Thrift Flip

I had an oversize top that was just lying in my closet, so I decided to spruce things up and transform it into a cute skirt. If you are looking for a good upcycle, then this shirt thrift flip is the perfect tutorial, and I'm going to show you how easy it is to turn a shirt into a skirt. I also added side pockets to the skirt. Super functional and stylish, an amazing equation! Let's get started!
Tools and materials:
- Big old shirt
- Sewing machine
- Pins
- Chalk
- Elastic
- Thread
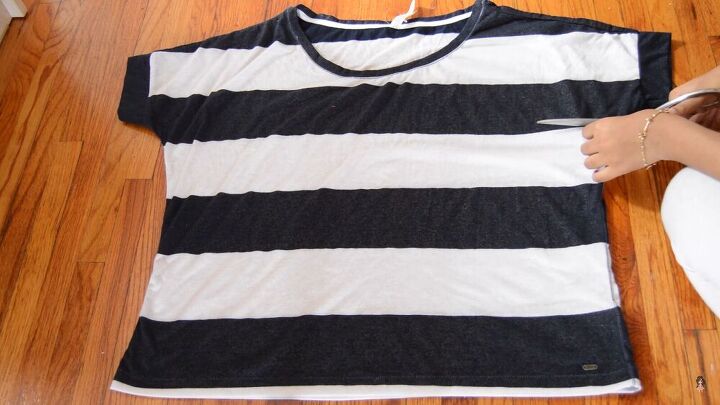
Cut the shirt
Using a pair of sharp scissors, cut the shirt's bottom portion, just under the sleeves.
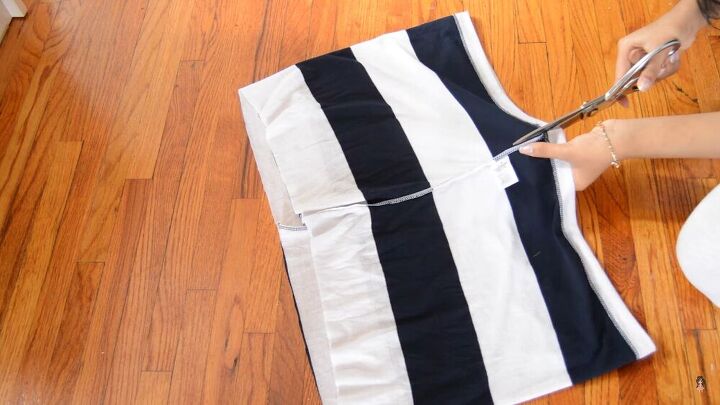
Next, separate the front from the back by cutting along the side seams.
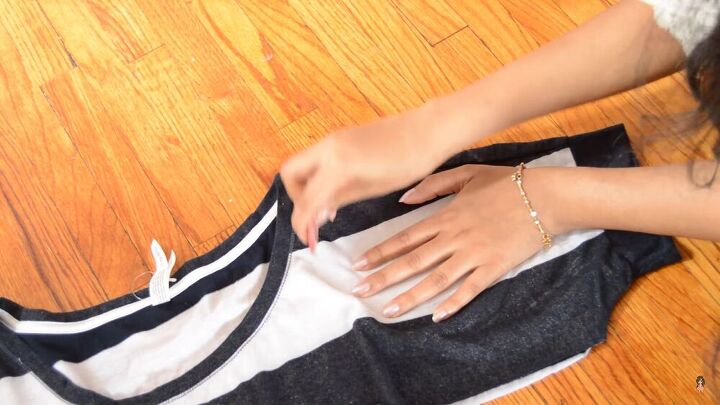
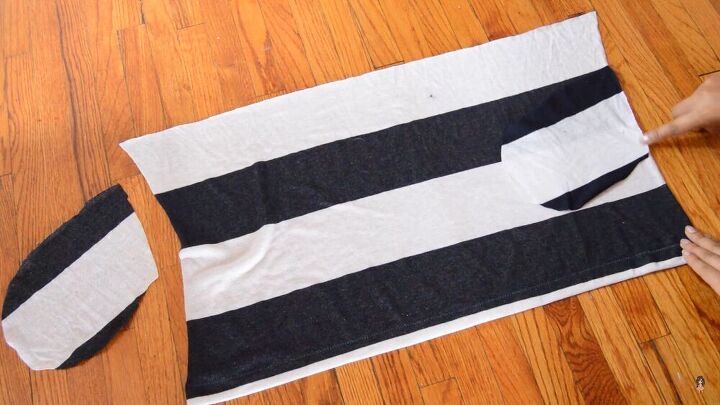
Cut out the pockets
On the sleeve part, place your hand as a guideline and trace around your hand. This will be for the pockets. You will need 4 fabric pieces.
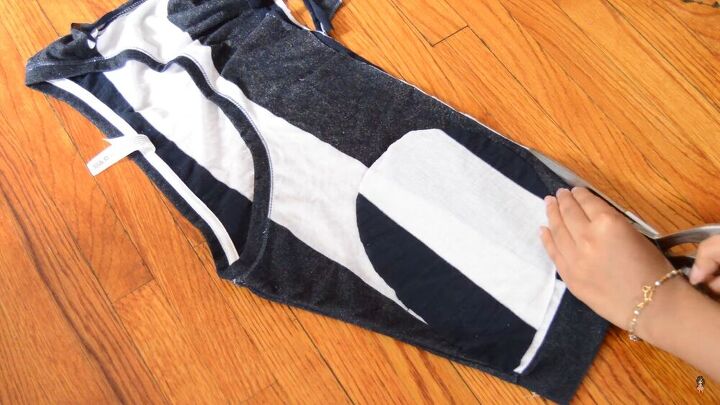
Cut out the first pocket, place it on the other side of the shirt, and cut around. Like this, you have a distinct and symmetrical pattern.
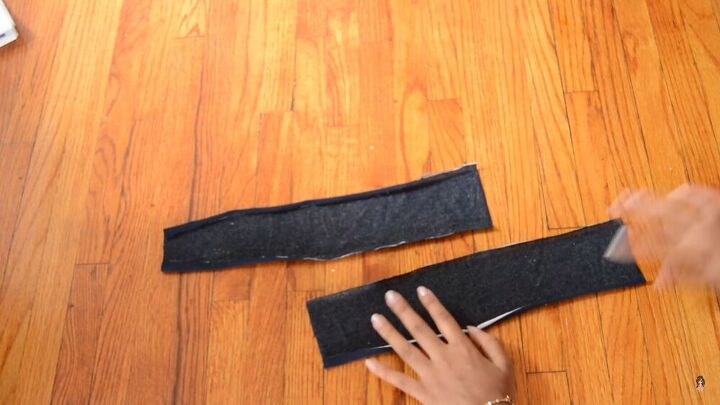
Make a waistband
From the remaining fabric, I made a waistband. I cut out 2 rectangular pieces and sewed them together.
Sew the pockets
Now, sew the pockets on the middle of the skirt's side. Make sure the two pieces are right facing. Remember, you will be doing this on one piece and repeating it for the second piece.
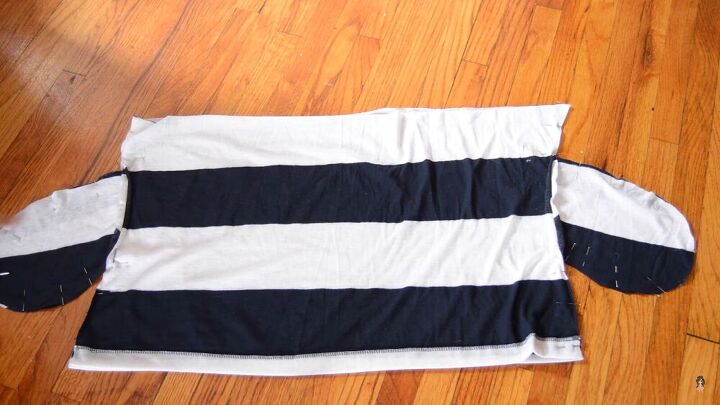
Once the pockets are sewn to both pieces' side seams, place one fabric piece on top of the other, right sides facing, and sew around the side seams, including the pockets' seams.
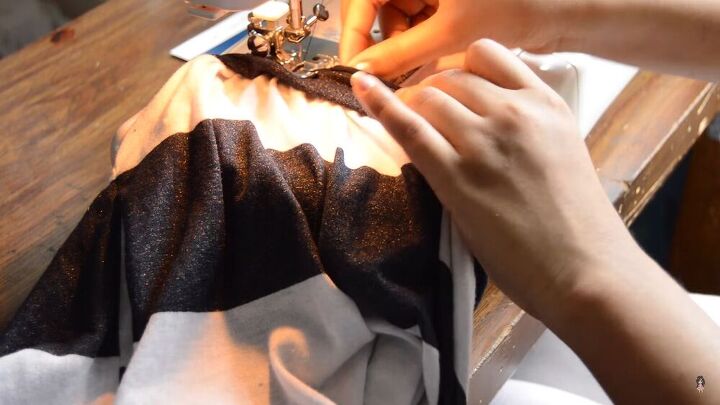
Sew the waistband
Next, place the waistband around the top of the skirt. Use a zigzag stitch, and add ruffles by stretching the waistband as you stitch.
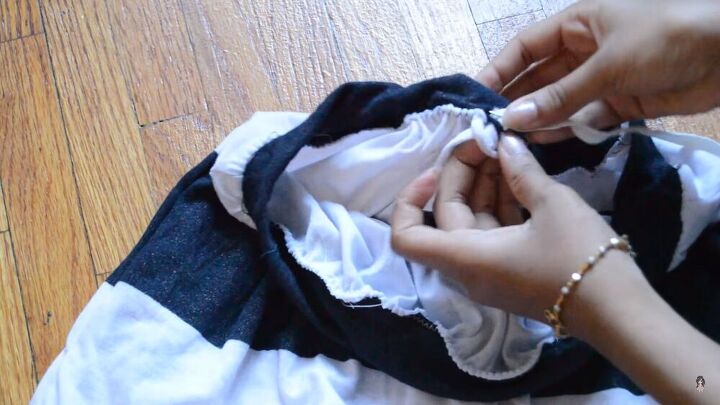
Creating the ruffles actually stretched the waistband a bit, and it landed up being bigger than my waist. So, I fed through an elastic for a tight fit. If this is the case for you, do the same. Stitch the ends of the elastic, and close the gap.
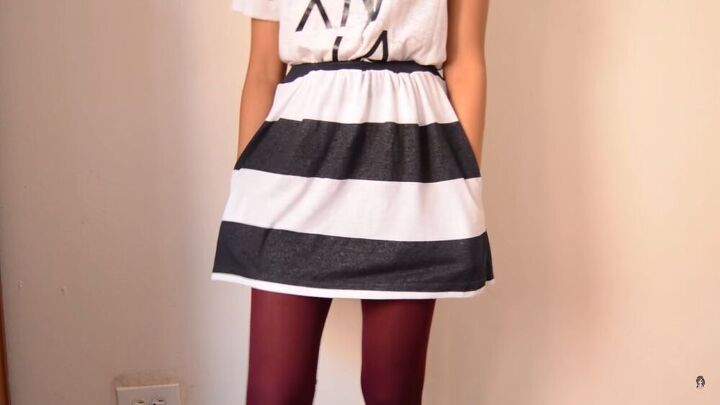
Now you have an awesome, functional skirt with side pockets. So easy to make, I think I'll personally make more. This is an awesome shirt refashion tutorial that is friendly for beginners, too. Now you can dress up and look sassy for the spring or summer months.
The author may collect a small share of sales from the links on this page.


Comments
Join the conversation
Love it !