5 Step Guide to the Perfect Cross Back Apron

This holiday season make it your priority to add a little cheer. This DIY cross back apron is the perfect gift for that special baker in your life. Say goodbye to loose fitted, double knotted commercial options and sew a cross-back apron of your own instead!
Tools and materials:
- Sewing machine
- Scissors
- Free pattern
- Cotton fabric

Download the pattern and cut!
First things first, let’s download that free cross-back apron pattern! This pattern is the perfect stencil for measuring and cutting our material so get those scissors out and get slicing.
By the end, you should have one bodice, two straps, one bib, and one pocket.
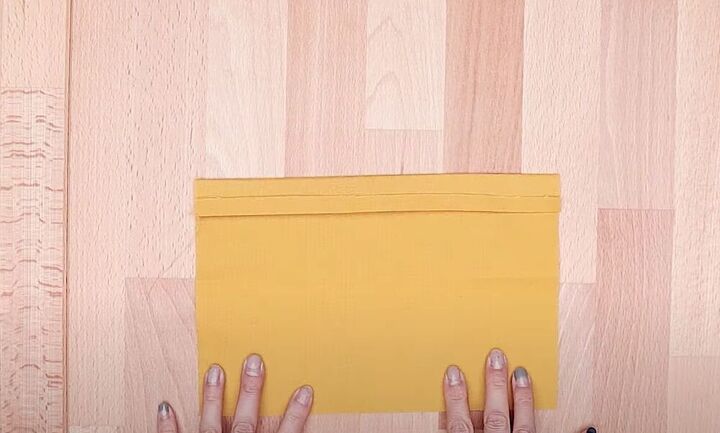
Start that pocket
Starting with the pocket, grab your square and fold a ¼ inch off the top - wrong sides together. Then, press down. After that, flip it over and fold and press another inch, right sides together. Once everything’s in place, sew the edges and flip right side out to hide those seams!
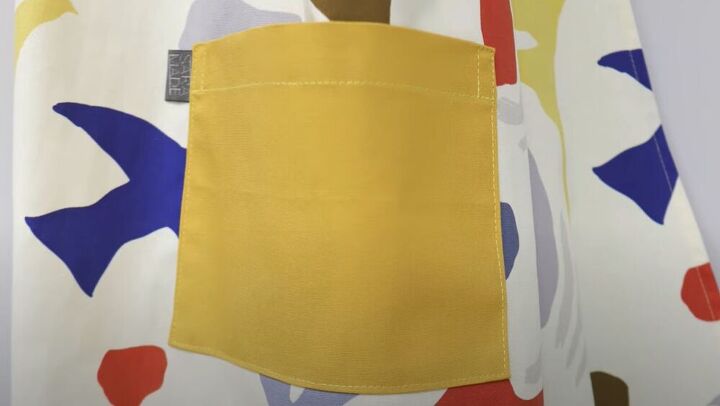
Finish and attach pocket
Move to the opposite (untouched) edge and fold your material half an inch. Do the same thing with the sides, press down, and edgestitch. Pin the pocket to the bodice, edgestitch the bottom and sides to form your pocket, and remember to secure those top corners!
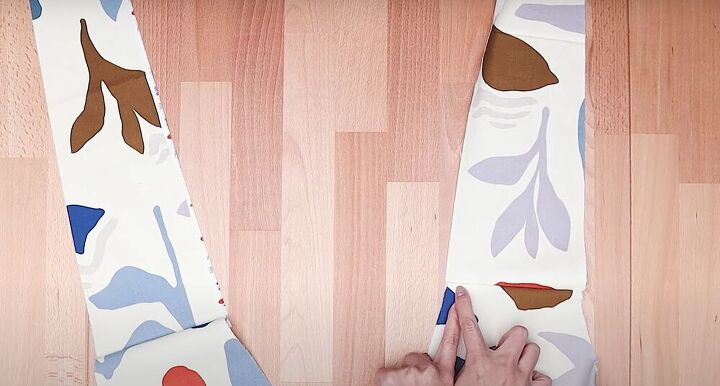
Attach the straps
Grab those straps! Pin and sew the wide side of the straps to the back of your bodice - right side together. Next, press the seam onto the bodice and understitch to secure it.
Fold your edges
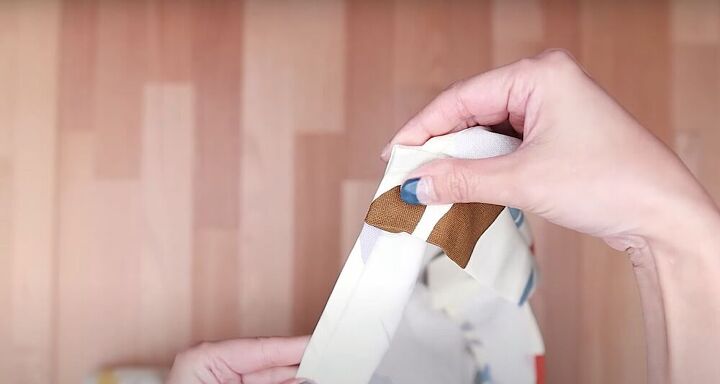
Now we’ve got to secure those seams, so double-fold a ¼ inch on those straps and outer edges. Press down! Your fold should run all the way from the top of the straps, down to the armholes. Edgestitch those folded out edges!
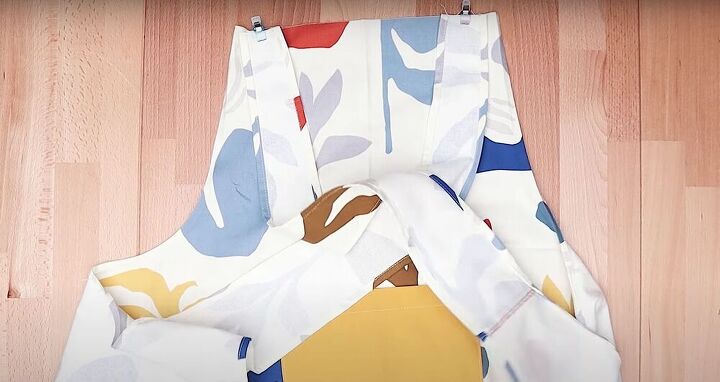
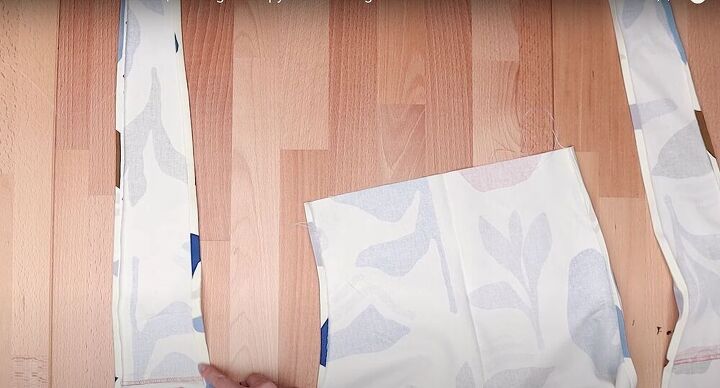
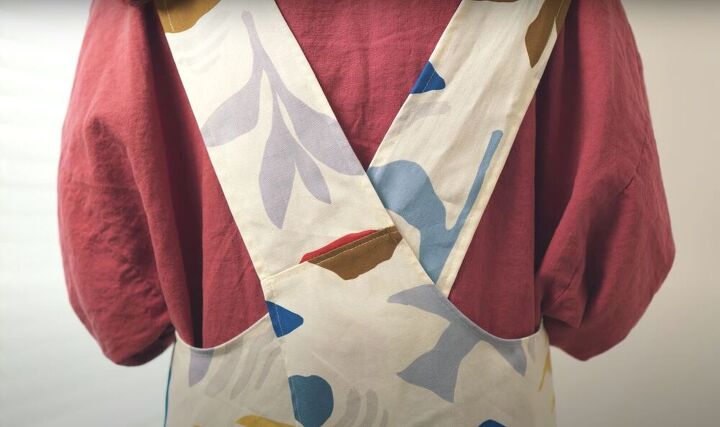
To add those final touches, cross one strap over the other. Pin to the top and sew the straps to the top of the bodice right side together (about ½ inch away from the outer edge).
Face the bib
Grab your bib and fold over a ¼ inch and press. Next, pin the bib to the top edge of the bodice and sew it together, right side together. When sewing the bib, sew ½ inch from the edge. Make sure the side edges are folded and the corners are sharp.

Add finishing touches
Make sure the edges are folded and turn the apron right side out. Finally, let’s secure those edges with an edge stitch running from the bib to the armholes.

Hem it, wear it!
Finally, let’s get to that final step - the hem! Simply double fold the bottom edge and press it down. Finish up with an edge stitch and marvel at a job well done.
I hope you found this tutorial on how to DIY a cross-back apron helpful. Remember, you can always make it your own by choosing different fabrics, colors, and patterns!
The author may collect a small share of sales from the links on this page.


Comments
Join the conversation
This is an old tutorial! Pattern and fabric have been long gone!
https://threadsmonthly.com/cross-back-apron-sewing-patterns/
free pattern here!