Make Your Own DIY Leather Belt Under 1 Hour

Make a DIY leather belt that fits your size and sits snug around your waist. As we all know, it’s sometimes hard to get the right-sized leather belt in a store. In this easy tutorial, I am going to show you how to make a DIY leather belt in literally under an hour. You get to decide how many holes you want, the right size, color, and of course, the buckle you want to attach. I love these customized projects and I know you will too!
Tools and materials:
- Already-made leather strap
- Hammer
- Buckle
- Rivet
- Thread
- Needle
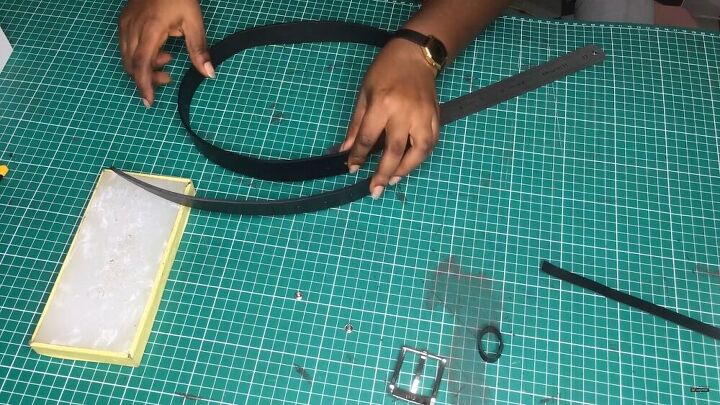
Gather all your materials
In this tutorial, I purchased an already made leather strap at a fashion crafts market. It was already burnished, too. There’s a ton of colors and textures to choose from, but I chose black since it goes with everything. Often, you will find basic DIY leather belts that have punched holes and are already set. But I decided to do this myself as I can get the exact measurement so it sits snug around the waist. You will also need a buckle. Purchase one from your local crafts market, too.
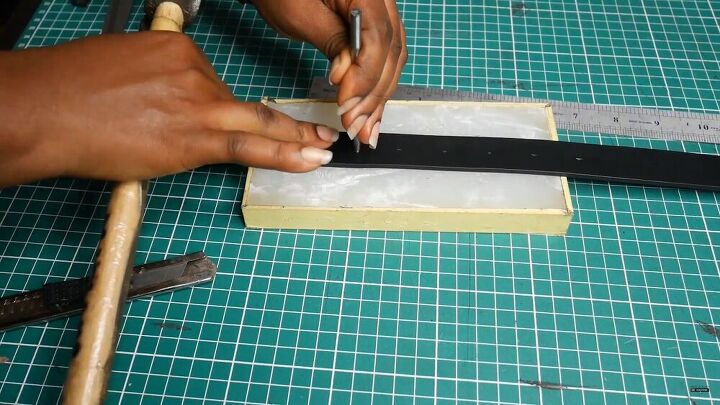
Punch the holes
Skip this step if your leather belt comes with all the perforations in place. If you bought a basic DIY leather belt, then punch holes on the end of the belt. The norm is usually around 5-6 holes at an inch apart.
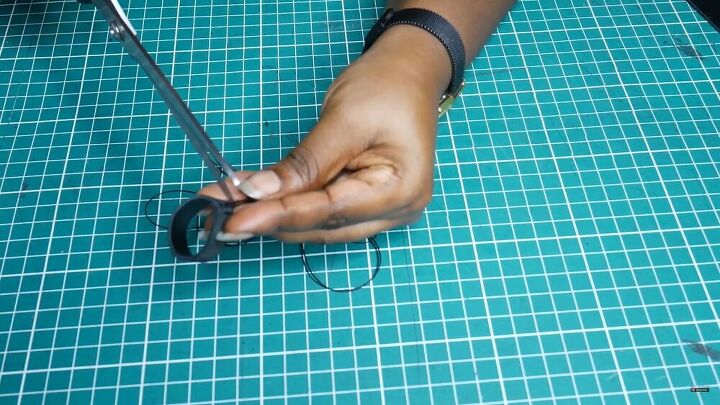
Create the strap holder
Now depending on what buckle you purchase, you may or may not need to make a strap holder. Half buckles for example, usually have a strap holder but the one I got doesn’t have one so I made it myself. Check out my video from 3:37 minutes to see how I made it.
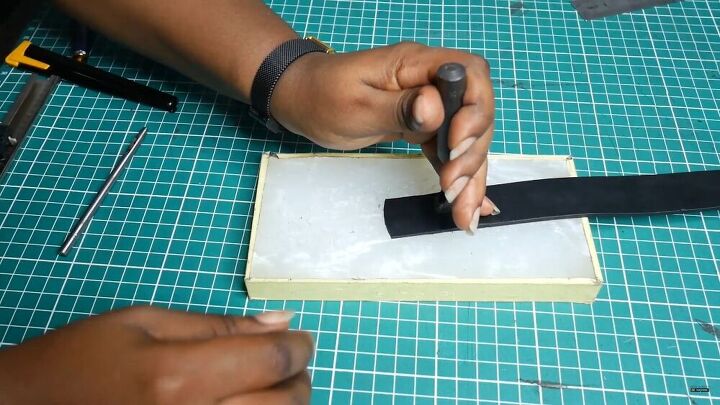
Punch in holes for the buckle
You can see how I add holes for the buckle in my video, starting at 5:12 minutes.
Attach the buckle
Insert the strap holder through the belt. Next, take your buckle and insert the long part through the main hole. Fold the buckle facing outwards and the tip of your DIY leather belt should be neatly folded directly underneath. In the next step, we are going to finish off this beauty by adding a rivet to hold everything together.
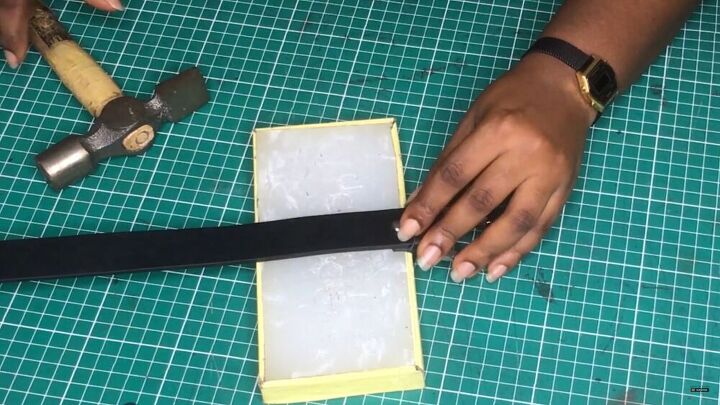
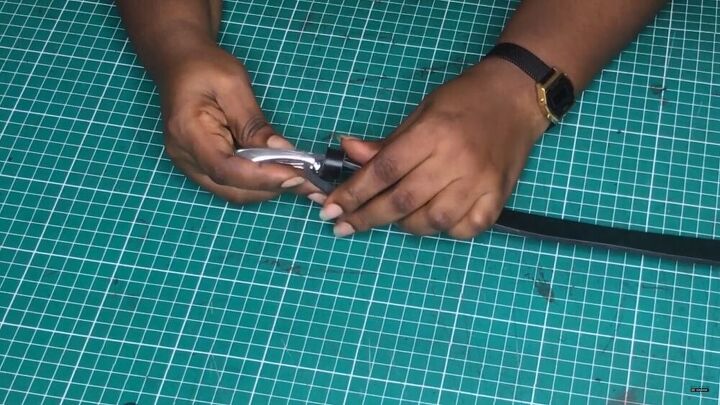
Add the rivet
After you have prepared your belt for the buckle part and attached your buckle accordingly, set the rivet in the center. This technique is a little different from the norm, though. Insert your rivet in place and flatten it with just a few strokes using a heavy hammer.
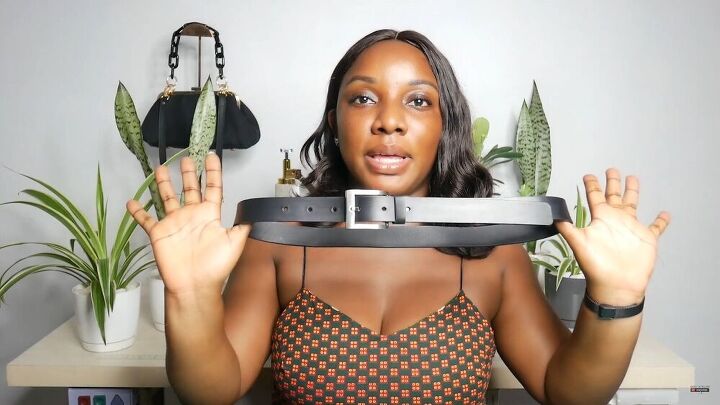
Now you have a beautiful, customized belt that is a classic and timeless accessory. I’d like to add that the belt is called vegetable tan leather and lasts a really long time as it’s extremely durable. I hope you enjoyed this tutorial! Good luck!
The author may collect a small share of sales from the links on this page.


Comments
Join the conversation
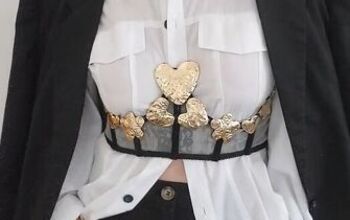
The perfect black belt for so many outfits :)