Sewing Tutorial: How to Make a Corset Belt

Hey guys! Today, I’m going to show you how to make a corset belt. I have so many fabric scraps lying around.
I wasn’t sure what to do with them, and then I realized a corset belt would be a perfect use for fabric scraps.
Feeling inspired?
Tools and materials:
- Fabric
- Eyelets
- Corset boning or zip ties
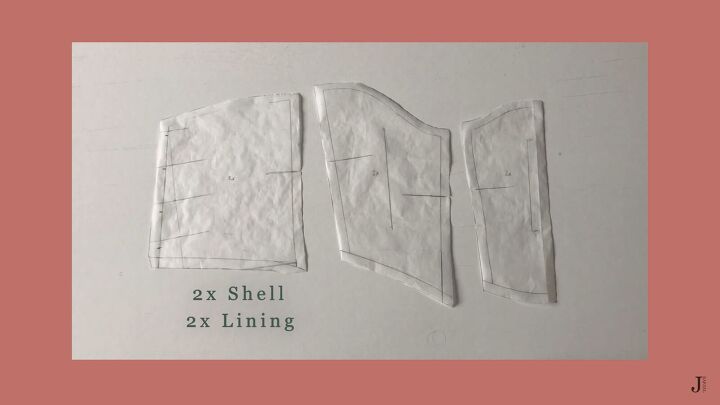
1. Find or create a pattern
You can find free patterns for corset belts online, or you can copy mine!
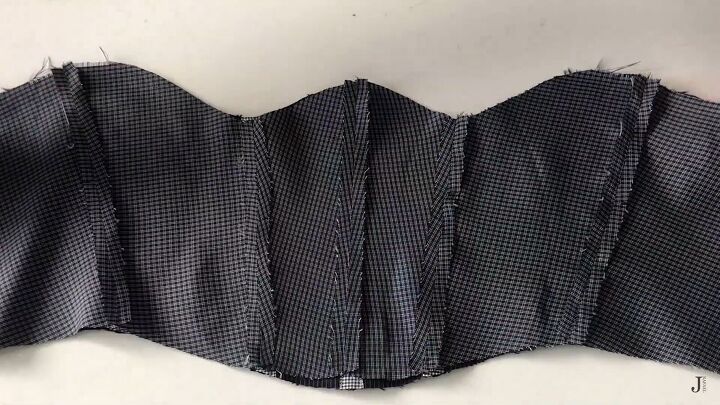
I cut all my pattern pieces twice for the shell and twice for the lining.
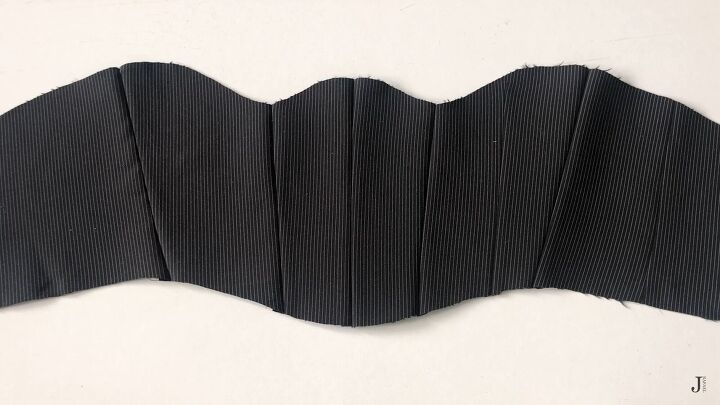
After cutting all the pattern pieces I sewed the corset pieces together. Separately I sewed the lining pieces together.
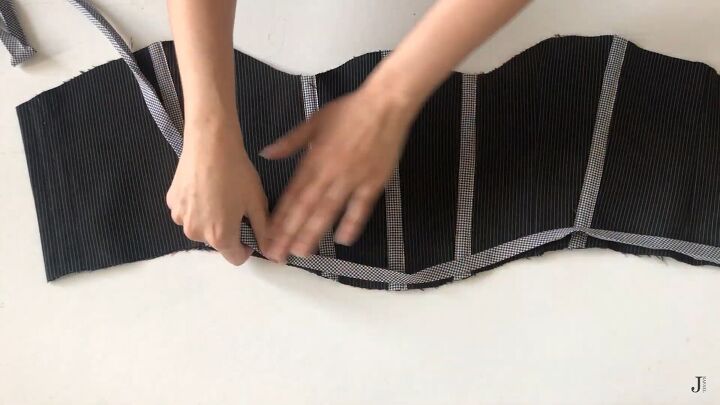
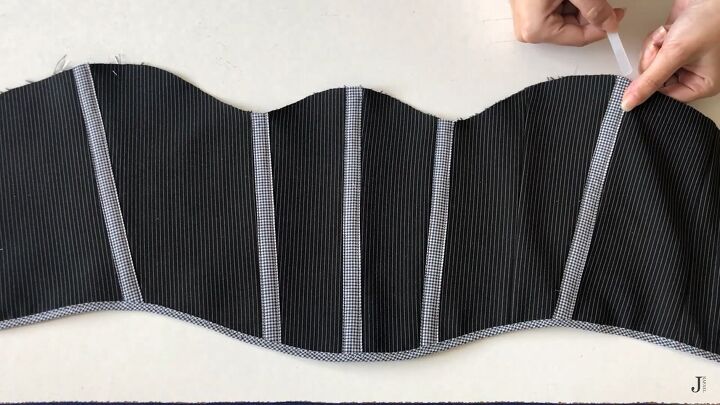
2. Create bias tape for boning
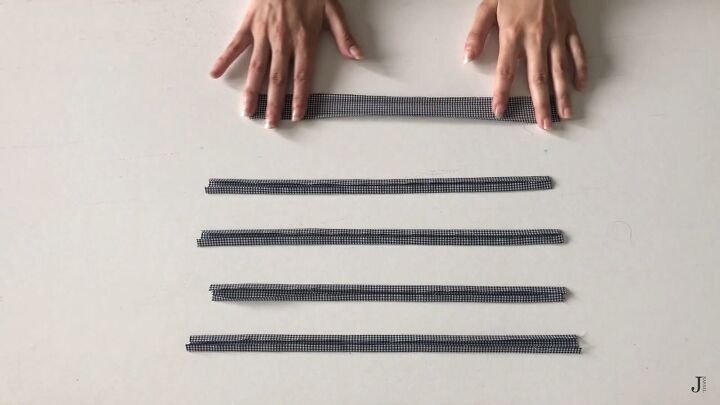
Then cut bias tape. I cut five strips of contrasting fabric.
Cut the strips about an inch thick and long enough to cover the vertical seams of the corset. Fold and press the edges of the fabric in to create a boning channel.
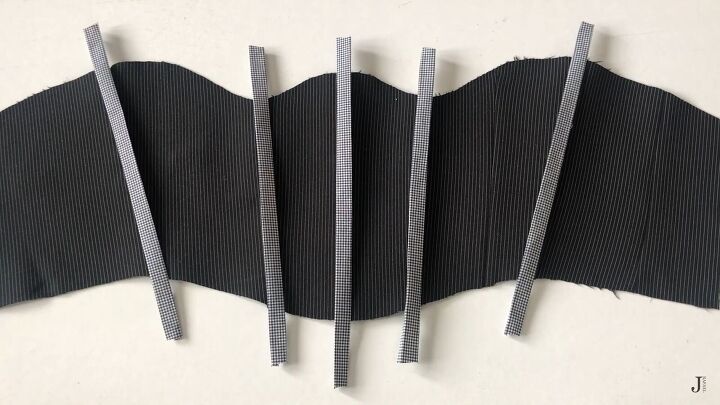
Place each strip on the vertical seam, making sure everything is centered. Sew along both sides of the strip. Then cut off any excess fabric.
3. Sew in the lining
Place the lining layer on top of the shell with right sides facing each other. Sew them together at the center back seam on both sides.
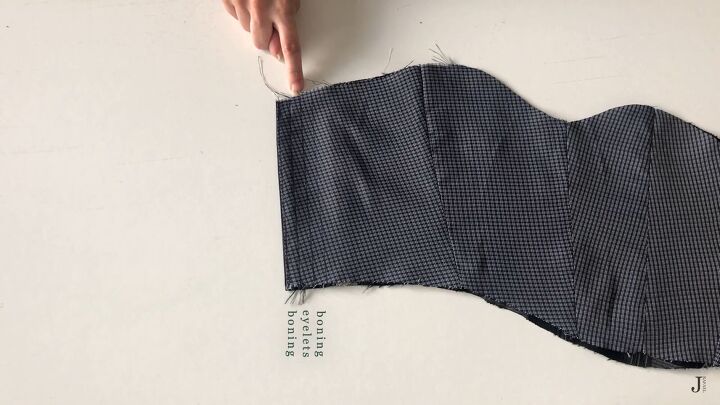
4. Make a place for eyelet holes
On one side of the back sew three vertical lines about half an inch apart from each other. This is to create three boning channels.
The middle one is for the eyelets and the ones on the sides are for the additional boning.
5. Create and sew bias for the bottom and top edges
Cut several once in thick strips and sew them together to create one very long bias tape.
Don’t forget to cut bias tape at a 45 degree angle to give it some stretch. Fold and press the edges of the fabric in. Then apply the bias tape along the bottom of the corset.
6. Insert the boning
For the boning I’m actually using a thick and heavy zip tie.
Insert the zip ties or boning into every channel on the corset, including the two hidden channels on the back.
Then the same way you did the bottom, cut and sew bias tape along the top of the corset.
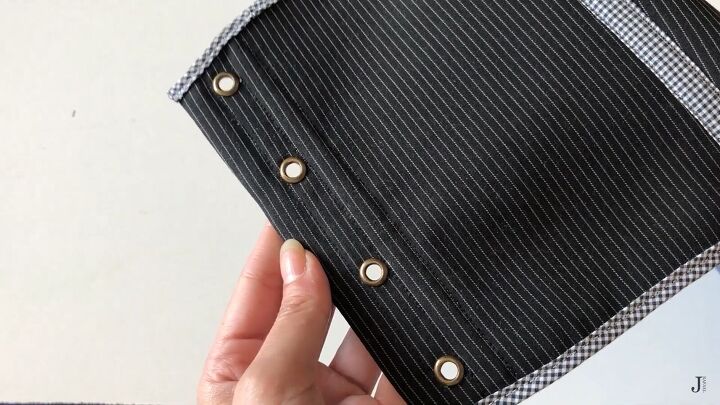
7. Insert eyelets
Mark the placement of the eyelets at the back of the corset and add them to the corset.

8. Make a strap
Make another long strip to use for tying the corset.
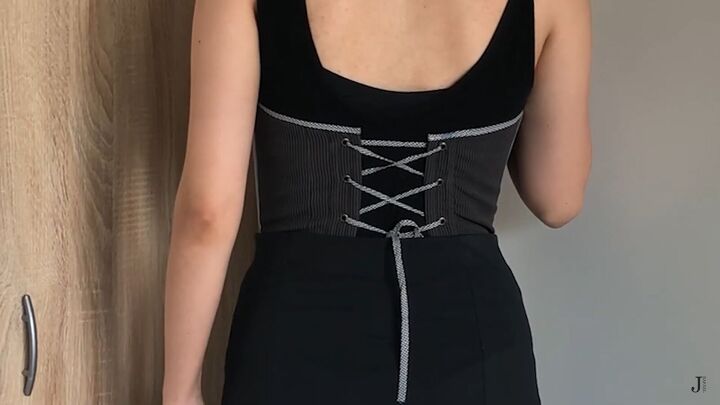

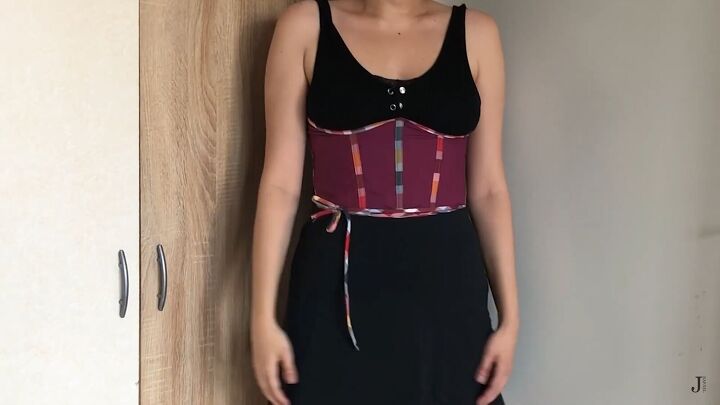
How to make a corset belt: DIY corset belt
I’m so happy to have found a use for all the fabric scraps I had lying around. I even made another one with some other scraps that I had. I love how they came out!
A corset belt is a great way to achieve a classically feminine look with a modern twist. These belts really make an outfit.
Leave me a comment and let me know what you think of it. Did you create one? I want to hear about your experience with this project.
My check my Sewing Tutorial: How to DIY an Ugly but Cute Jacket.
The author may collect a small share of sales from the links on this page.


Comments
Join the conversation