How to Make an Obi-Style Belt Quickly & Easily at Home

In this sewing tutorial, I’m going to show you how to make an obi-style belt. Obi belts come from Japan and are typically worn wrapped around a kimono. Unlike your standard buckle belts, obi belts are done up by tying a bow with the material.
The final piece is a great accessory to have in your wardrobe that you can style in many different ways. Let’s get started!
Tools and materials:
- Non-stretchy fabric (I used black satin)
- Fusible interfacing
- Iron
- Ruler
- Scissors
- Pins
- Chalk
- Measuring tape
- Sewing machine
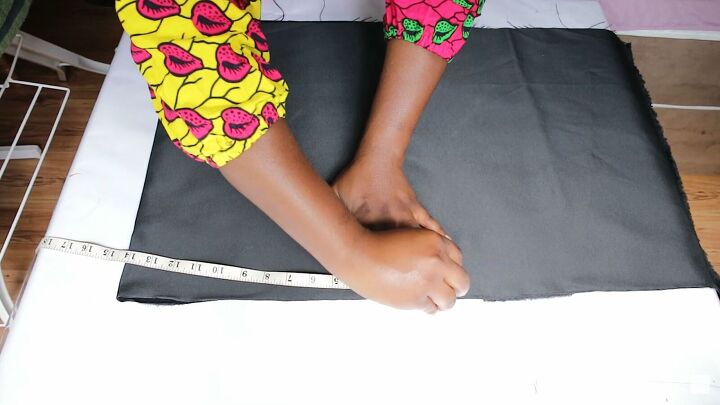
1. Mark the measurements
Start by working out the measurements for the thick part of the belt.
Fold your fabric in half to make it easier to cut, and the measurement of this wide part is half of the waist circumference minus 2 inches (5cm) plus 1/2 inch (1.3cm) for a seam allowance.
When you have determined what your measurement will be (mine was 14 inches, 35.6cm), place the measuring tape on your fabric and mark it.
The width of the belt is four inches (10cm) or however wide you want your belt to be.
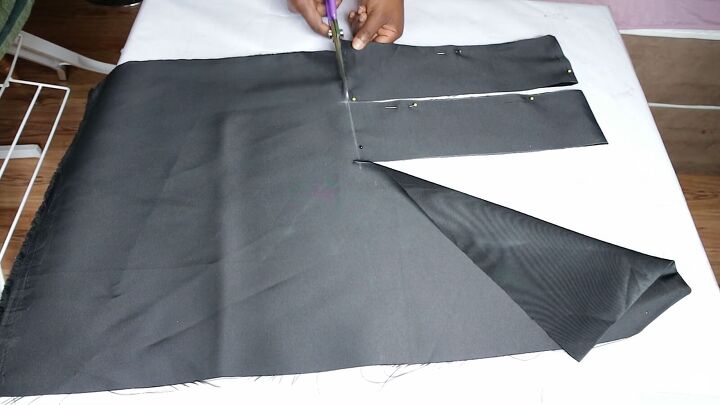
2. Cut out the pieces
Pin and cut out two pieces of the measurements you just marked for the front and the back.
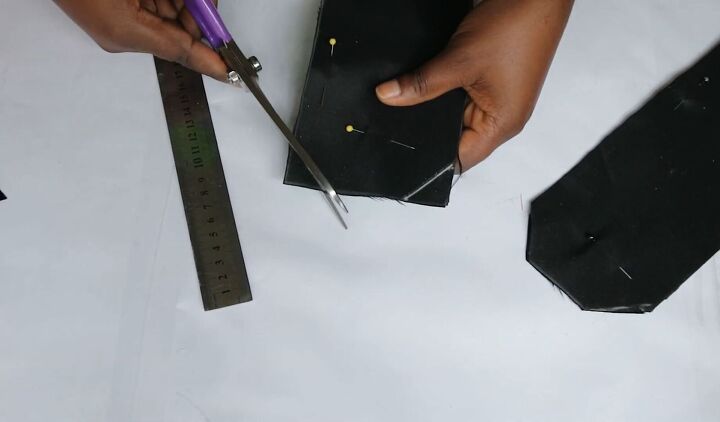
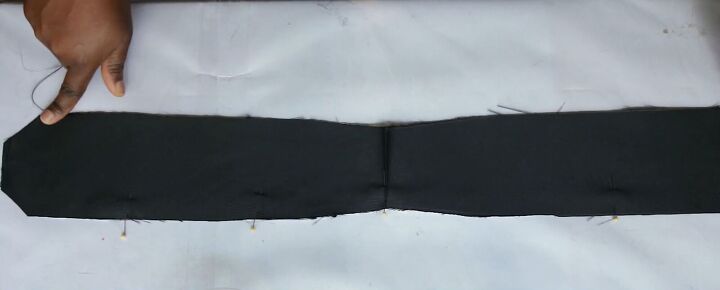
3. Shape the belt
Next, shape the belt on the sides by cutting out a little bit of fabric in a triangle form. To do this, mark 3/4 inch, 2cm, in from the edge on both the short and long sides, and then cut off the triangle.
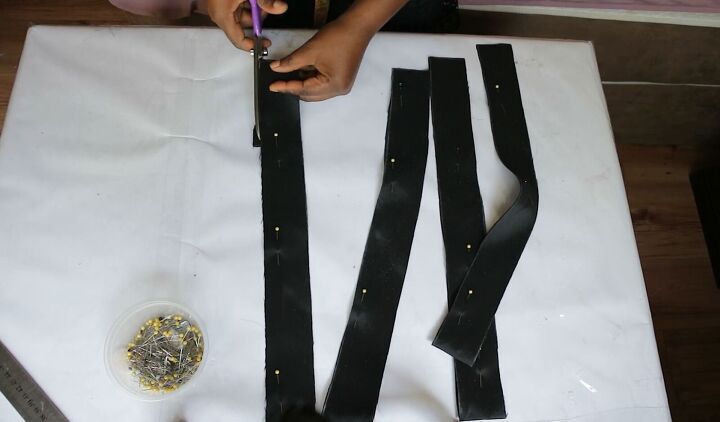
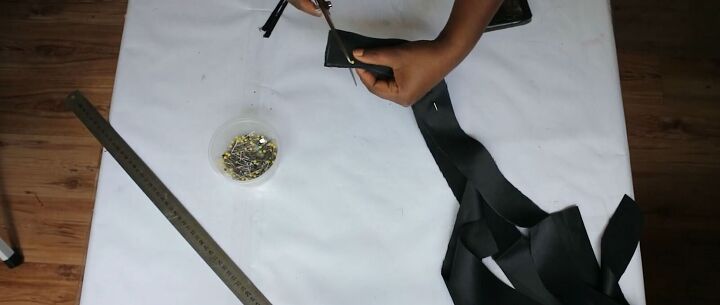
4. Measure and cut the short straps
Measure out four straps for tying in the front. The measurement is the waist measurement plus 5inches (12.7cm) plus a ½ inch (1.3cm) seam allowance. Each strap is 2 inches (5cm) wide. Cut out four of those.
5. Sew together
Now you have four strap pieces that you need to sew together to make two long pieces.
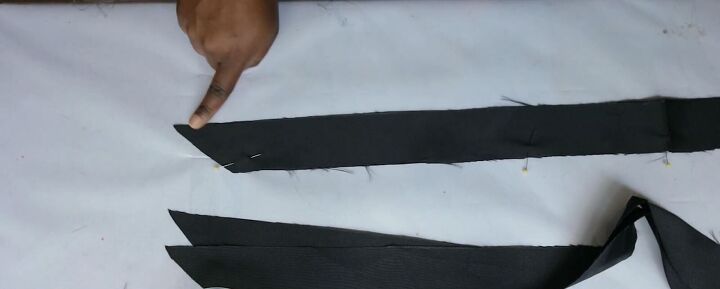
6. Shape the straps
Next, angle out one side of both of the straps by cutting them in a slanted way.
7. Sew
Pin the two straps together, sew along the top and bottom but leave the short sides open for turning the piece inside out.
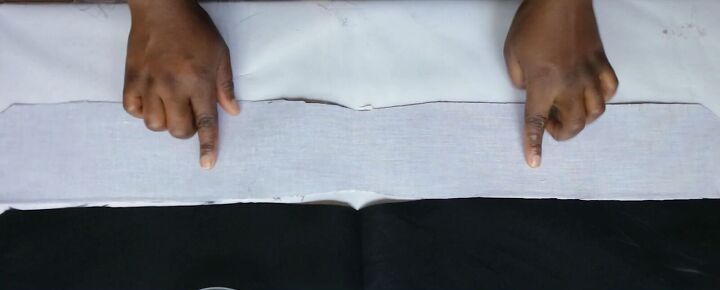
8. Attach the interfacing
Next, iron interfacing to one side of the wide section only because we don’t want it to be too thick.
9. Sew
Then place the pieces one on top of the other with the right sides facing and sew the top and the bottom sides with a straight stitch.
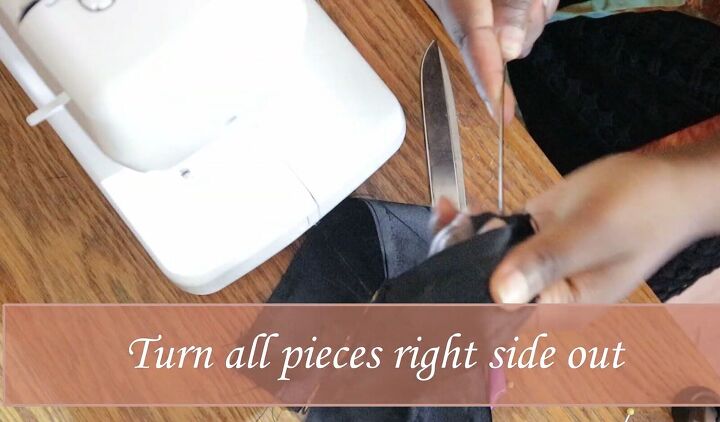
10. Turn right side out
After sewing the wide piece, turn both pieces right side out.
Tip: You can use a knitting needle to help you do this.
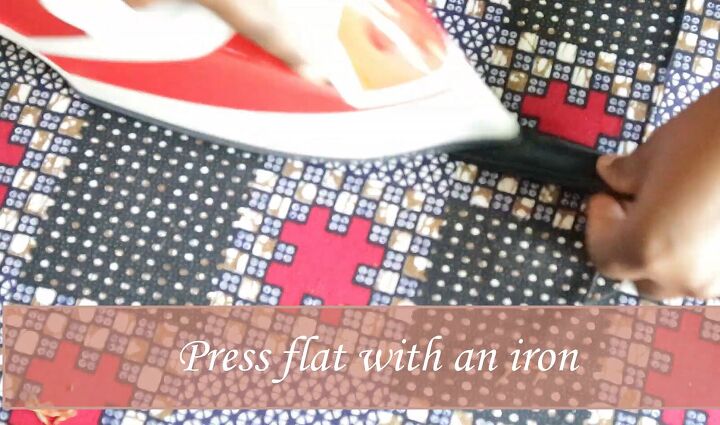
11. Iron down
Now press the belt down flat with an iron to make it nice and smooth.

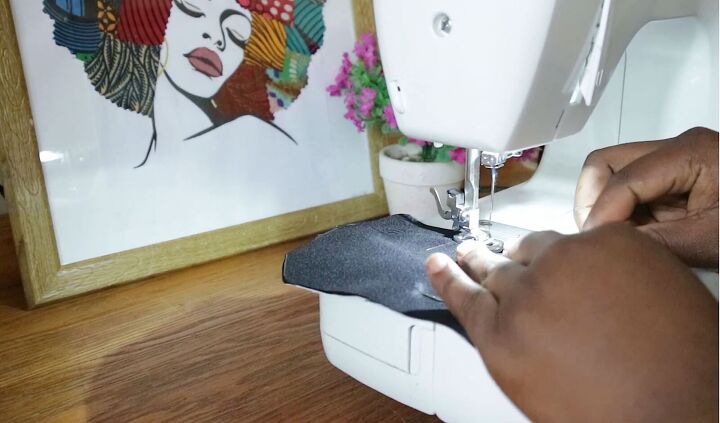
12. Sew the straps together
The final step is to insert the belt straps into the sides of the wide belt and secure that with a straight stitch.
How to make an obi-style belt
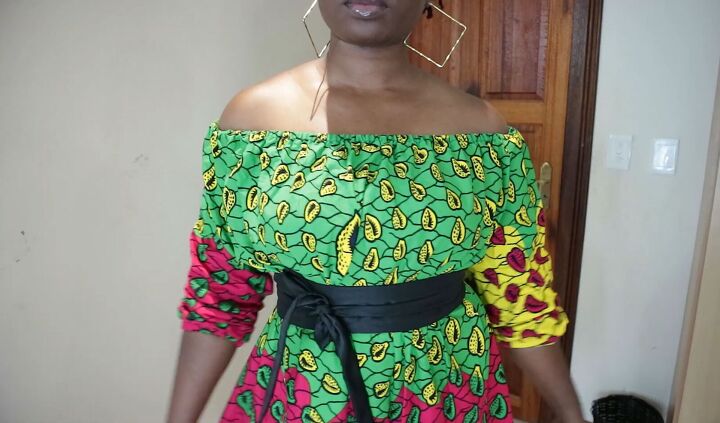
We are finished! As the belt is black, it is very versatile, and you can style it with many different tops and dresses. I’ve styled mine against this bright, colorful dress, and I love the definition it adds to my waistline.

This DIY obi belt is a nice change to your standard buckle belt, and it is very simple to make. Let me know what you think in the comments. I hope you’ll give it a go!
The author may collect a small share of sales from the links on this page.


Comments
Join the conversation