How to Sew an Easy Face Mask With Adjustable Straps (Free Pattern)

We all thought face masks were so 2020 and 2021. Now that it’s 2022, and masks are still a thing, you may be wondering if you should learn how to sew a face mask.
Here’s a detailed face mask sewing tutorial that will teach how to make a face mask with fabric. This one could be totally reversible depending on the fabrics you choose. Let’s get started making a DIY face mask!
Tools and materials:
- 100% cotton fabric: 1 for the outside layer and 1 for the inside layer
- ⅛-inch elastic for the ear loops
- Nose wires
- Scissors
- Pins
- Sewing machine
- Measuring tape
- Pen
- Face mask pattern (available in XS to XL)

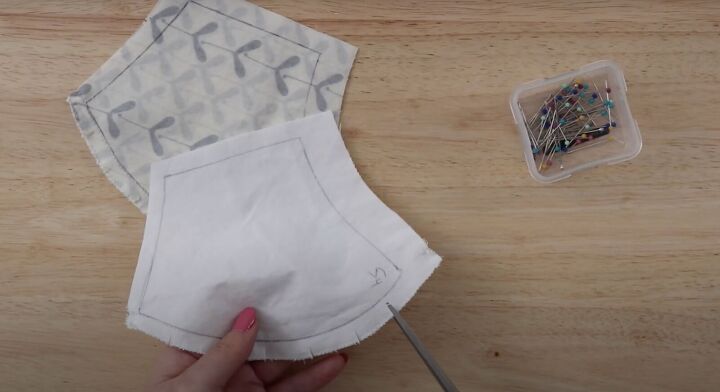
1. Make the pattern
Print the free face mask pattern. Cut it out. Trace the pattern onto the lining fabric with the pen. Pin at the corners with the pin facing in the same direction.
You can draw in the seam allowance or just eyeball it to be about ½ inch.
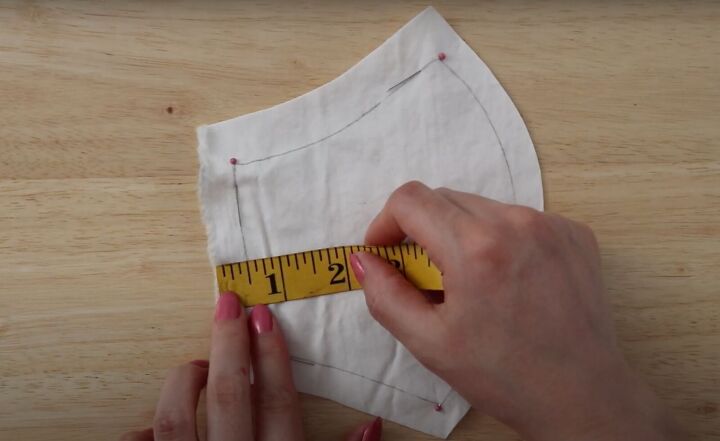
If you’re planning to insert a nose wire, measure the top of the mask’s seam allowance to be ¾ of an inch. This needs to be wider to create a casing for the nose wire.
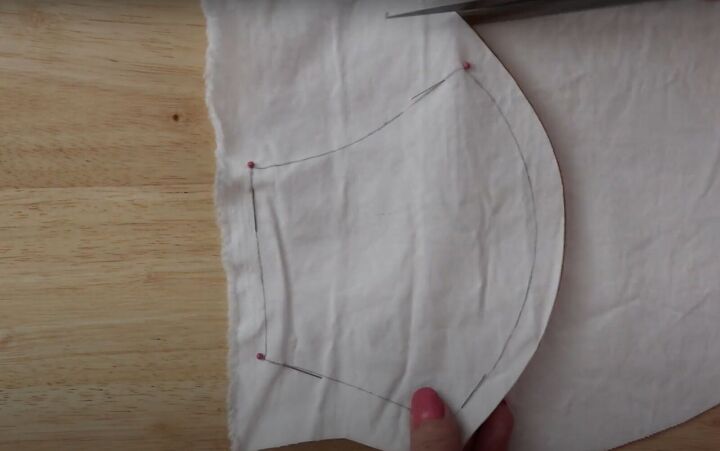
Cut the pattern out.
Flip the pattern over and place it on another piece of fabric. Trace out the pattern on the fabric and pin it in place. Repeat this process for the outer layer of the fabric.
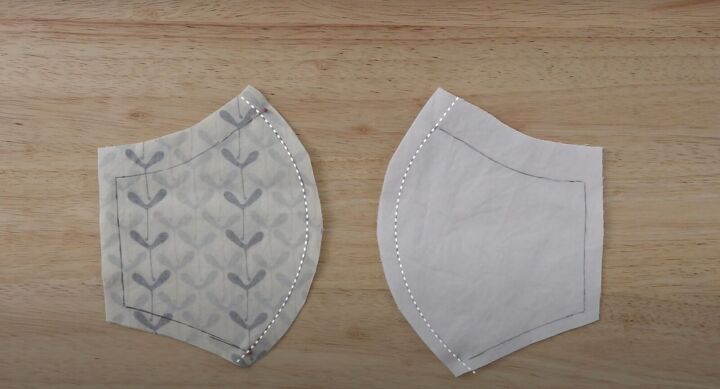
2. Sew the mask center
Sew along the centerline of the mask with a straight stitch of the lining and the outer fabric.
To reinforce the fabric, use a very small zigzag stitch.
Snip into the seam allowance of both the lining and the outer layer.
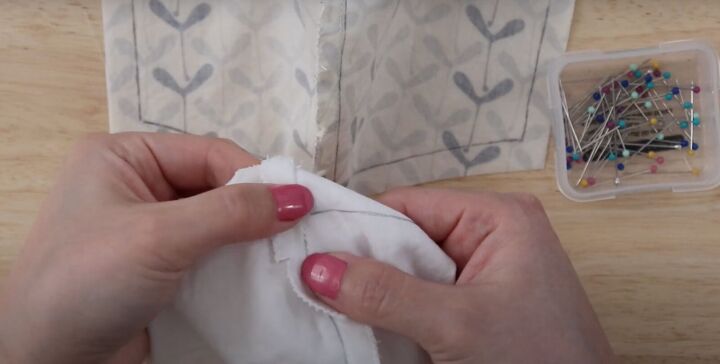
To reduce the bulk of the seam, press the seam allowance to one side using your fingers.
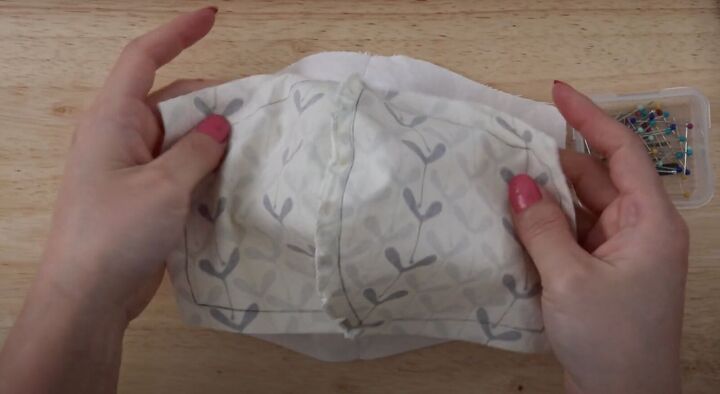
3. Sew the mask together
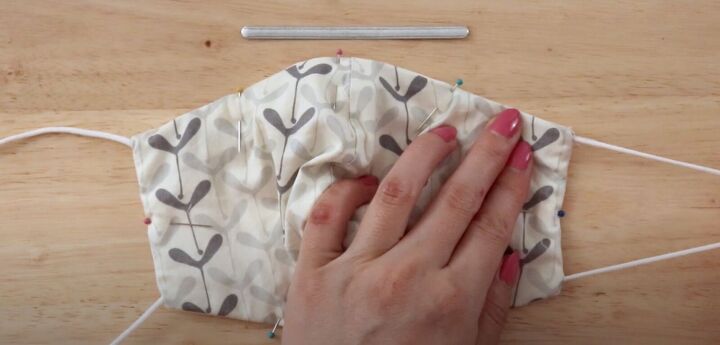
Pin the front to the back of the mask right sides together. Match up the pieces using the seam allowance.
Make sure the pattern markings are lined up. Pin the top and bottom center and each corner.

Cut the elastic into two 12-inch pieces. Fold a piece of elastic in half to find where the midpoint is.
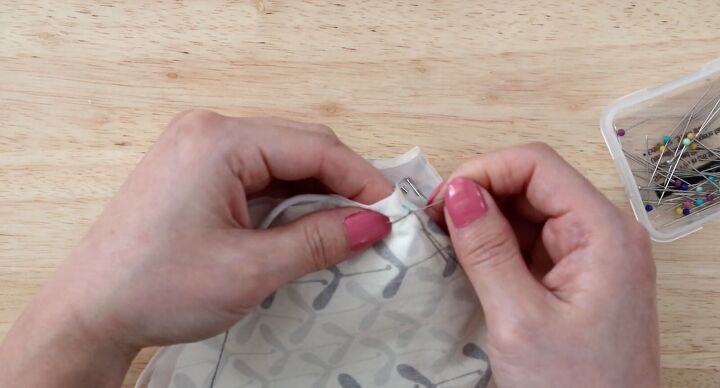
Place it sandwiched between the layers. Pin the elastic at both ends.
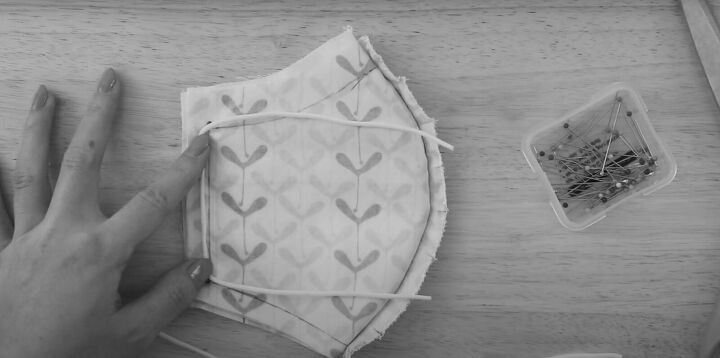
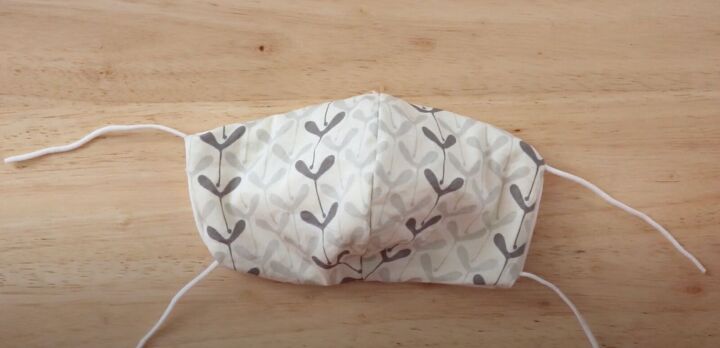
It should be sitting in this position.
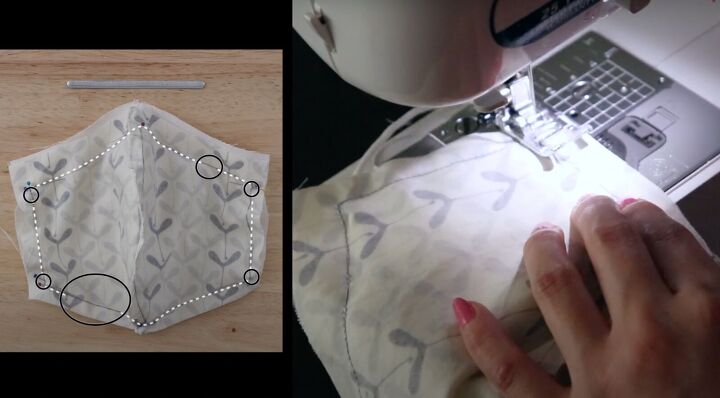
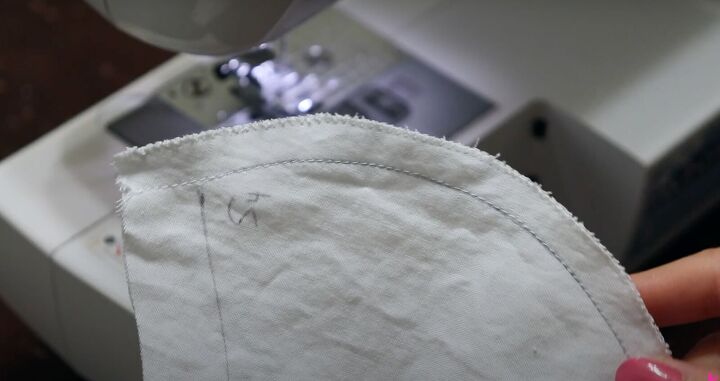
Sew along the pattern, skipping the elastic at every corner, a space at the top to insert the nose wire, and a 2-inch space at the bottom so you can flip it inside out.
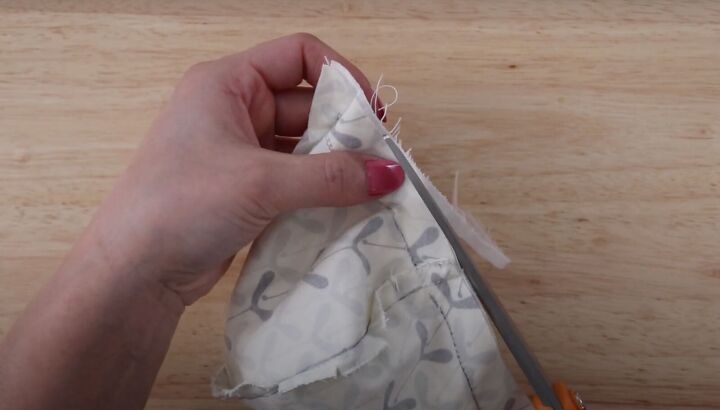
Even out the edges and snip off all the corners.
Finish the raw edges with the small zigzag stitch. Make sure to keep the bottom space unsewn.
Tuck the elastic into the seam allowance so you don’t sew it.
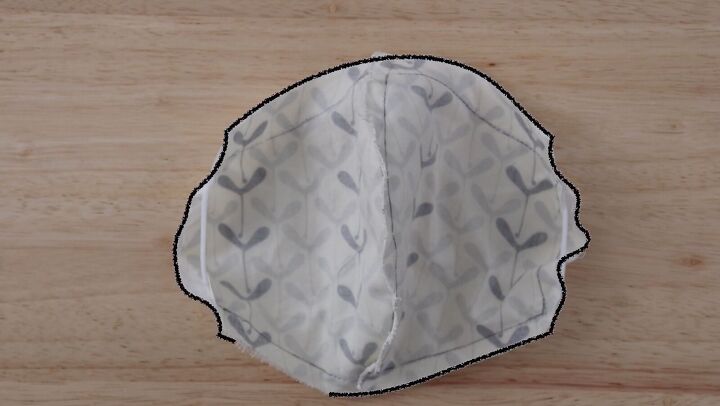
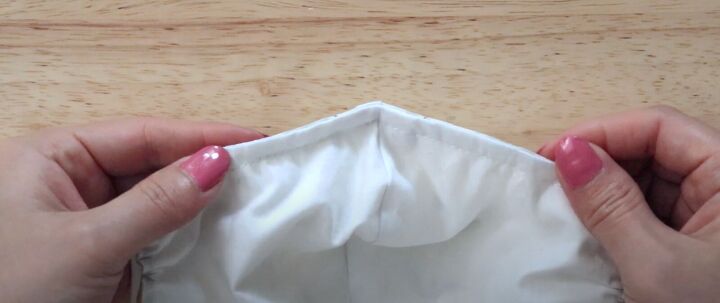
Flip the mask inside out. Pull out the corners. You may need to use a tool like a seam ripper to make the corners sharp.

Pin the space and blind stitch the opening closed.
Topstitch time and you have two options:
(a) if you’re not going to insert a nose wire, sew close to the edge.
(b) if you are going to insert a nose wire, leave space at the top to insert it. Sew across the bottom, sides, and top but leave at least a ¼-inch space for the wire.
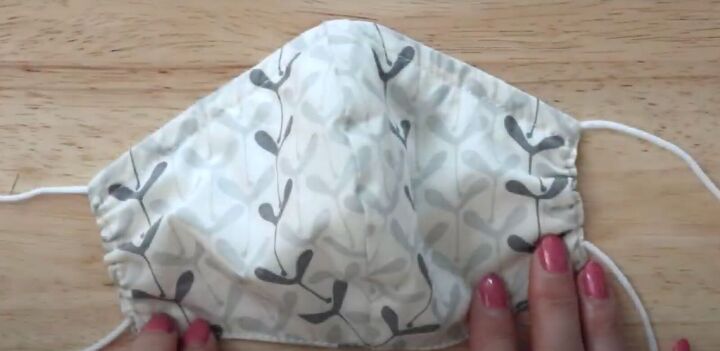
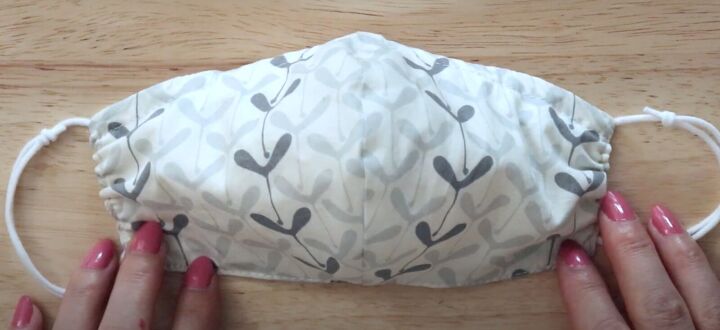
4. Cinch in the sides (optional)
When sewing, pull on the elastic to cinch in the sides giving the mask a snug fit. Sew over the elastic right at the bottom but pull the elastic away from the seam so it doesn’t get caught in the stitches.
Before finishing the side seam, pull the other end of the elastic. This helps cinch up the sides. Sew right over the elastic to help keep it in place.
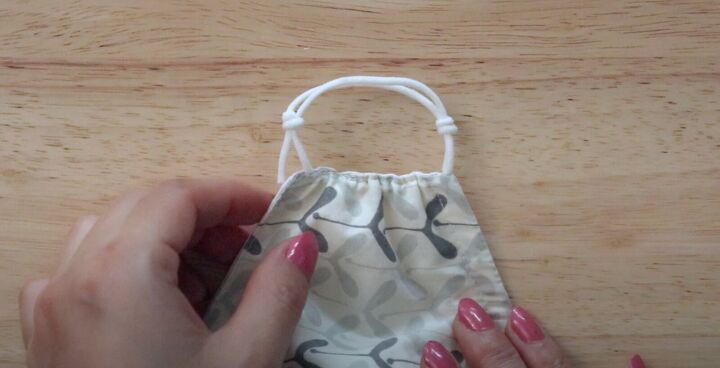
5. Make the ear loops
Make two fisherman’s knots so you can adjust the tightness around your ears. For a more detailed explanation watch the video from 10:06 to 14:00.
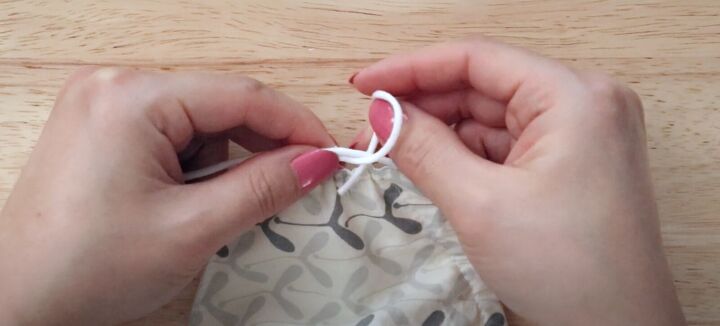
You’ll want to use as much elastic as possible to make tying the knots a lot easier. Lay the strings one on top of the other. Pull the bottom string away from you. Wrap it around once. That’s loop 1.
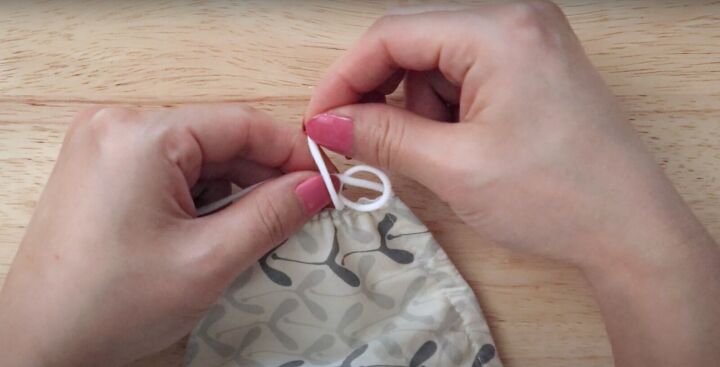
Loop the string towards the back part of the string. You’ll have 2 loops.
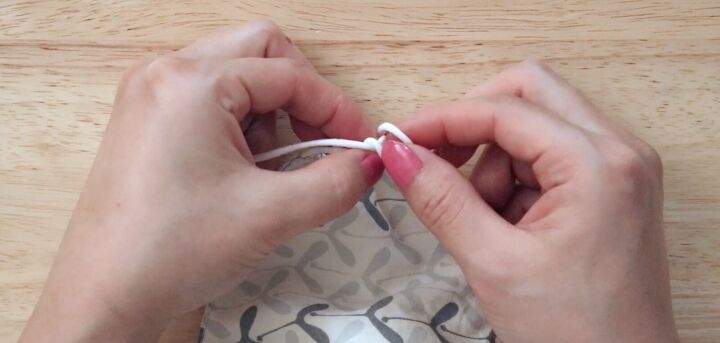
Then pull the string end through both loops. Tug at the beginning string to tighten the knot. This knot lets you adjust the tightness. Don’t make it too tight so you’re able to adjust it.
Do the second side, following the same steps but in the other direction.
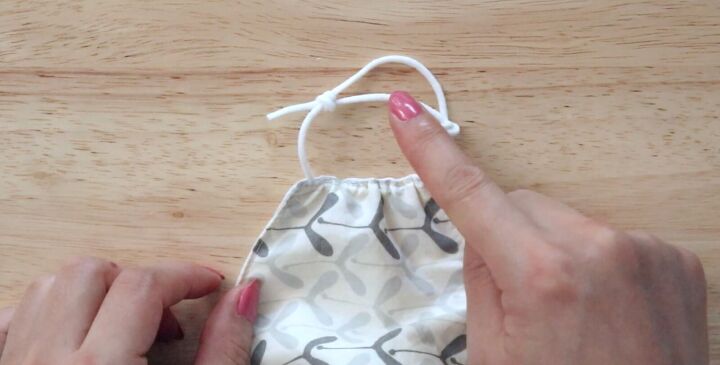
To loosen pull both knots to the center, to tighten pull both knots away from the center. Snip off any excess string. Follow these steps to do the second ear loop.
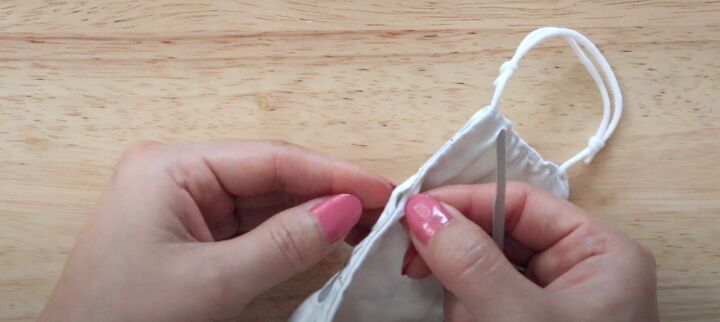
6. Insert the nose wire
Insert the nose wire into the ¼ inch opening at the top. You might have to wiggle it a bit to push it through the layers of fabric.
Pinch it at the top to fit your nose well. You can remove it by flattening it and pushing it back out through the opening.
And you’re done making a DIY face mask!
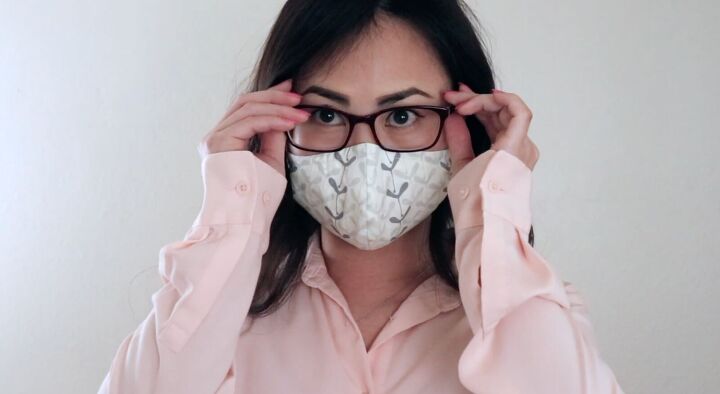
How to sew a face mask tutorial
I hope that this tutorial on how to sew a face mask helps you and keeps you and your family healthy! Please let me know in the comments if you made this.
The author may collect a small share of sales from the links on this page.


Comments
Join the conversation
PLAN FABRIC MASKS ARE NOT EFFECTIVE. YOU NEED A LINER FOR PROTECTION
job well done 😊