How to Make an Adorable DIY Flower Hair Clip Out of Ribbon Scraps

Let’s make a beautiful DIY flower hair clip! This is such an easy tutorial that once you get the hang of it, you’ll probably end up making a whole bunch of these.
This is also a great project if you have many ribbon pieces lying around. I do however advise you to use a woven ribbon or a ribbon that’s more on the sturdy side since you don’t want it to droop.
Ready to learn how to make a flower hair clip? Let’s start!
Tools and materials:
- Ribbon (thick & thin)
- Ruler
- Glue gun
- Tweezers
- Flower piece
- Pin with pearl top
- Hair clip (barrette)
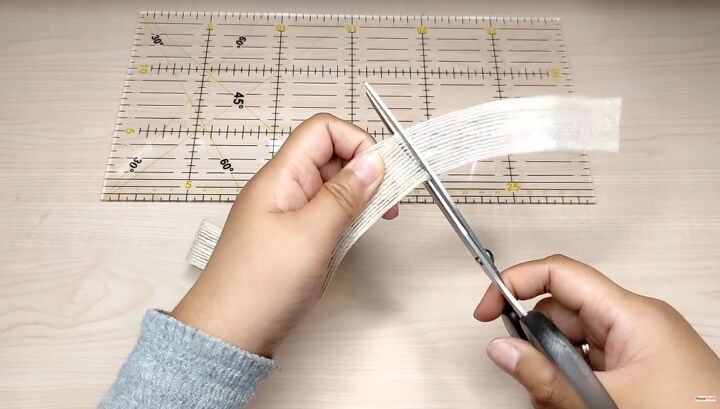
1. Cut the ribbon to size
Let’s start by cutting our ribbon to size. Cut two pieces of ribbon that measure 20 inches long.
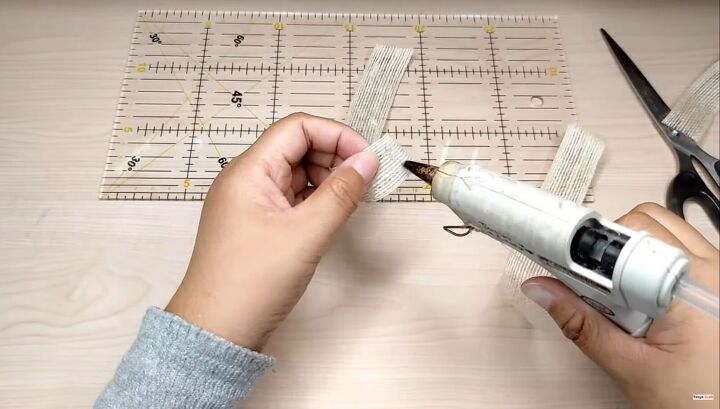
2. Glue the ribbon
Place a little hot glue to one of the ribbon’s edges using a hot glue gun (take caution, please).
Then, place the other end to form a loop. Hold the ends tightly, so the glue adheres to both edges. For this, I used my tweezers. Also, the tweezers will give the ribbon piece a bow-tie effect, so don’t skip out on this step.
Repeat the same for the second ribbon piece.
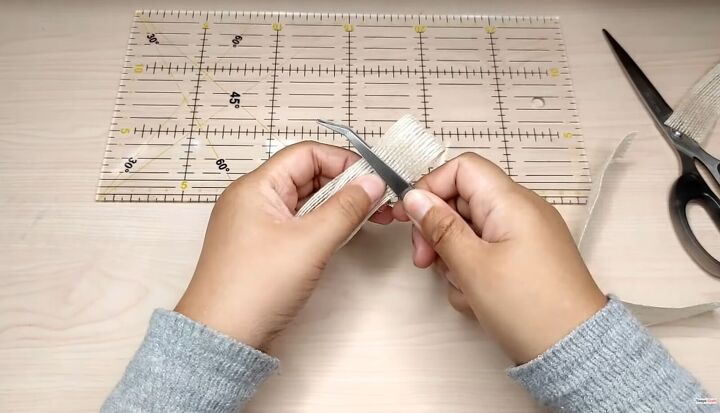
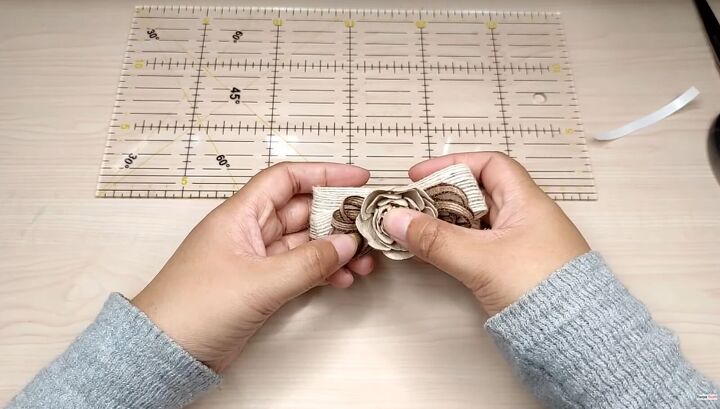
3. Assemble the flower hair clip
Now, add glue to the center of each bow tie. Place the second bow tie in the middle at an angle, as shown. Press the center with your tweezers.
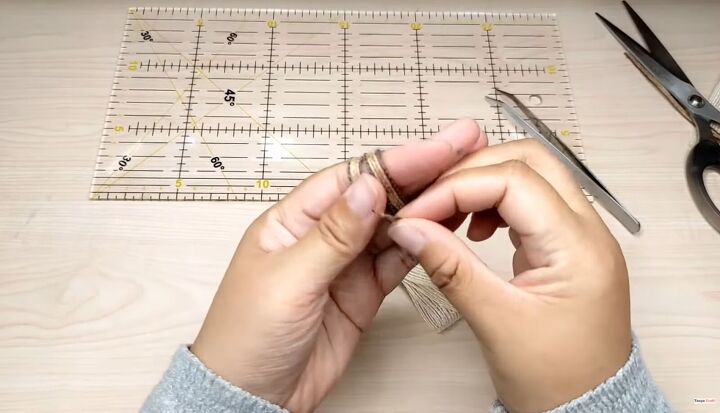
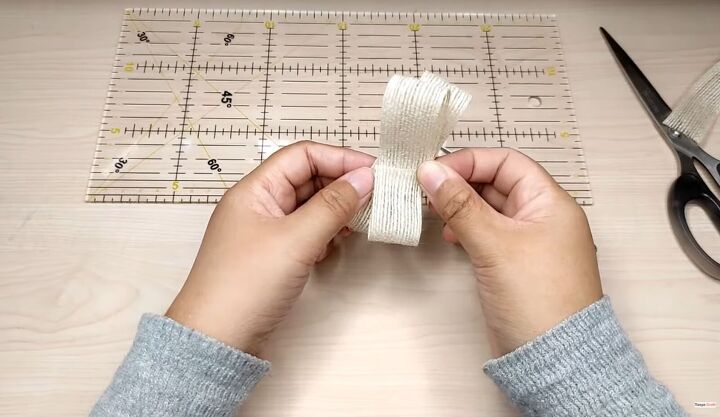
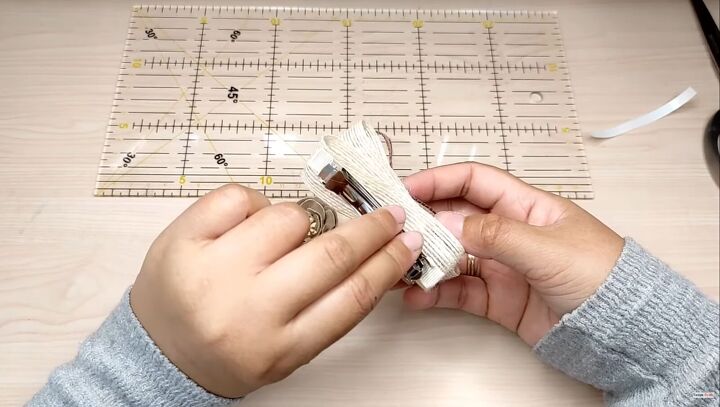
Wrap a thinner woven ribbon around your fingers a few times until you reach the end.
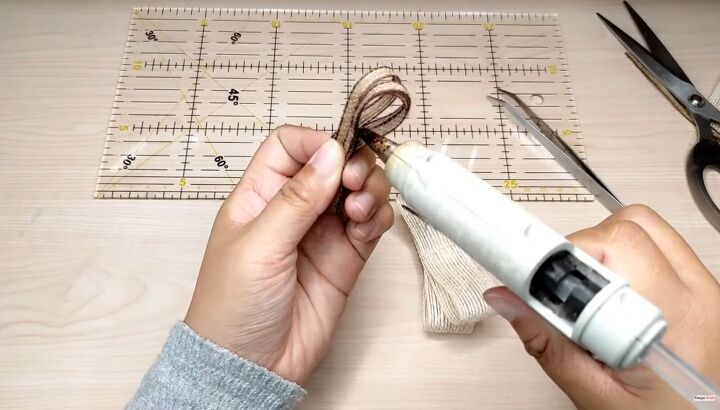
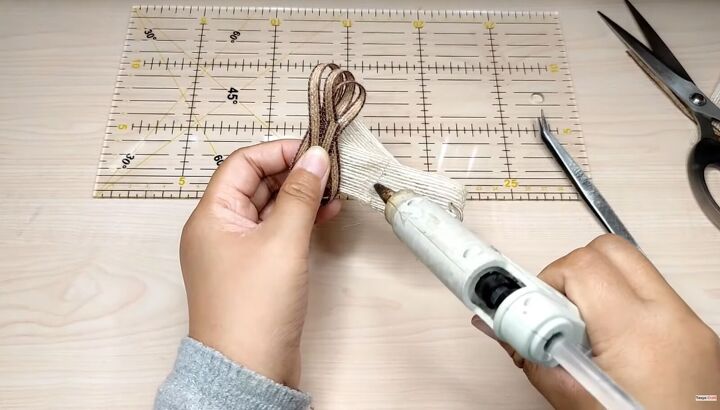
Pinch the center section together at a slight angle and add some glue in the middle to glue it down.
Firmly place the tweezers around the center part, so everything adheres properly.
Add glue to the center of the main piece and glue down the second piece in the center. Again, secure all ribbon layers with your tweezers.
4. Add the hair clip
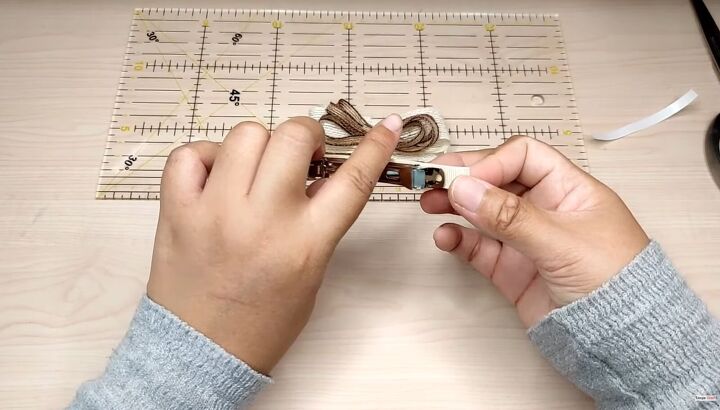
For a cleaner finish, glue down a strip of ribbon to the front part of your hair clip (barrette). This fabric strip already came with a peeled adhesive.
Now, glue the whole ribbon piece lengthways onto the hair clip.

Then, place glue on the center top and place your pin.
Tip: Bend the pin’s tail backward to make it shorter.
Finally, place your beautiful flower piece on top. Gently press the center of it, so it adheres.
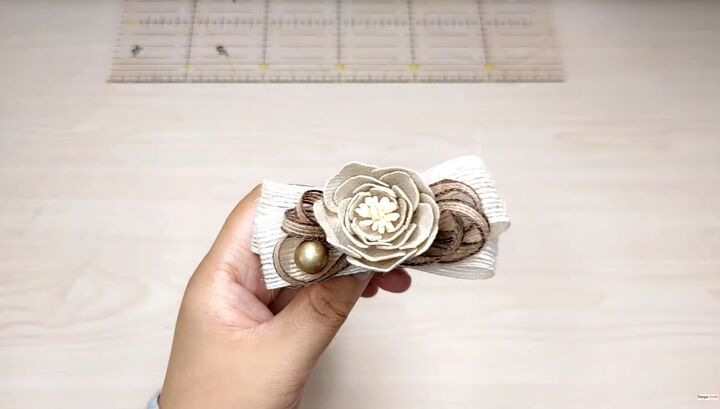
DIY flower hair clip tutorial
Your lovely DIY flower hair clip is ready! I love the neutral tones of this clip; it could really go with many outfits!
Thanks for joining me on this quick and fun tutorial. I hope you enjoyed this step-by-step DIY flower hair clip guide.
You can easily make many styles, patterns, and colors and even gift these to your friends. Let me know your thoughts in the comment section below.
The author may collect a small share of sales from the links on this page.


Comments
Join the conversation
I couldn’t follow that at all. Where did you make the flower ? And most the pics were the same not really showing what you said?? End is pretty. But I have no idea how it was done as per the direction s or didn’t y ou make flower just the attachment. ??