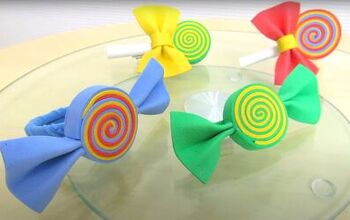
Learn to DIY 3 Adorable Hair Clips

Hair clips are all the rage right now! They are an easy way to give any look the perfect finish! You don’t have to worry about spending time on your hair with these clips by your side! If you have been looking for a super cute hair accessory, the search is over! These gorgeous hairpieces are so easy to make and the best part is, you can get creative with your designs! Follow my quick, step-by-step tutorial, and learn how to DIY three different styles of hair clips.
Tools and Materials:
- Hair clips
- E6000 glue
- Modeling clay
- Beads
- Fabric
- Scissors
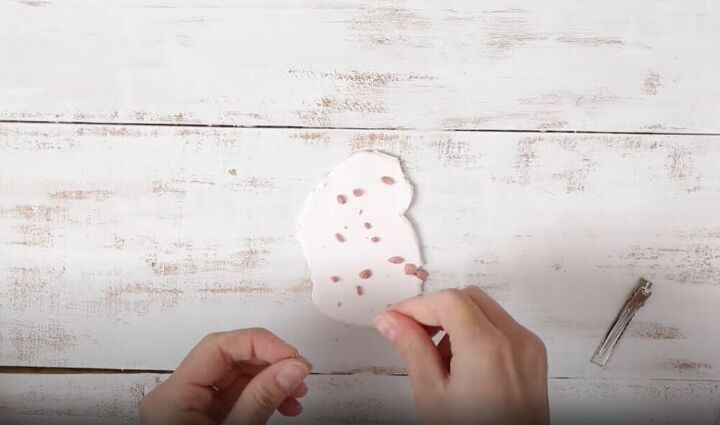
I started by taking a piece of white modeling, oven-baked clay and rolling it out so that it would be long enough for the clip. I then took this gorgeous rose pink clay and dotted it onto the white clay to give it a spotty effect. I adore how easy it is to be creative in this project! You can choose any colors or patterns of clay you like, and get creating!
I then smoothed out my clays using a rolling pin.
To measure, I pushed the front of the clip into the clay. I could have easily used a ruler for this step as well.
I then used my scissors to cut out the shape of the clip.
Once all my pieces were cut out, I baked them in the oven. I followed the instructions on the clay packaging to make sure the pieces would come out just right!
I put glue onto my clips and stuck my baked clay straight onto the hair clips.
These cute clay clips are easy to make and so much fun!
For this, gorgeous beaded design I used these glass, pink beads. Pearls would also look really amazing for this clip style but you can choose any beads you like. I started by adding a small blob of glue onto the hair clip. I then took one of my beads and gently stuck it on. I repeated this until the whole clip was covered.
I am so in love with these clips. The best part is that you can mix and match different types of beads to create your desired style!
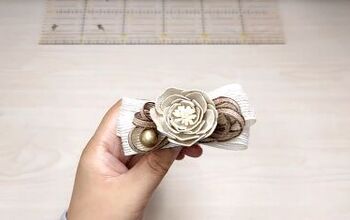
To get started on this next, super cute design, I placed the top of my clip, face down on the fabric, and cut around it adding a little extra length. This design is so great because you can choose any fabric you want!
I added glue to the front of my clip including the small open section under the top of the clip. I then stuck on the fabric and folded the extra fabric onto the undersection of the clip.
There are so many different fabrics to choose from when making these clips! It’s so easy to match them with any outfit!
These DIY hair clips are everything! Which style would you choose to make? Let me know in the comments below!
Enjoyed the project?
The author may collect a small share of sales from the links on this page.


Comments
Join the conversation