How to Turn a Plain Headband Into a Cute Embroidered Hair Piece

Follow this tutorial to learn how to turn a plain old plastic hairband into a new, stylish statement piece. If you don’t embroider, then you can skip that step and make a simple hairband cover. Let's get started.
Tools and materials:
- Scrap fabric
- Scrap interfacing
- Plastic hairband
- Ruler
- Paper
- Pencil
- Scissors
- Sewing needle and thread
- Sewing machine
- Embroidery needle, thread, and hoop (optional)
1. Make the headband pattern
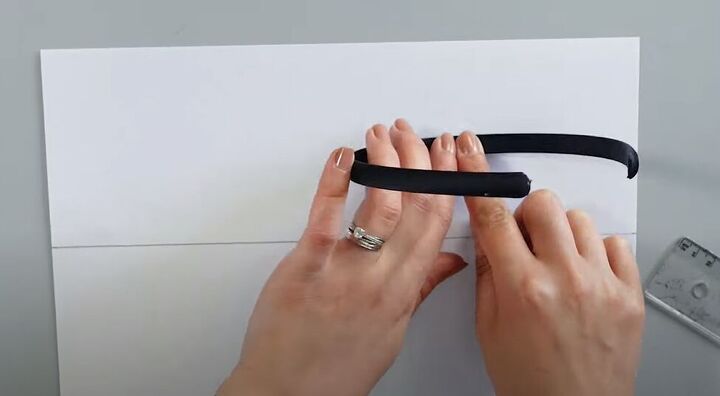
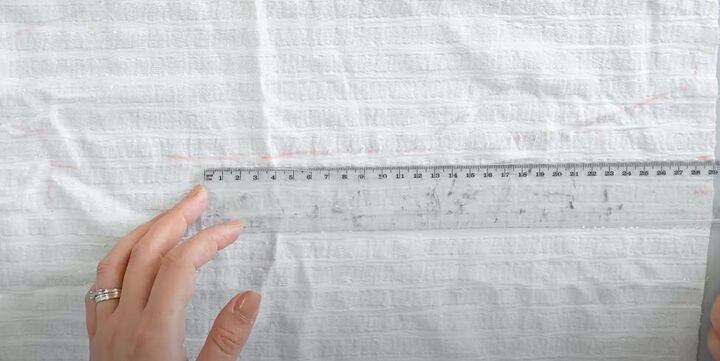
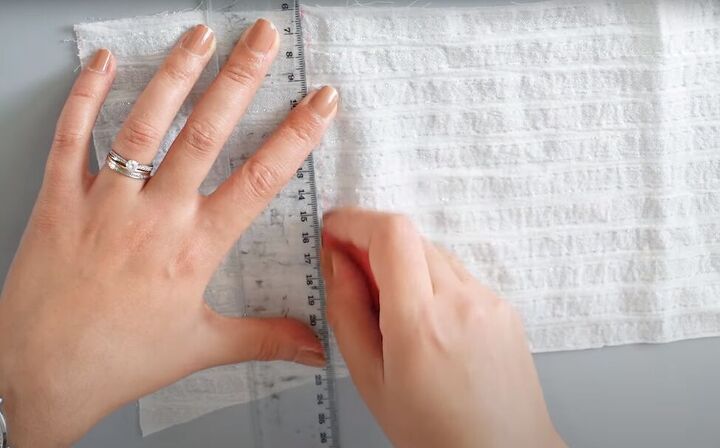
Measure and mark the length and width you need for your headband on paper. I chose to make mine 10 centimeters (3.9 inches) wide. For the length, measure your plastic hairband.
Put pieces of paper together to get the length you need.

Add a 1-centimeter (0.39-inch) seam allowance to each end and then cut out the pattern.
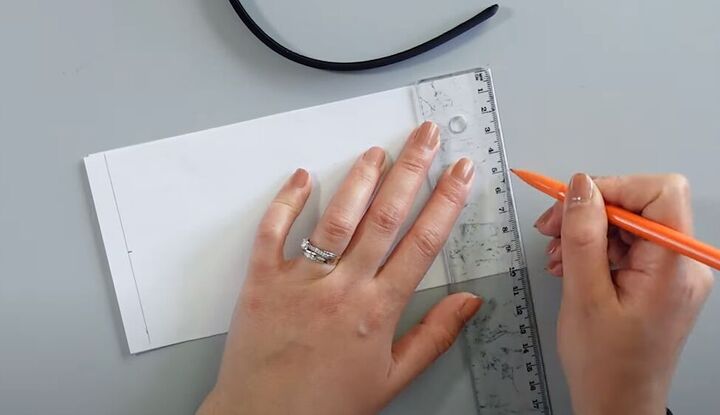
Fold your paper pattern in half widthwise and mark the vertical center of the pattern.
Measure the width of your plastic hairband. Mark that width, plus a ½ centimeter (0.2 inches) allowance on each side, on your paper pattern.
My hairband was 1 centimeter (0.39 inches) wide, so I marked 1 centimeter on each side of my center line (half the width of the hairband plus a ½ centimeter allowance).
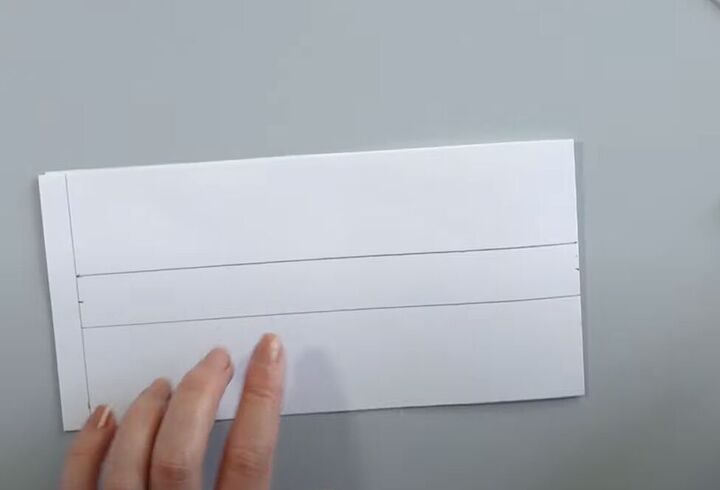
Now you want to shape the pattern so the headband will be wider in the middle and taper at each end.
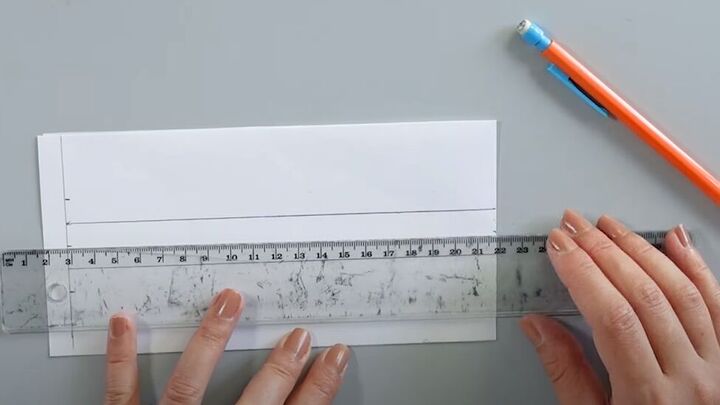
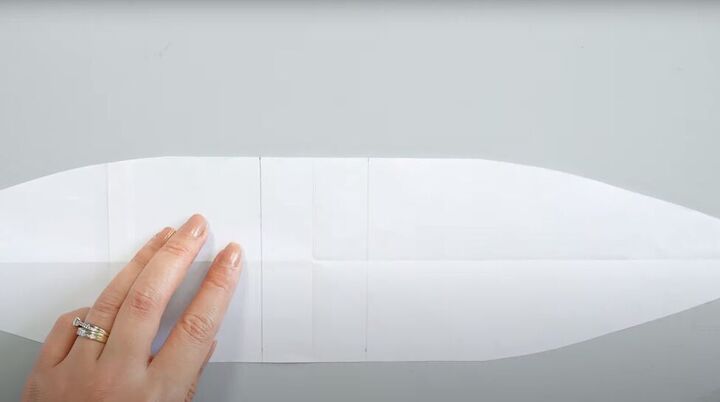
Mark an additional 1 centimeter (0.39 inches) on both sides of the outer marked line and lightly draw in the centerline of the pattern.
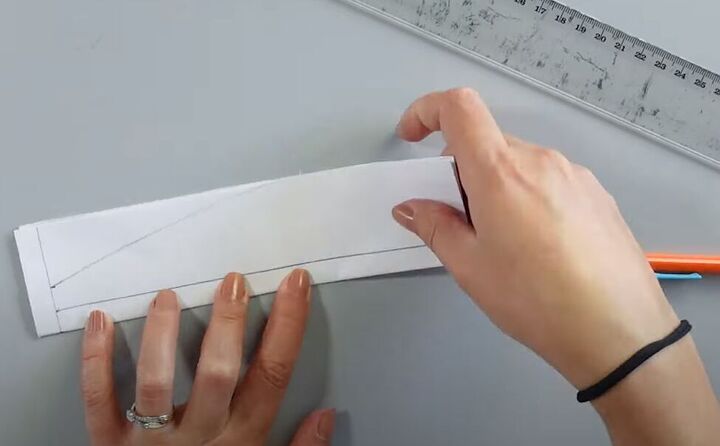
Fold the paper pattern in half along the center line and draw a curve on the paper from your outermost marking to just past halfway across the top of the open long edge.
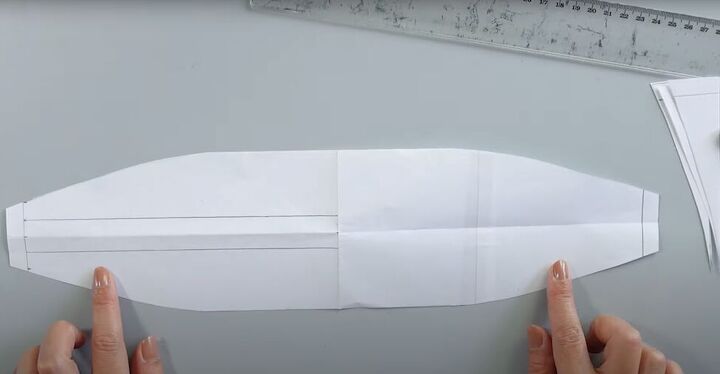
Cut along the curved line and open the paper. You now have a symmetrical curve on all sides.

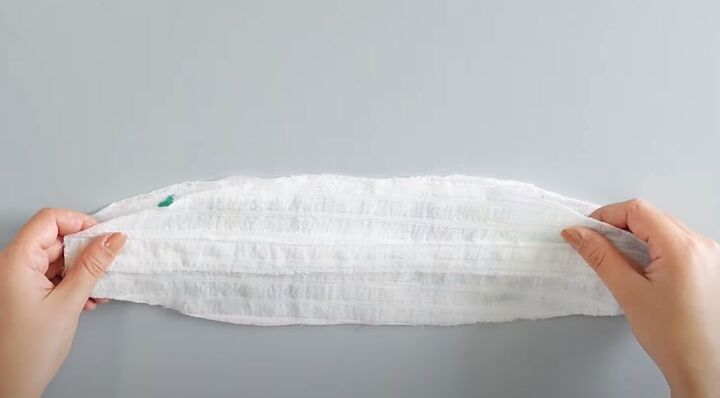
2. Prepare the headband fabric
Trace your headband pattern onto your fabric twice.
Draw one rectangle to the dimensions of your hairband on your fabric.
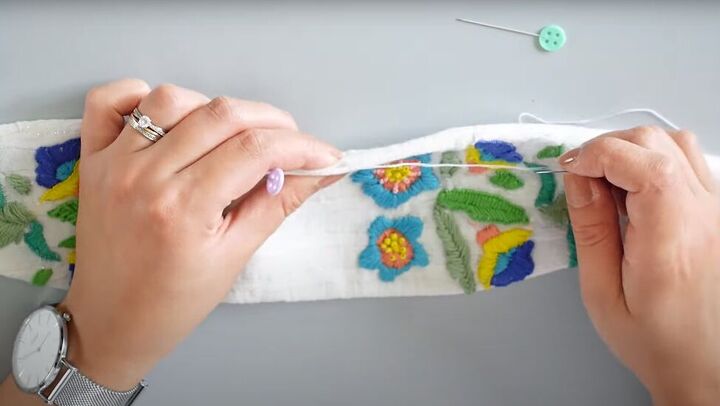
3. Embroider a design (optional)
Mark off a 5-centimeter (1.9-inch) section in the center of your pattern. That’s where you will attach a bow, so you don’t want to embroider in that space.
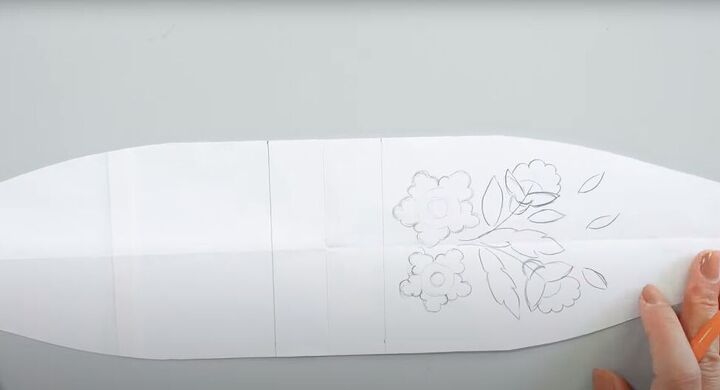
Draw your embroidery pattern on one side of the pattern.
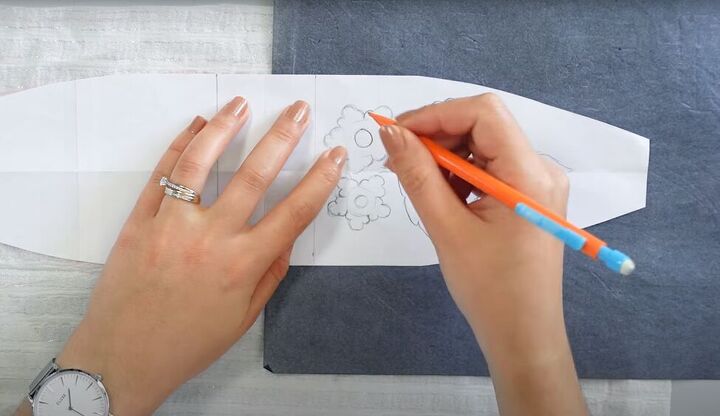
Place your pattern on your fabric, within one of the hairband tracings. Place transfer paper between your fabric and the pattern, with the transfer side against the fabric. Redraw your embroidery pattern.
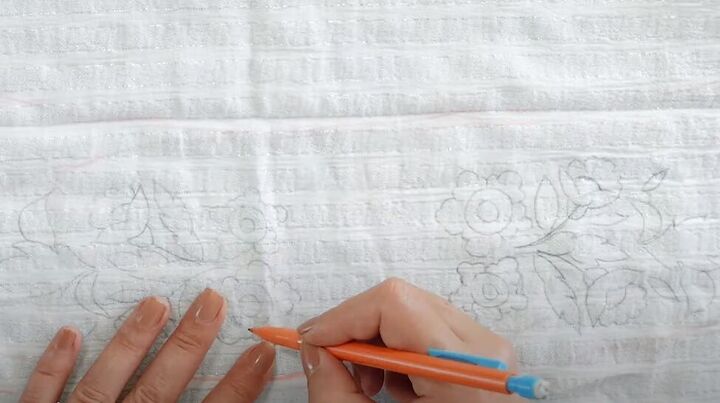
Repeat tracing the design, in mirror image, on the other half of your hairband. If the transfer is too light, use a pencil directly on the fabric to go over the design.
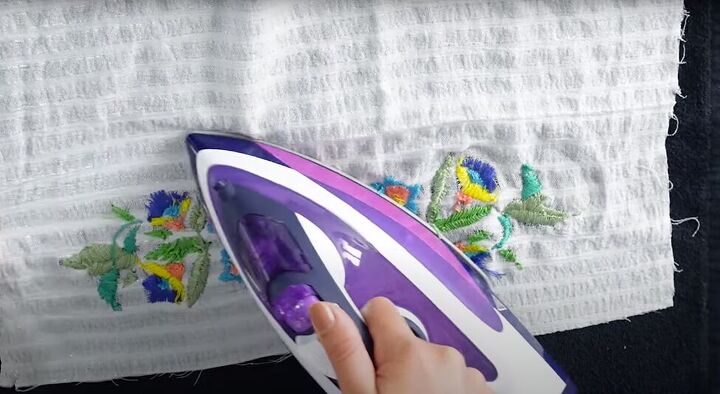
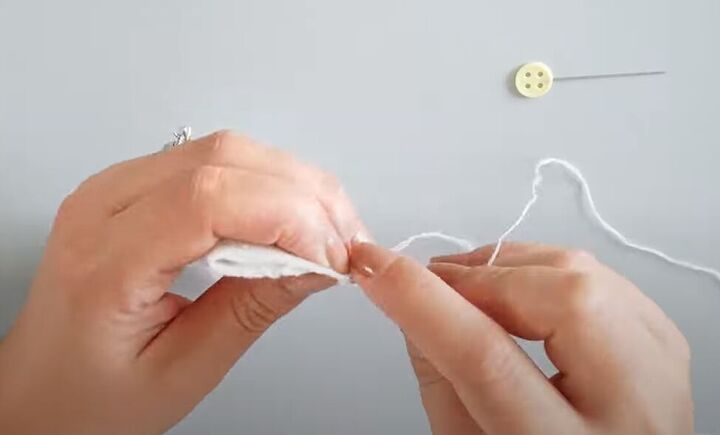
Embroider your pattern, then iron the back of the fabric.
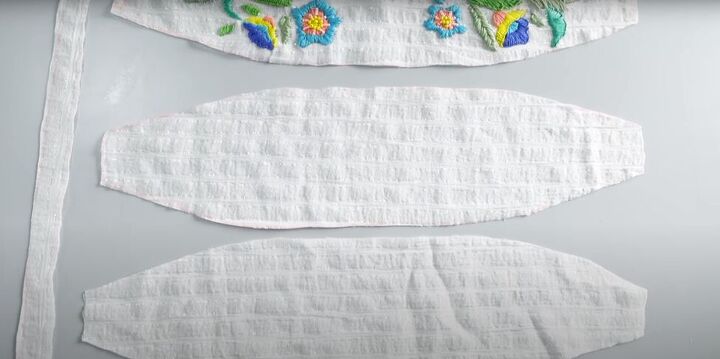
4. Cut out your pattern
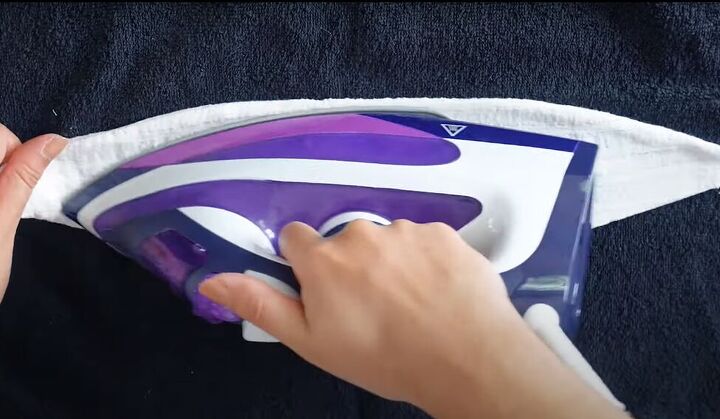
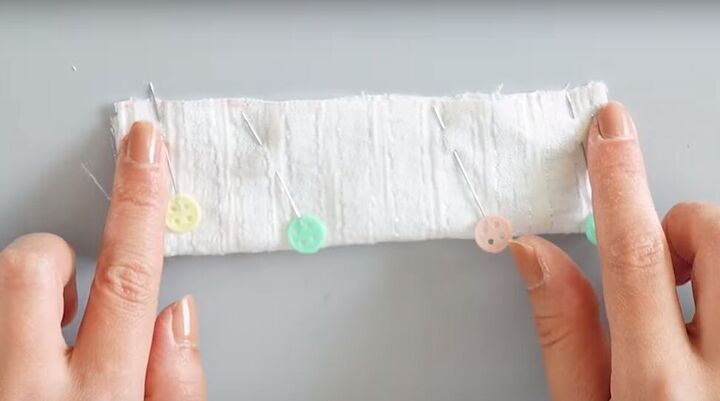
Cut out all of your pattern pieces. Note that I needed to cut out a third piece plus an interface piece to get the headband thickness and stiffness needed to cover the hairband.
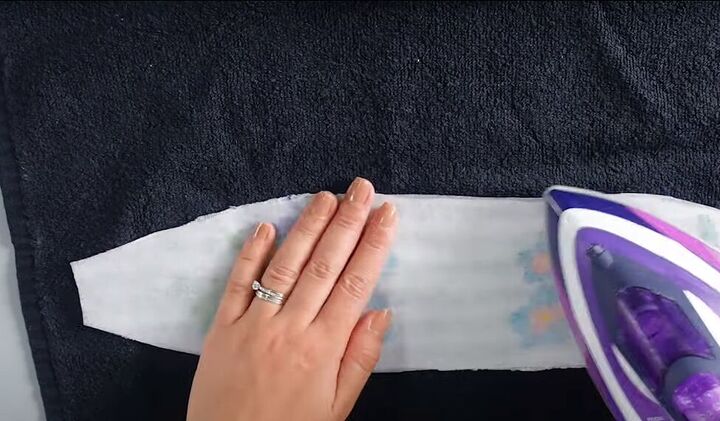
Iron the interfacing to the back of your embroidered piece.
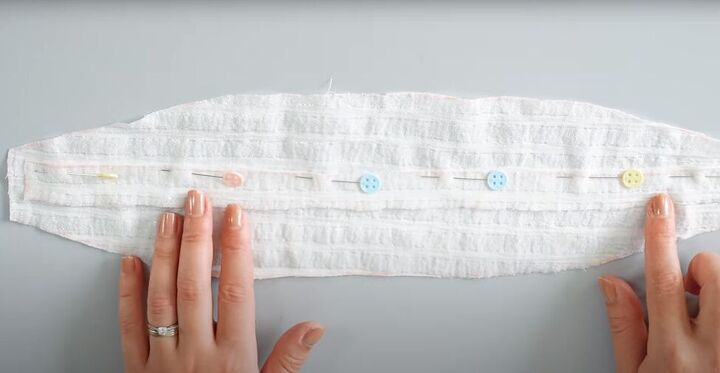
Pin the rectangular piece along the center of your non-embroidered piece and sew along both long edges of the rectangle.
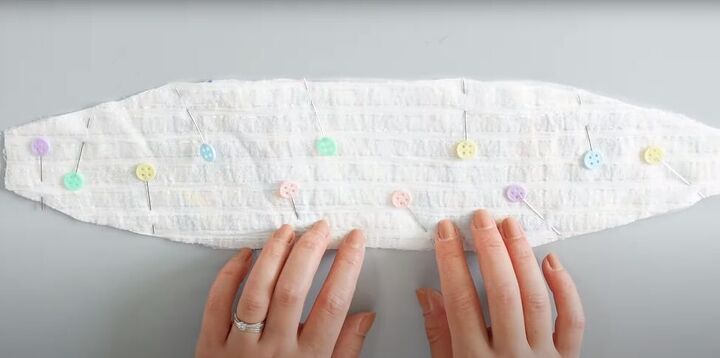
Place your third headband piece on top of the embroidered piece with right sides facing out. Pin and sew all around the edge to attach the two pieces.
Place your headband piece with the rectangle on top of the embroidered piece with right sides facing. Pin and sew both long edges leaving a gap on one side large enough to turn the headband right-side out.
Turn the headband right-side out. Tuck in and pin the open gap. Hand-sew the gap closed using an invisible stitch. Watch the video from 7:22 to 7:39 to learn how to sew an invisible stitch.
Iron the headband on the non-embroidered side.
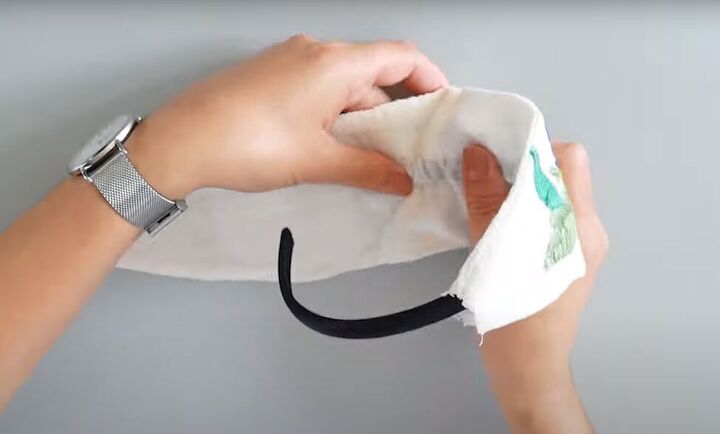
5. Insert your hairband
Insert your plastic hairband in the rectangular pocket on the inside of your fabric headband.
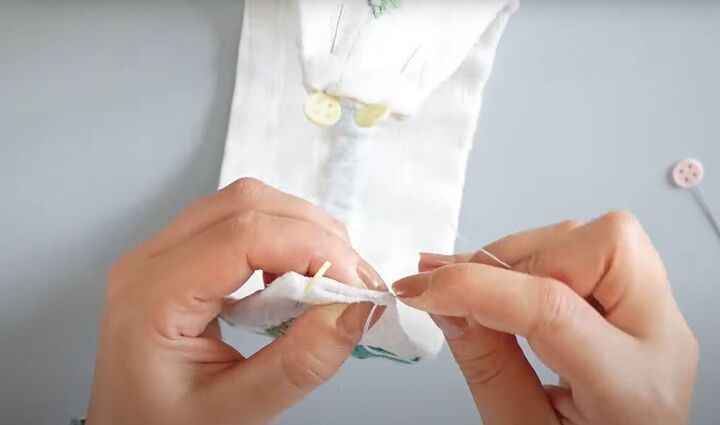
Tuck in the open ends of the headband. Pin and hand-sew the ends closed with an invisible stitch.
6. Gather the middle
Remember the gap you left at the top center of the headband? Cut a rectangle of fabric to cover that gap. Watch the video from 8:22 to 8:50 to see how I calculated the size of this rectangle.
Fold the rectangle in half lengthwise with the right side facing in. Pin and sew the long open edge.
Turn the rectangle right-side out and hand or machine-sew the two ends closed.
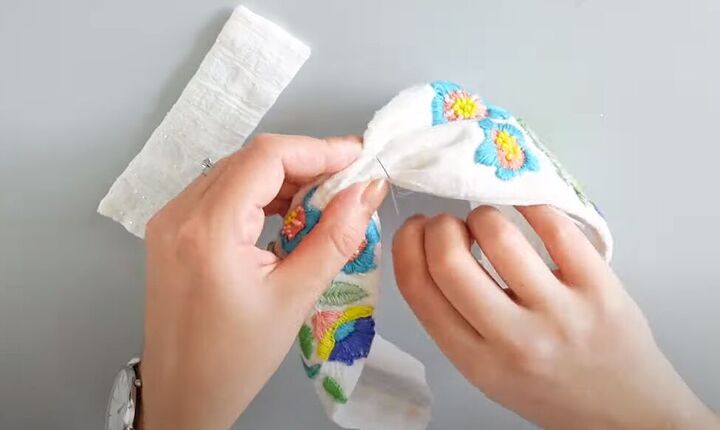
Gather your headband in the middle and sew the gather to secure it around the hairband inside.

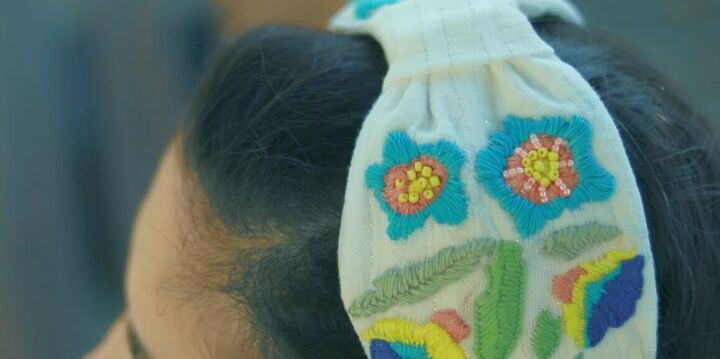
Wrap your rectangle around the gathered center and sew the open ends together with a little overlap.

How to make a flower headband
Look how pretty this embroidered headband is! Give it a try and leave a comment to let me know how you liked this embroidered headband tutorial. Thanks for joining!
The author may collect a small share of sales from the links on this page.


Comments
Join the conversation