Ruched OR Scrunchie Hairband

After scrolling down the pinterest, I thought to try the ruched or scrunchie hairband by myself. So, here I got the fabric that I already had at my home and kicked off the DIY.
It turned out to be so freaking cool!!
DIY No Sew Ruched/ Scrunchie Hairband

After gathering the materials, firstly I am going to start with the fabric. You can take the satin fabric as well because it looks rich and gives that edgy look. I took the frabric that I already had at my home.
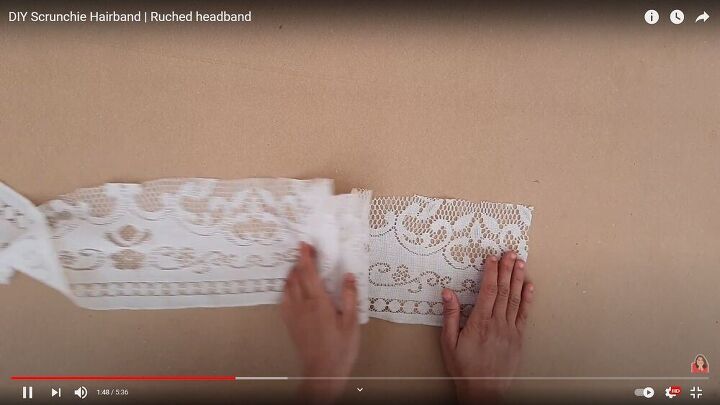
Cut the fabric of about 50X6 inches. The length will decide how much scrunching effect we need. Keep the fabric aside and let's work on hairband.
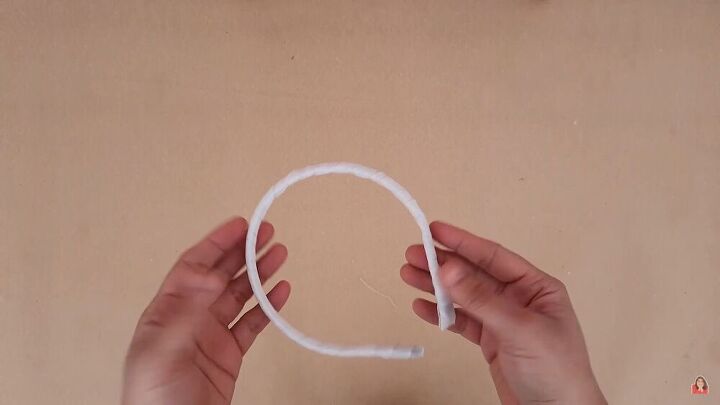
Wrapping the hairband using similar color ribbon to hide the black color of ribbion which would pop up out at the end which doesn't seem to look good according to me.
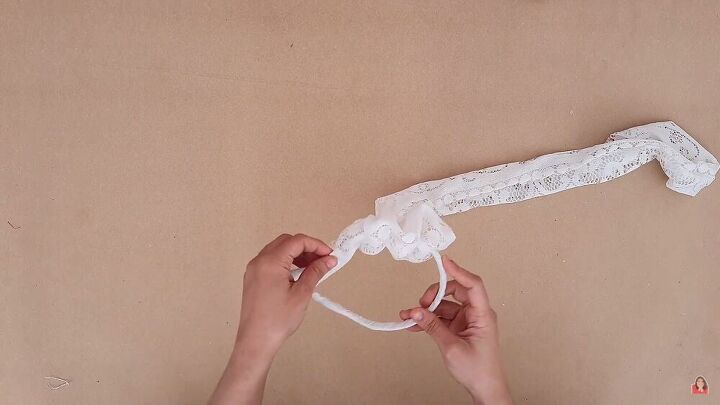
Stitching the fabric horizontally and inserting the hairband inside it.
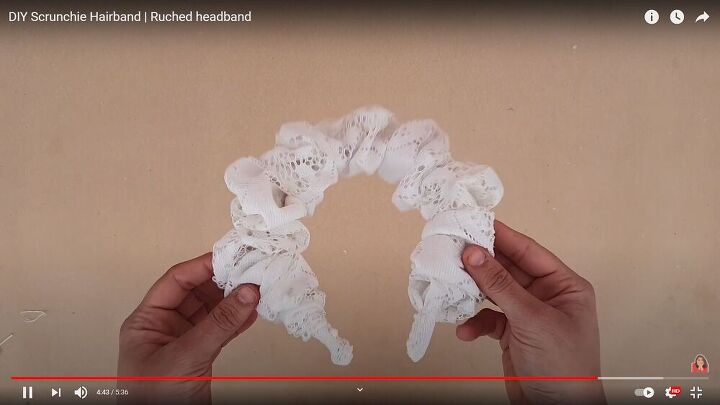
To tighten the ends, I am going to stitch it using needle and thread. Guess what?? This turned out the way I expected it.

This is how it looks!!!
The author may collect a small share of sales from the links on this page.


Comments
Join the conversation
This is so cute!