How to Copy a Hat Pattern From an Existing Hat Using Masking Tape

Do you have a favorite hat that you’d like to clone? Follow this tutorial to learn how to copy a hat pattern from an existing hat. Once you can do that, you can make any hat you want, with one exception: this only works for hats that are sewn together, not the felt hats that are molded into shape.
Tools and materials:
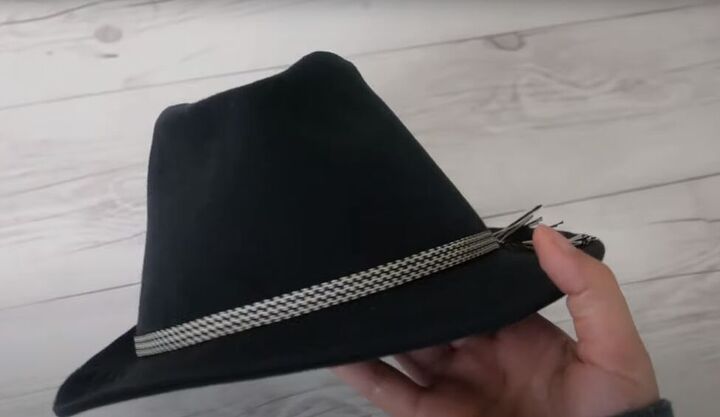
- Fedora hat for pattern
- Masking tape in two widths
- Cotton twill fabric
- Interfacing
- Scissors
- Thread
- Sewing machine
- Bath towel
- Steam iron
1. Tape your hat
First, two words of caution. Don’t use this technique if the hat you are using for your pattern is made of tweed, velvet, or anything that might get ruined by masking tape. Also, please don’t try this technique with anything other than masking tape. Other tape residues may ruin your hat.
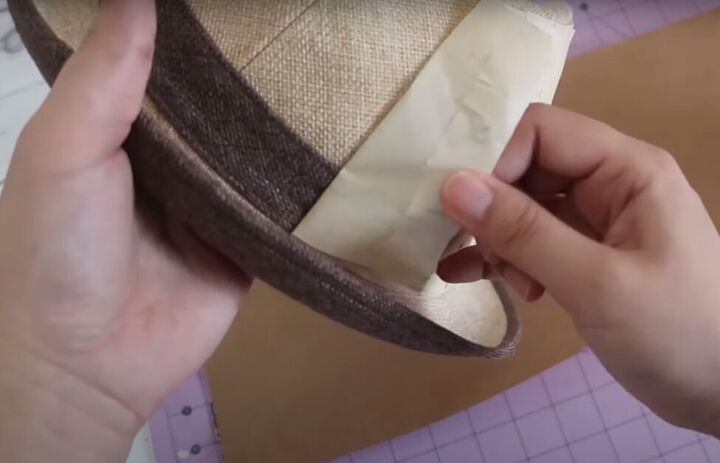
Using the thinner masking tape, place one piece of tape along the edge of the center-back seam of your hat.
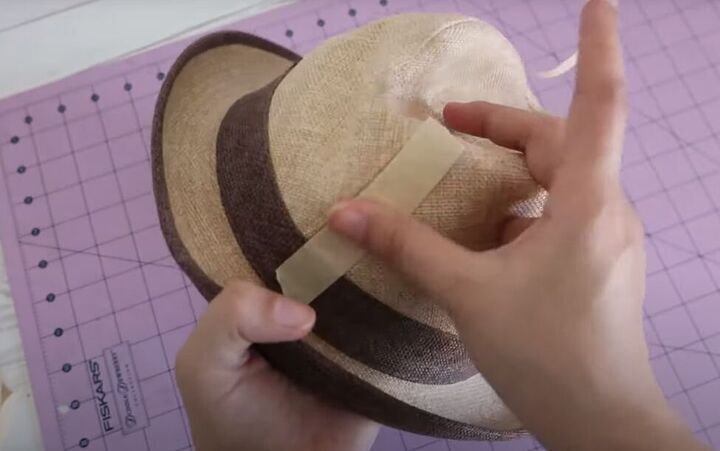
Use many short pieces of thinner masking tape to tape along one side of the top edge of your hat. Using many short pieces instead of one long piece will help you keep a rounded edge.
Do the same along the bottom edge of the crown on the same side of the hat.
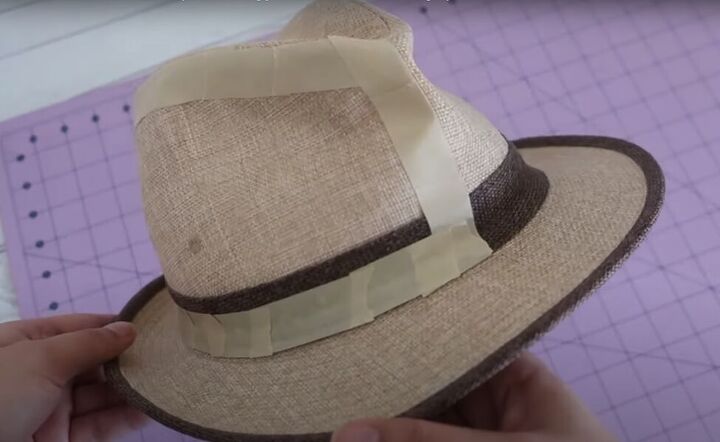
Now use your wider masking tape to fill in half of the crown you have outlined. Make sure that these pieces of tape overlap each other so that you will eventually be able to remove all of the tape as one piece.
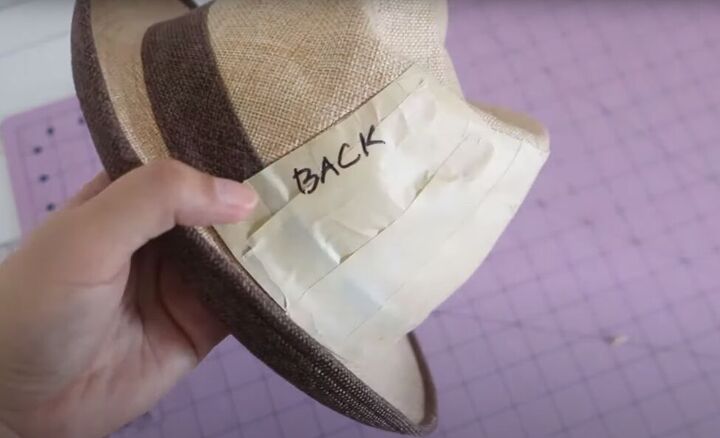
Use a sharpie marker to note the center front, the back seam, and the center back on your masking tape.
2. Transfer your pattern to paper
Prepare a piece of pattern paper larger than the area of the hat you taped. Then carefully peel the masking tape from your hat, starting at one of the top corners. Go slowly and carefully, so that your masking tape pattern doesn’t come apart.
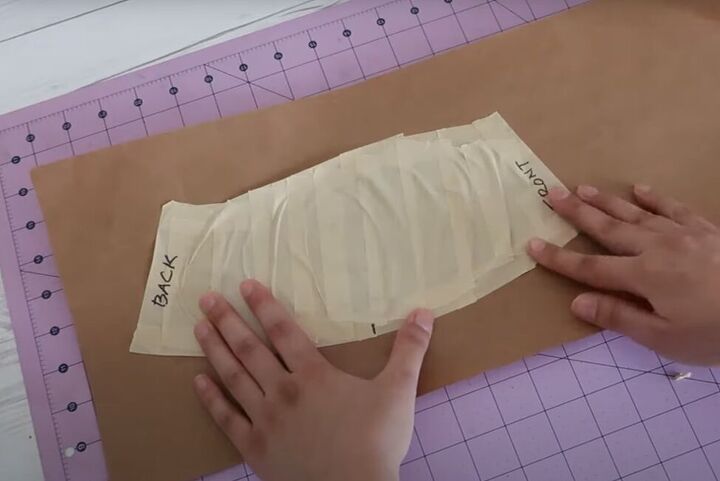
Lay your masking tape pattern on the paper and press it as flat as you are able, starting in the middle and working out to the sides. Your masking tape won’t flatten completely. Just smooth out the wrinkles as much as possible.
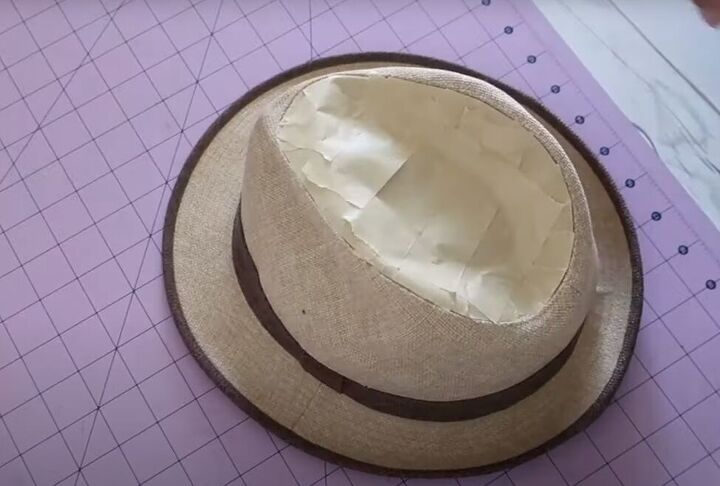
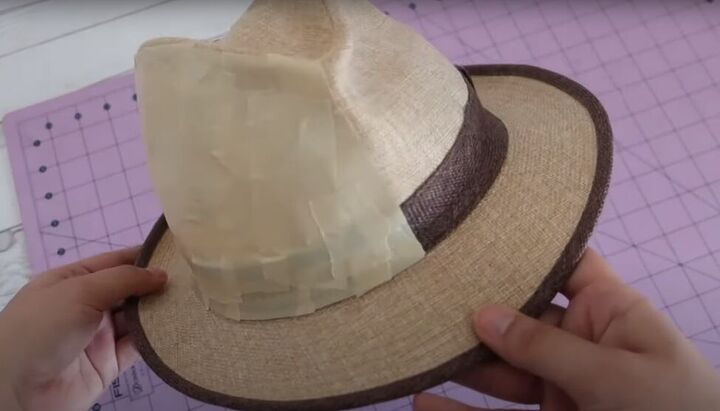
Now repeat the taping, marking, peeling, and transferring for the whole top of the crown of the hat. Follow the video from 3:57 to 4:41.

On the brim, you can just use the wider tape and go all the way around the back half of the brim with one piece, making small tucks on the inner edge to get the rounded shape. You may need a couple of rows of tape.
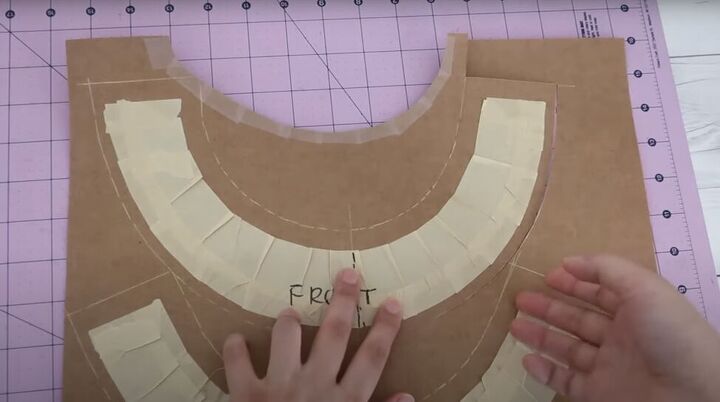
Tip: when you are transferring all the tape pieces to your paper, make sure to leave space in between the pieces so you can add seam allowances before cutting out the pattern pieces.
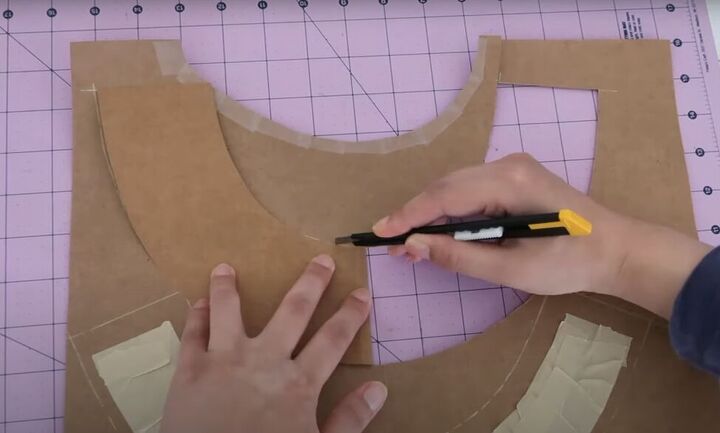
When you are cutting out the pattern pieces, you might notice that they are not symmetrical. That’s because the hat you used has probably been bent out of shape. Simply fold the brim pieces in half and trim as necessary to correct any distortion.
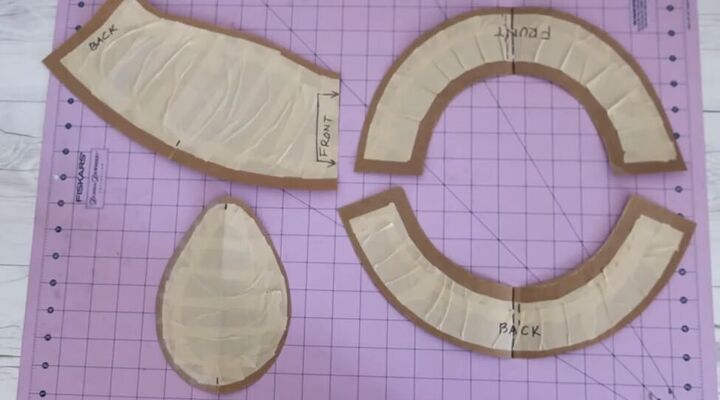
Here are all of the pattern pieces cut out. I added ¼-inch seam allowance on the outer edges of the brims and all around the crown, and ½-inch seam allowances everywhere else.
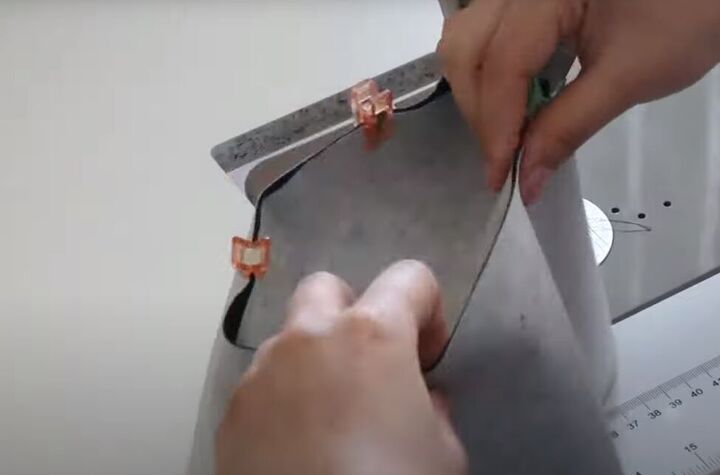
3. Sew your hat
To make my hat, I used cotton twill fabric and non-woven interfacing.
For details on how to attach interfacing and sew all the pieces together, check out my video on making a fedora hat from scratch.
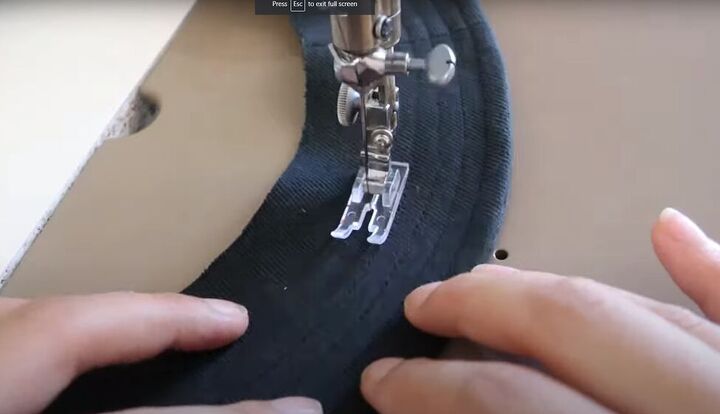
I added extra rows of stitching around the brim of this hat.
4. Shape your hat
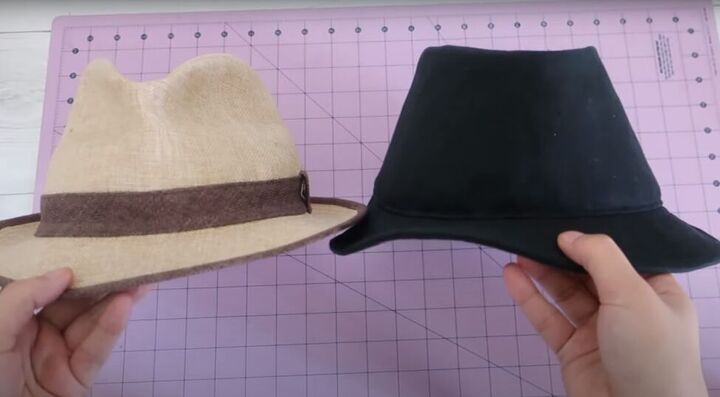
Notice how the original hat curves inward along the sides and the hat you just made has pretty straight sides and also lacks shaping on top.
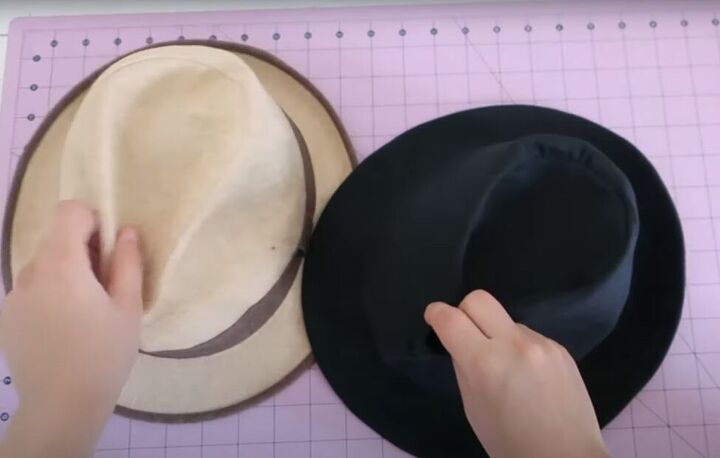
Push down the top of your hat and pinch it in at the front to get the fedora shape. Doing that will naturally curve in the sides.
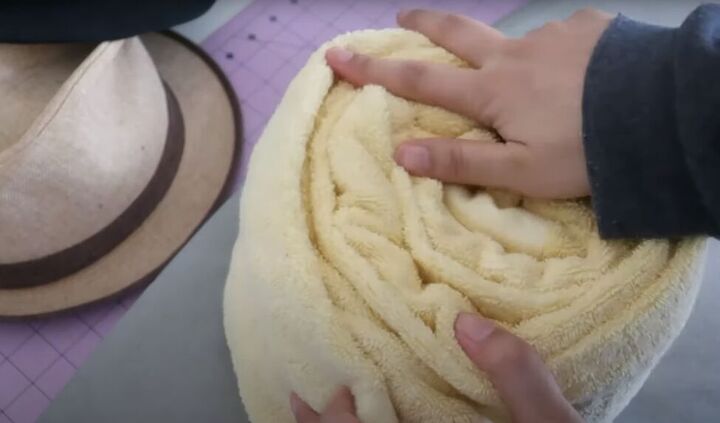
You could use a hat blocker, but they are pricey. Instead, fold a bath towel several times lengthwise. Then roll it up, making the roll slightly larger than the hat, but small enough to stretch the hat over it.
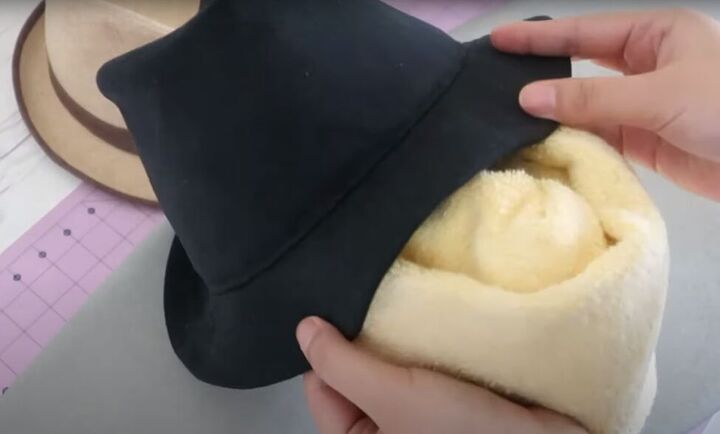
Stretch your hat over the towel and shape the hat and towel into the shape you want.

Steam the hat with an iron or steamer. Let the hat completely cool down before taking it off the towel. Steam the brim to get the shape you want as well.
Add ribbon to the brim to make your new hat uniquely yours. At the end of the video, you can see how I finished the inside of my hat.

How to copy a hat pattern
I think my DIY hat came out great! Let me know in the comments if you tried this technique to copy a hat pattern, and how your own DIY hat turned out.
The author may collect a small share of sales from the links on this page.


Comments
Join the conversation
Great idea! I have a hat that is past its prime but fits perfectly. Thanks for the great tutorial!