DIY Scoodie [Scarf With Hood]
Don’t you hate it when you pick out the perfect outfit for the day but it turns out the weather outside looks as if it could rain, and your outfit has no hoodie?
Enter, the scoodie. It’s a combination of a hood and a scarf that makes so much sense, it makes you wonder how didn’t it become a thing way sooner.

Best fabric scissors!
No need to worry if the rain will mess up your hair and give you a nasty cold if it catches you with this neat thing in your bag or around your neck.
Believe it or not, it’s also super easy to sew! With these instructions you’re about to read, that is.

Prepare the fabric
Download the scoodie pattern [FREE] we have prepared for you and print it out. Assemble the parts and cut off the excess paper.
Fold the main fabric in half with the wrong side facing up, set the hood pattern over it, and cut through both layers around the paper. Repeat with the lining fabric.
Do the same with the scarf pattern. When you finish, you’ll have two pairs of hood and scarf pieces, one from the lining fabric and one from the main fabric.
Sew the parts
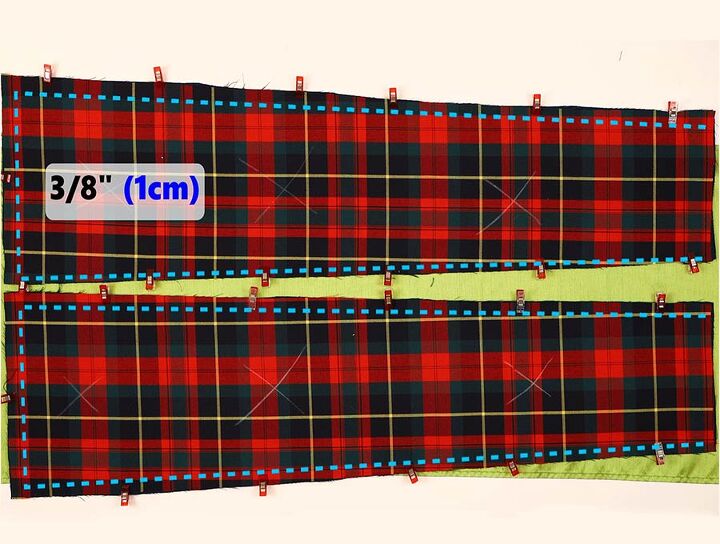
Take one piece of scarf main fabric and one piece of lining fabric and stack them with the right facing each other. Sew around them with a 3/8 inch allowance but leave the shortest edge unstitched. Cut off the corners to reduce bulk, turn the scarf inside-out, and press it flat.
Repeat with the other two scarf fabric pieces.
Stack the hood lining fabric pieces with their right sides facing each other and stitch them together along the curve leaving the face and neck sides unstitched. Make small cuts along the curve.
Repeat with the hood's main fabric pieces.
Assemble the scoodie
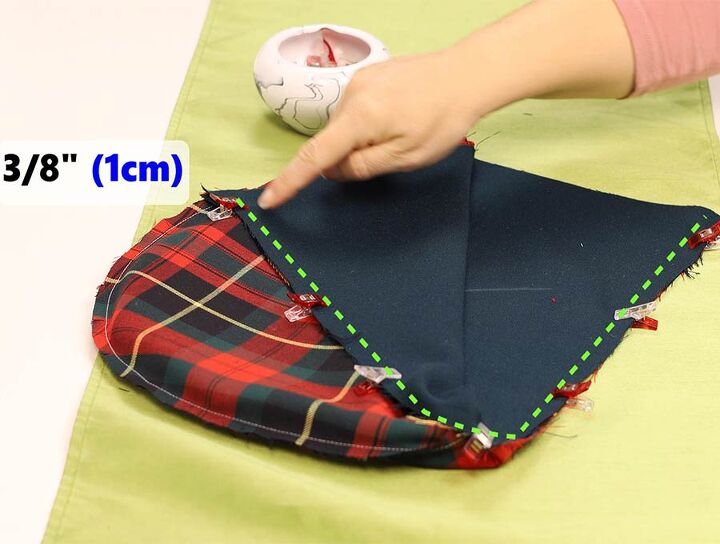
Turn the lining hood piece inside-out and place it into the main fabric hood piece. Align and pin the raw edges of the two fabrics together.
Stitch the raw edges with a 3/8 inch seam allowance, but leave the edge that will go to your neck unstitched.
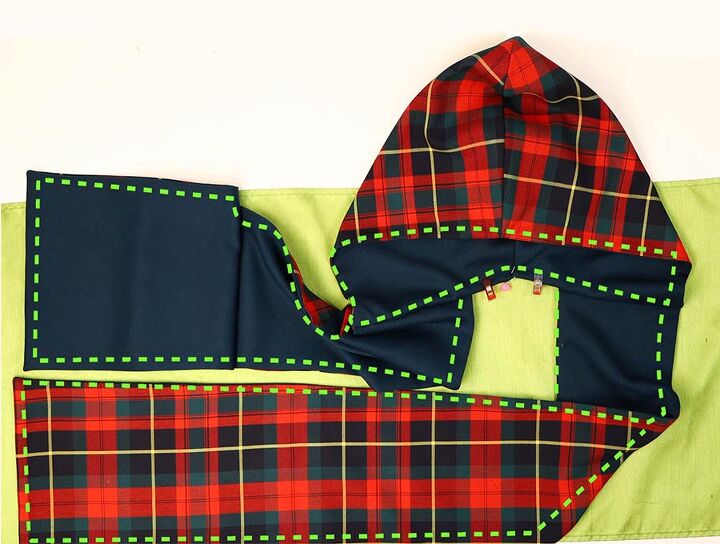
Roll up one scarf piece and push it between the hoodie layers so the lining of the scarf goes onto the hood lining. Align the short edge of the scarf with half of the hood neck edge and pin.
Repeat with the other scarf piece and the second half of the hood neck edge.
Finish the scoodie
Sew the hood neck edge, but leave a gap in the middle between the scarf pieces so you can turn it right side out.
Turn the whole thing through the gap.
Fold the raw edges of the gap in and pin them.
Topstitch the edges around the whole scoodie.
Unexpectedly or not, bad weather will never catch you off guard now that you have this awesome new clothing accessory. Be warned, when your friends see you with it, they’ll want one too, so be ready to whip up a few for the birthdays of your close ones. Enjoy your cool DIY scoodie!
The author may collect a small share of sales from the links on this page.


Comments
Join the conversation
Fabulous !!!
Great for those of us who live where winters are long, windy, wet and cold! Thanks.