How to Make DIY Scrunchies in Only 5 Minutes

In this tutorial, I will be showing you how to make three different styles of scrunchies. A mini-size DIY scrunchie, a large chiffon DIY scrunchie, and a two-colors style DIY scrunchie. If sewing scrunchies sounds like a fun day-in for you, keep reading, and let’s get started.
Tools and materials:
- Scissors
- Measuring tape
- Sewing machine
- Needle and thread
- Safety pin
- Elastic
- Sewing pins
- Fabric
Type 1: Small scrunchies
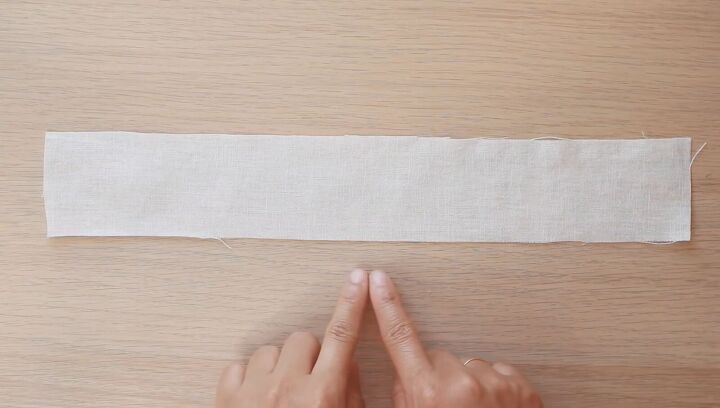
1. Cut your fabric
Your DIY scrunchies measurements are going to depend on the size of the scrunchie you desire. Since we’re starting with mini scrunchies, start by cutting out a piece of your desired fabric that is 16 inches x 2 inches.
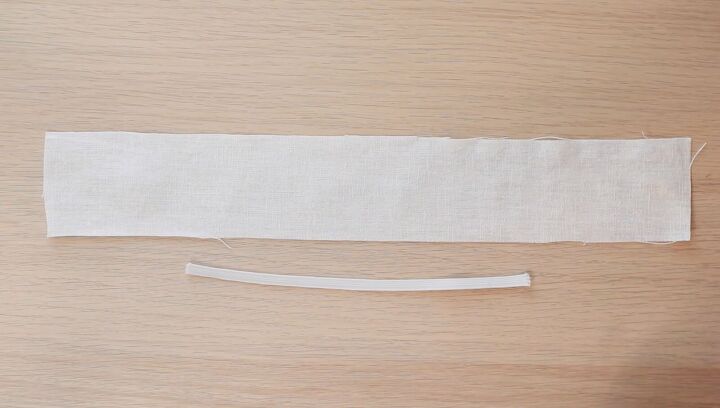
2. Cut your elastic
Cut out a piece of elastic that is 7 inches in length.
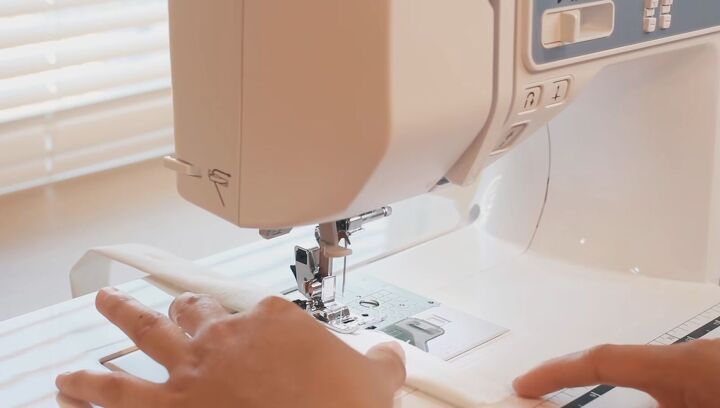
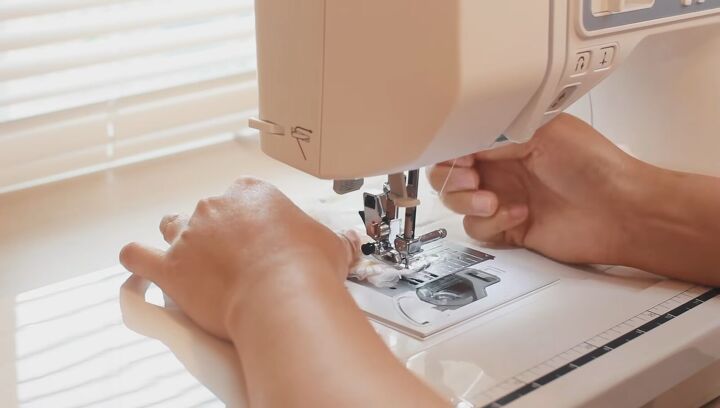
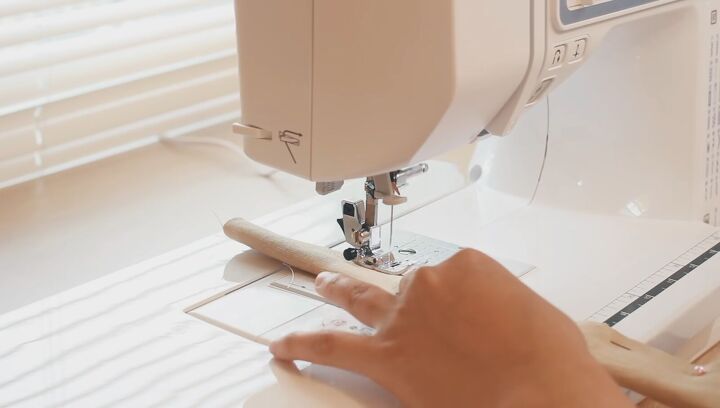
3. Fold and sew
Fold your piece of fabric in half, and then sew the open edge to create a tube.
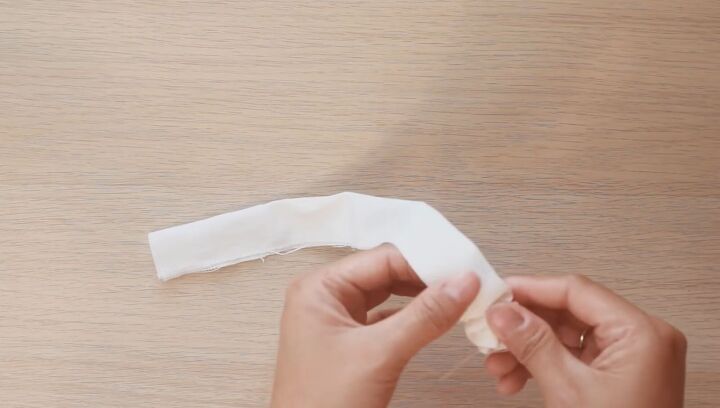
4. Turn it right side out
Use a safety pin to turn your fabric right side out.
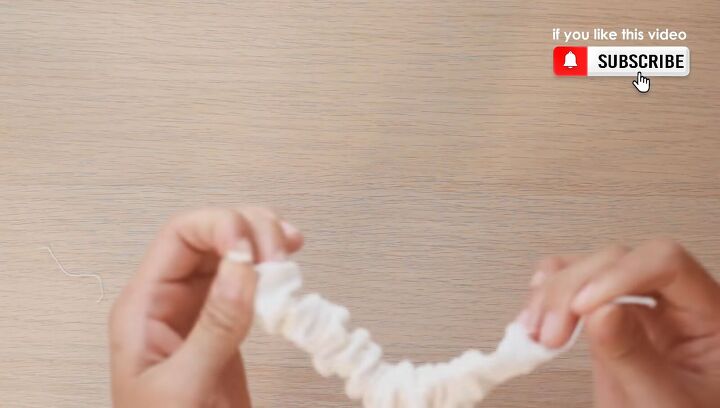
5. Insert the elastic
Use the safety pin to insert the elastic into the tube.
Make a knot or sew the two ends of the elastic together.
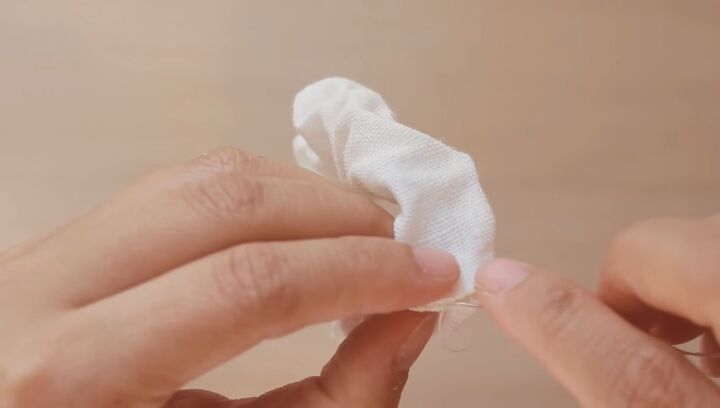
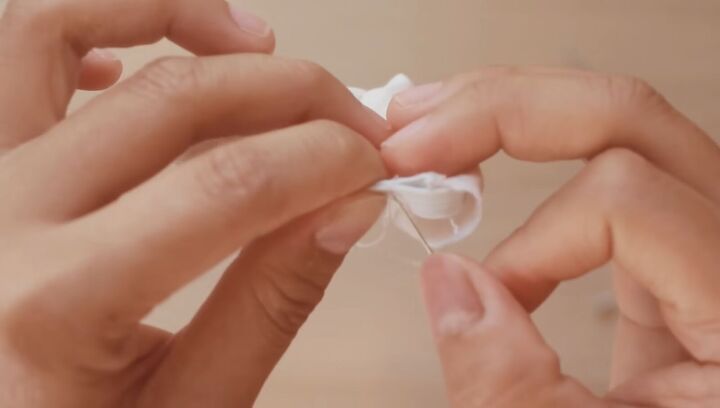
6. Sew the scrunchie together
Sew the two ends of the scrunchie’s fabric with an invisible stitch.
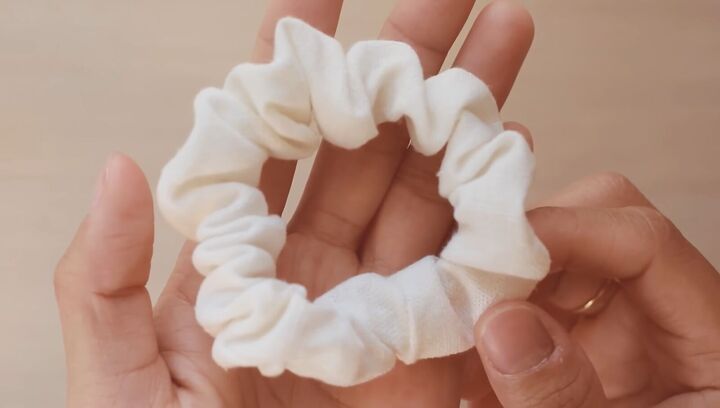
Here’s the finished scrunchie.
Type 2: Large chiffon scrunchies
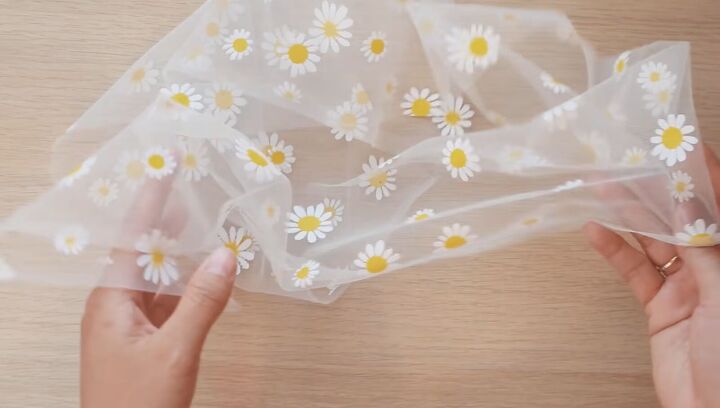
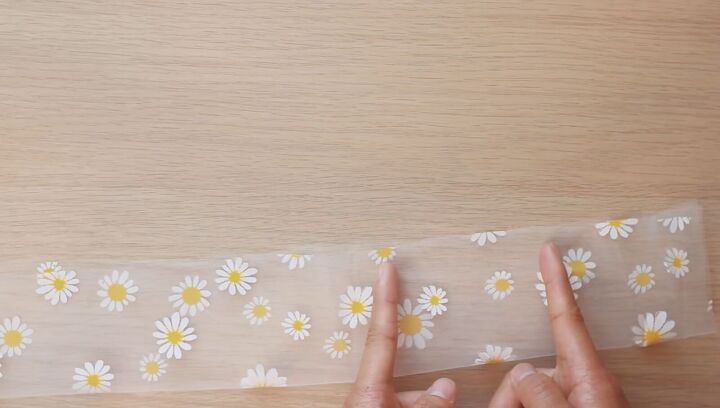
1. Cut your fabric
Cut out a piece of your desired fabric that is 40 inches x 5 inches.
2. Cut and sew
Fold your piece of fabric in half and sew the open edge, leaving an open gap that is approximately 1-1.5 inches
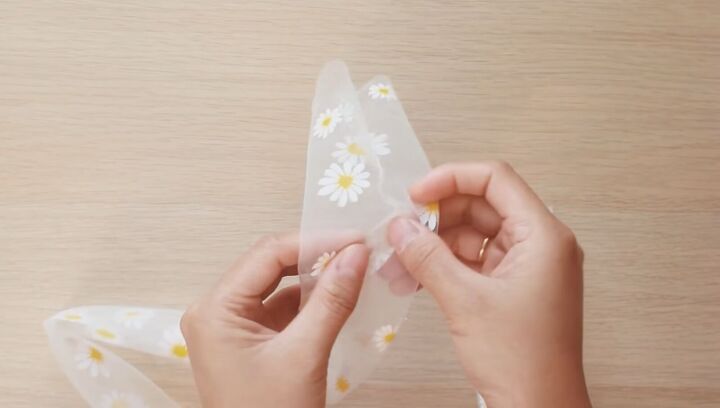
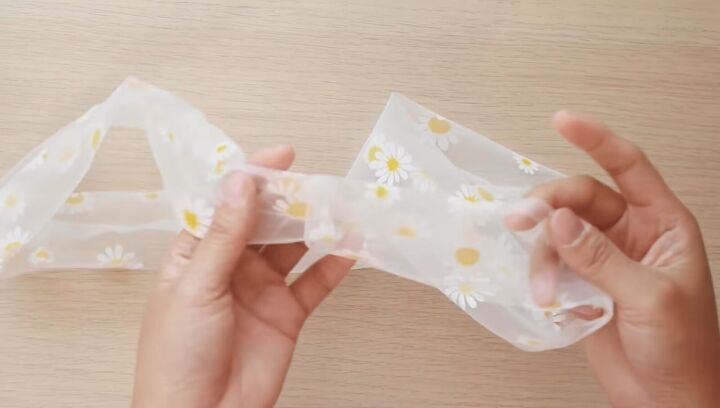
3. Turn it right side out
Turn the fabric right side out. Since the fabric is bigger, you can use your fingers instead of a safety pin.

4. Pull the fabric through the gap
Pull the shorter side through the gap.
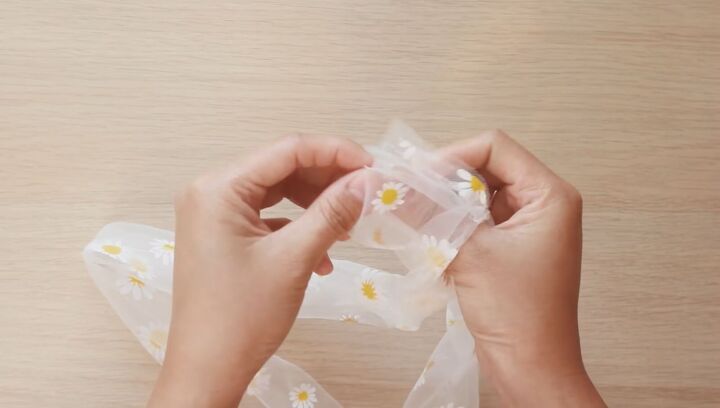
Then, insert the other end of the fabric through the gap and out the other end.
5. Sew
Sew the two opening edges closed.
6. Turn right side out
Pull the scrunchies to turn it right side out.
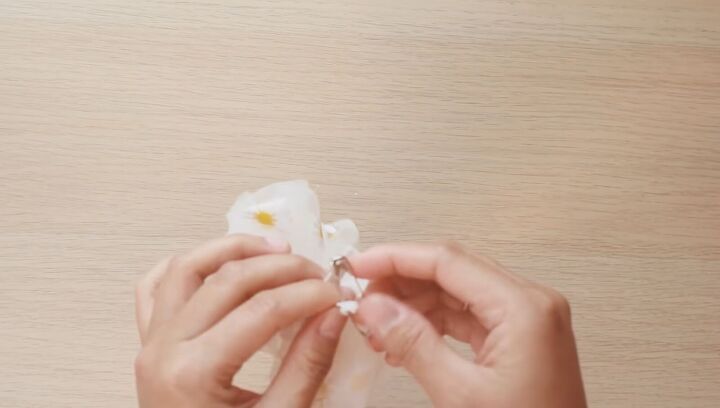
7. Insert the elastic
Use the safety pin to insert the elastic into the scrunchie tube.
Make a knot or sew the two ends of the elastic together.
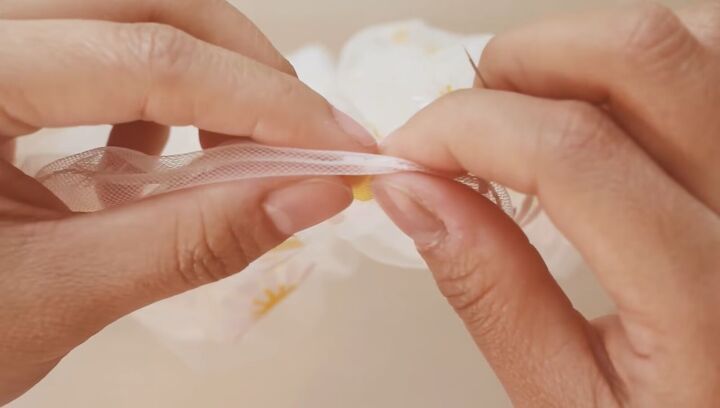
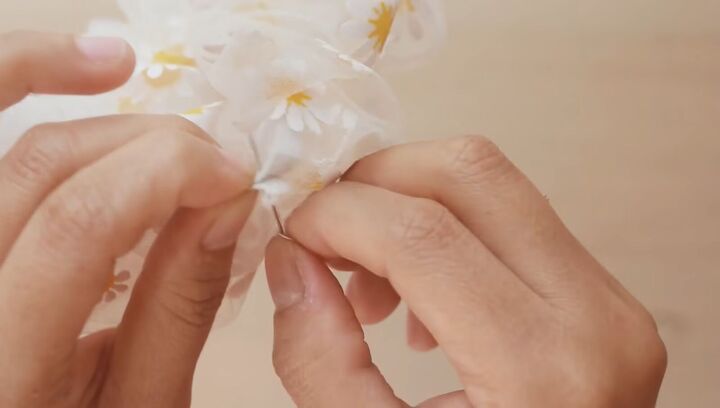
8. Sew the scrunchie together
Sew the two ends of the scrunchie’s fabric with an invisible stitch.
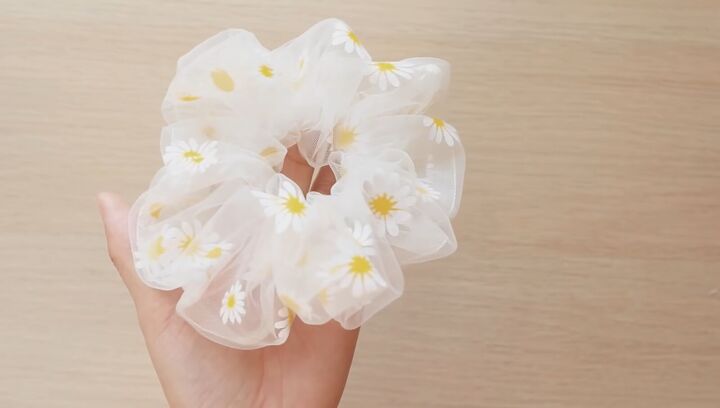
Here’s the finished scrunchie.
Type 3: Two colors scrunchie
1. Cut your fabric
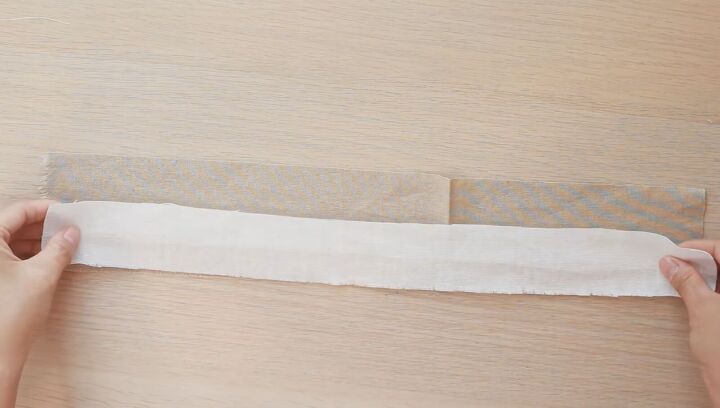
For this one, you need two different colored fabrics. I’m going to be using brown and white. Cut your white (or smaller) strip to be 16 x 2 inches and your brown (or larger) strip to be 16 x 3 inches.
2. Fold, pin, and sew
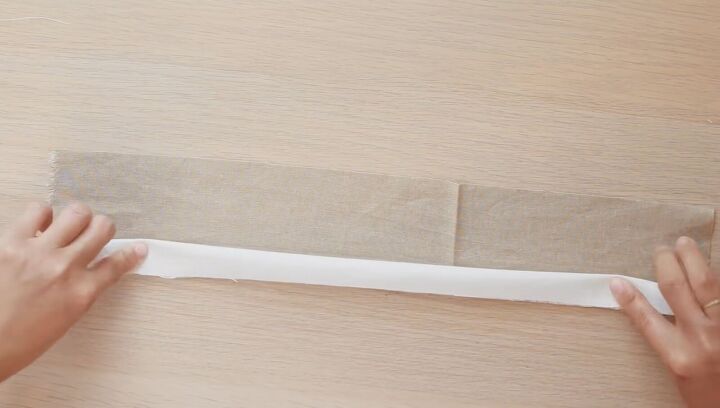
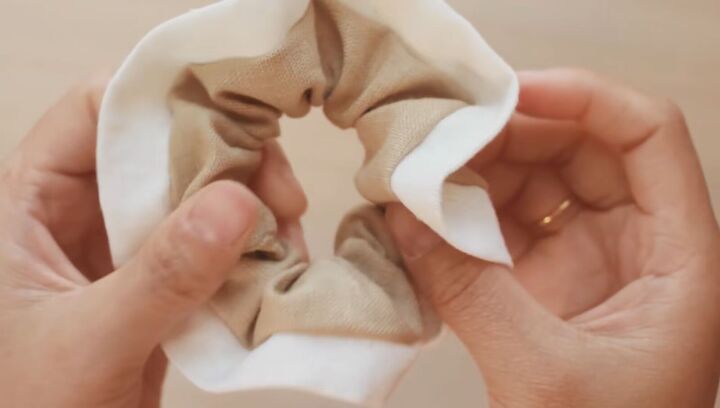
Place your white strip on the brown fabric, and fold it in half. Then, fold the brown fabric over the top of the white.
Use pins to keep them in the bottom line, then sew.
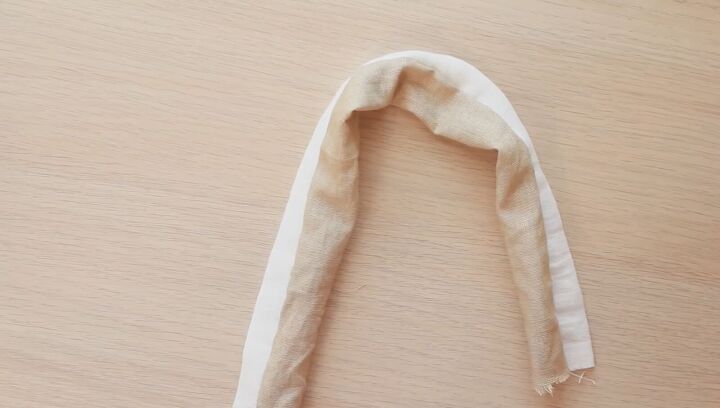
3. Turn it right side out
Turn the fabric right side out.
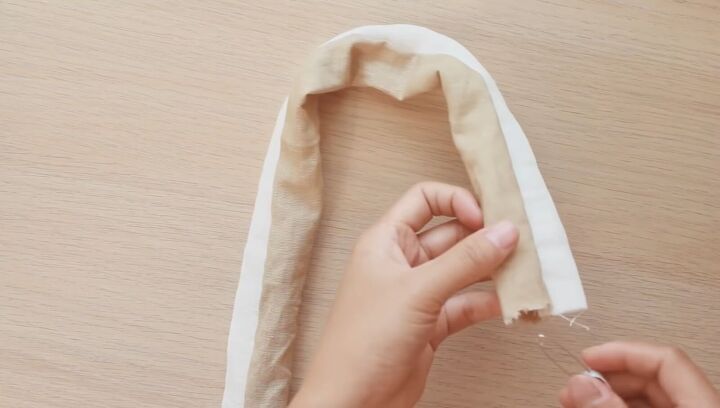
4. Insert the elastic
Use the safety pin to insert the elastic into the scrunchie tube.
Make a knot to keep the two ends together.
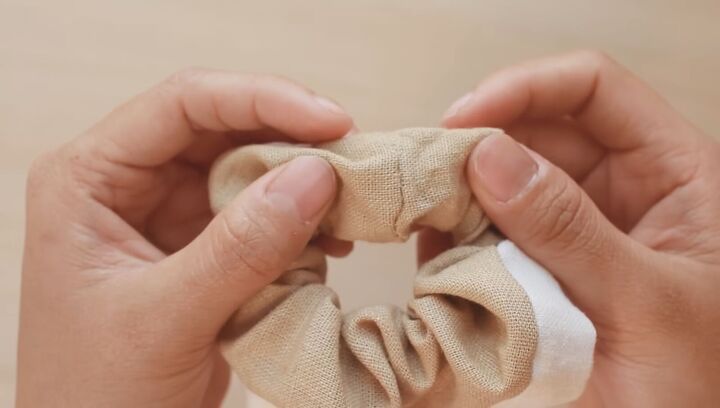
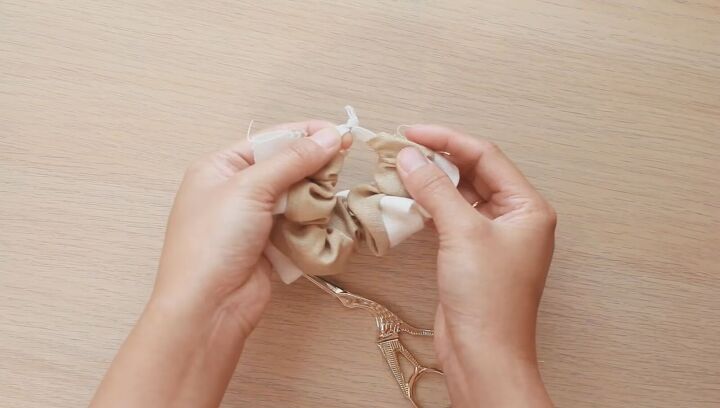
5. Sew the scrunchie together
Sew the two ends of the scrunchie’s fabric with an invisible stitch.
Here’s the finished scrunchie.
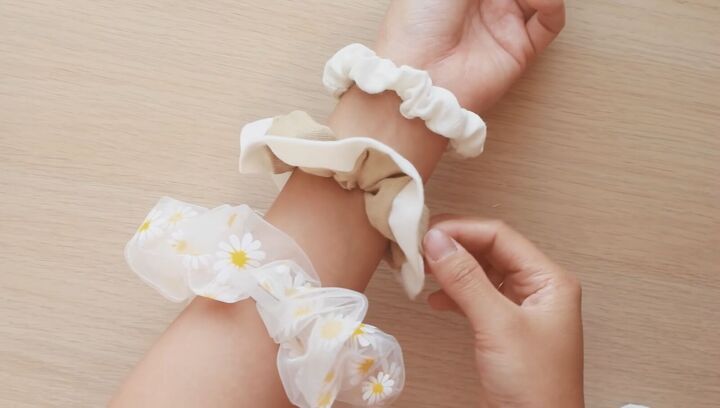
DIY Scrunchie Tutorial
That’s how to make DIY scrunchies with elastic and how to make a scrunchie with a sewing machine. Let me know which style is your favorite!
The author may collect a small share of sales from the links on this page.


Comments
Join the conversation