How to Crochet a Beanie Hat for Beginners

If you are a beginner crocheter, then this is the tutorial for you! Learn how to crochet a beanie hat by following along with me as I show a really easy way to crochet. I’ll just explain what I’m doing as I go, with no technical terms to confuse you. Are you ready to give it a try? Okay, let’s go!
Tools and materials:
- Fuzzy yarn
- Crochet hook (size 5mm)
- Scissors
1. Begin your crochet chain
Fuzzy yarn is a really good choice for beginner crocheters, because if you make mistakes, the fuzzy yarn is good at hiding them! But in this tutorial, I am using non-fuzzy yarn just because it’s much easier to see and follow along.
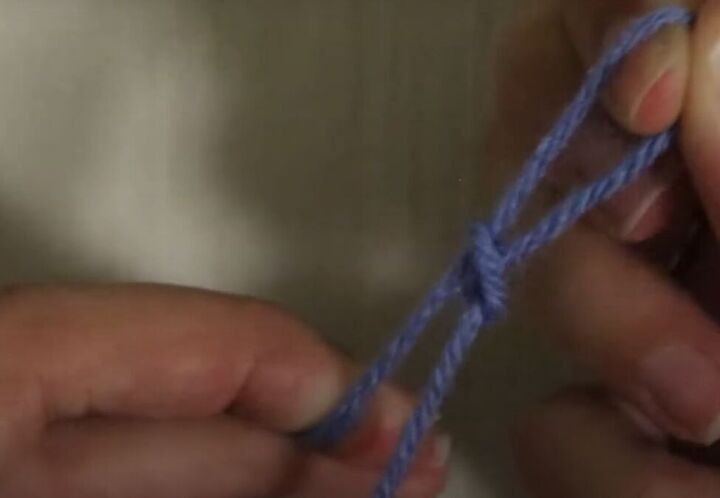
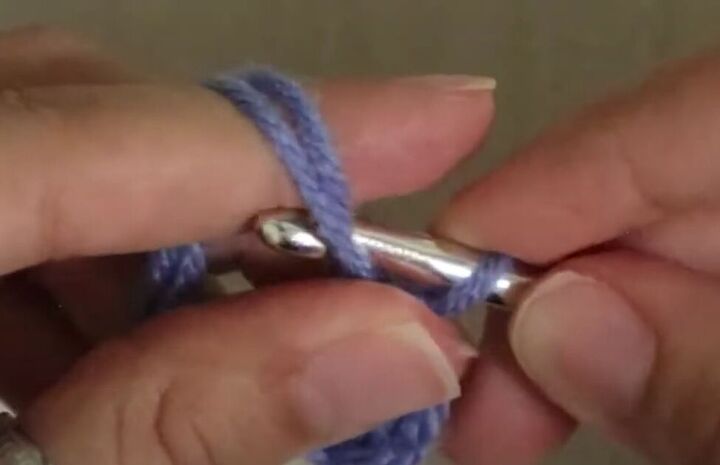
Start by making a simple slip knot with your yarn.
Insert your crochet needle into the loop of the slip knot, hook it around the yarn below the knot and pull it back through the loop. Make sure you don’t pull the knot tight.
Repeat that step 4 or 5 times.
2. Start forming your beanie hat
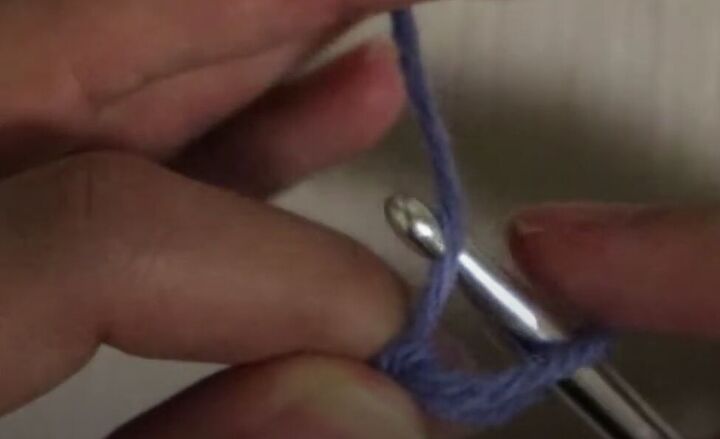
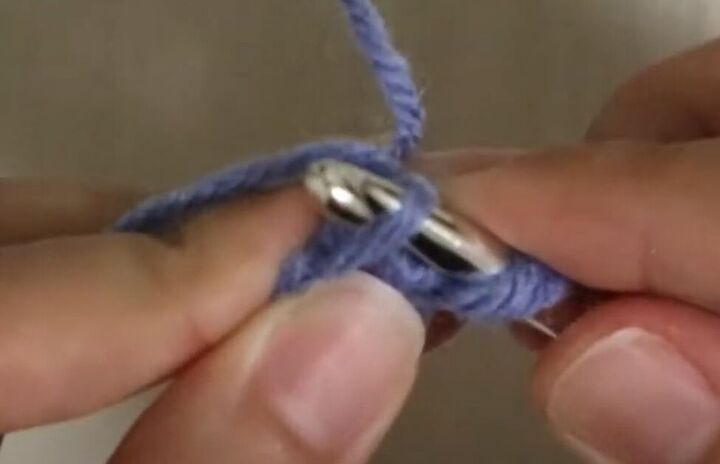
Stick your crochet hook through the first loop you made. Pull the yarn through as you did with your previous stitches and then pull the hook and yarn through the loop on the other end to begin forming the circular shape of your hat.
3. Secure the tail
Hook your yarn and the loose tail on your crochet hook and pull both through the loop.
4. Proceed crocheting your beanie hat
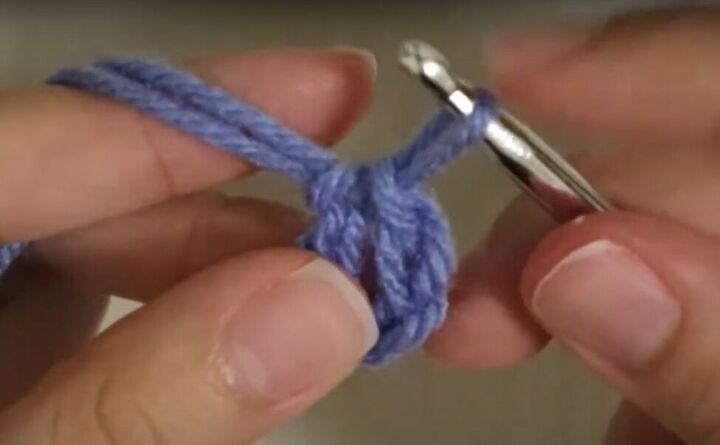
Insert your crochet hook in the next loop in your circle, hook it around the yarn at the back and pull the yarn through the loop.
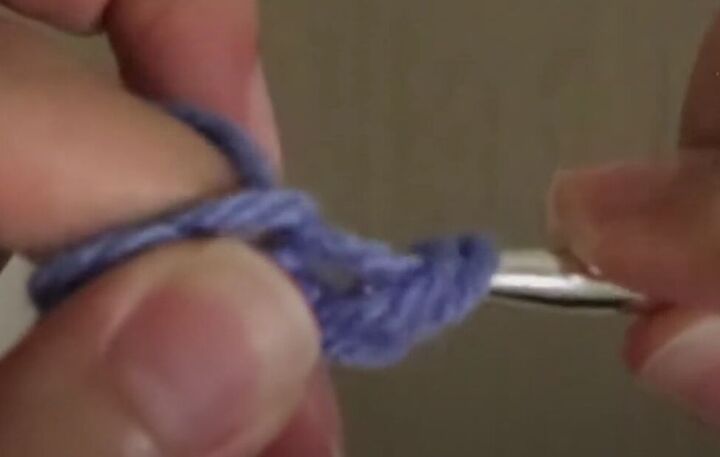
Then pull that same yarn through the previous loops.
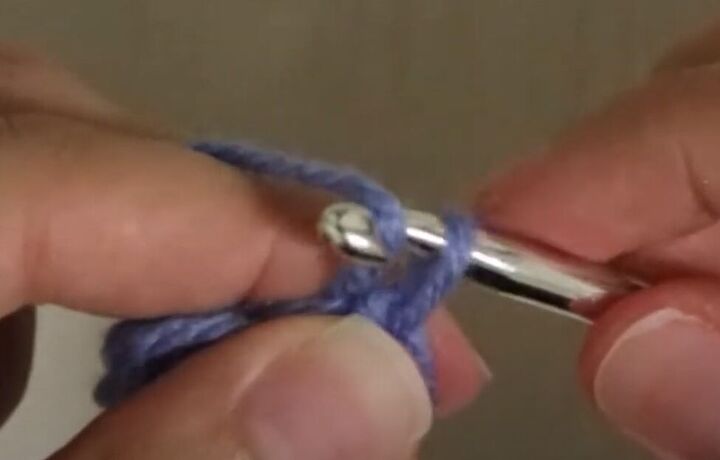
Hook the yarn once more, and pull it through your most recent loop. That extra stitch is how you will increase the size of your circle.
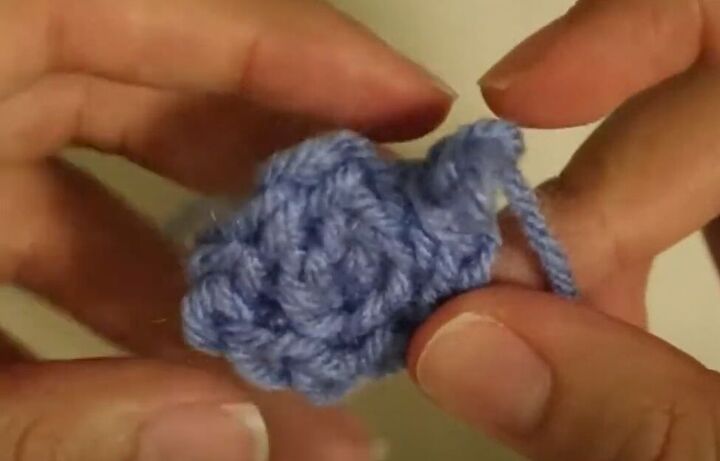
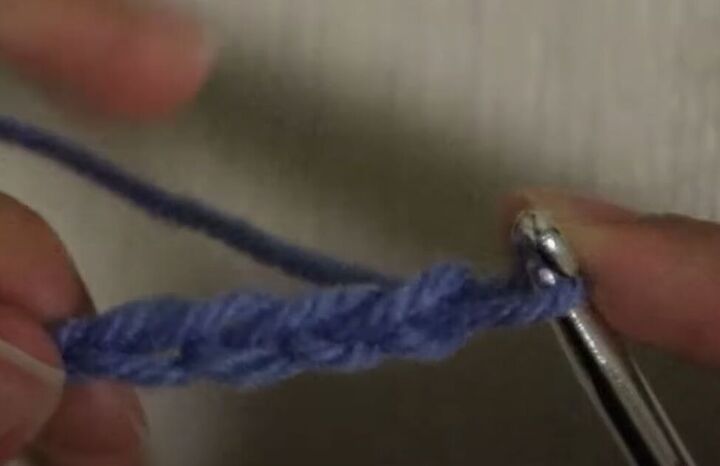
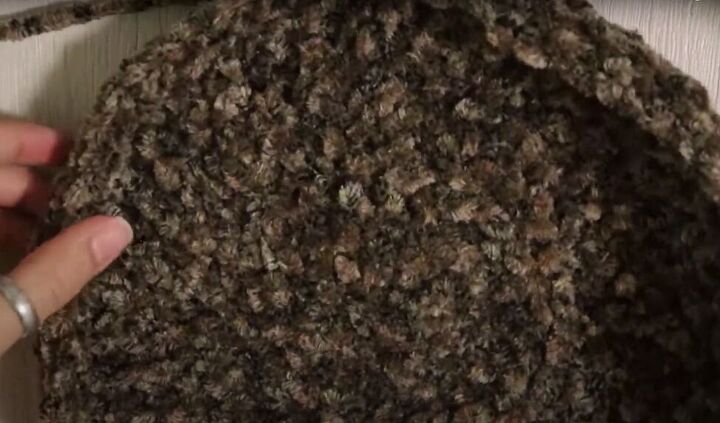
Repeat grabbing the yarn through the next loop and pulling it through that loop and the previous loop. Keep repeating that crochet stitch over and over again. After a full round of stitches, it will look like the crocheted circle in the image above.
That’s the basic stitch and you just keep going around and around and watching your circle grow.
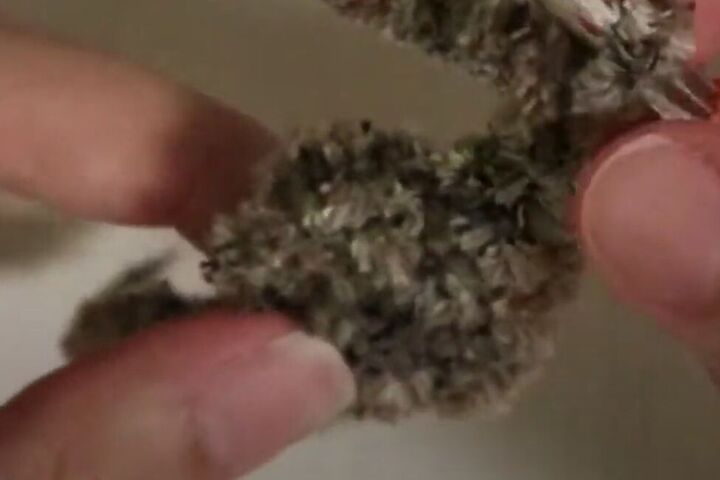
Here is how it looks with the fuzzy yarn – you can see it looks much neater!
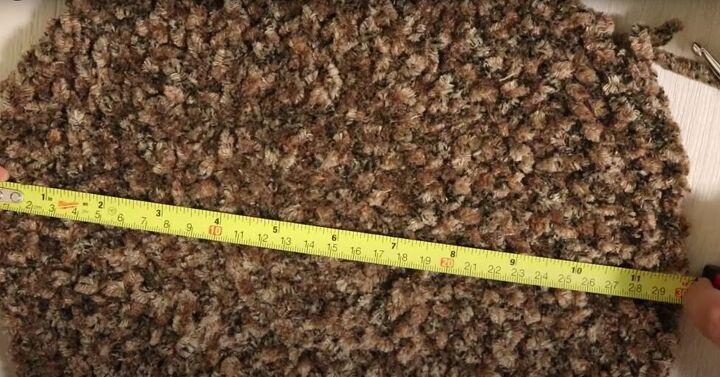
Continue crocheting in the same manner until your circle is about 12 inches in diameter.
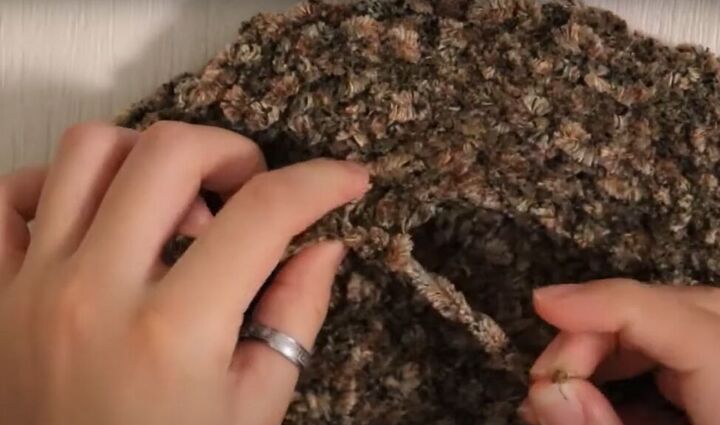
5. Crochet the rim of your beanie hat
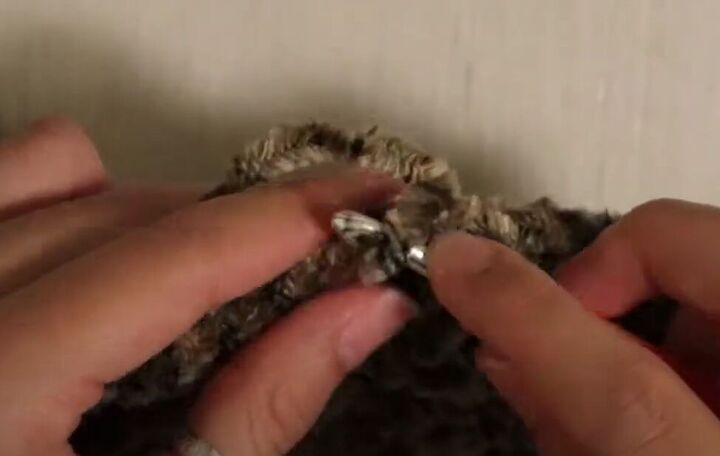
Make one crochet stitch as you did previously. At this point, you don’t want to be increasing the size of your circle anymore. So, continue crocheting, but just pull the yarn through the next and then the previous loops. Do not do the extra stitch of yarn through the previous loop.
Continue all the way around the circumference of the circle, and you will see how the rim of the hat is now turning in, because you haven’t increased the size at all.

Continue working the rim in the same manner until the diameter of the inside of the hat is about 6 inches.
6. Tie off the ends
When you are finished crocheting, cut off the yarn, pull it through your last loop and pull tight to knot it.
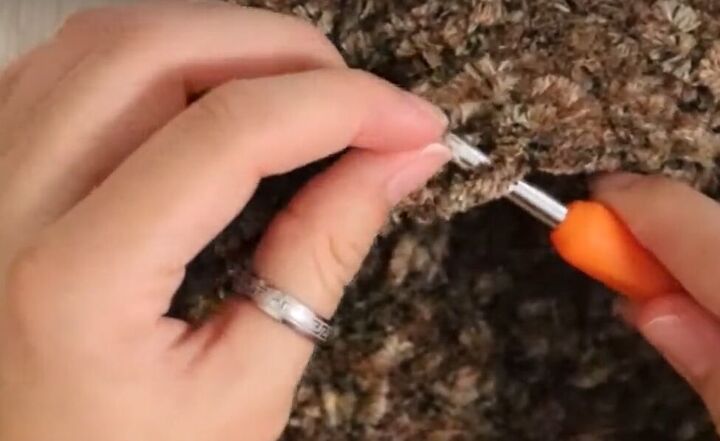
Use your crochet hook to weave the loose end back through your hat.
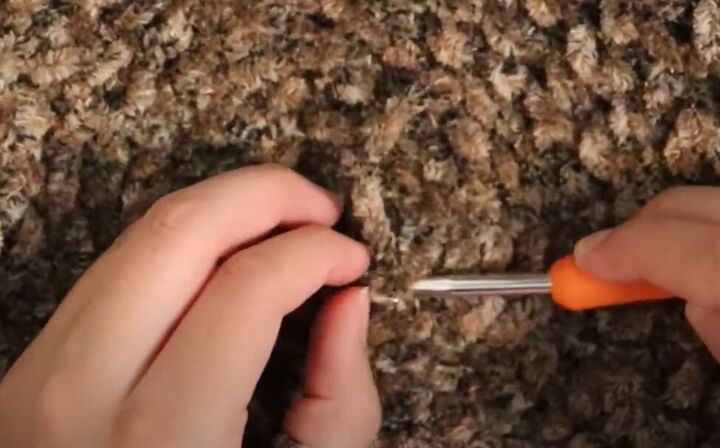
Do the same thing with the loose thread from the start of your hat, on the outside top.
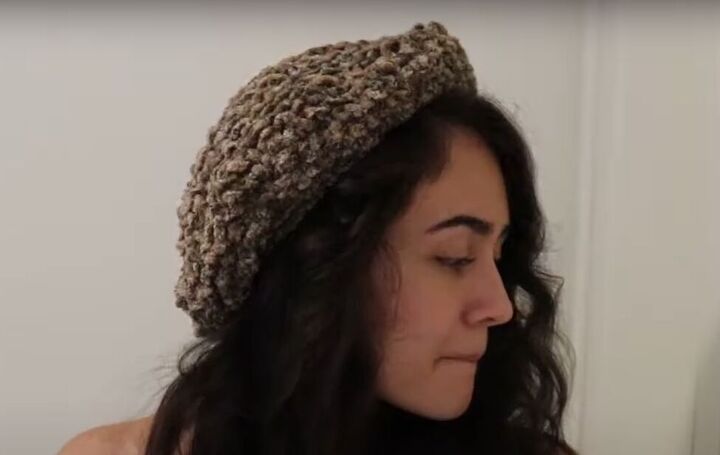
How to crochet a beanie
If you’ve been following along, then congratulations! You’ve just made your first DIY crocheted hat and you should be very proud of yourself! Leave a comment to let me know if this was your first time crocheting, and how it worked out for you.
The author may collect a small share of sales from the links on this page.


Comments
Join the conversation
You are very confusing. Maybe say the name of the stitches and the quantity.