How to DIY a Versatile Scarf With Sleeves + 5 Awesome Ways to Style It

I have for you today a sewing tutorial on a versatile scarf with sleeves. Then at the end, I'll show you five ways to style it.
I used a tubular rib knit fabric, but you could just sew your fabric into a tube instead.
My fabric also has what's called a four-way stretch. If yours doesn't, make sure the fabric stretches along the length of the tube.
Tools and materials:
- Pins
- Scissors
- Seam ripper
- Marking tool
- Measuring tape
- Fabric (mid-weight stretch knit)
- Matching thread
- Top (long-sleeve, stretch knit)

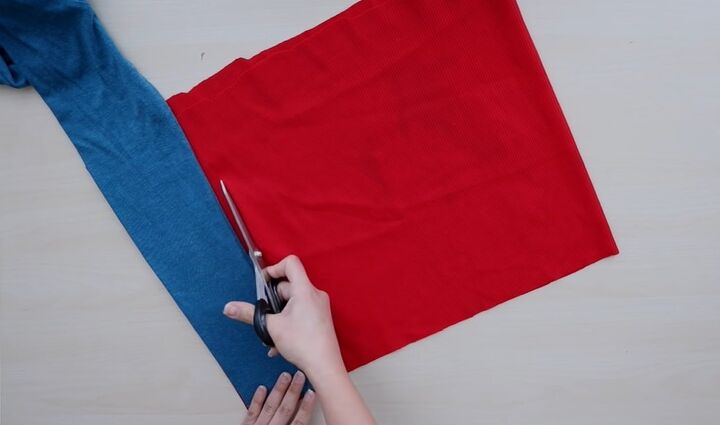
1. Cut the fabric
First, cut the scarf so the width is 20 inches (51cm)
2. Trace and cut the sleeves
Starting with the sleeves, use a top as your guide and place it along the fold. Then cut, leaving a half-inch (1.3cm) allowance.
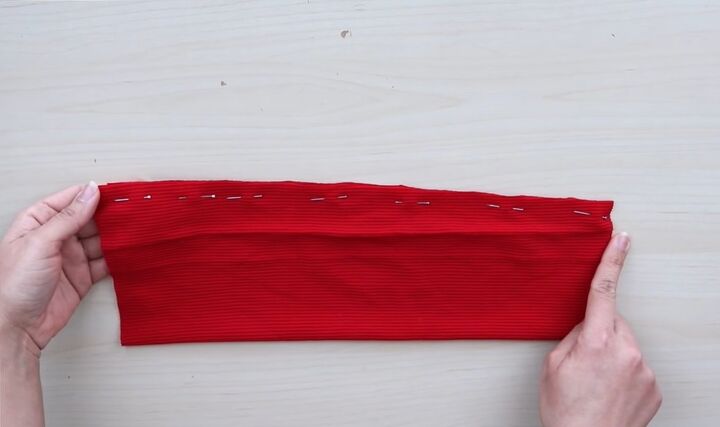
3. Sew the open side
Pin and sew the open side in place using a small zig-zag stitch. Once sewn, trim the allowance down to a quarter inch (0.6cm).
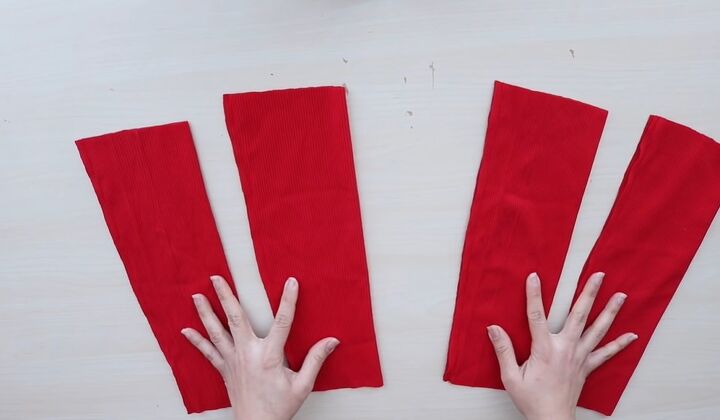
4. Repeat
Make a total of four of these, as you will use the two extra ones to line the sleeves.
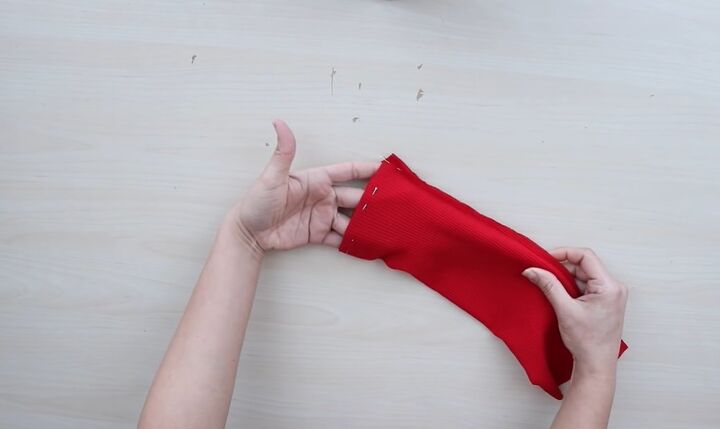
5. Line the sleeves
To line the sleeves, turn one of the sleeve pieces right side out, then place it inside the other so the right sides are facing.
You'll notice that the sleeve tapers, so make sure the tapered ends are together.
Next, with the seams aligned, pin and sew around the tapered end.
Afterward, turn the sleeves over with the wrong sides facing, then finish by sewing a quarter inch (0.6cm) from the fold.
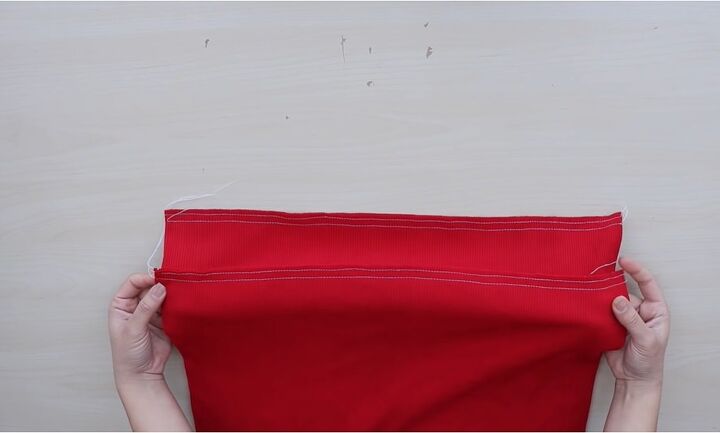
6. Sew the scarf ends
Gather the ends of the scarf. Along both ends, make two rows of basting stitch.
Before gathering the ends, measure the circumference of one of the sleeves to make them the same width.
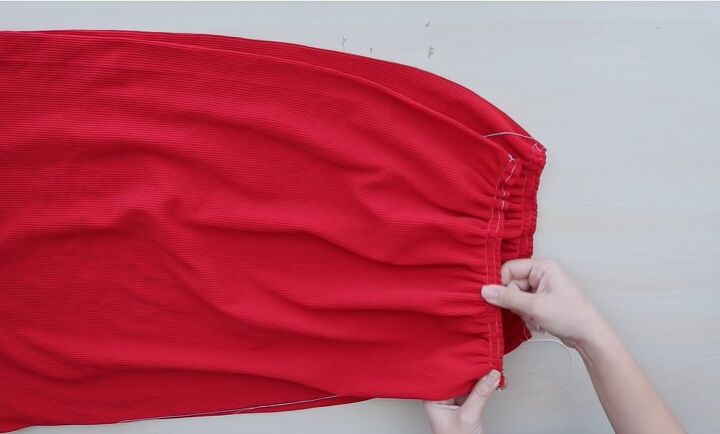
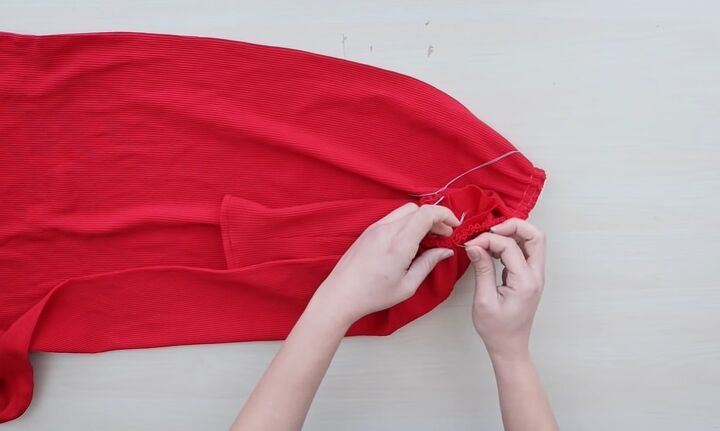
7. Gather the ends
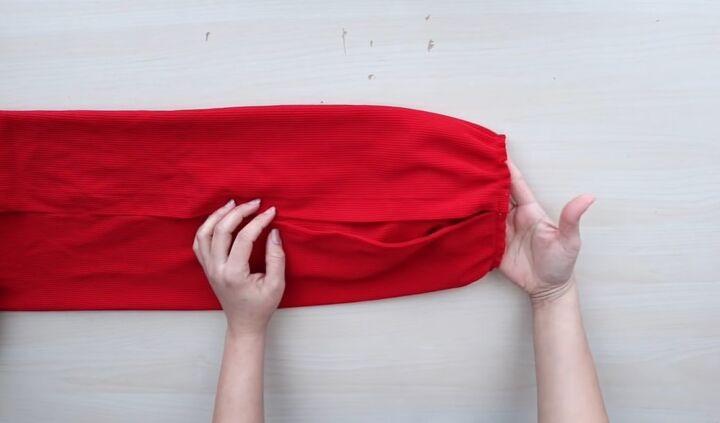
Once the ends are the same width as the sleeves, distribute the gathers evenly throughout.
8. Pin the sleeve to the scarf
Next, taking the sleeve, push the lining down to get it out of the way.
Then lay it on top of the scarf with the seam facing up and the edges together.
Grab one side of the scarf and pin them together, starting at the sleeve seam.
9. Sew the two together
After pinning, use a zig-zag stitch and sew between the basting stitches. Now with the sleeve attached, remove the basting threads.
10. Sew down the lining
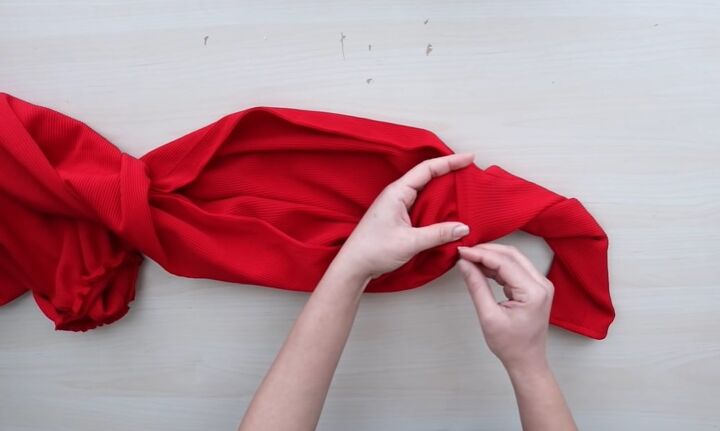
For the final step, pull the sleeve out to reveal the lining.
Fold the open side in by a half-inch (1.3cm) and secure it along the seam.

And voila! Our DIY wrap scarf with sleeves is complete. So, how do you wear it? There is really no one way; here are five to get you started.
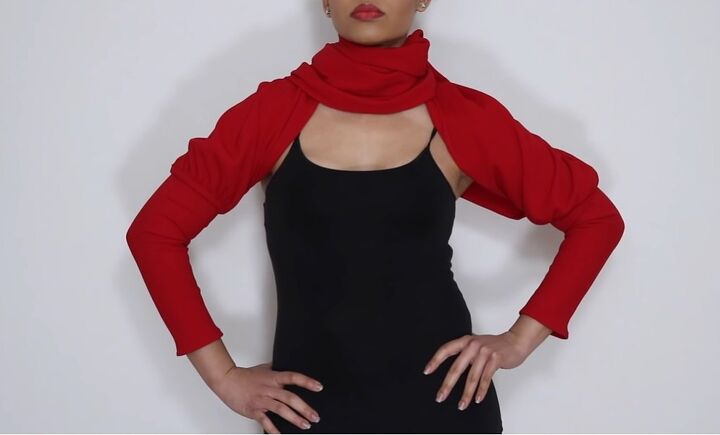
1. Scarf with sleeves
Here is the straightforward style of the scarf with sleeves. I love that this keeps your neck and your arms warm at the same time - it’s genius!
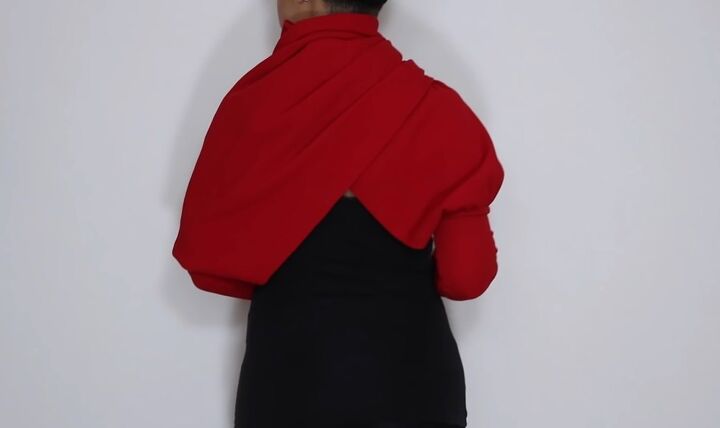
This is how it looks at the back.
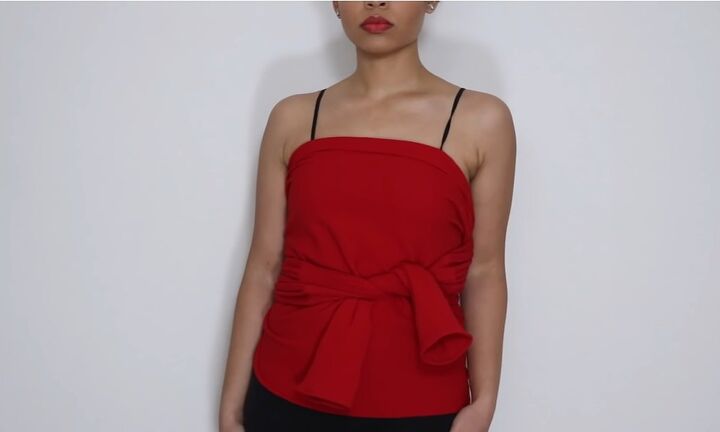
2. Styled as a top
The next way to style it is as a strapless top. Use the sleeves to belt your waist.
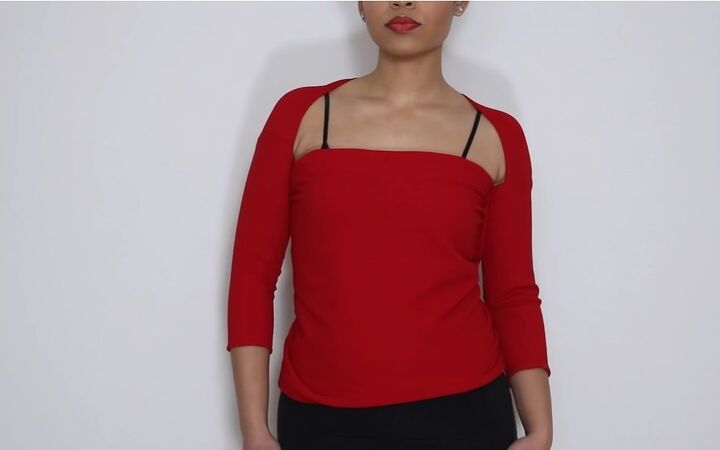
3. Wide open neck
For this look, I’ve created a top by opening up the scarf fully and twisting it at the back.
At the front, you’re left with a simple-looking top that has a nice wide open neckline.
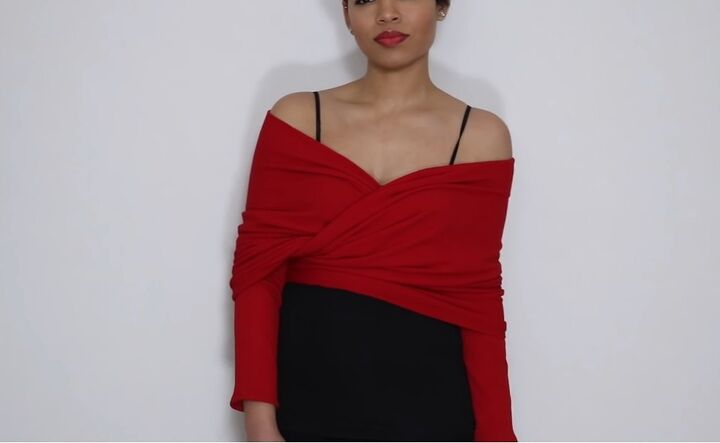
4. Off-shoulder
Here I’ve again opened the scarf all the way out and, this time, crossed it over at the front. I’m wearing it as a stylish off-the-shoulder top.

5. Black, white, and a pop of red
Here, I just wanted to show you the pants that I like to style the scarf top with. I’ve gone for black and white striped pants, which act as a nice neutral base that contrasts against the bright top.
I hope you enjoyed finding out how to make a wrap scarf with sleeves, as well as how you can style it.
Leave me a comment down below, I love to hear from you all!

The author may collect a small share of sales from the links on this page.


Comments
Join the conversation