10 Steps to Create a Beautiful Braided Audrey Hepburn Hairstyle

Hey, guys. Welcome to my annual Christmas hair tutorial! This year, I decided to choose a hairstyle from the 1956 movie War and Peace with Audrey Hepburn. It’s not the most historically accurate piece ever made but it features some cool hairstyles. I chose the one Audrey wears in the last scene of the movie which is a braided hairstyle that’s very beautiful but still wearable and is perfect for the upcoming holidays or any formal occasion. Let’s get started!
Tools and materials:
- Hair extensions
- Bobby pins
- U-clips
- Curling iron
- Fine-tooth comb
- Pomade or hairspray
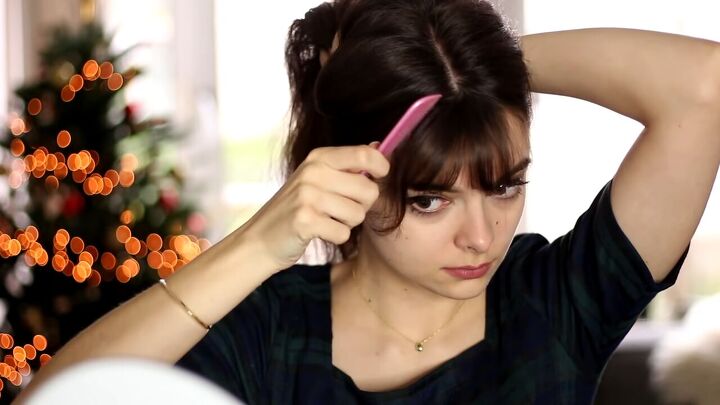
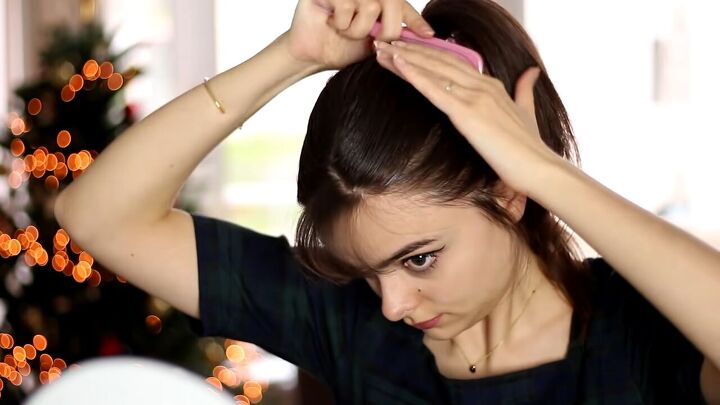
1. Pull hair into a high ponytail
Start by splitting your hair into a center part down the front, and then pull all of your hair up into a high ponytail. You want this to be the neatest ponytail ever, so try and get it as smooth as possible with a fine-tooth comb while making sure to leave that parting because it’s an essential part of the hairstyle.
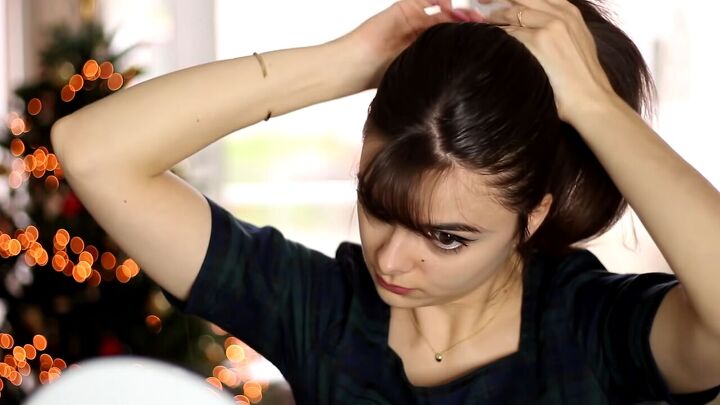
2. Smooth down your hair with pomade
Next, go in with some pomade. Pomade was used a lot during this time and pretty much throughout the entire movie. Audrey’s hairstyles do not move, so they either used a load of hairspray or pomade. Pomade is the easiest way to go, so I’m just going to smooth down all of my flyaways and the side pieces of my bangs with pomade. This is going to help you get that sleek ponytail style.

Don’t forget about the flyaway hairs at the back of your neck.
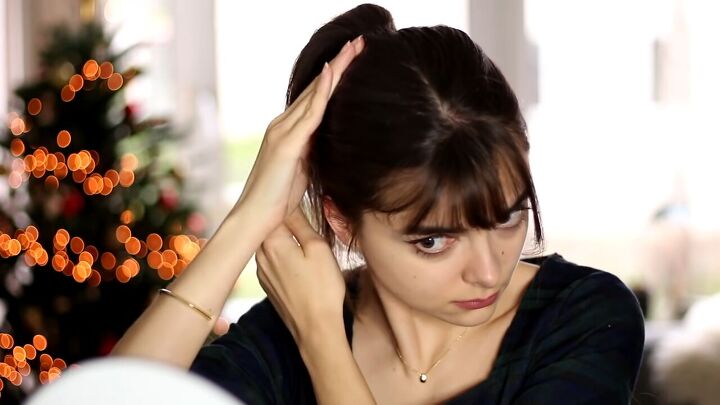
3. Comb
Comb through your hair again to break it up a little bit and smooth it out even more.
Since I’ve created all kinds of bumps doing this, I just went back and redid the ponytail so it turns out even smoother.
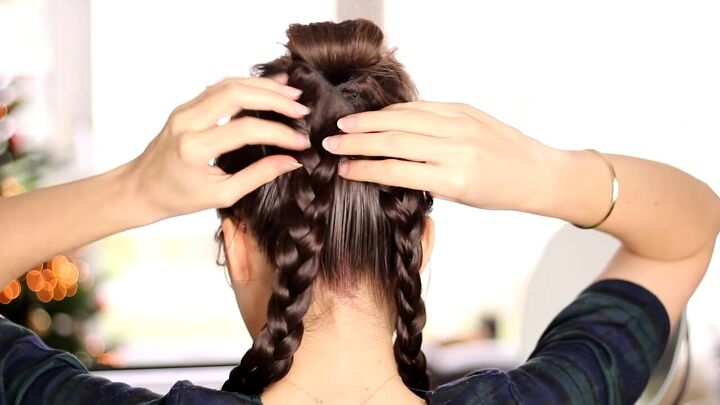
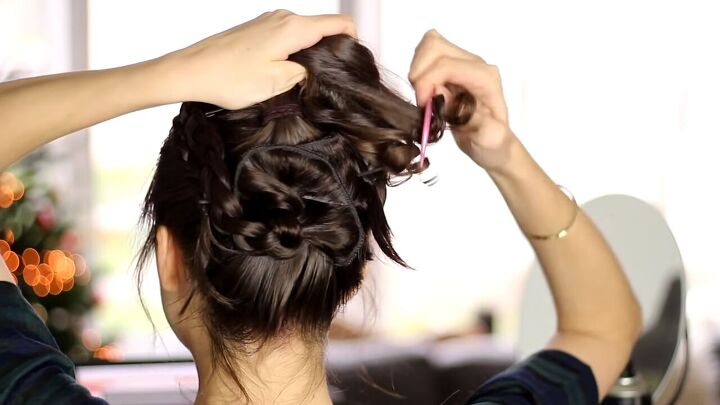
4. Pin two braids to your hair
I created a little bun with my hair that I’m going to take out later, so feel free to disregard this part, but I had to leave it in so things make sense.
You will now need two braids made out of hair extensions. If you have enough hair to make your own braids, by all means, use your own hair but my hair is pretty thin. I’m putting the braids right underneath the bun using a really large and sturdy bobby pin. The hair on top is going to cover all of this mess later, so don’t worry about it.
5. Wrap one braid around your head
Wrap one of the braids around the top of your head to form a crown, and slide in a bobby pin to hold it down. I also slid in some u-shaped pins along the length of the braid to make sure it stays right where you want it to.

Repeat with the second braid on the other side.

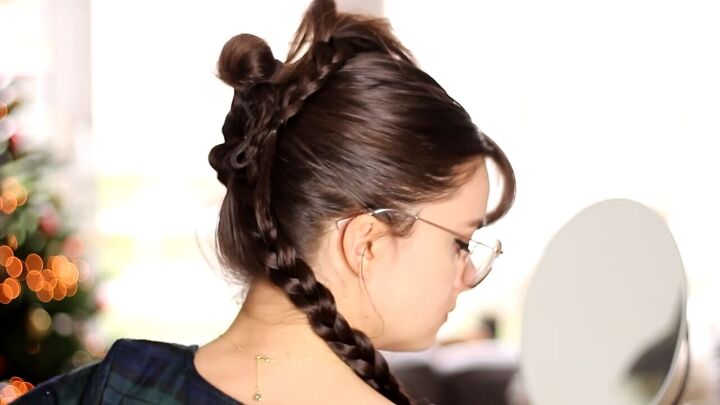
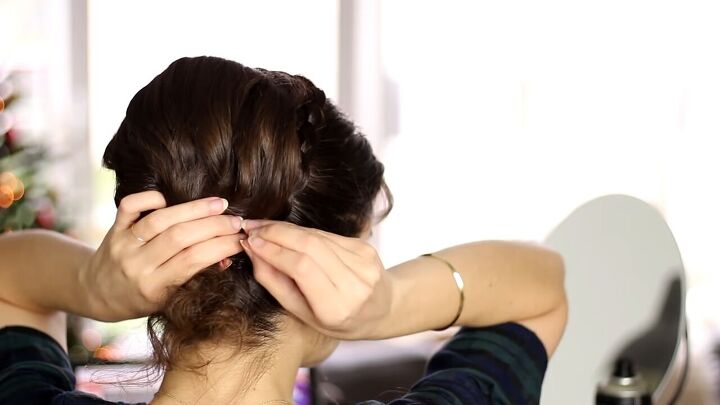
6. Pin your ponytail to your head
Flip your ponytail up and pin it down to your head using around four long, sturdy bobby pins. This is going to create a pretty wide waterfall. Especially if your hair is thinner, this is a great way to make sure the hair is spread out nicely.
When you flip your hair over, it should look something like this.
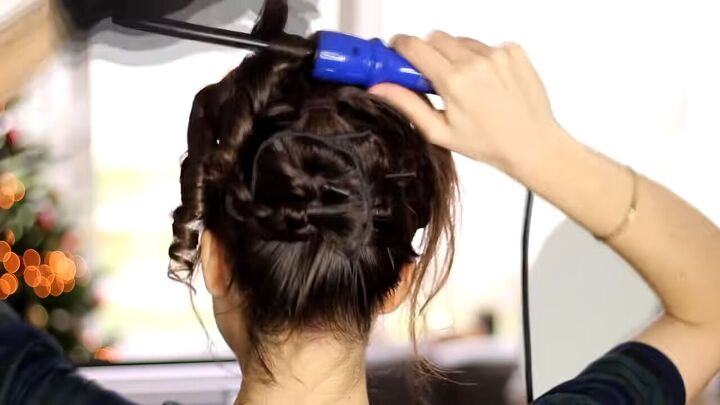
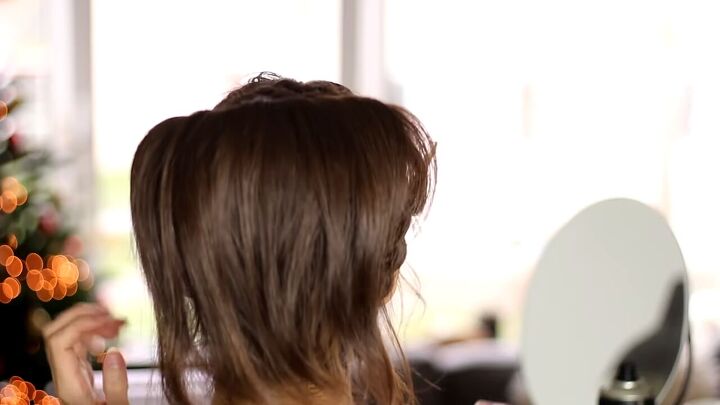
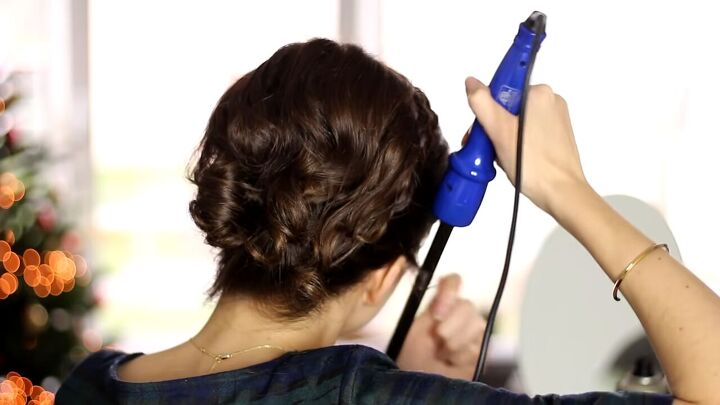
7. Curl the hair that is still down
Next, take a fairly small curling iron and curl all of the hair that is still down. Make sure to curl everything in the same direction, because we want this to combine later on and form one big wave in the back without separating too much.
8. Comb through the curls
Comb through the curls, especially on the top as that’s the most important part. This is going to make it lie down smoothly.
9. Shape
Shape all of the hair so that it falls over the faux braids. Where the braids are pinned down, slide in some u-pins. You can also use bobby pins for this if you prefer. Use anything that will hold the hair down there.

10. Twirl and curl the finishing touches
Twirl the little tails that remain at the bottom to make sure they form pretty curls and then pin them down as well so it looks as if it’s loose hair.
I also curled the side bits at the front, as well as my bangs to make them look a bit shorter.
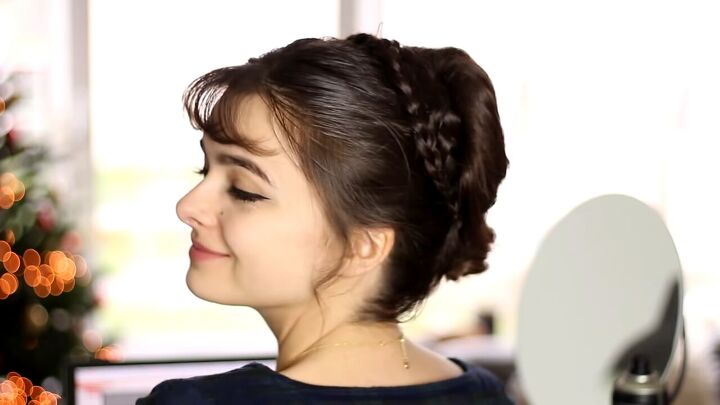
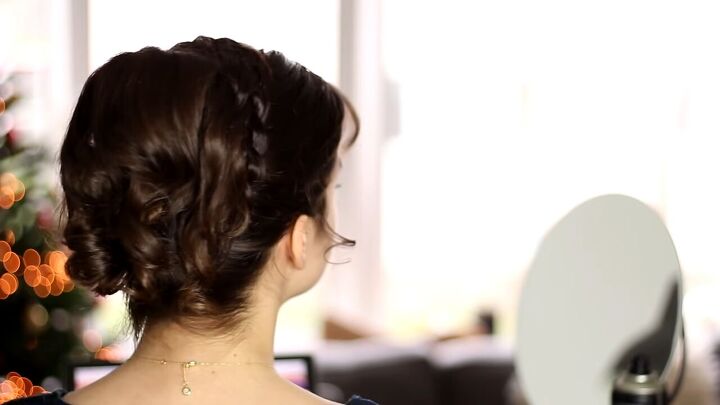
Audrey Hepburn hair tutorial
Here’s the finished hairstyle! It’s a really beautiful, special occasion hairstyle that’s perfect for the upcoming holidays inspired by Audrey Hepburn in War and Peace from 1956. I hope you enjoyed this tutorial. Let me know what you think!
The author may collect a small share of sales from the links on this page.


Comments
Join the conversation
Geez! That's the way I used to fix my hair for the chorales we used to have...BEAUTIFUL!!!