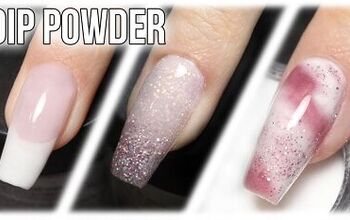
How to DIY Easy Black Glitter Dip Nails

In this tutorial, I’m going to show you how to get gorgeous peekaboo black glitter dip nails with only dip powder and dip liquids—no gel! Let’s get started.
Tools and materials:
- Black glitter dip powder
- Pink dip powder
- Dip base coat
- Nail stick
- Masking tape/Nail brush
- Ombre or eyeshadow brush
- Clear dip powder
- Activator
- Top coat
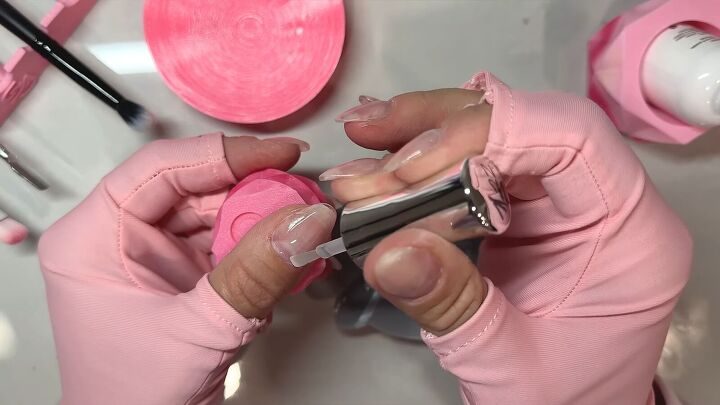
1. Apply a base coat
Push back your cuticles before applying a base coat to your nails.
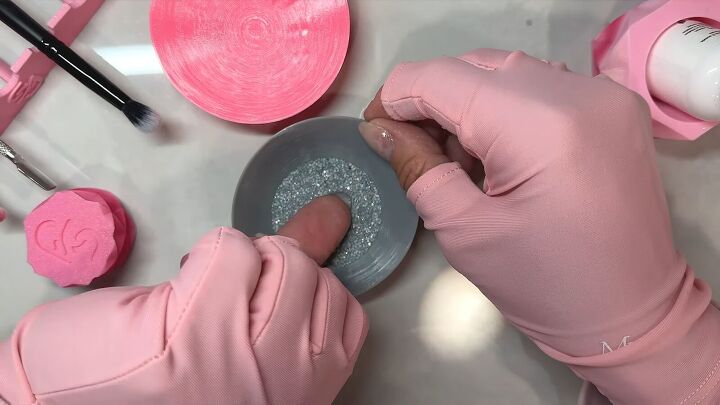
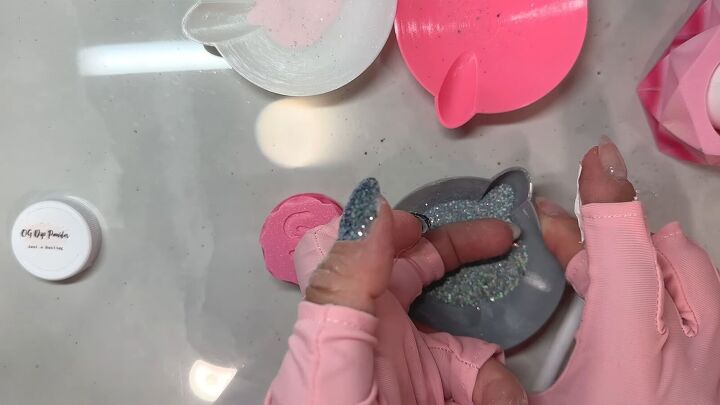
2. Dip
Immediately dip your nail into the powder. I’m using a gorgeous glitter powder that shifts into a ton of different colors.
Whenever you’re dipping glitter, pour it into either a dip cup or cupcake liner and lay your nail flat into it.
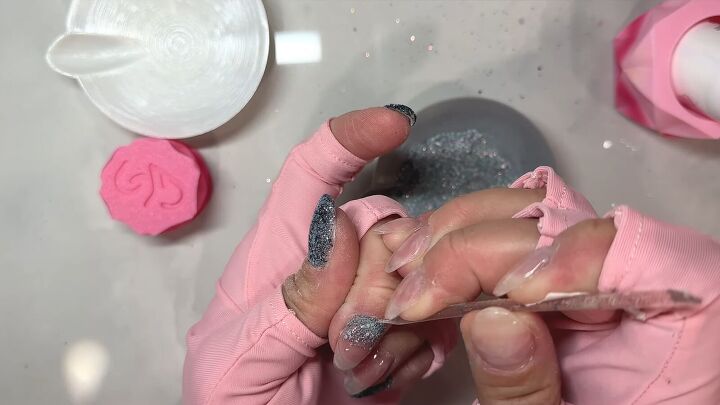
3. Remove the excess powder
Use a pointy stick to get cleaner edges and remove the excess powder from the skin.
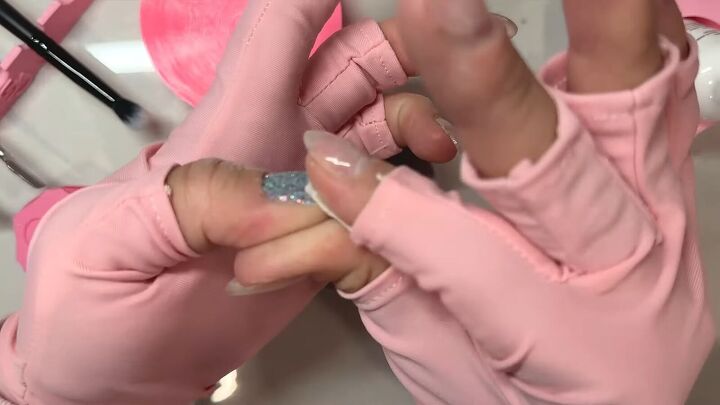
You can also use a piece of masking tape to get rid of loose powder on top of the nail.
This will also help press down the glitter pieces.
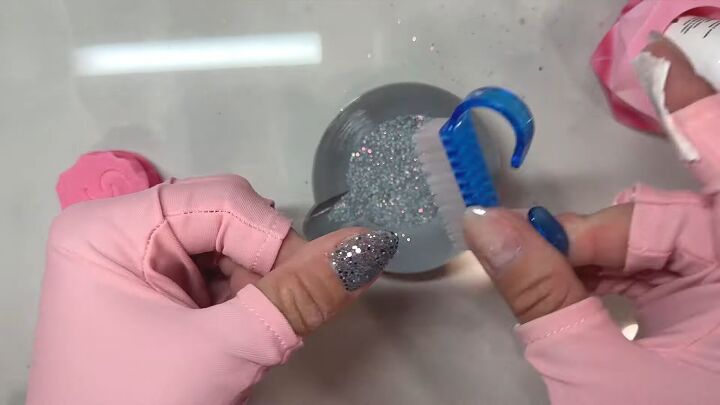
A nail brush works well too.
4. Repeat
Do these steps for every next except the ring and middle finger.
If you’re doing chunky glitter, you want to get the majority of your nails covered with the first layer and then pick up more chunky pieces on the second layer.
The powder we’re using is a medium glitter, so you can lay your nail flat both times and it should be able to lay down pretty thinly.
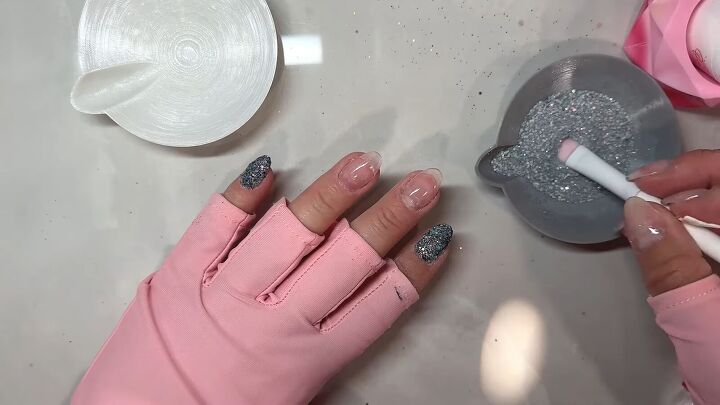
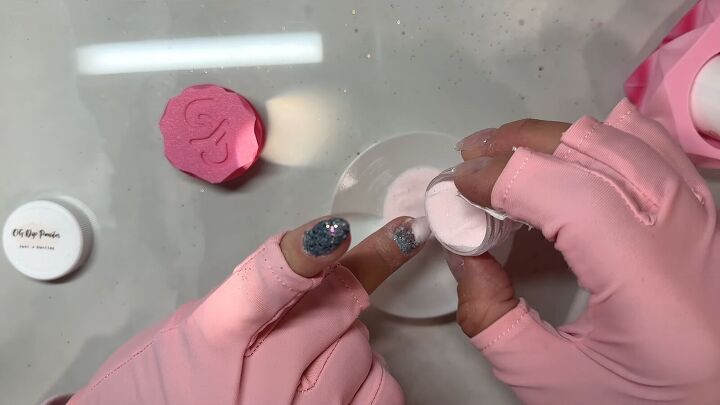
5. Apply a clear base coat on the ring and middle finger
For the final two nails, we’re going to do a peekaboo-style design. Push back your cuticles and apply a base coat.
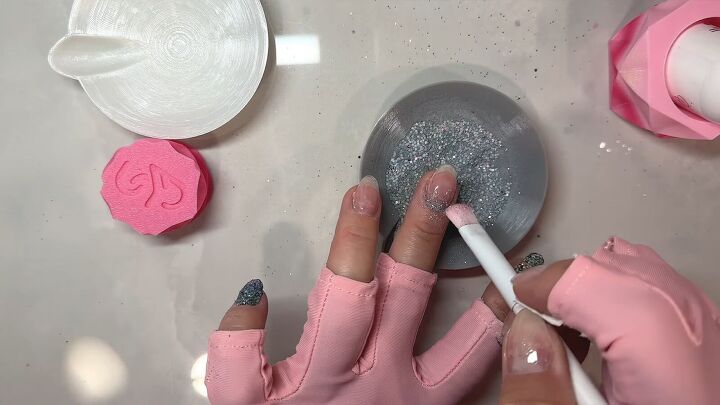
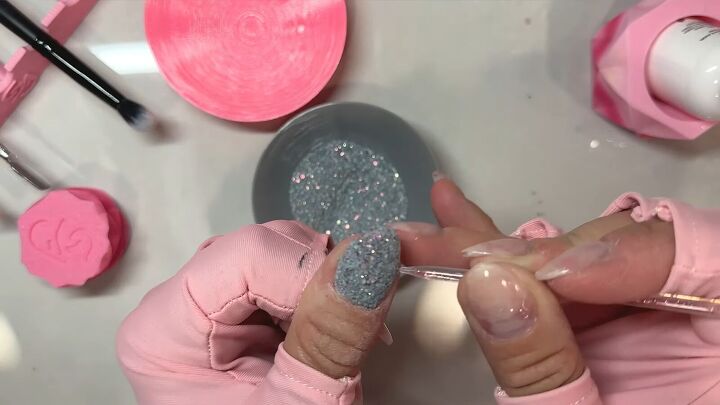
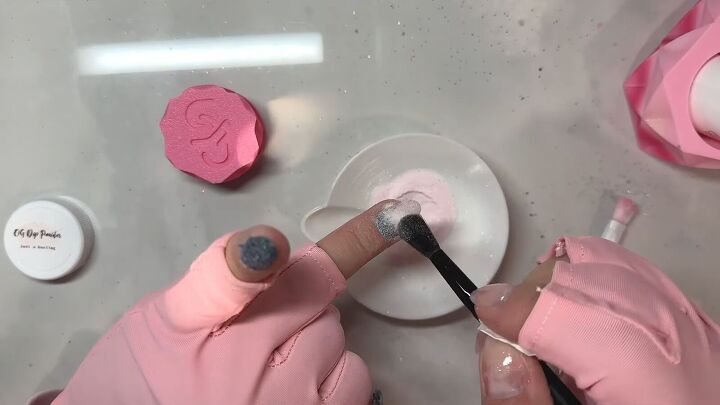
6. Tap the glitter onto the bottom of the nail
Use an ombre brush or a small eyeshadow brush to tap the glitter at the bottom of your nail. I used both to get a nice combination.
7. Clean up the excess
Use the sharp stick to clean up the excess glitter.
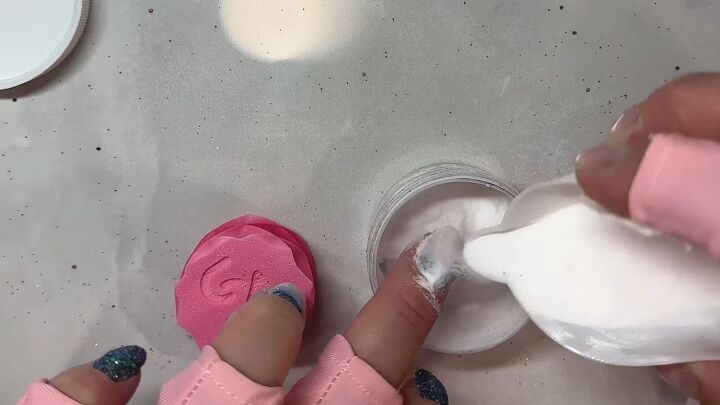
8. Apply the pink dip powder to the nail
Pour the pink dip powder over the top of the nail.
Use the ombre brush to tap the pink powder over the black glitter to create the ombre effect. Use the stick to clean up any excess.

9. Apply the base coat and dip the glitter again
Apply the dip base coat back towards your cuticle and dip the bottom of your nail in the glitter again.
This will help the glitter pop without having to do another full layer of ombre.
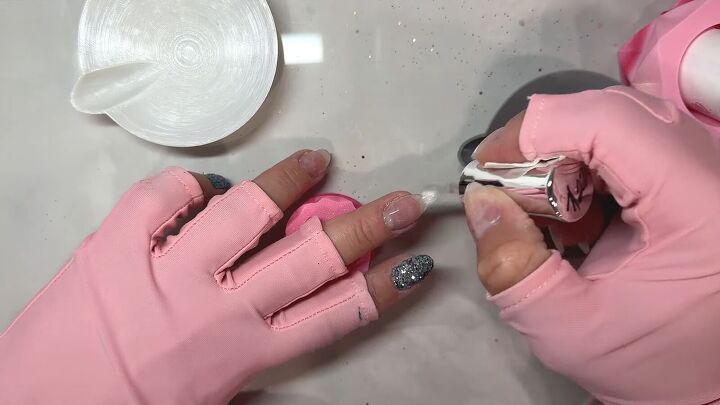
10. Apply clear dip powder
Apply another base coat and then pour the clear dip powder over it.
Make sure the clear dip powder completely covers the glitter, so when you file and buff, you don’t accidentally bump into any of the glitter.
Do this process for all of your nails.
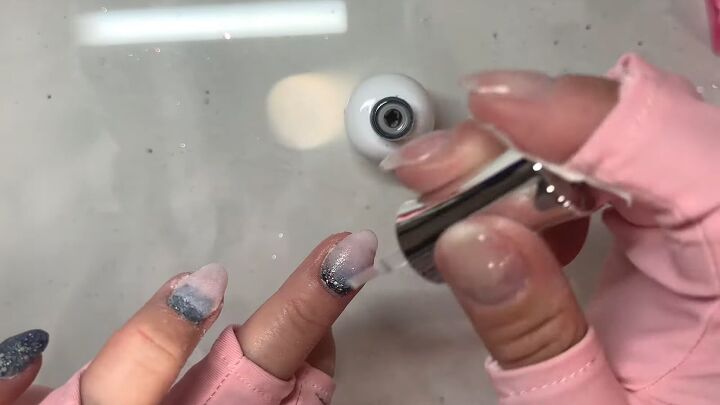
11. Apply the activator
Apply two layers of the activator over the clear dip powder and wait until it hardens. I found applying two layers helps it harden faster.
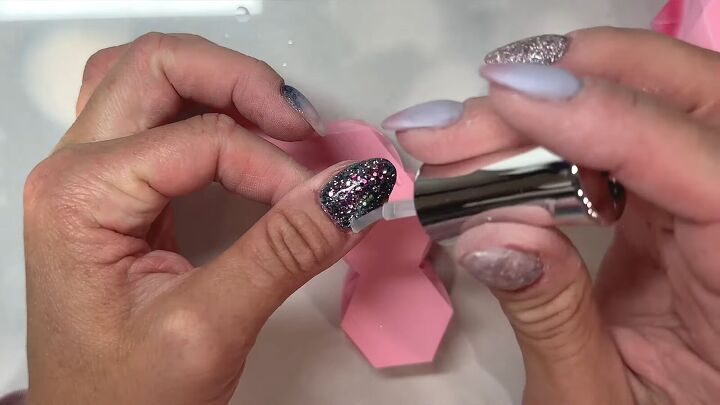
12. Apply a top coat
Do any buffing and filing you need to, and then apply a final top coat over each nail.
If you want these ombre glitter dip nails to last a long time, make sure you cap your edges as well.
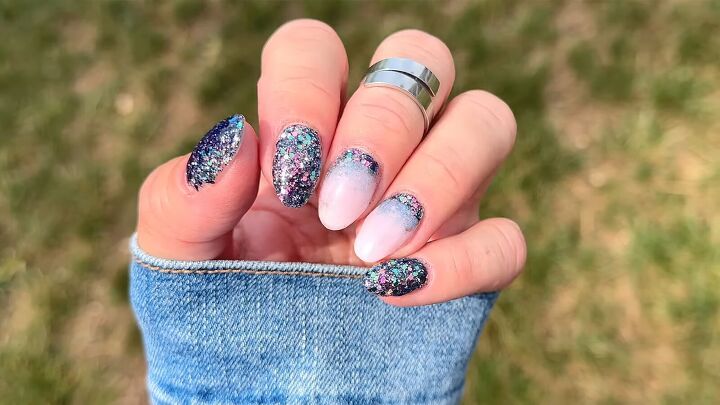
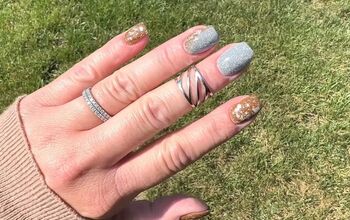
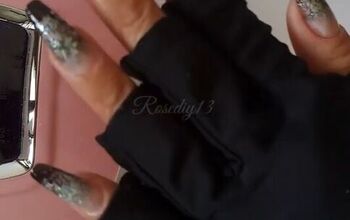
Black glitter dip nails
Here are the finished glitter dip nail designs! Do you prefer the entire glitter nail or the peekaboo nail?
Let me know your thoughts in the comments below.
Next, learn How to Use Nail Stamps to Create Cute Nail Art.
The author may collect a small share of sales from the links on this page.


Comments
Join the conversation