How to Use Nail Stamps to Create Cute Nail Art

Welcome to Stamp Nails 101. Here we’re going to be talking about everything you need to know to successfully stamp your nails at home.
If you want to know how to use nail stamps and aren’t sure, this is for you!
Tools and materials:
- Nail stamping plate
- Stamping polishes
- Acetone
- Isopropyl alcohol
- Cotton balls
- Tweezers
- Sticky base
- Top coat
- Stamper
- Scraper
- Nail protectors
- Lint roller
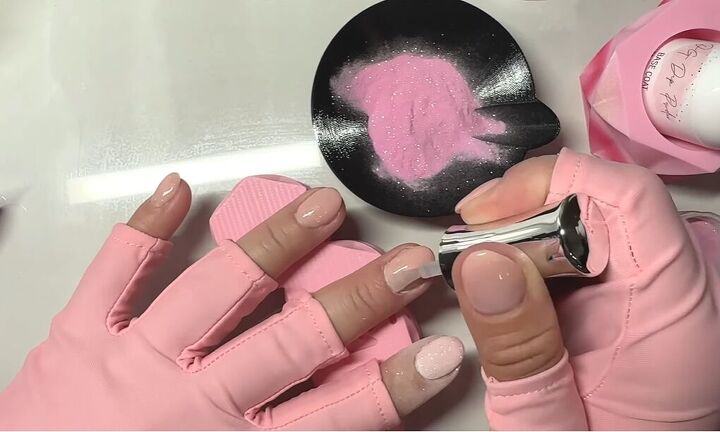
1. Paint nails
First, paint your nails. You can stamp over nail polish, gel polish, or dip powder.
For this manicure, I have a rubber base as an overlay on my nails with two layers of dip powder.
I then added a layer of clear dip powder and activated, buffed, and shaped the nails.
Don’t apply the top coat before you’ve stamped, or else the stamped images won't stick.
2. Apply nail protectors
I like to protect the skin around my nail where I'm going to stamp.
It is so much easier than having to wipe your skin with alcohol or some kind of nail polish remover.
I’m applying some sticky nail protectors, also known as skin barriers.
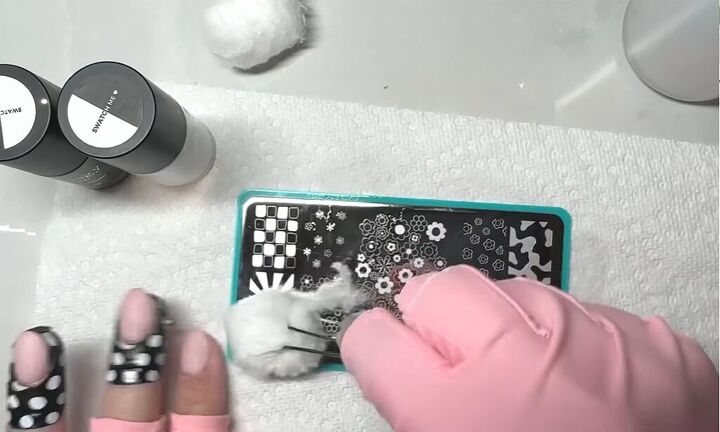
3. Clean the tools
Squirt some pure acetone on the stamps and wipe it off with a cotton ball. Then spray it with isopropyl alcohol and wipe the stamping plate off again just to make sure it's really nice and clean.
Take a lint roller and roll it over your jelly stamper and also wipe the scraping pad off with some alcohol to make sure that everything is clean and ready to go to stamp.
4. Apply sticky base
Put on a layer of sticky base to the nail that you're going to stamp on. Let it dry for about 15 to 20 seconds so that it's tacky but not super wet.
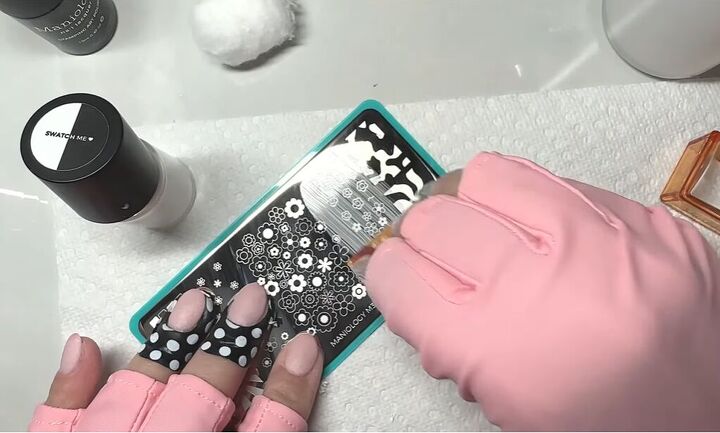
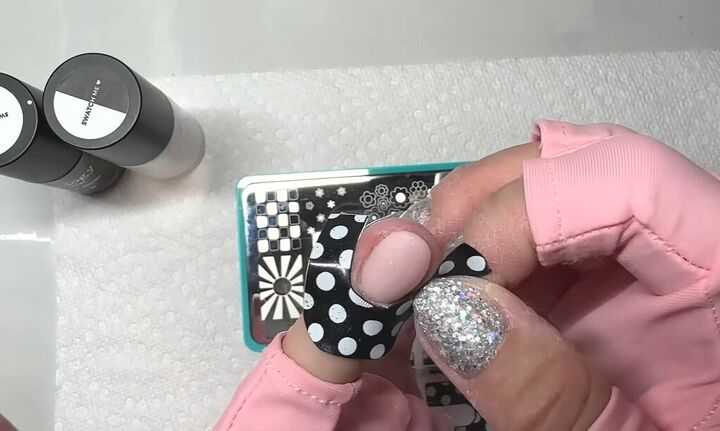
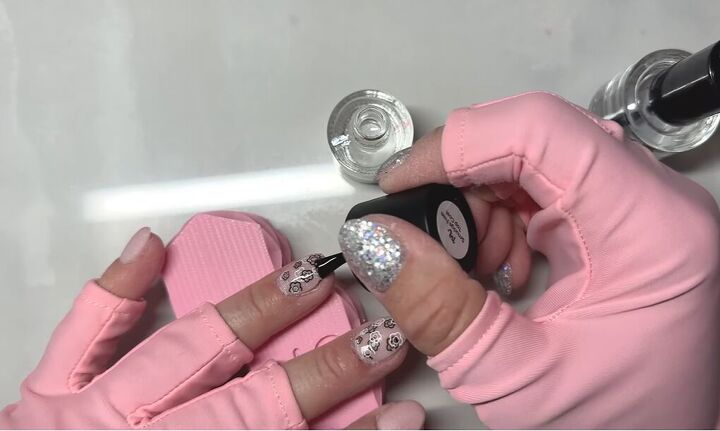
5. Apply polish to stamping plate
Paint the stamping polish on the area of the nail stamping plate that you want to use.
Apply a little bit of polish to the top of the plate, then use your scraper and scrape the excess polish downwards.
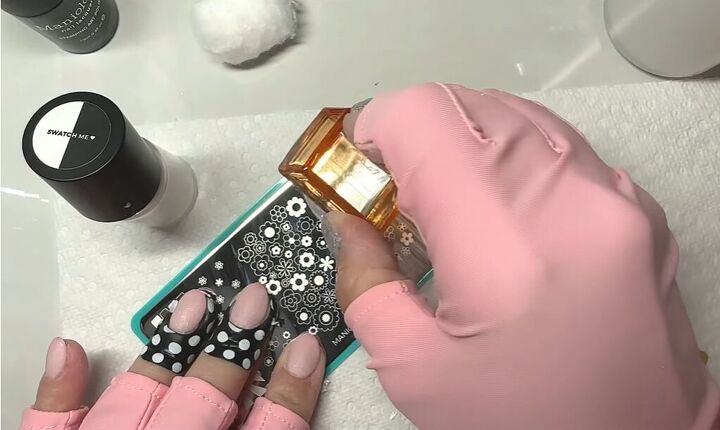
6. Pick up with stamper
Then roll your stamper upwards (i.e., in the opposite direction to how you applied the polish to the stamping plate) to pick up the design.

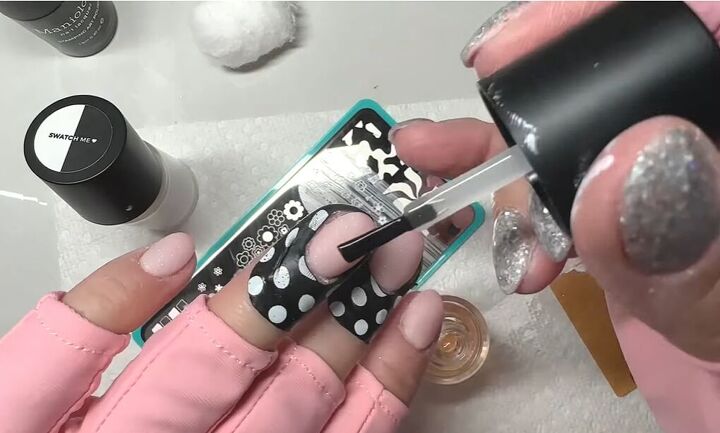
7. Add a second layer
For this nail design, I’m using the stamp over and over to show you guys how you can do some layers with different colors in a simple and easy way.
We did white flowers, and now I’m adding black flowers.
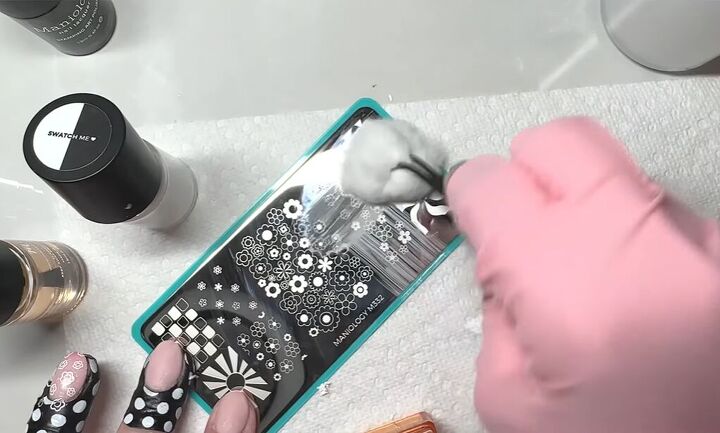
8. Clean stamping plate
In between each stamp, clean the nail stamping plate with pure acetone and then alcohol, and let that all dry before you go in with your next amount of stamping polish.
Tips:
- A couple of big keys to stamping are you don't want to put too much polish onto the plate. If you put a ton of polish onto the plate, your image is not going to pick up because you need to scrape a majority of it off. It takes some getting used to how much you need to put on the image
- Scraping hard and fast is the only way that you're going to get the excess polish off the plate and then have just enough on there that you can pick up the image on the stamper
- When you roll the stamper on the plate, you want to roll it quickly and very gently. If you press the stamper really hard into your plate, you're not going to pick up the image.
9. Let nails dry
Once you have your stamps all done and they're in the areas you want on your nail, let them fully dry.
You can also remove the nail protectors.
10. Apply top coat
Now go in with a layer of smudge-free top coat.
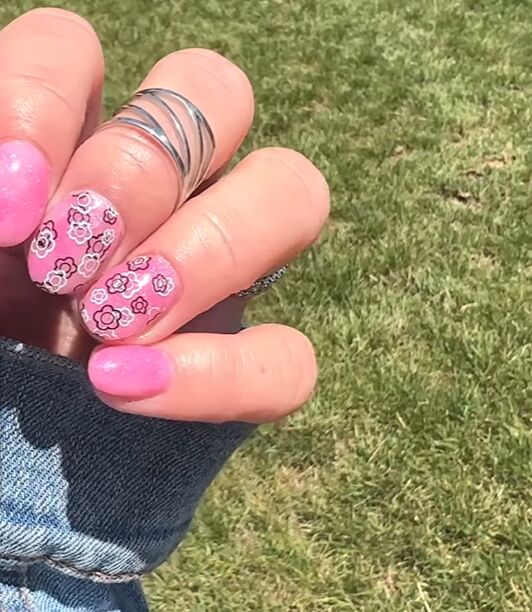
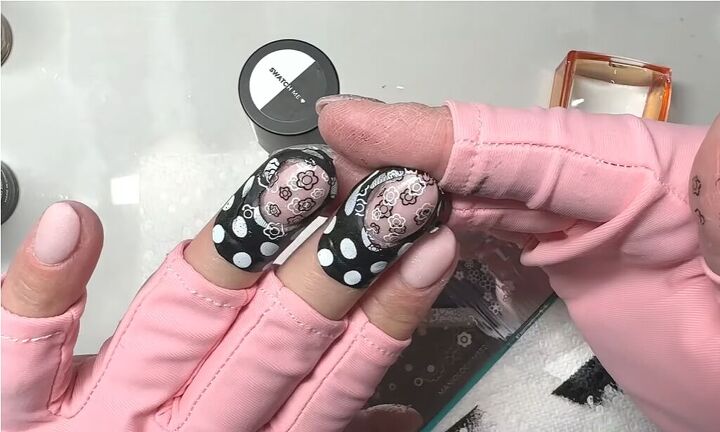
How to use nail stamps
Here are the finished nails. I simply adore the mixture of white and black flowers, it really builds up the design and makes it look more interesting.
The flowers look neat and precise and aren’t smudged at all.
I hope you’ve found this nail stamping tutorial helpful. If so, leave a comment!
Next, learn How to Apply Nail Decals.
The author may collect a small share of sales from the links on this page.


Comments
Join the conversation